In our section dedicated to native Apple applications, these days we are focusing on Contacts. While we covered the basics in the previous installment, today we're going to take a closer look at creating and changing groups.
It could be interest you

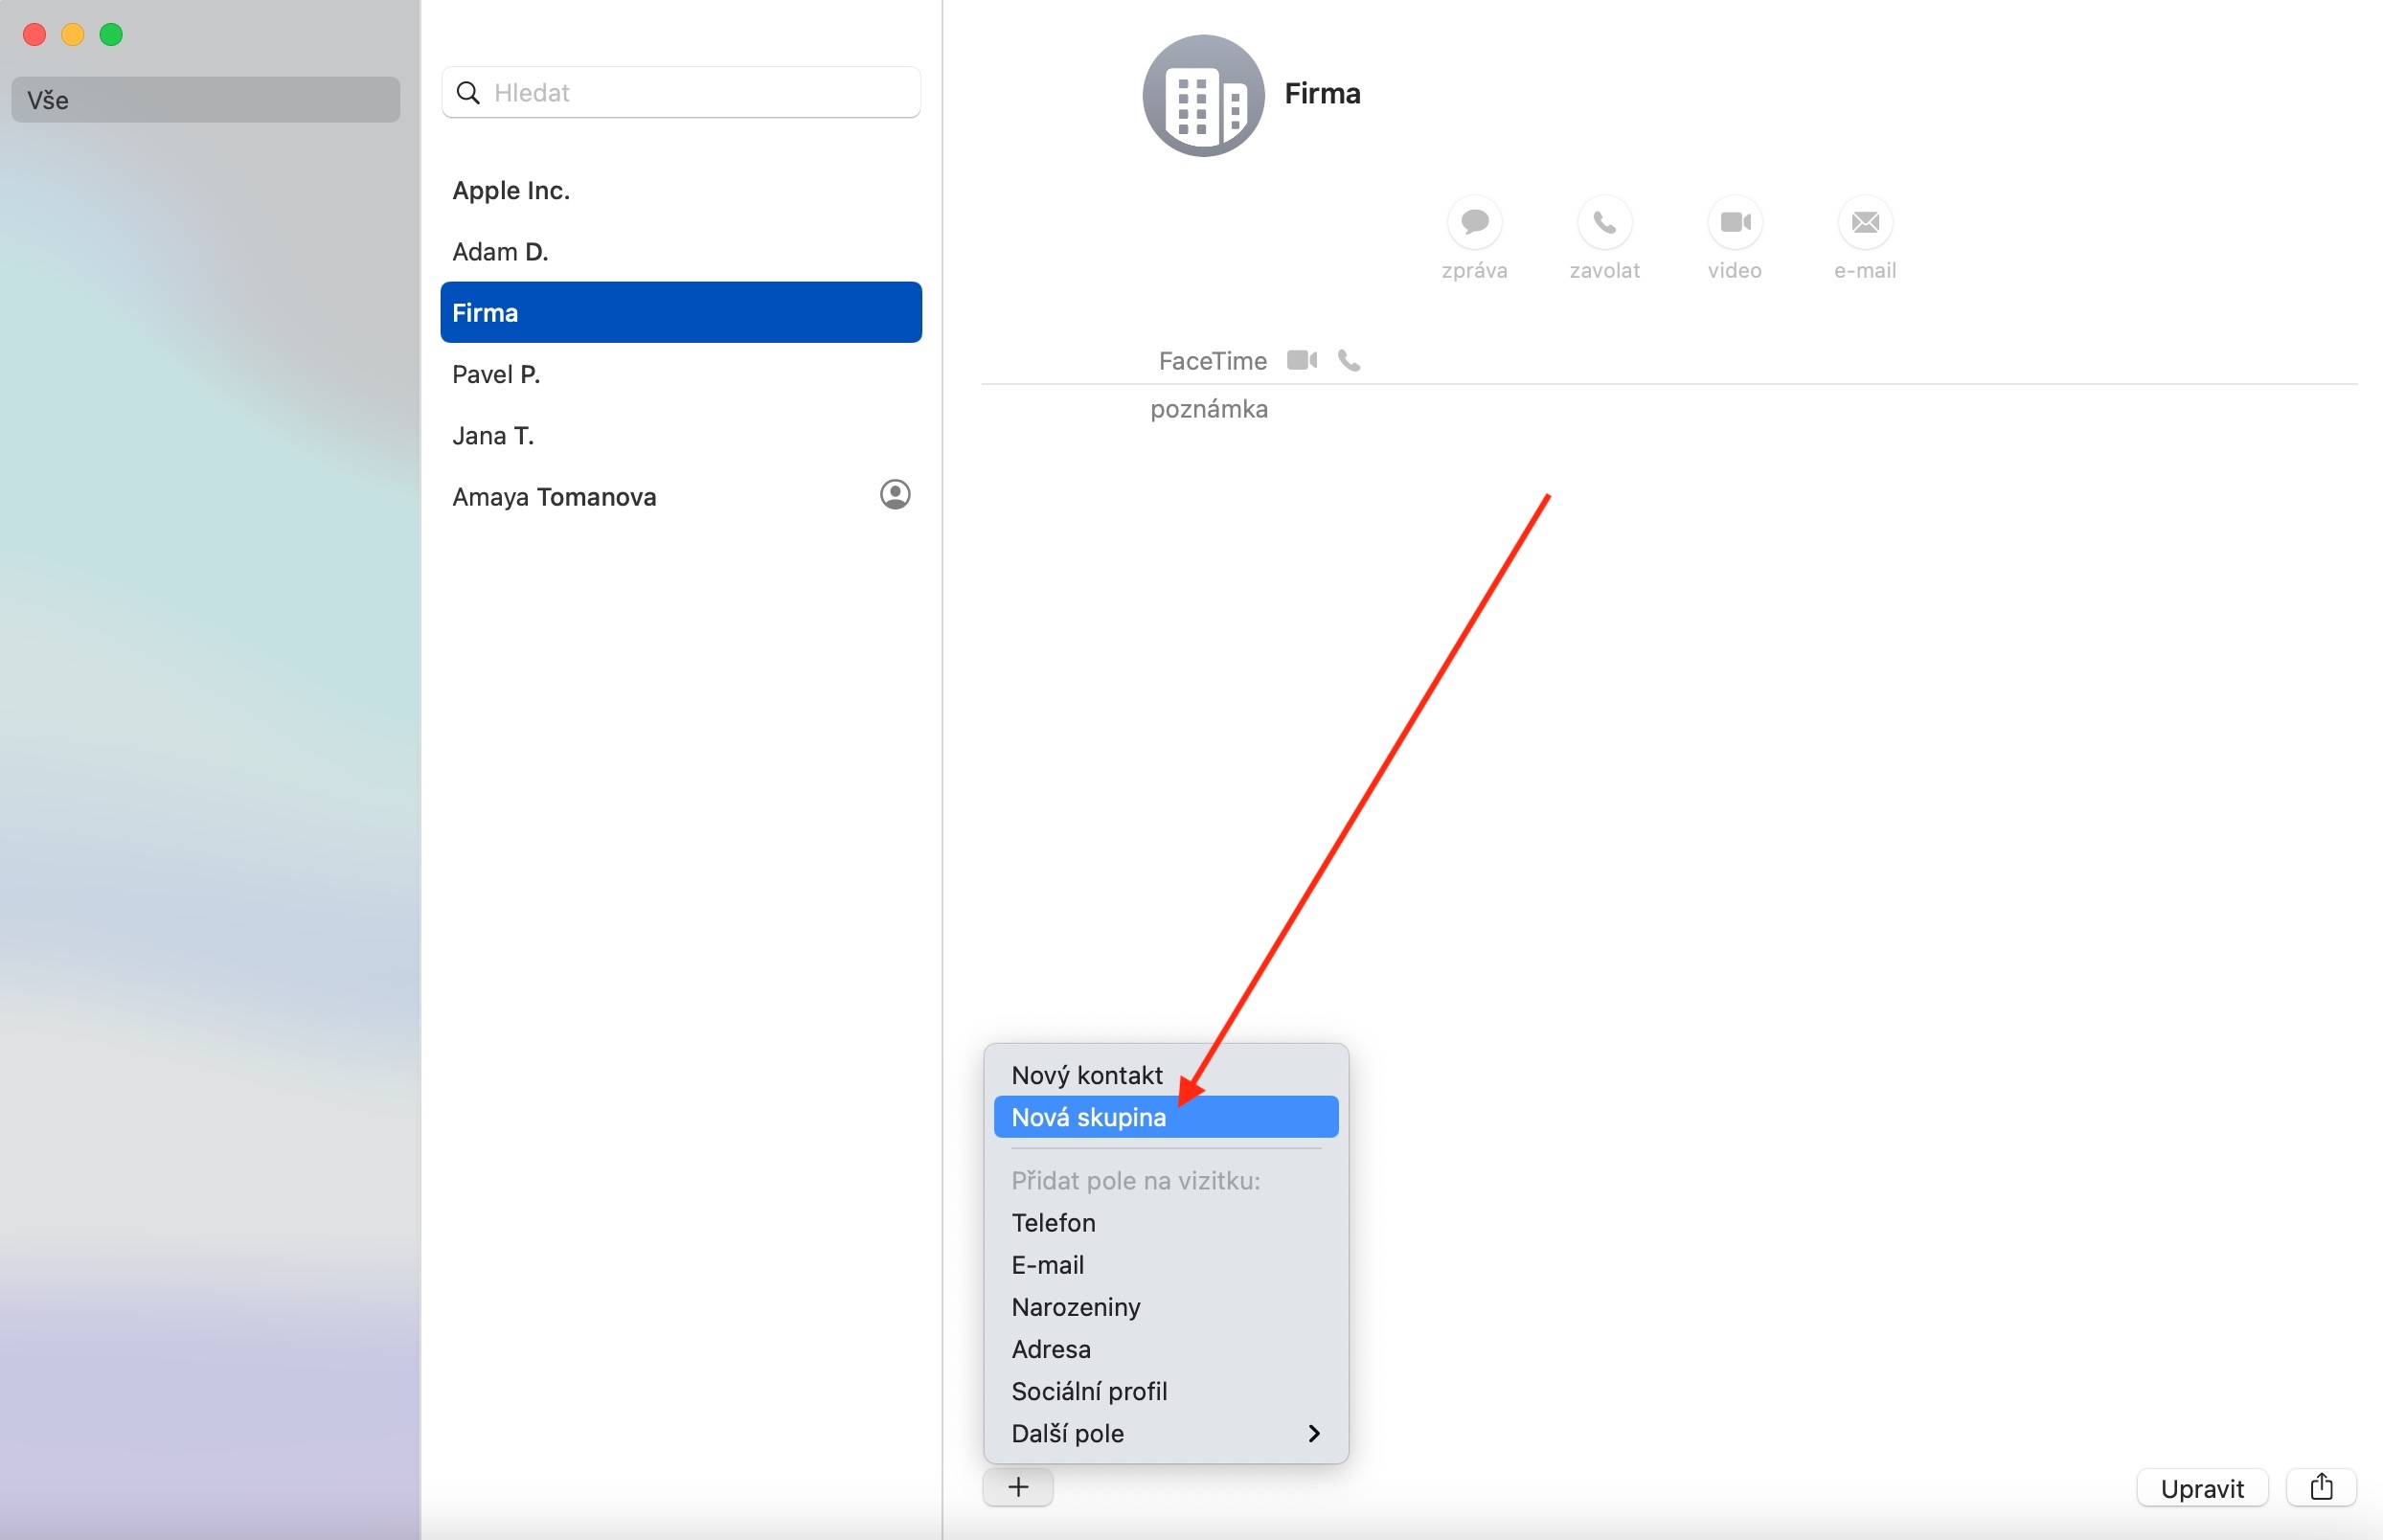
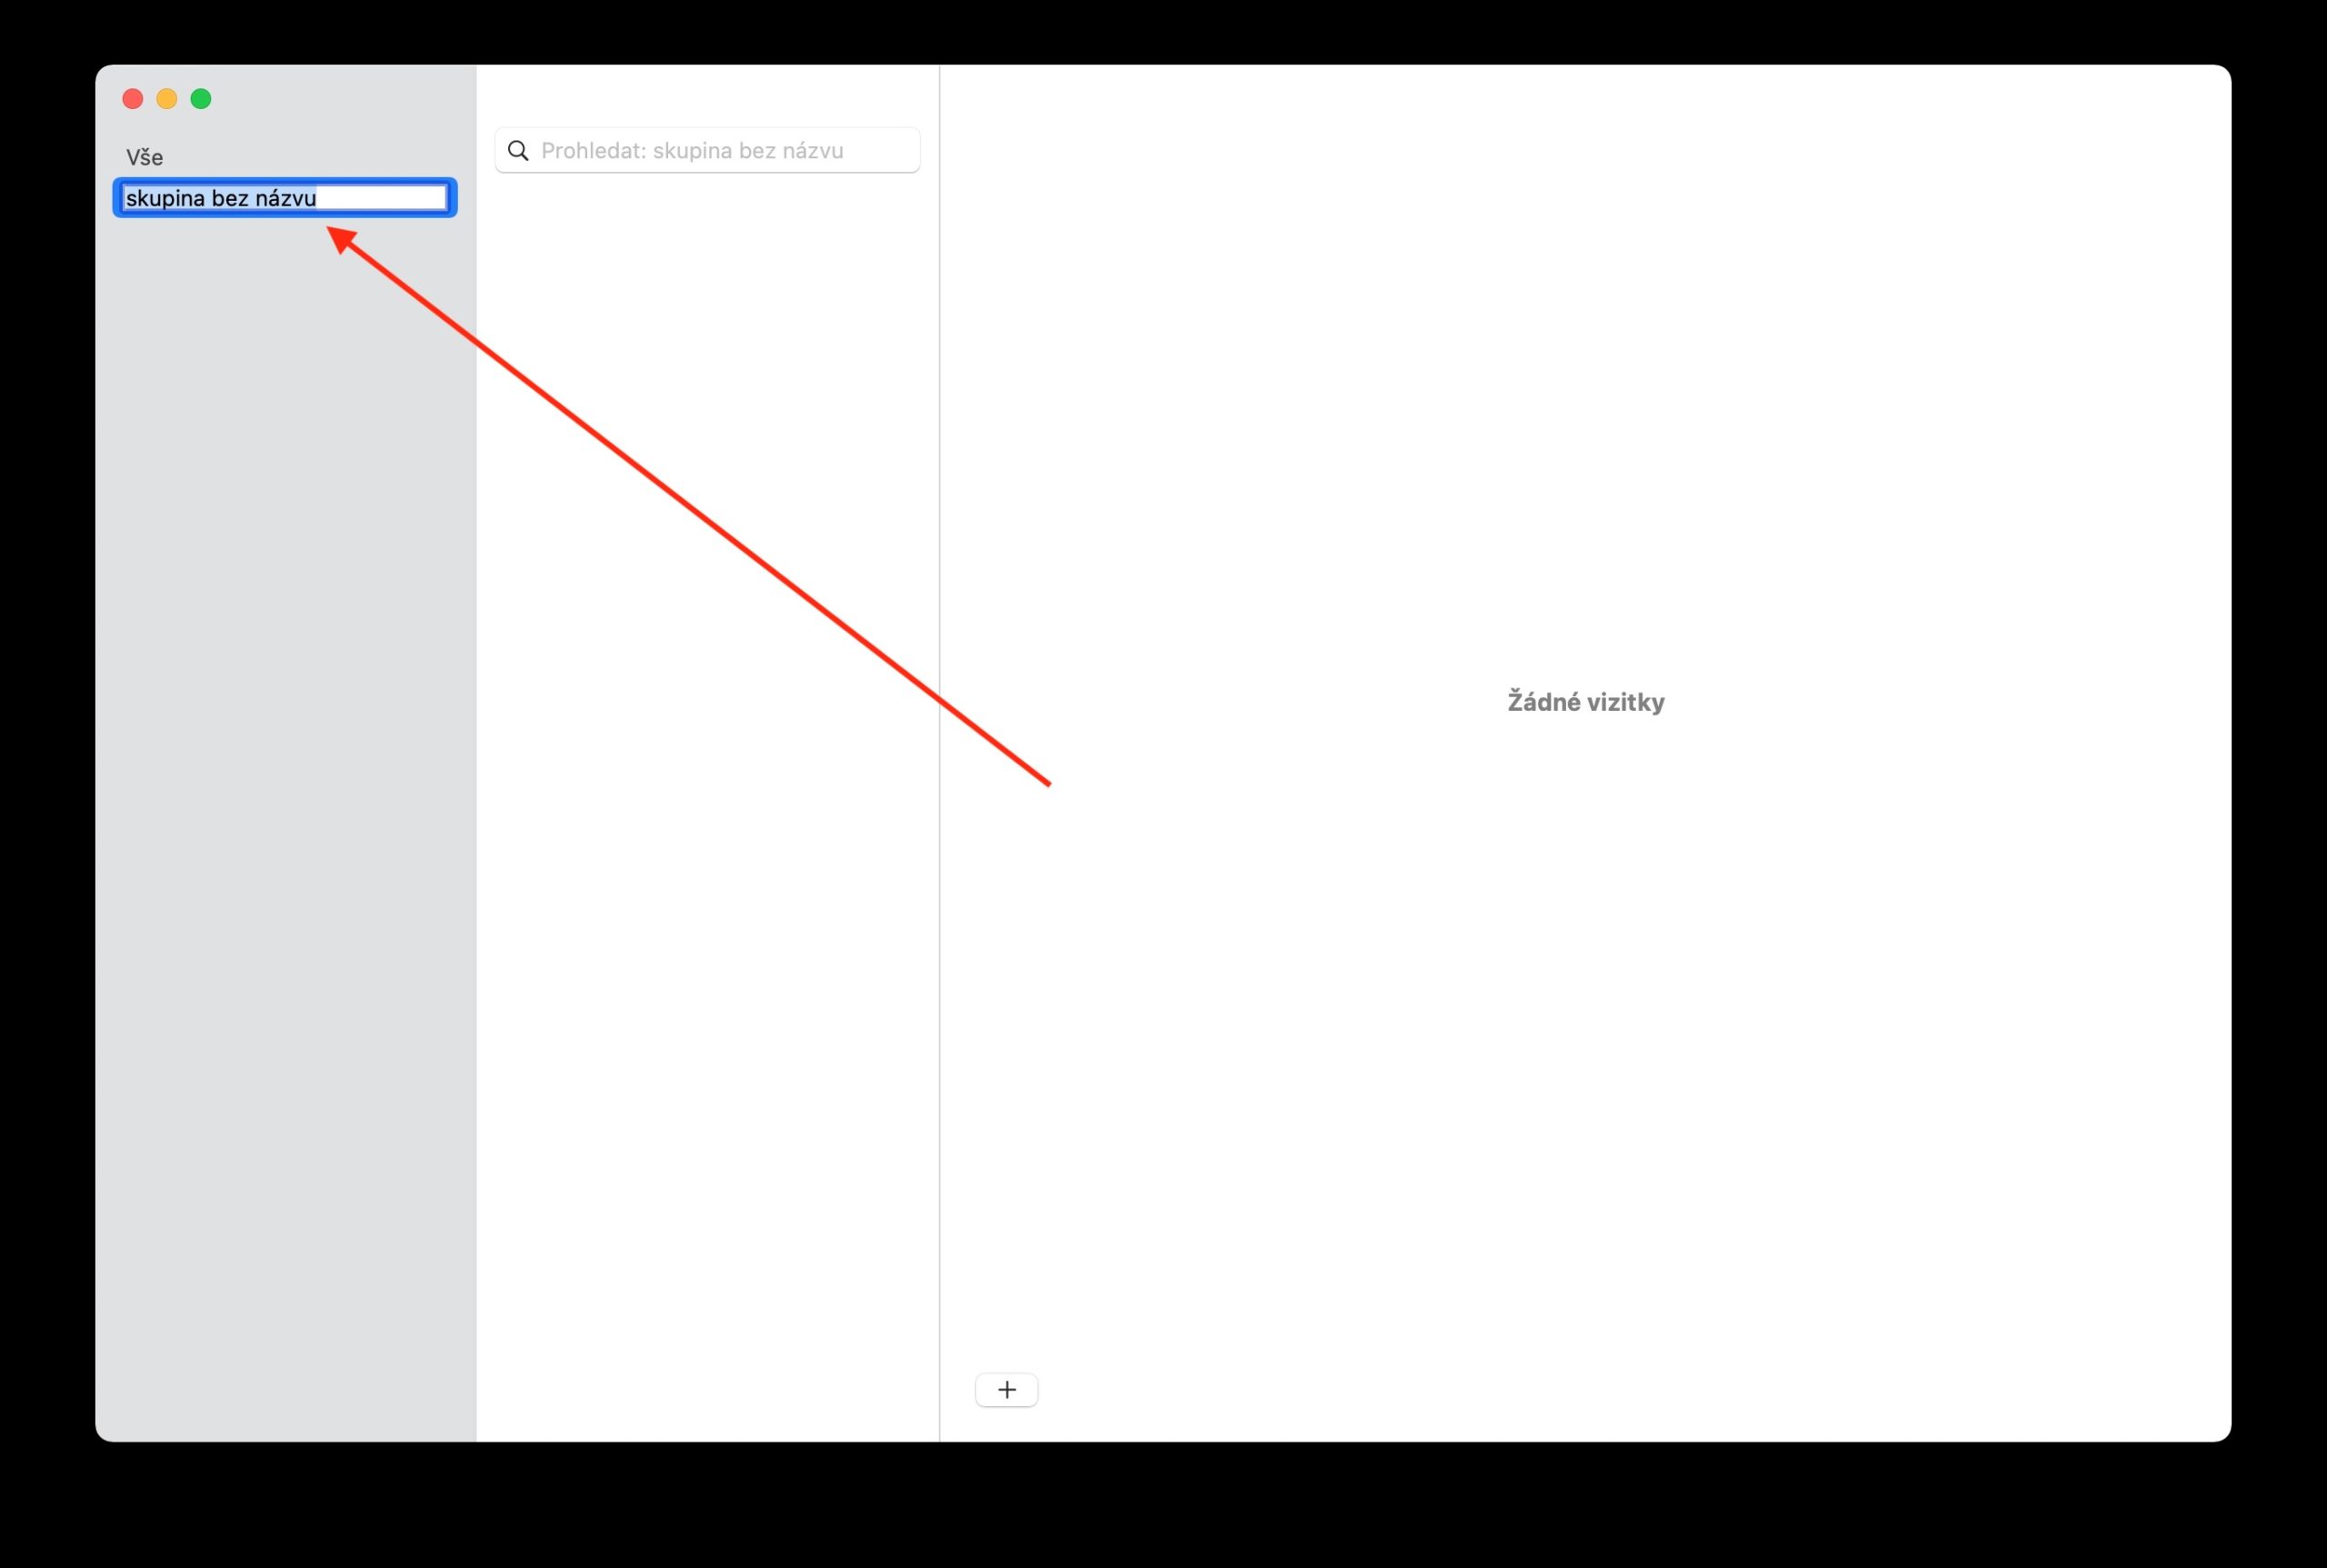
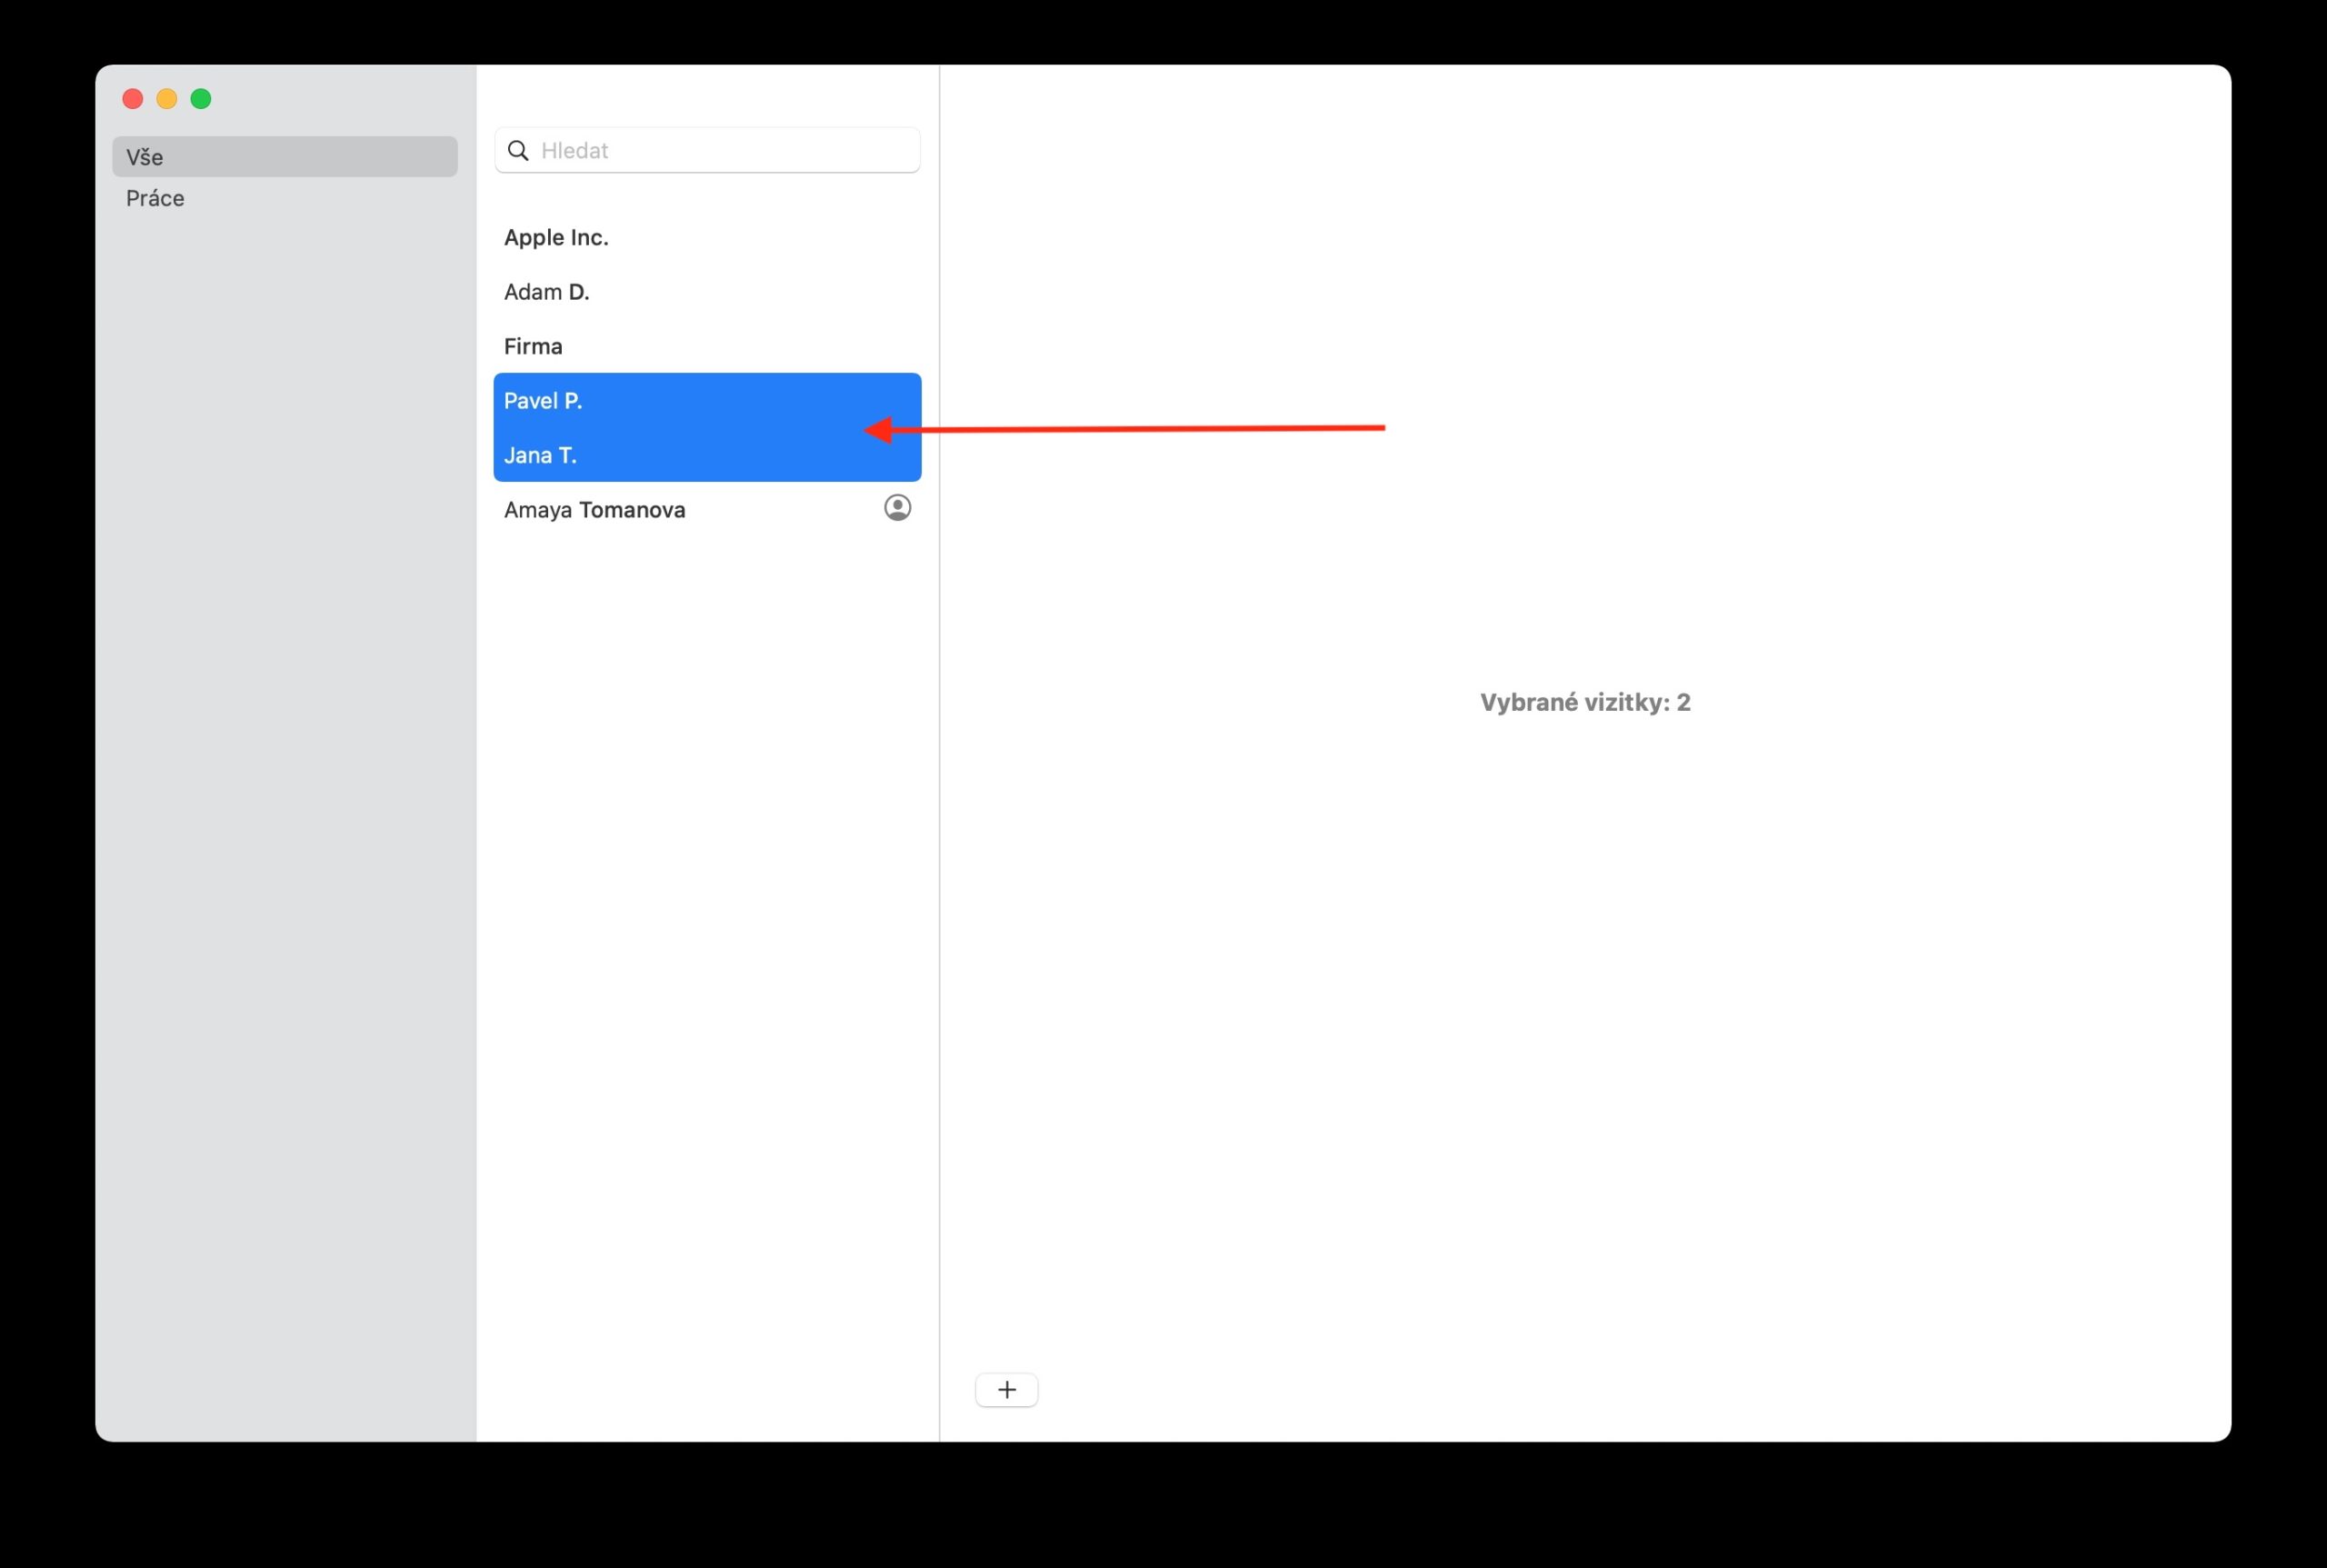
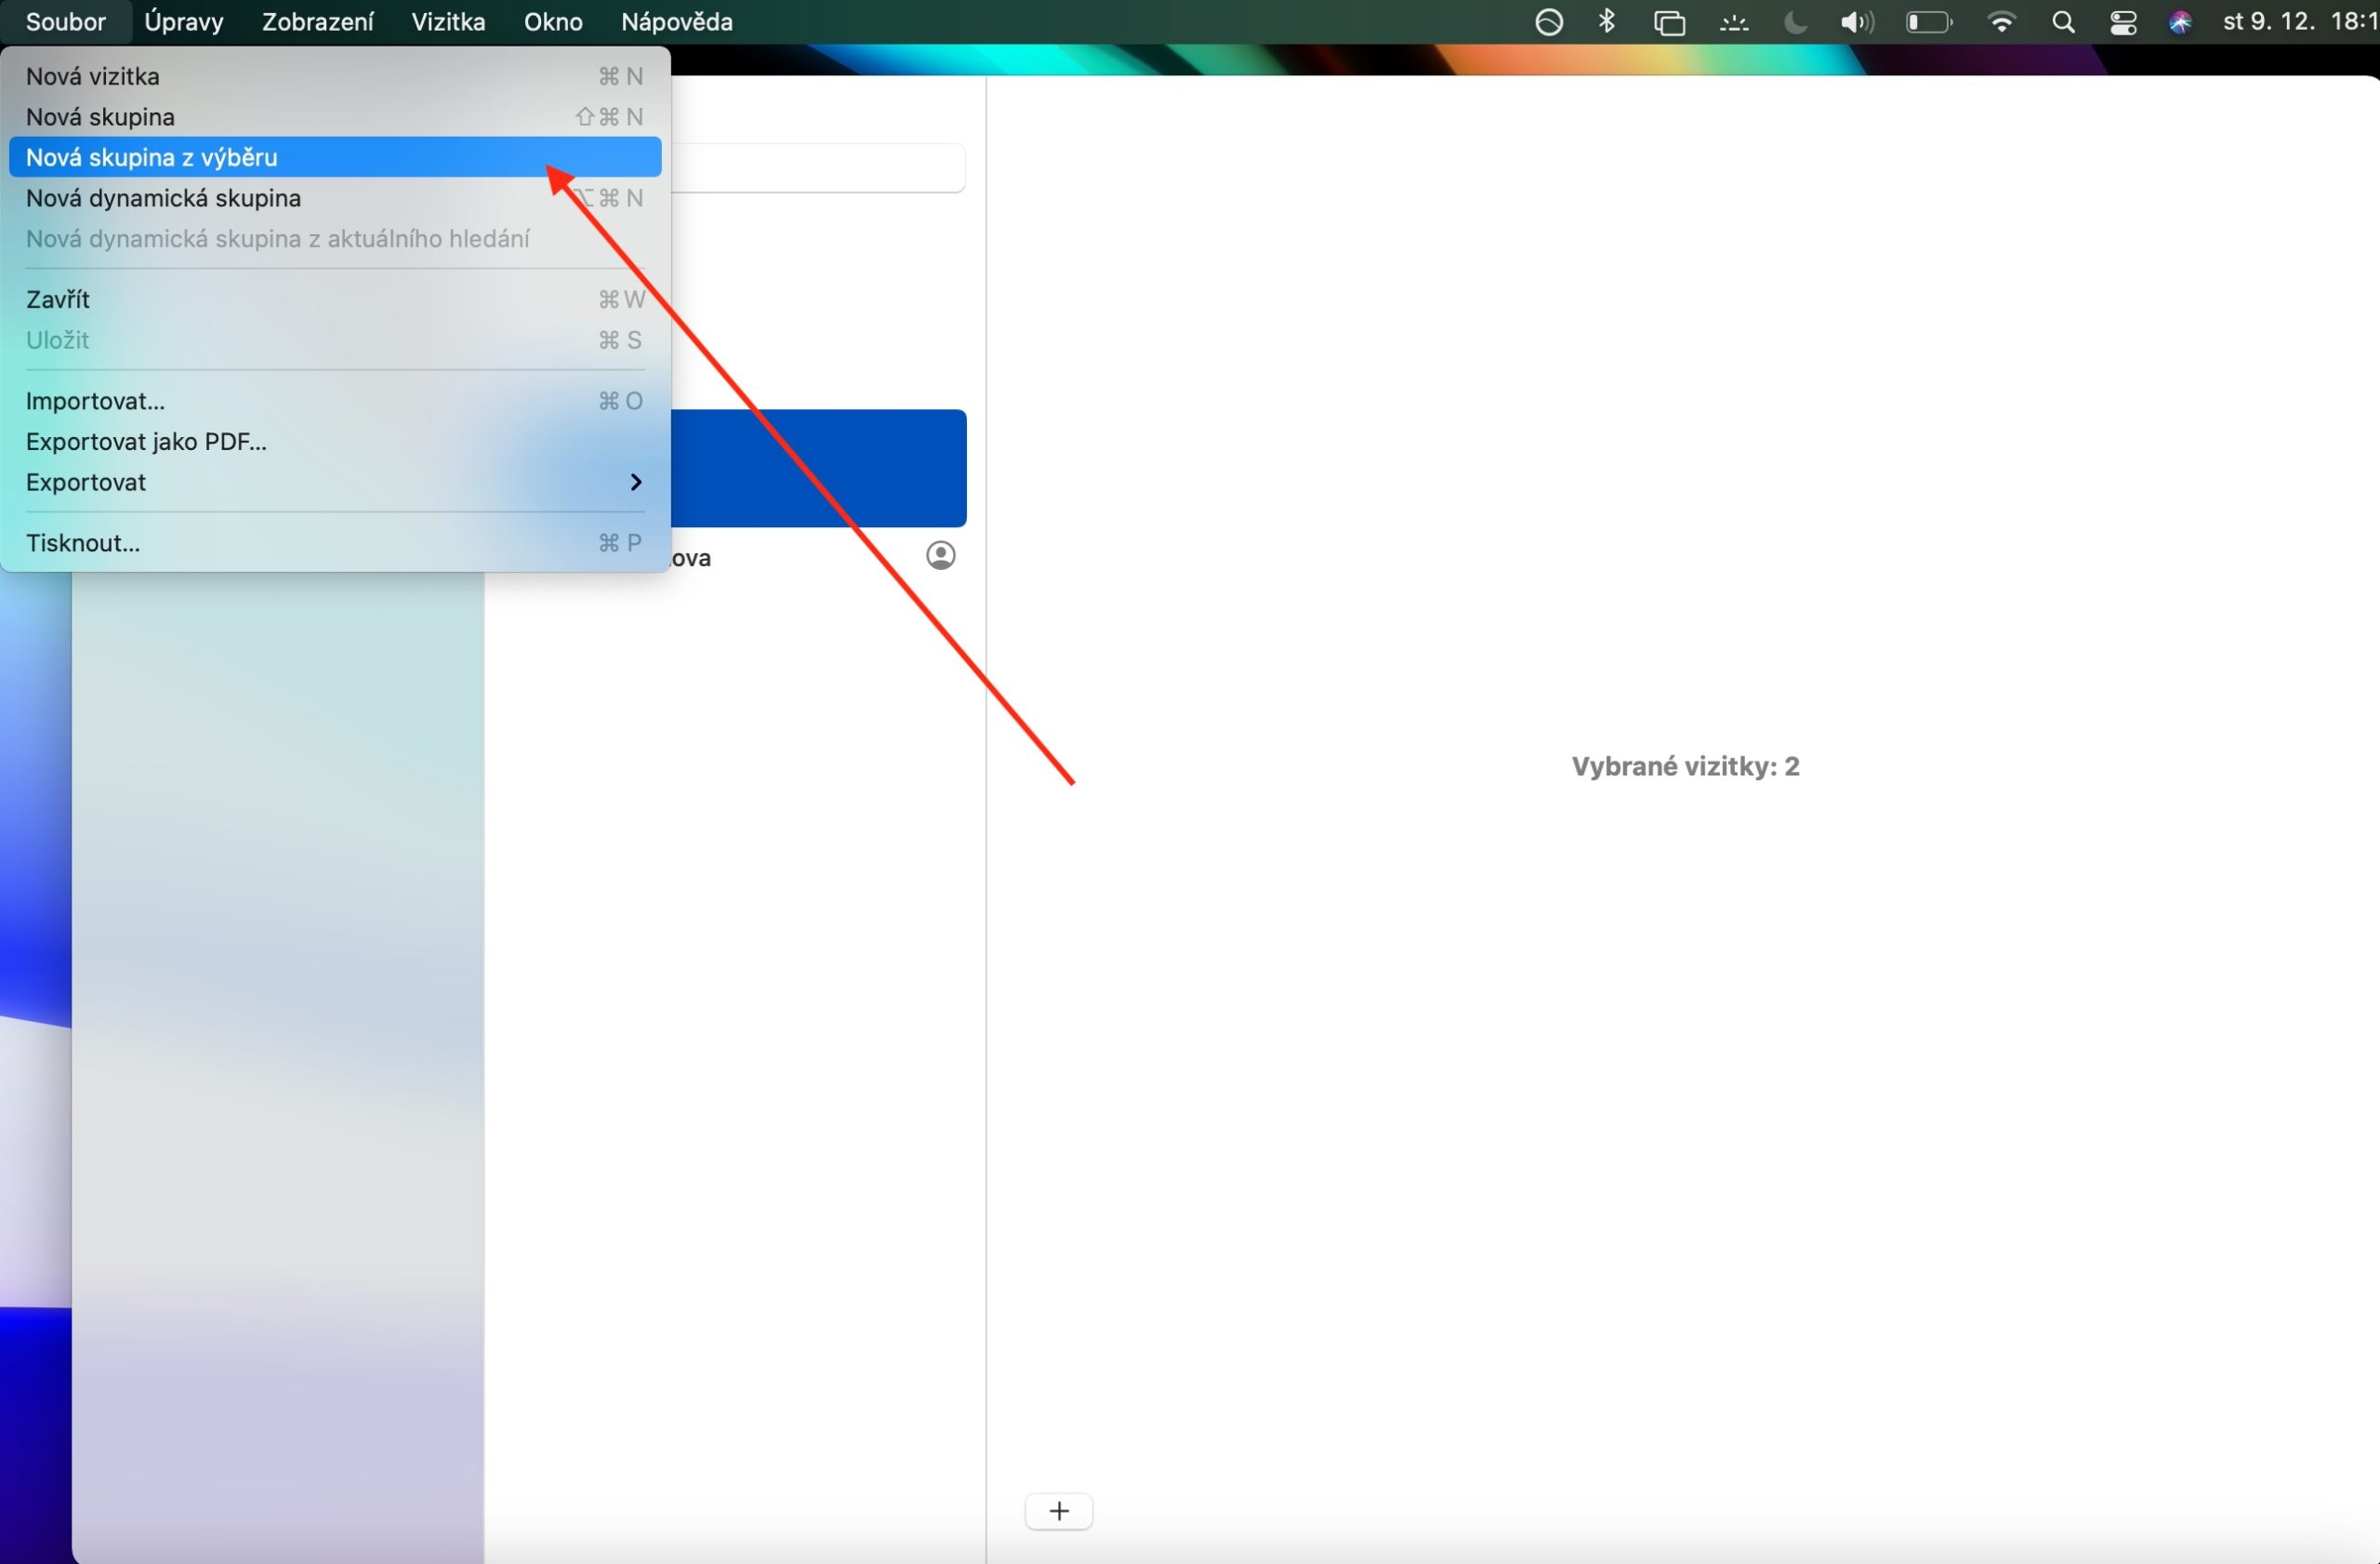
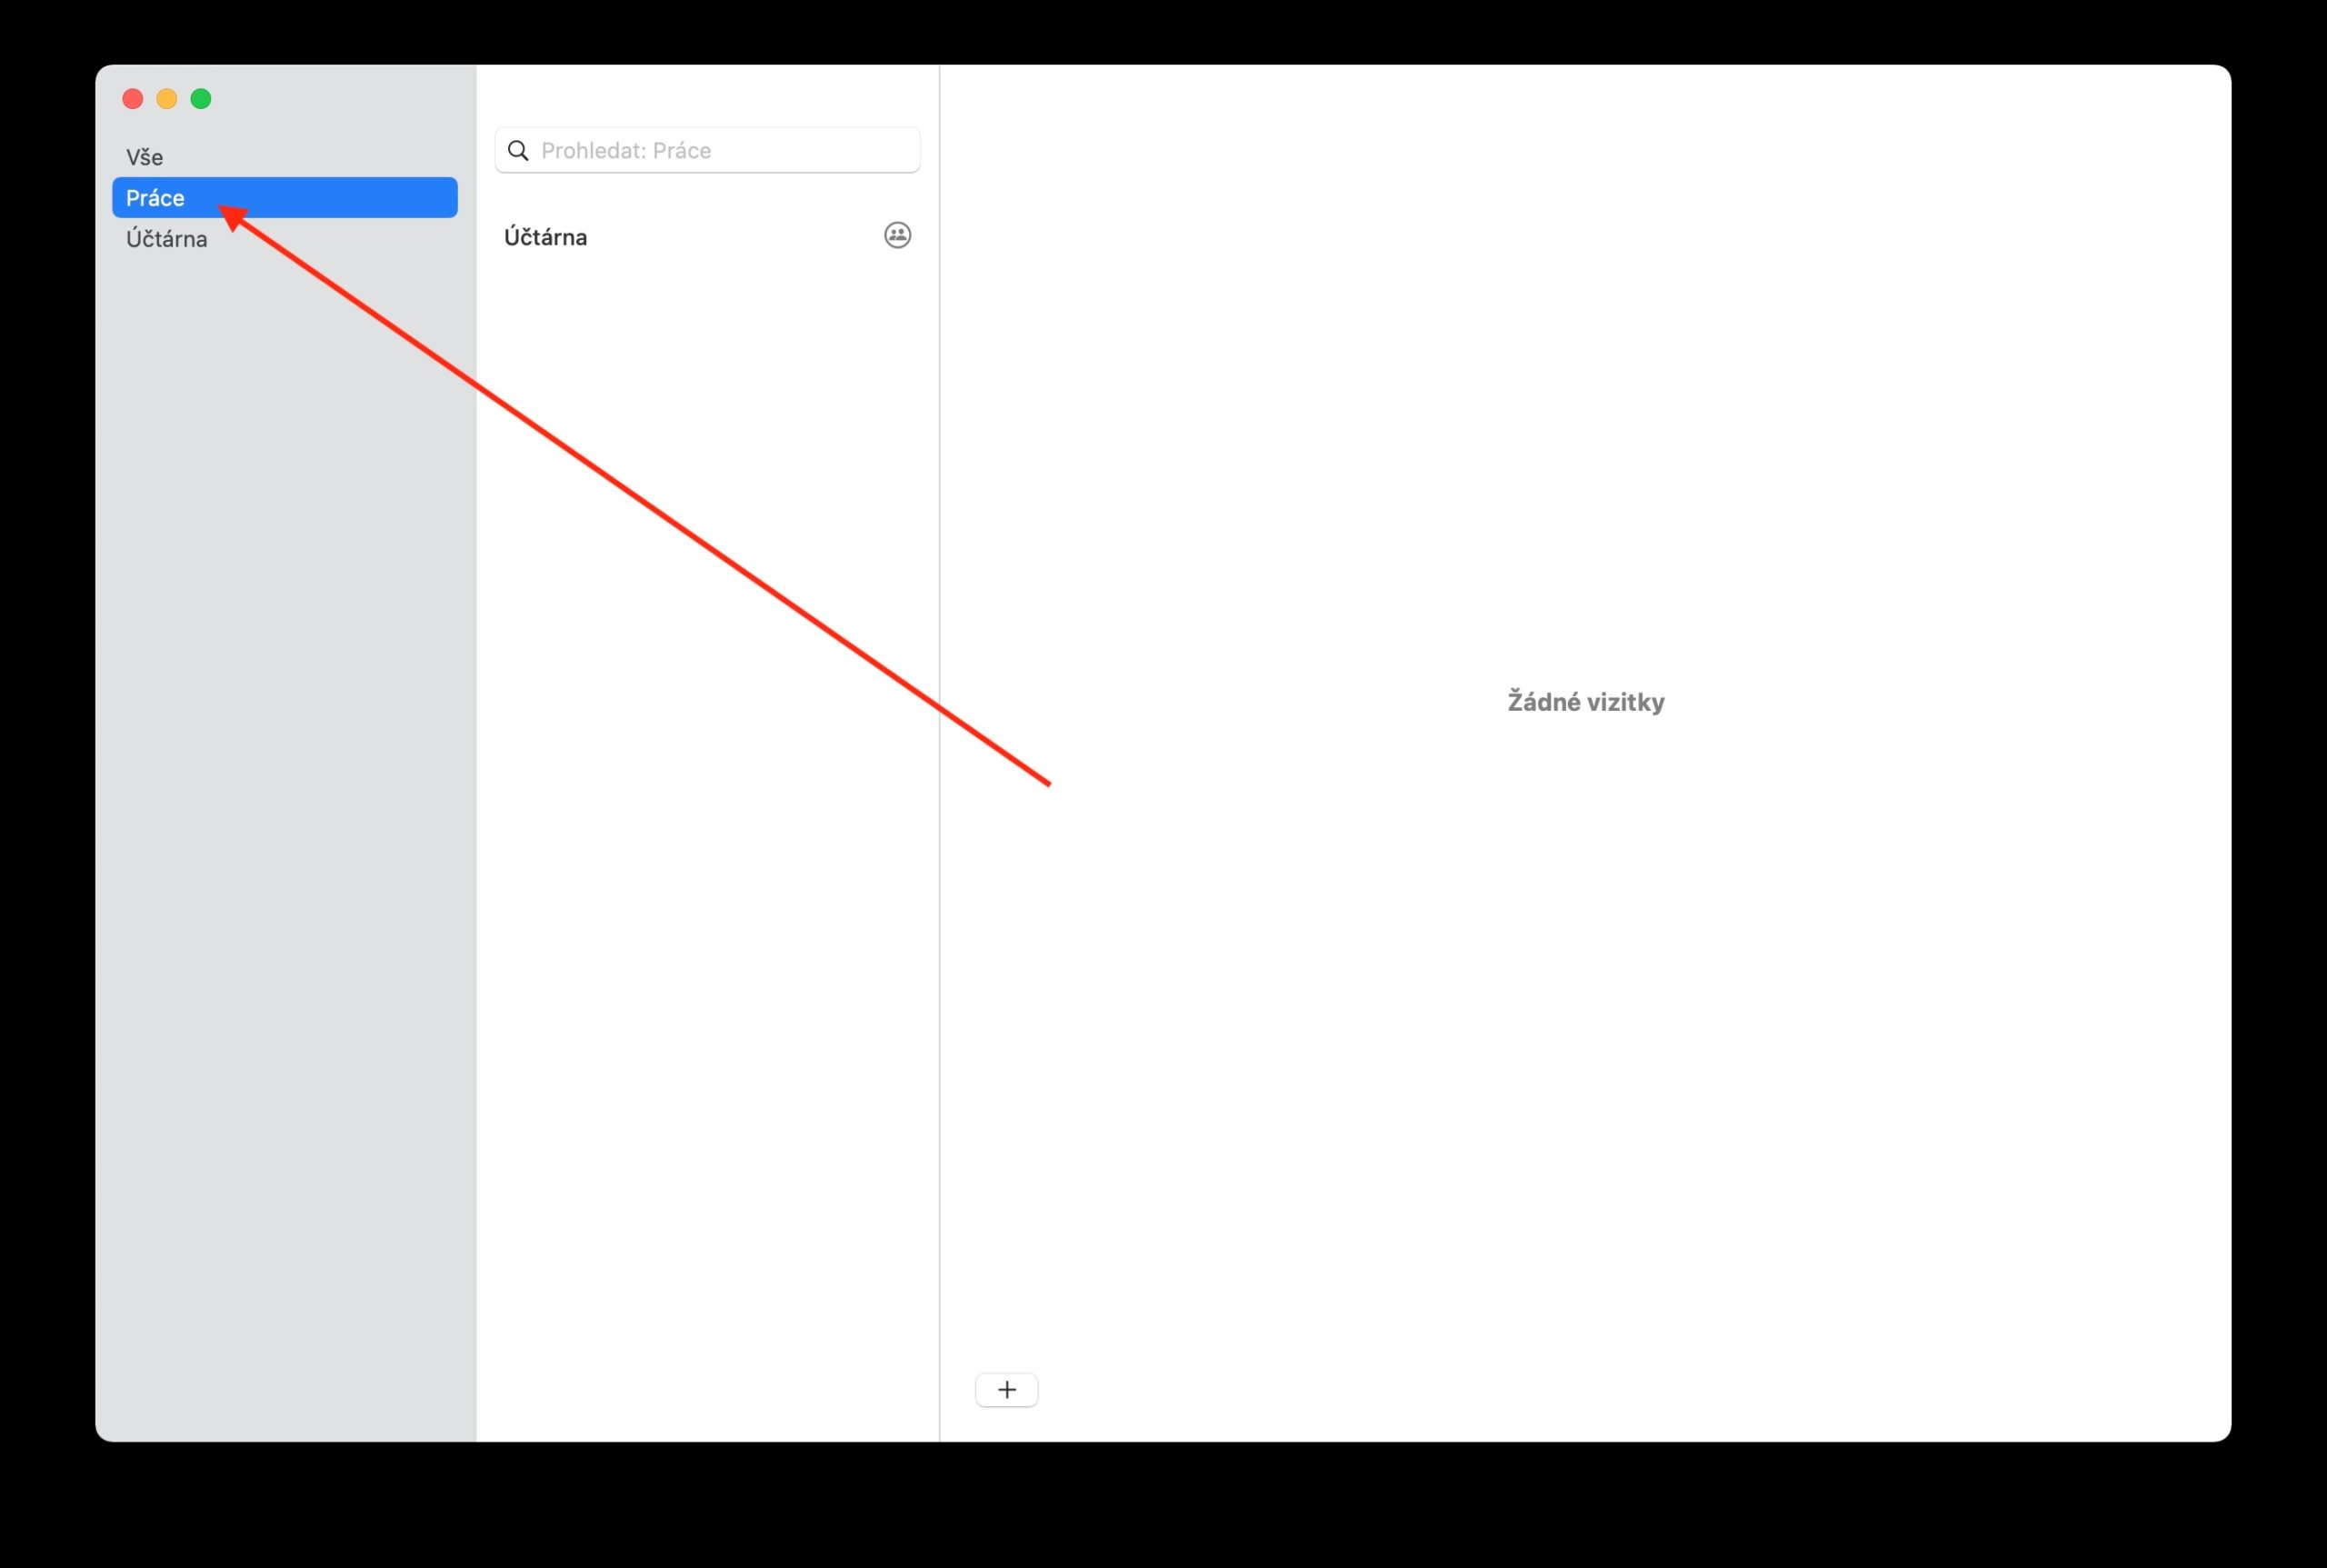
In the native Contacts on Mac, you can organize your contacts into groups, which makes it much easier to use them - thanks to groups, you can send mass messages, for example. You can find the list of groups in the sidebar on the left side of the application window. To create a group, click the “+” at the bottom of the Contacts application window and select New Group. After that, all you have to do is enter the name of the group and add individual selected contacts. You can also create a group in Contacts by selecting one or more contacts in the sidebar, then choosing File -> New Group from Selection in the toolbar at the top of your Mac screen. To add contacts to a group, first select the desired contacts in the sidebar, and then simply drag them to the selected group.
To remove a contact from a group, first select the group in the sidebar, then select the contacts you want to remove and press the delete key. If you want to create a subgroup of the selected group with other contacts, just drag the group to another group in the sidebar. To rename a group, first select the group in the sidebar, then click Edit -> Rename Group on the toolbar at the top of your Mac screen. If you want to find out which group the selected contact belongs to, click on it in the sidebar and hold down the Alt (Option) key - the panel will then display the groups to which the selected contact belongs in blue.
