In the last part of our regular series on native Apple applications, we started the topic of Keynote for Mac, got acquainted with its user interface and recalled the basics of creating presentations. In today's episode, we'll focus on working with objects in Keynote on Mac.
It could be interest you

Work with objects in Keynote on Mac
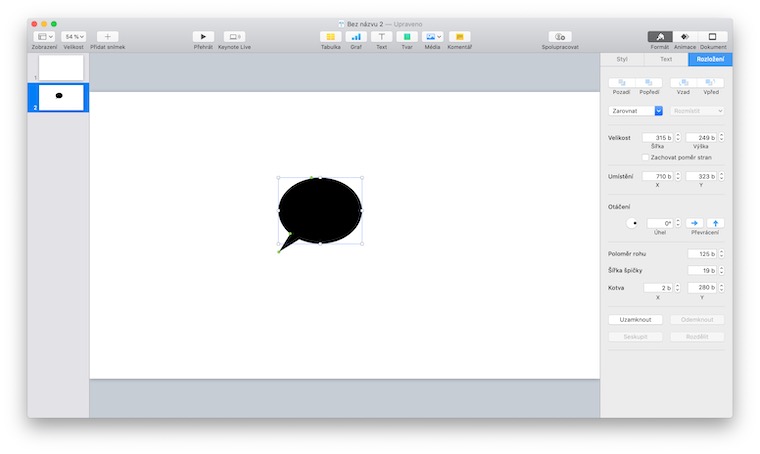
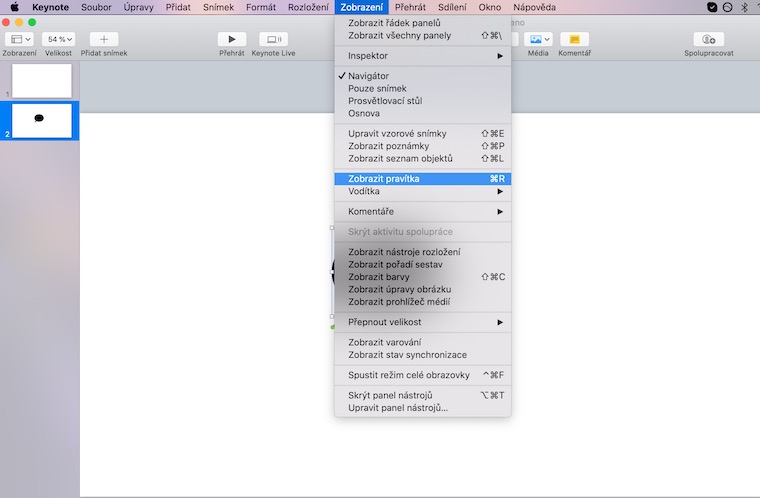
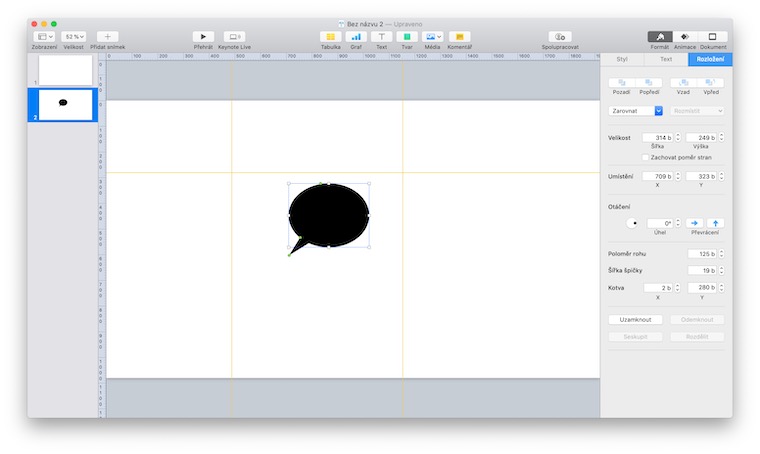
After you have inserted any object (text, image, table) into the slide in your Keynote presentation, you will need to align it correctly. This can be done either with the help of coordinates, the keyboard, or with the use of a ruler. To align an object using coordinates, first select the object (or multiple objects) by clicking and click Format in the upper part of the panel on the right side. Then choose Layout and enter the X (from the left edge of the image to the upper left corner of the object) and Y (from the top edge of the image to the upper left corner of the object) values in the location boxes. If you want to align the selected object using the keyboard, click to select it and then press the key to move it by individual points in the appropriate direction. To move the object by dozens of points, hold the Shift key while working with the arrow. To align objects using a ruler, click View -> Show Rulers on the toolbar at the top of the screen. You can change the units on the rulers by clicking Keynote -> Preferences in the toolbar at the top of the screen, then clicking Rulers at the top of the preferences window.
Customize the appearance of objects in Keynote on Mac
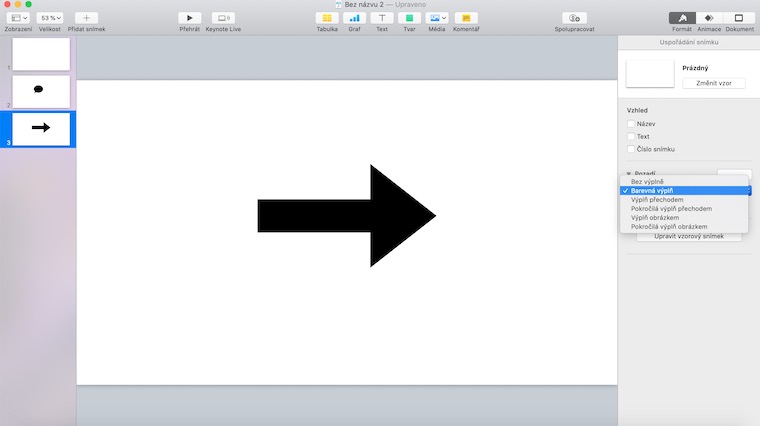
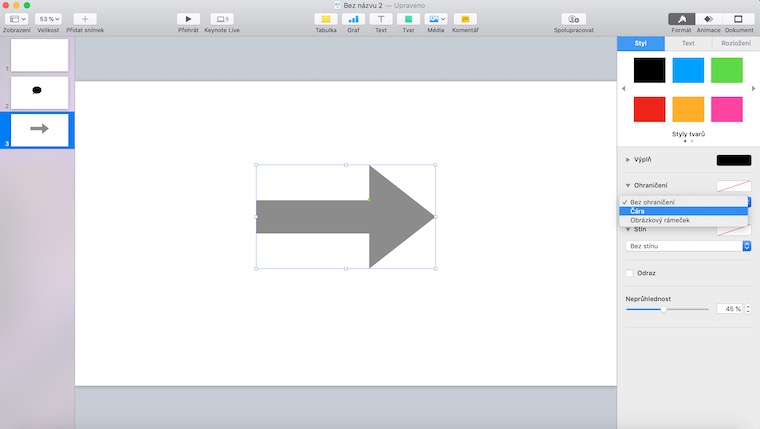
For objects on individual slides in Keynote, you can edit their properties, such as transparency or outlines. To adjust the transparency, mark an object (or multiple objects) by clicking and choose Format in the upper part of the panel on the right side of the application window. On the Style tab, click Opacity, then use the slider to adjust the level of transparency. You can also work with fills in Keynote for some objects. You can adjust the options for customizing the fill on the Format tab in the right panel, where in the Style section you choose the form and other fill properties of the selected object. To add and modify the borders of objects in the presentation, select the desired object again by clicking and select Format in the upper part of the right panel. In the Style tab, click the small triangle next to Borders and select a border type. If you want to add a reflection or shadow to the selected object, select the object (or multiple objects) by clicking and select Format in the panel on the right. In the Style tab, check the box Reflection or Shadow and customize the effect you selected according to your needs.
You can also use styles in Keynote to edit objects faster. Either you can use one of the preset styles in the panel on the right side of the application window, or you can create your own style, which you can then easily and quickly apply to other objects. To create your own style, select the desired object and modify it to your liking. When you're done editing, click to mark the object, then choose Format at the top of the panel on the right, and in the Style tab, click the arrow to the right of the style thumbnails. Click the + button to add your own style.
