In today's installment of our series on native Apple apps, we'll take a final look at Keynote on the iPad. In the previous parts, we have already discussed the basics of working with images and adding photos and images, today we will take a closer look at working with objects.
It could be interest you

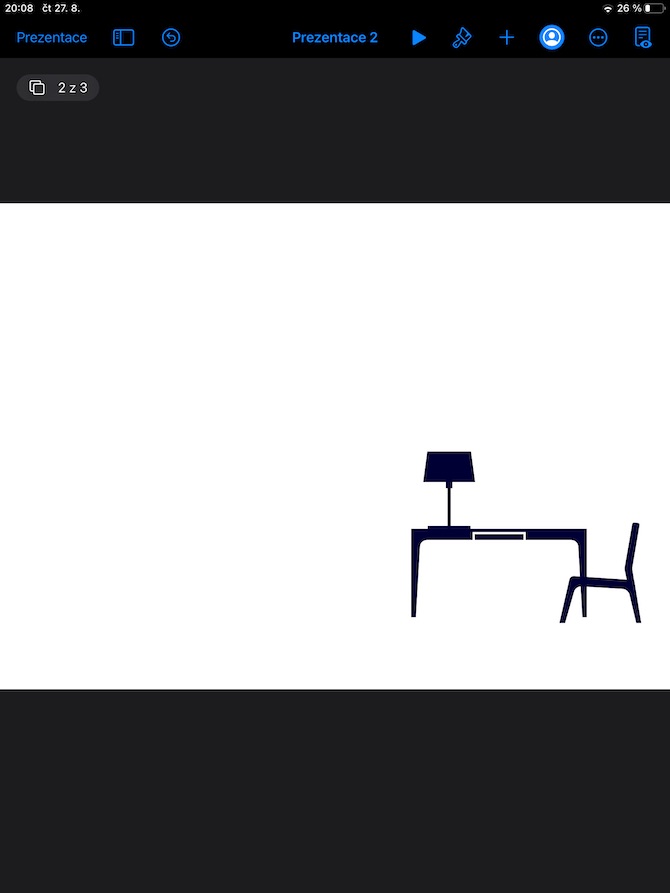
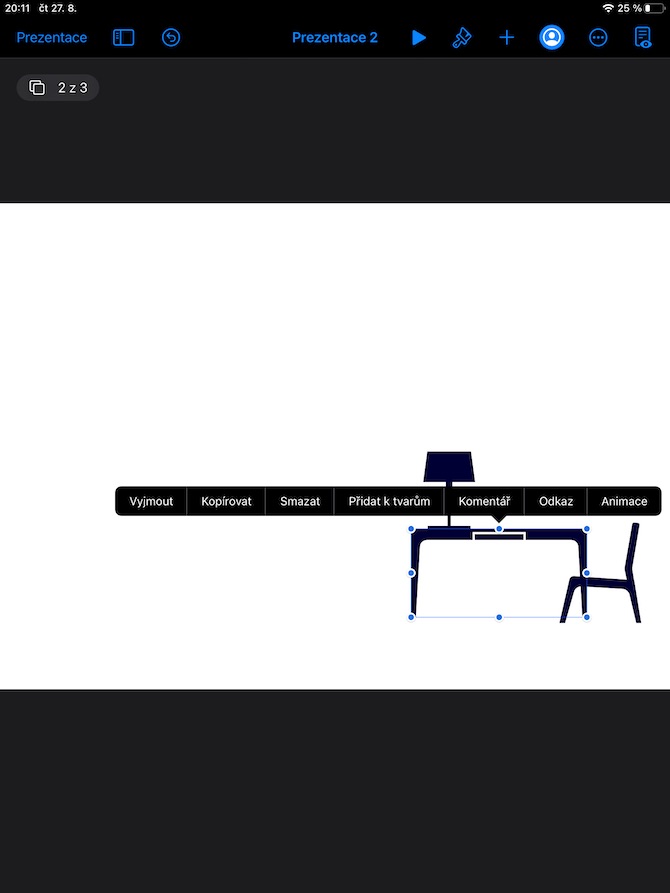
Positioning and aligning objects in Keynote on the iPad may not look as convenient at first glance as it does on the Mac, but it's really not that complicated. If the given object is added as embedded in the text, you can simply move it to a new place in the current text area by dragging or by extracting and pasting. If you want to move the selected object by one point, hold it with one finger and drag the other finger on the image in the direction you want to move the object. To move by 10, 20, 30 or 40 points, swipe the screen with two, three, four or five fingers.
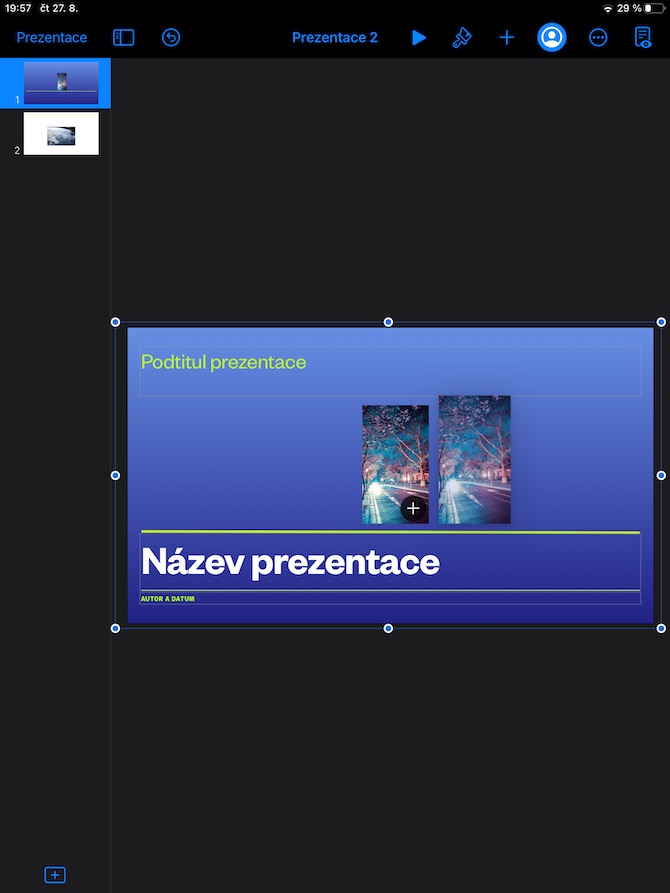
You can also easily adjust the transparency of objects on slides in Keynote on iPad, allowing you to layer objects in interesting ways, for example. First, tap to select the object whose transparency you want to adjust, then tap the brush icon at the top of the display. You can then simply adjust the transparency with the slider in the Opacity section in the relevant menu. You can also fill objects with a color, gradient, or image in Keynote slides on iPad. To edit an object, always tap to select it, then tap the brush icon at the top of the iPad display. In the menu that appears, you can adjust the color, fill, add borders, shadow, reflection and other elements.


