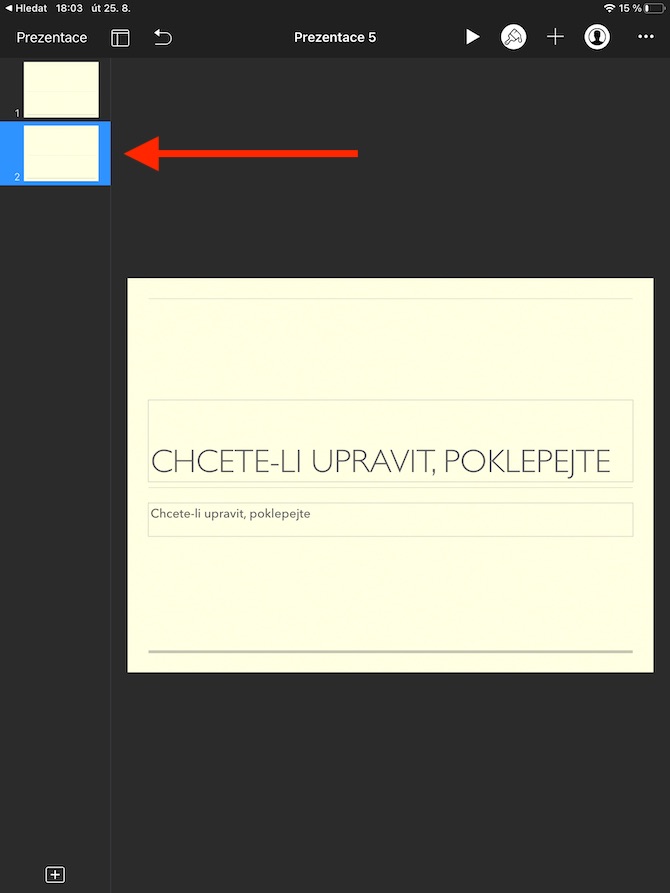
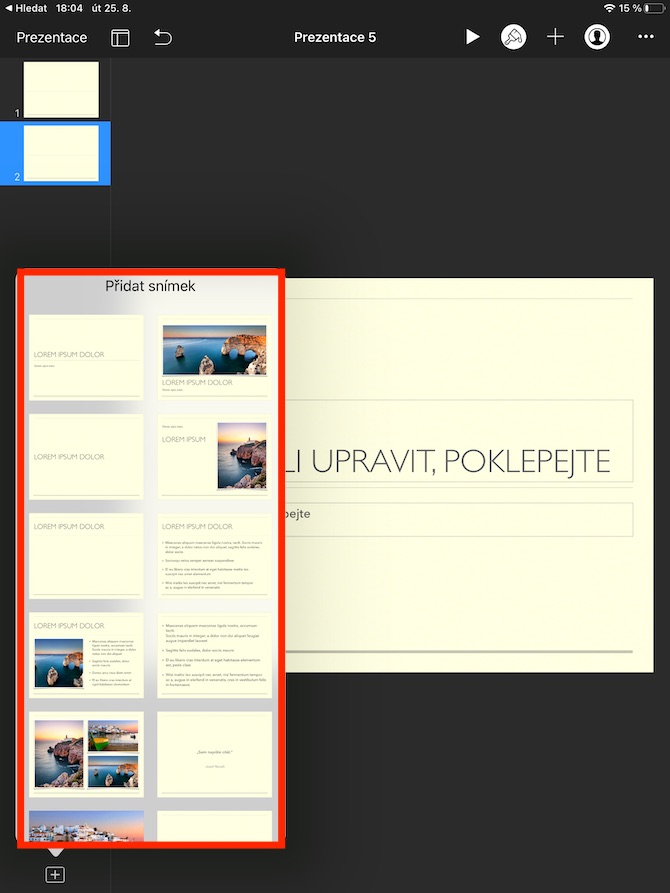
The iPad is an excellent tool for creating Keynote presentations. This native application offers rich possibilities for creation, management and control. In the next few parts of our series on native Apple applications, we will focus on creating presentations in Keynote on the iPad. In the first part, as always, we will discuss the absolute basics.
It could be interest you
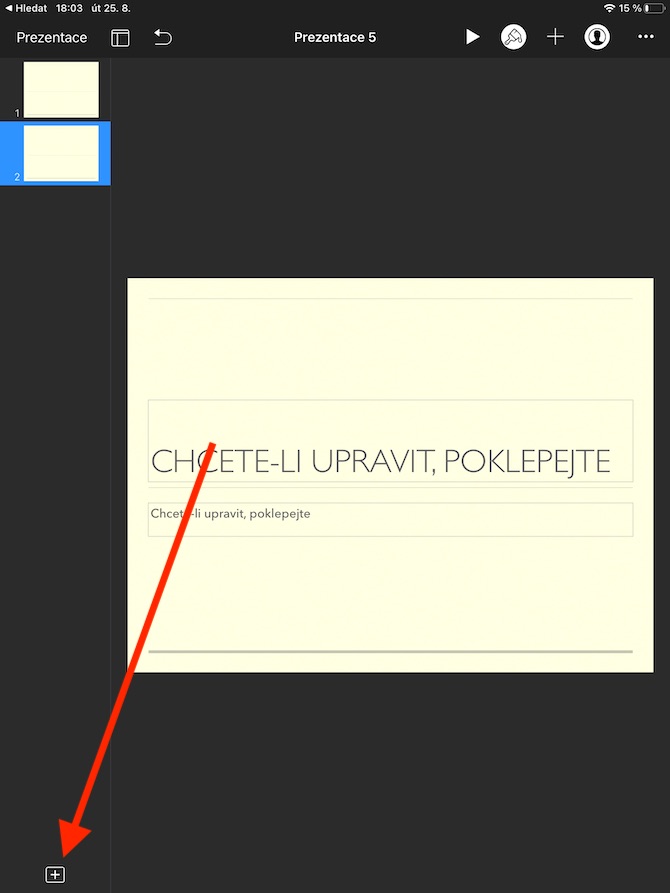
The basis is to add a picture to the presentation - this can be done either by clicking the "+" button in the rectangle at the bottom of the iPad display, or by dragging an image from another application in Split View mode. To duplicate a picture, first click to select the desired picture, then click on it again and select Copy in the menu that appears. Then, in the sidebar, click after the picture you want to insert the corresponding picture, and choose Insert from the menu. You can also duplicate multiple images - just hold your finger on one of them in the sidebar and then tap on other thumbnails one by one.
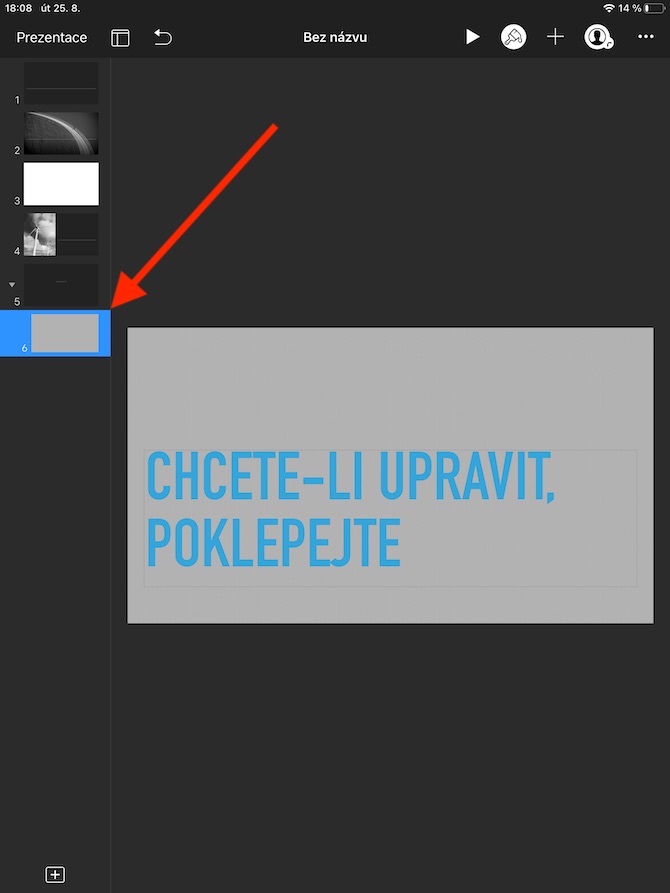
To insert a slide from another presentation, first launch the presentation from which you want to insert a slide in Keynote on iPad. Click to select the slide you want in the sidebar, choose Copy from the menu, then click Slideshow in the upper left corner to return to the slide show manager. Start the presentation in which you want to insert the slide. Click anywhere in the sidebar and choose Paste. To delete a picture, click on it and select Delete in the menu that appears. To change the order of a slide in a presentation in Keynote on iPad, hold your finger on the selected slide until it appears to be in the foreground. After that, just move the image to a new position.
