The hugely popular game Minecraft has been with us for several years and still boasts a literally huge fan base. This title offers the player almost unlimited possibilities and can develop his creativity to a certain extent, which he can then use, for example, to create interesting buildings, for games with "electric current" (redstone) and the like. If you're a fan of this game and happen to own a QNAP NAS at the same time, get smarter. Today we will show you how to literally create a Minecraft server on your home storage within ten minutes.
It could be interest you
How do we go about it?
Let's first quickly describe how we can even "break up" such a server on home storage. We will need an app for this whole operation Container Station directly from QNAP, which theoretically works very similarly to, for example, virtualizing a system. However, the difference is that we will not virtualize the entire operating system, but only one application, which is made possible by the so-called Docker. As such, Docker is an open source project that provides a unified interface for isolating applications into so-called containers.
Installation of Container Station
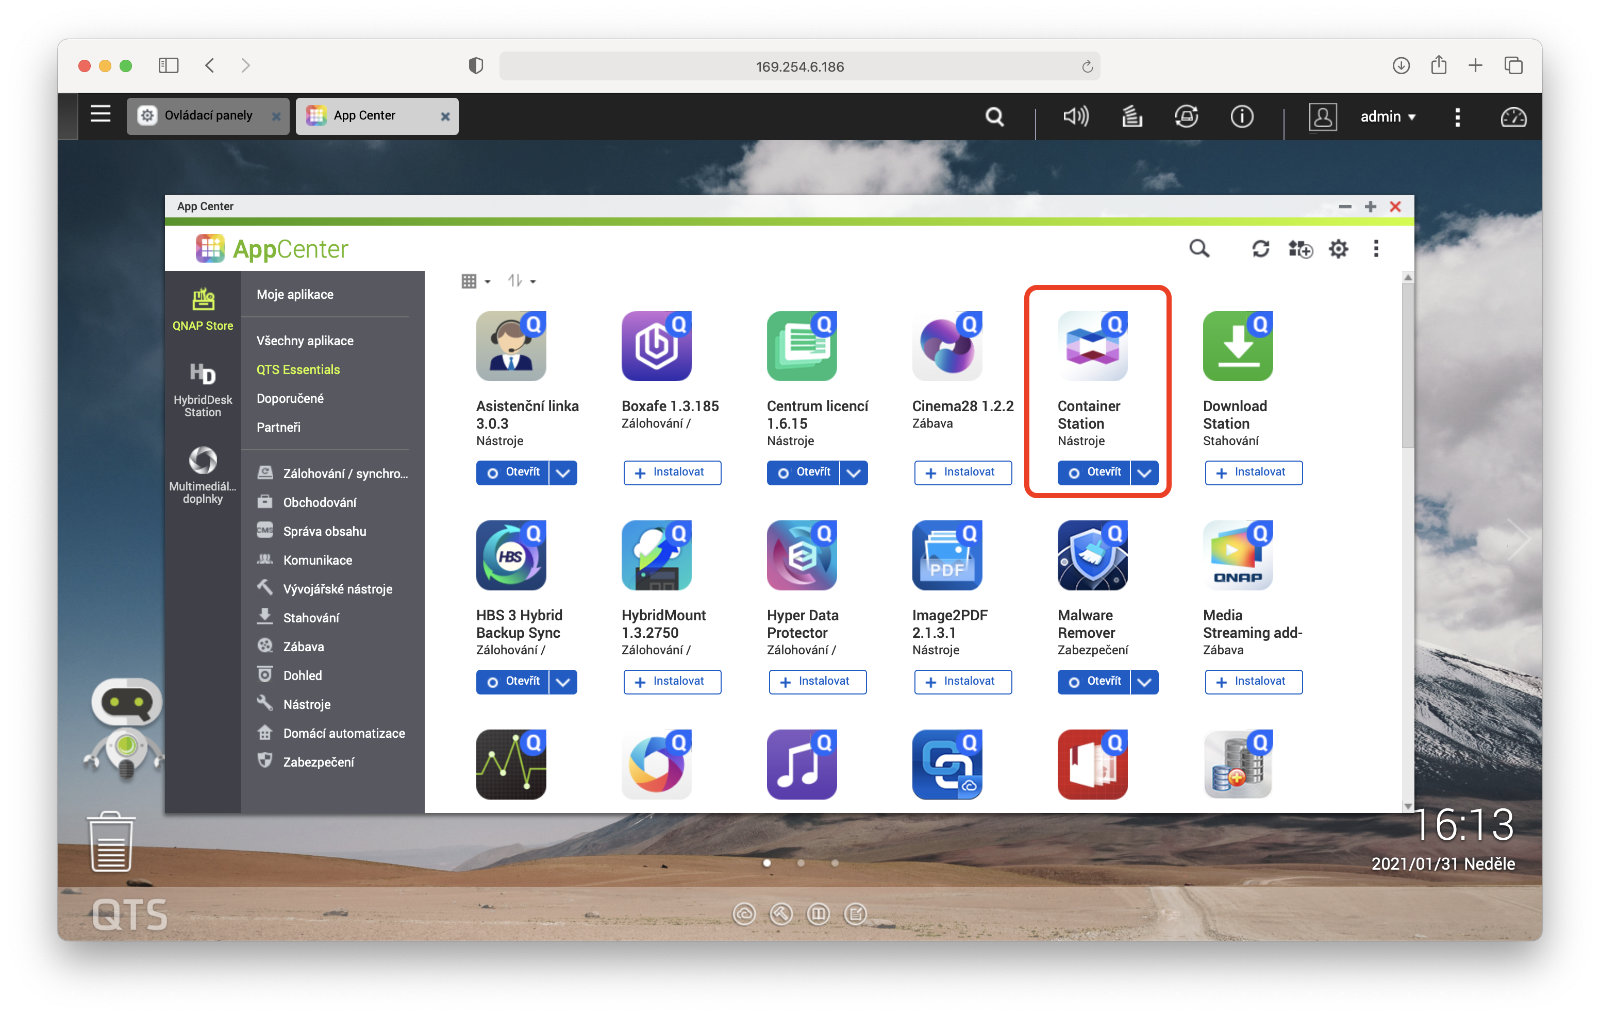
First, of course, it will be necessary to connect the home NAS to our Mac/PC. After logging in to QTS, just go to the store App Center, where we search for the application Container Station and we will install it. You can also quickly find it in the bookmark QTS Essentials. When you click the Install button, the system may ask you into which RAID group the program should actually be installed.
Initial application settings
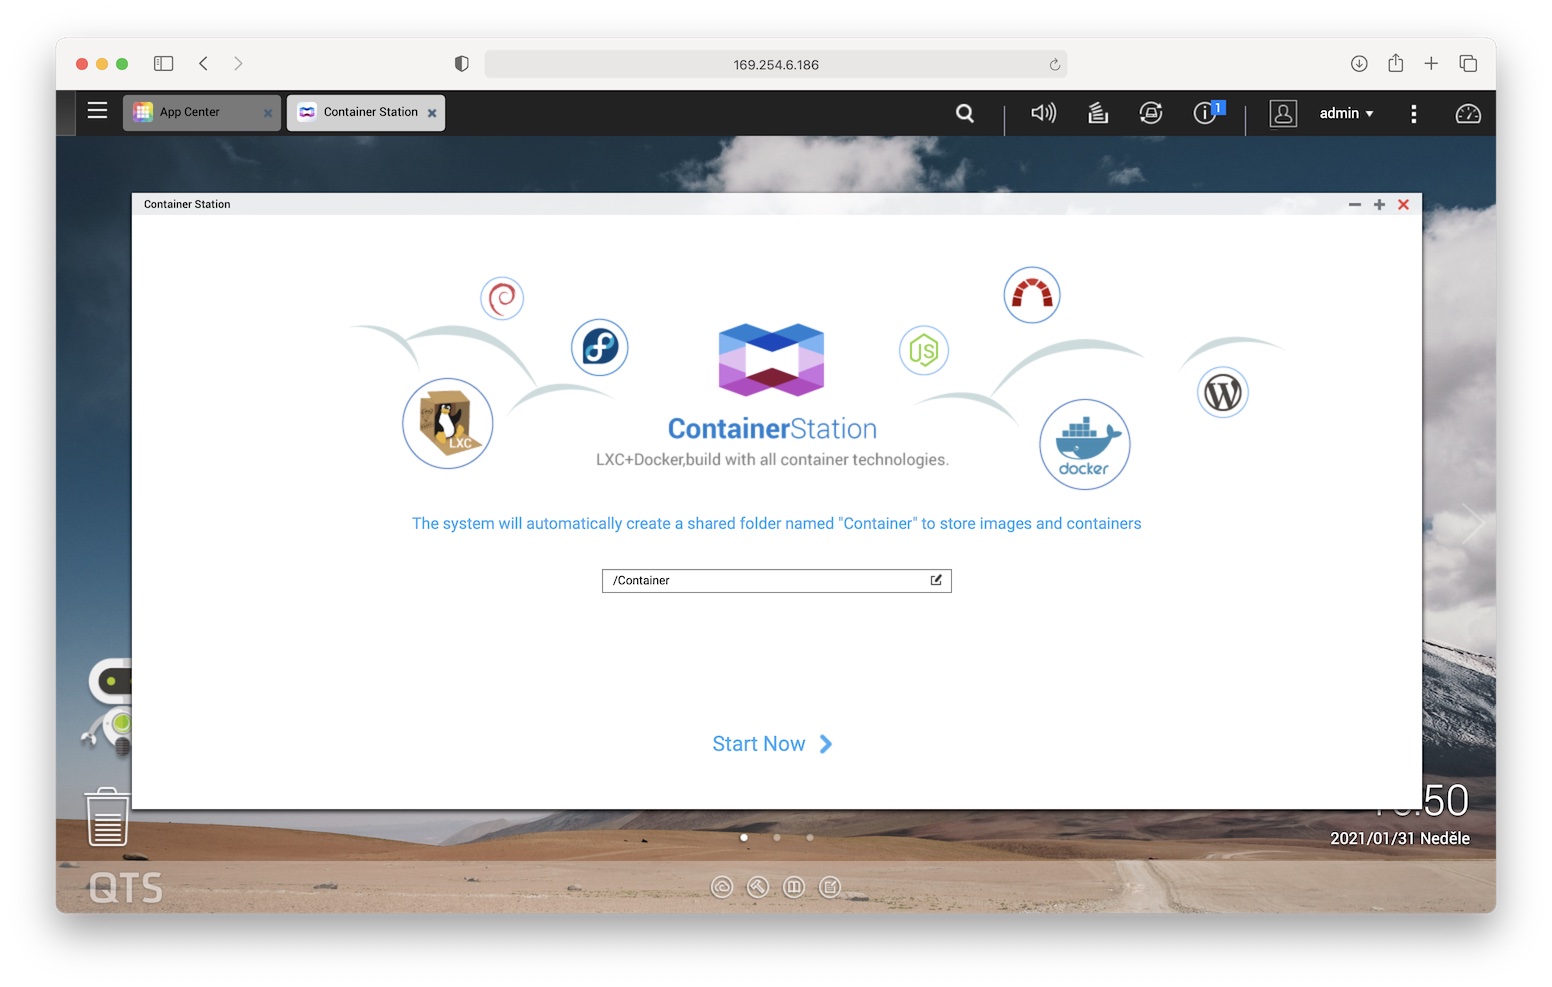
Now we can move to the newly installed application, which at the first launch will ask us for the location where all our containers will be located - in our case, our Minecraft server. We don't need to change anything here and can leave the default option /Container, which will automatically create a shared folder for us. Alternatively, you can choose your own location by clicking the button Edit. Then just confirm the choice with the button Start Now.
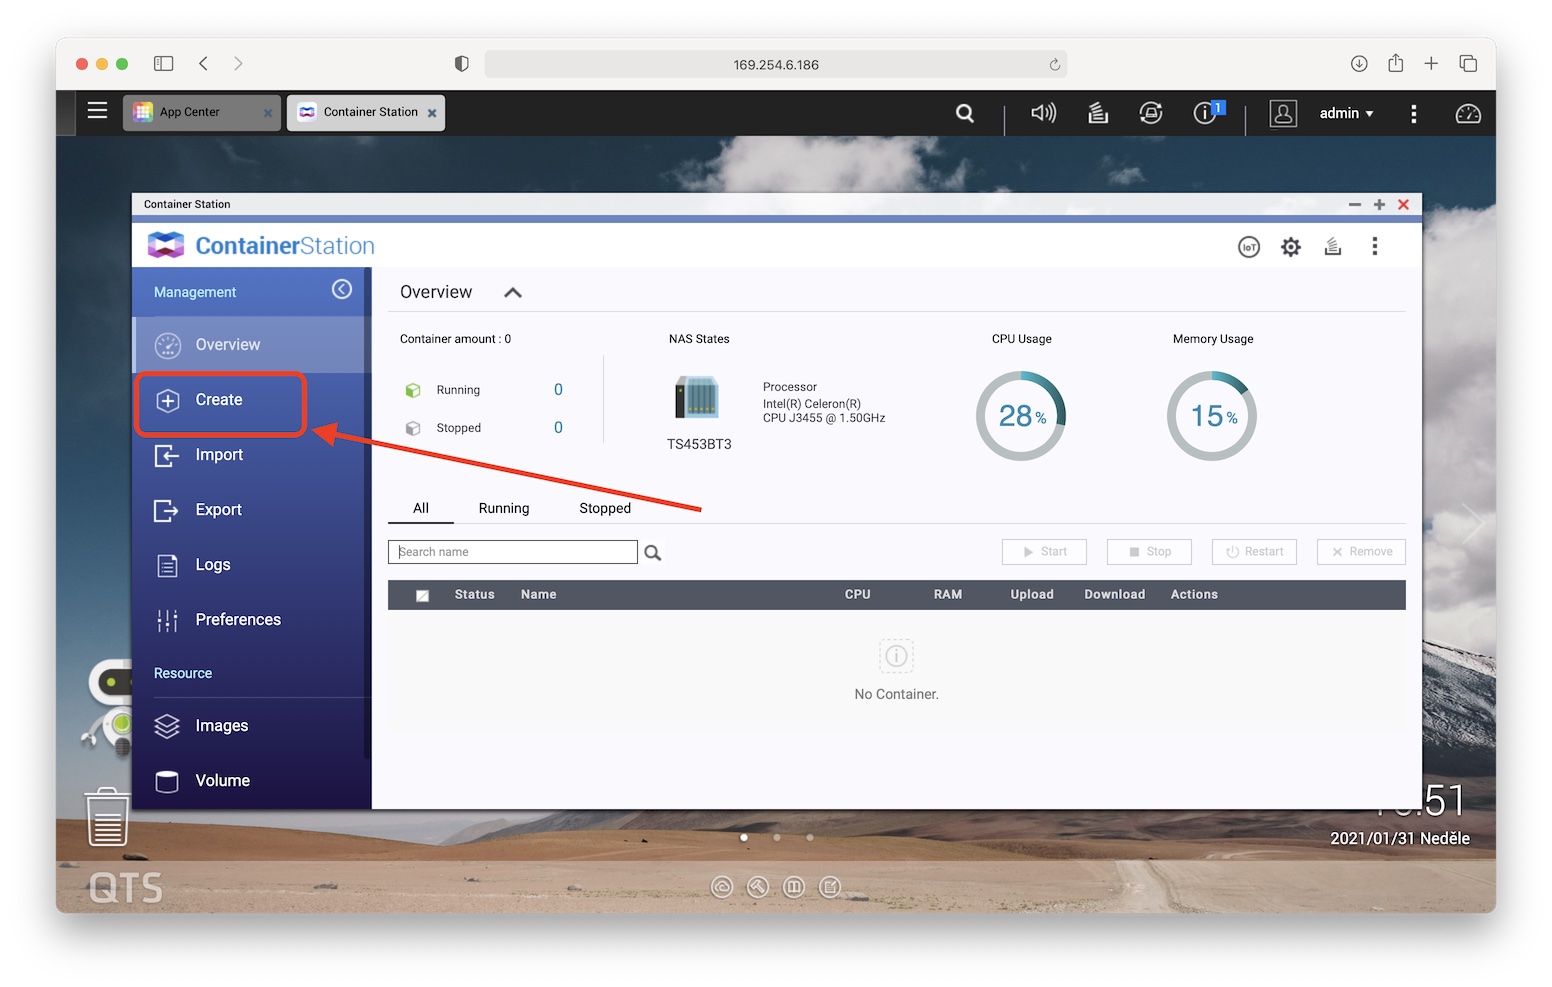
In this step, the environment of the application itself is finally revealed to us. Here we can notice a message Well Container, i.e. we do not have any container with an application created yet.
Creating a server
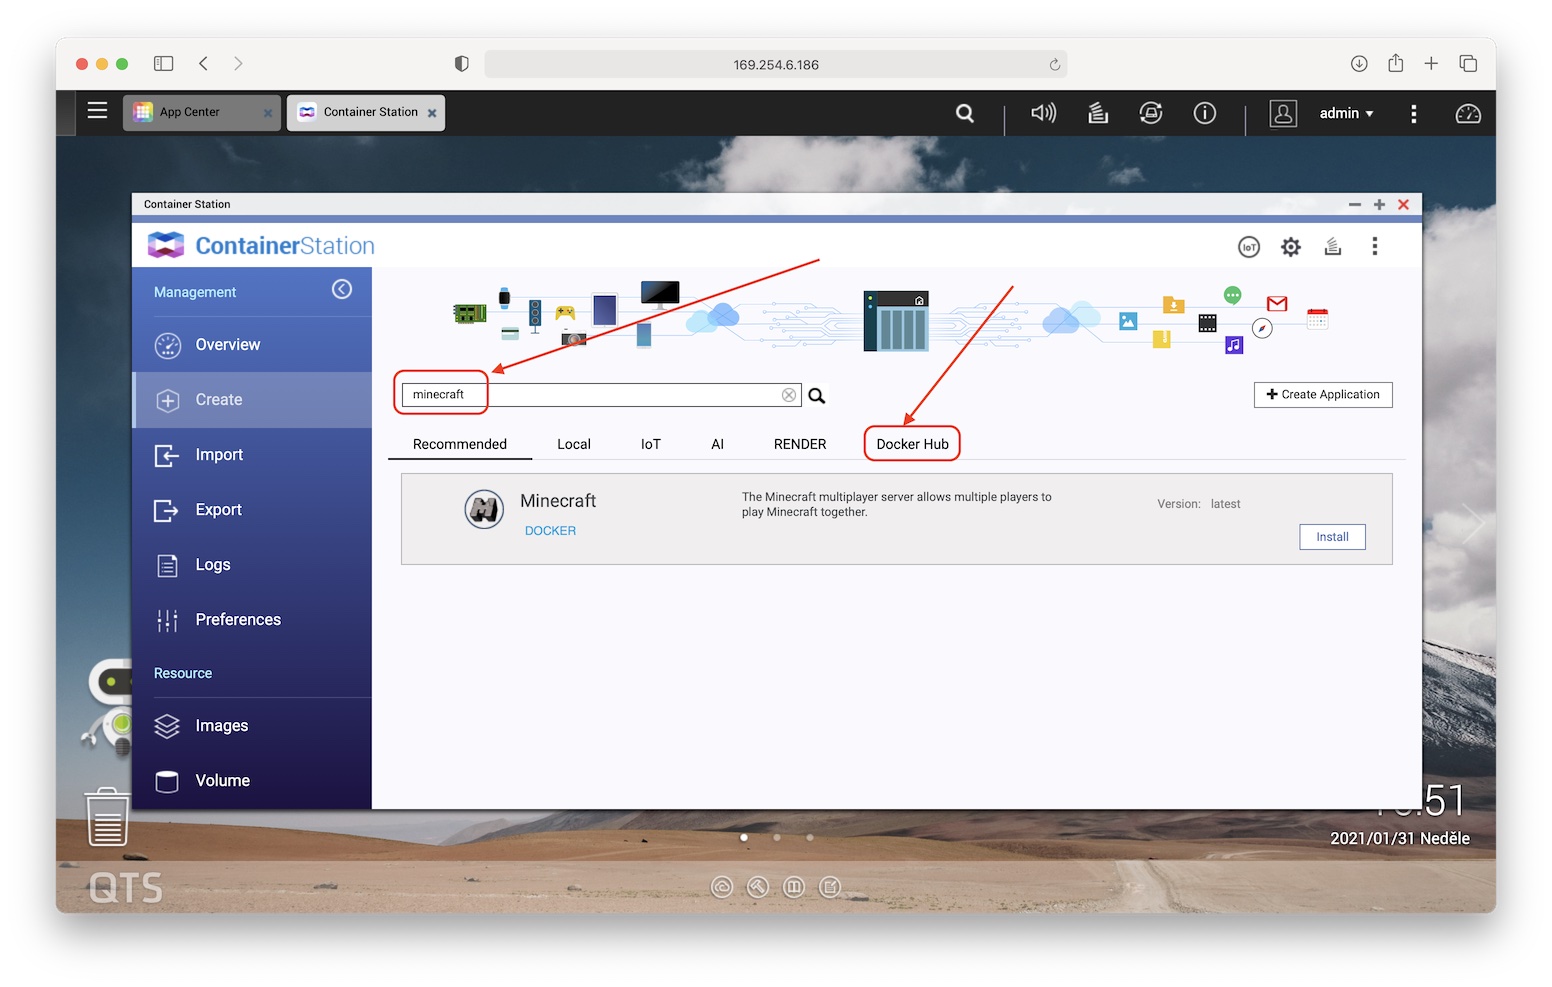
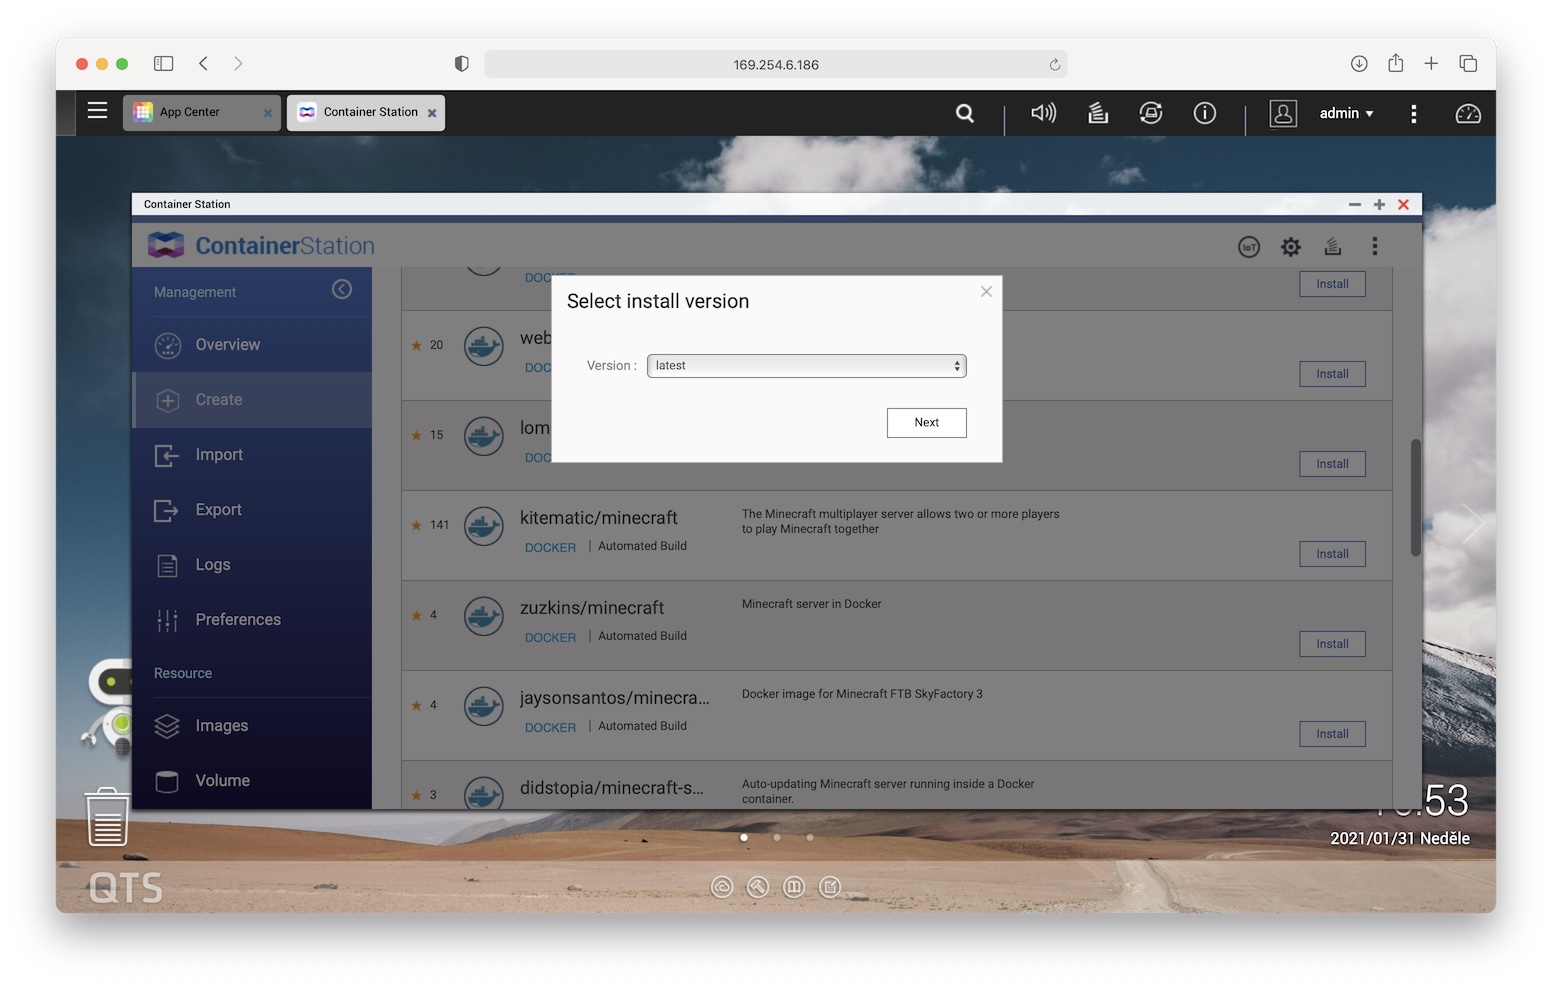
Once we have the application installed and the shared folder created, we can finally dive into creating our own "brick world." So we select Create from the left panel and the most popular applications will immediately appear in front of us. Among them we can notice programs like WordPress, CentOS, MongoDB and even our Minecraft. But I have to mention that this version unfortunately did not work reliably for me.
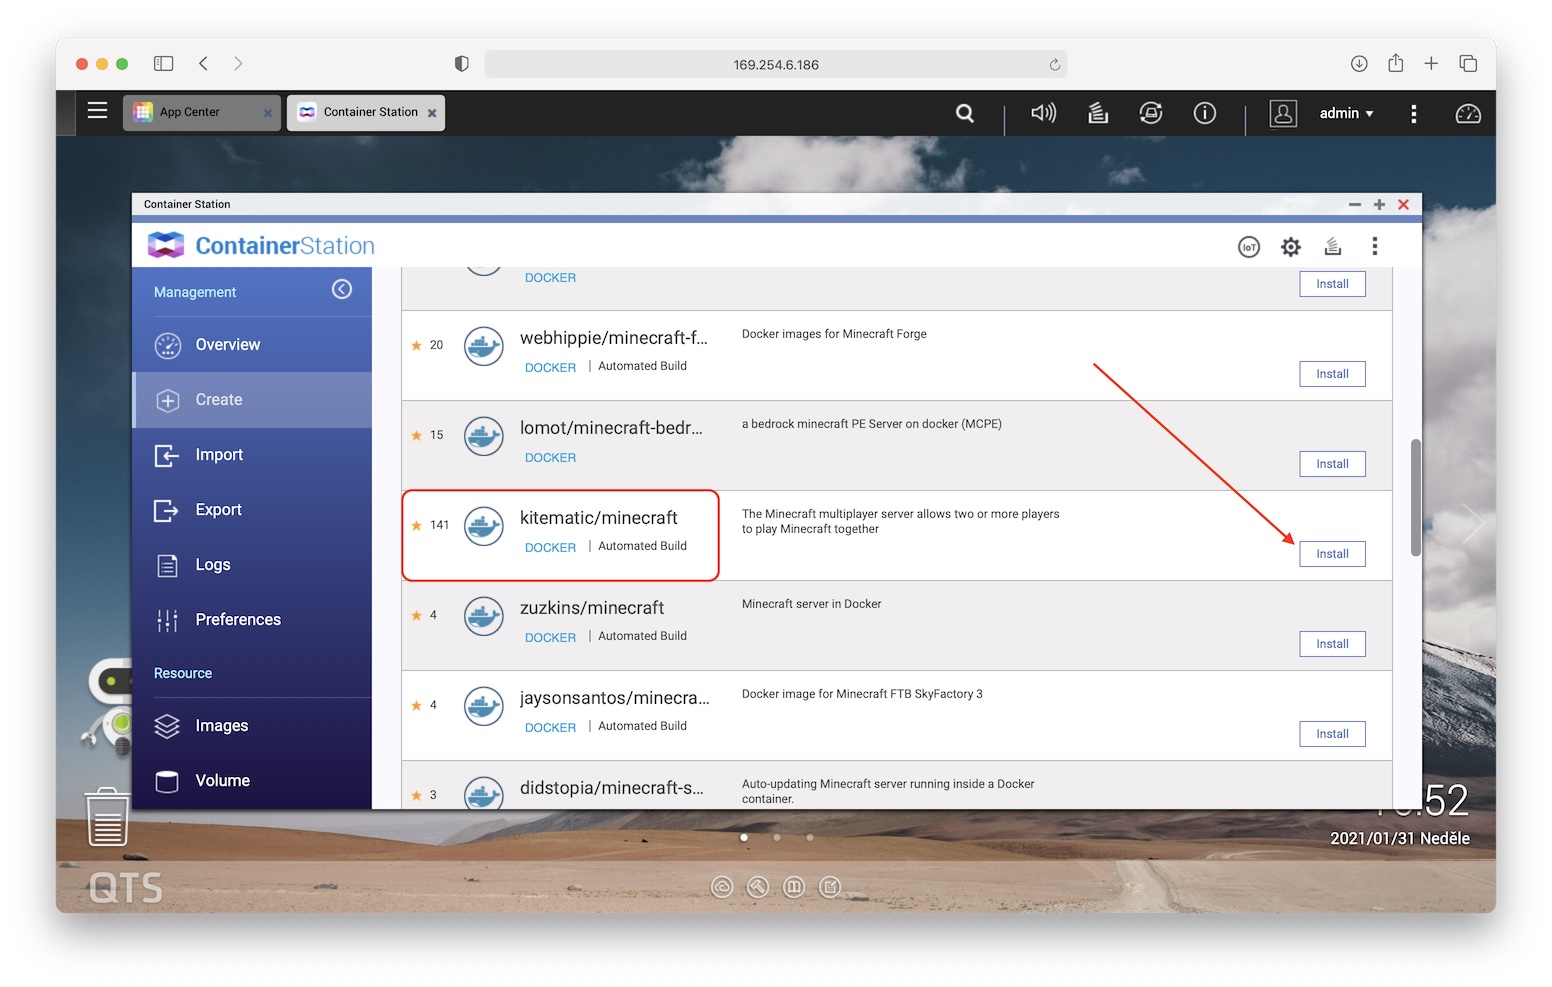
For this reason, we will write in the search field "Minecraft” and from possibilities Recommended we will click on Docker hub. On the contrary, you will get a good gaming experience with the version labeled "kitematic/minecraft-server,” where we just need to click on install and select when selecting the version latest. Now we could end our tutorial as we just leave the default settings and we're done. Unfortunately, it won't be that simple in the final.
Settings
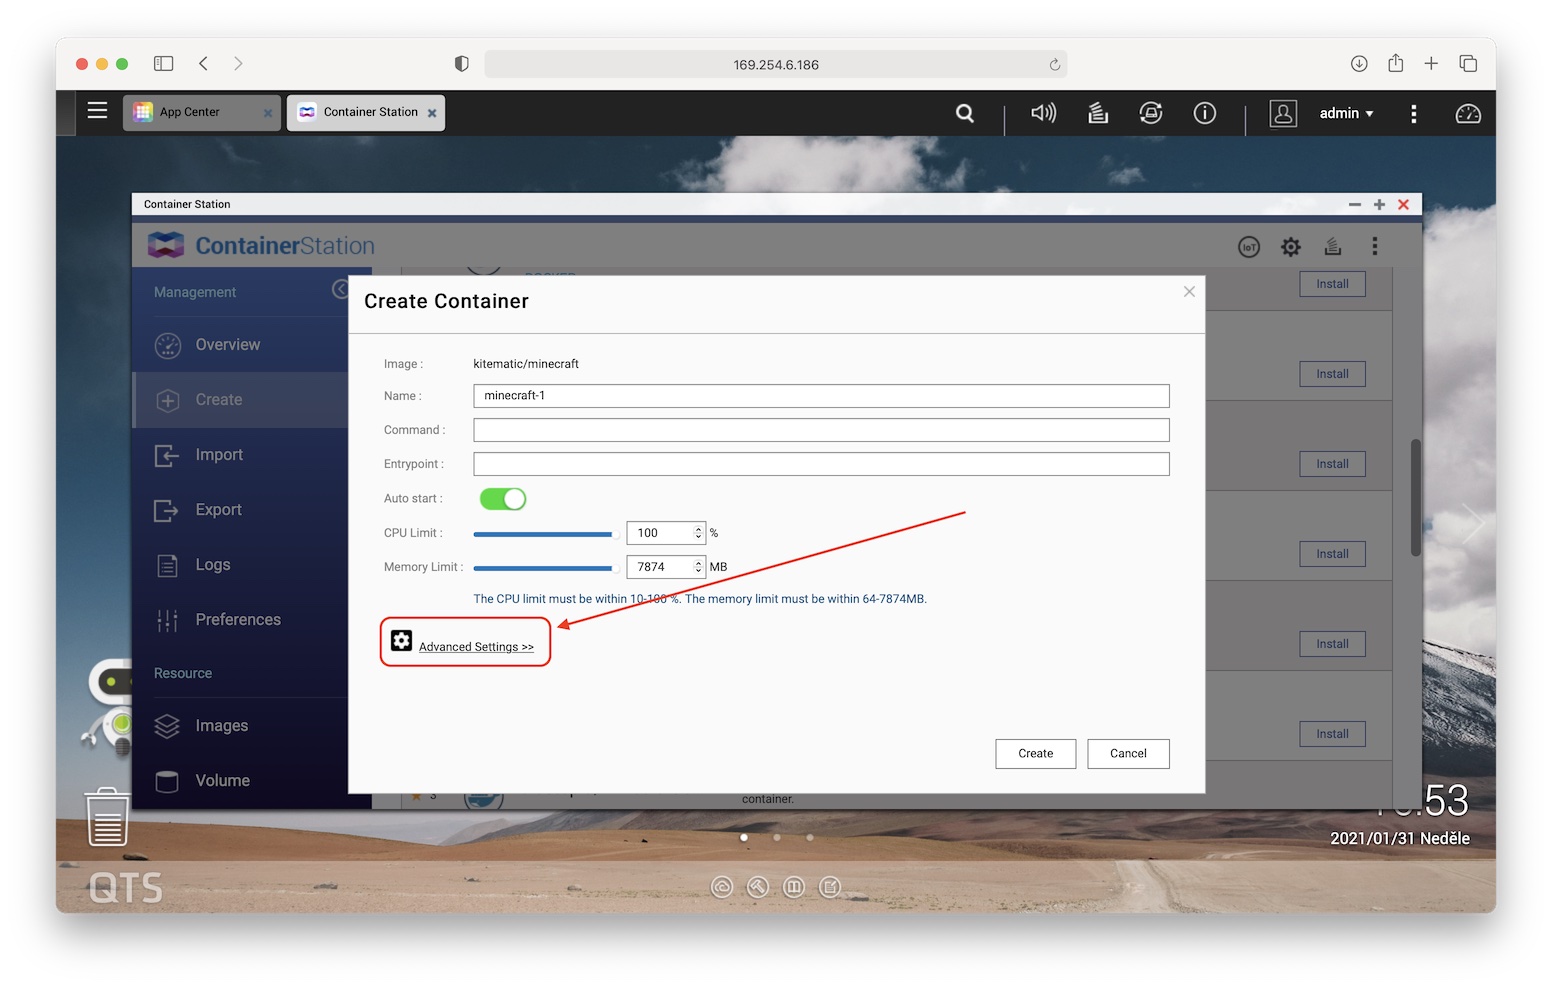
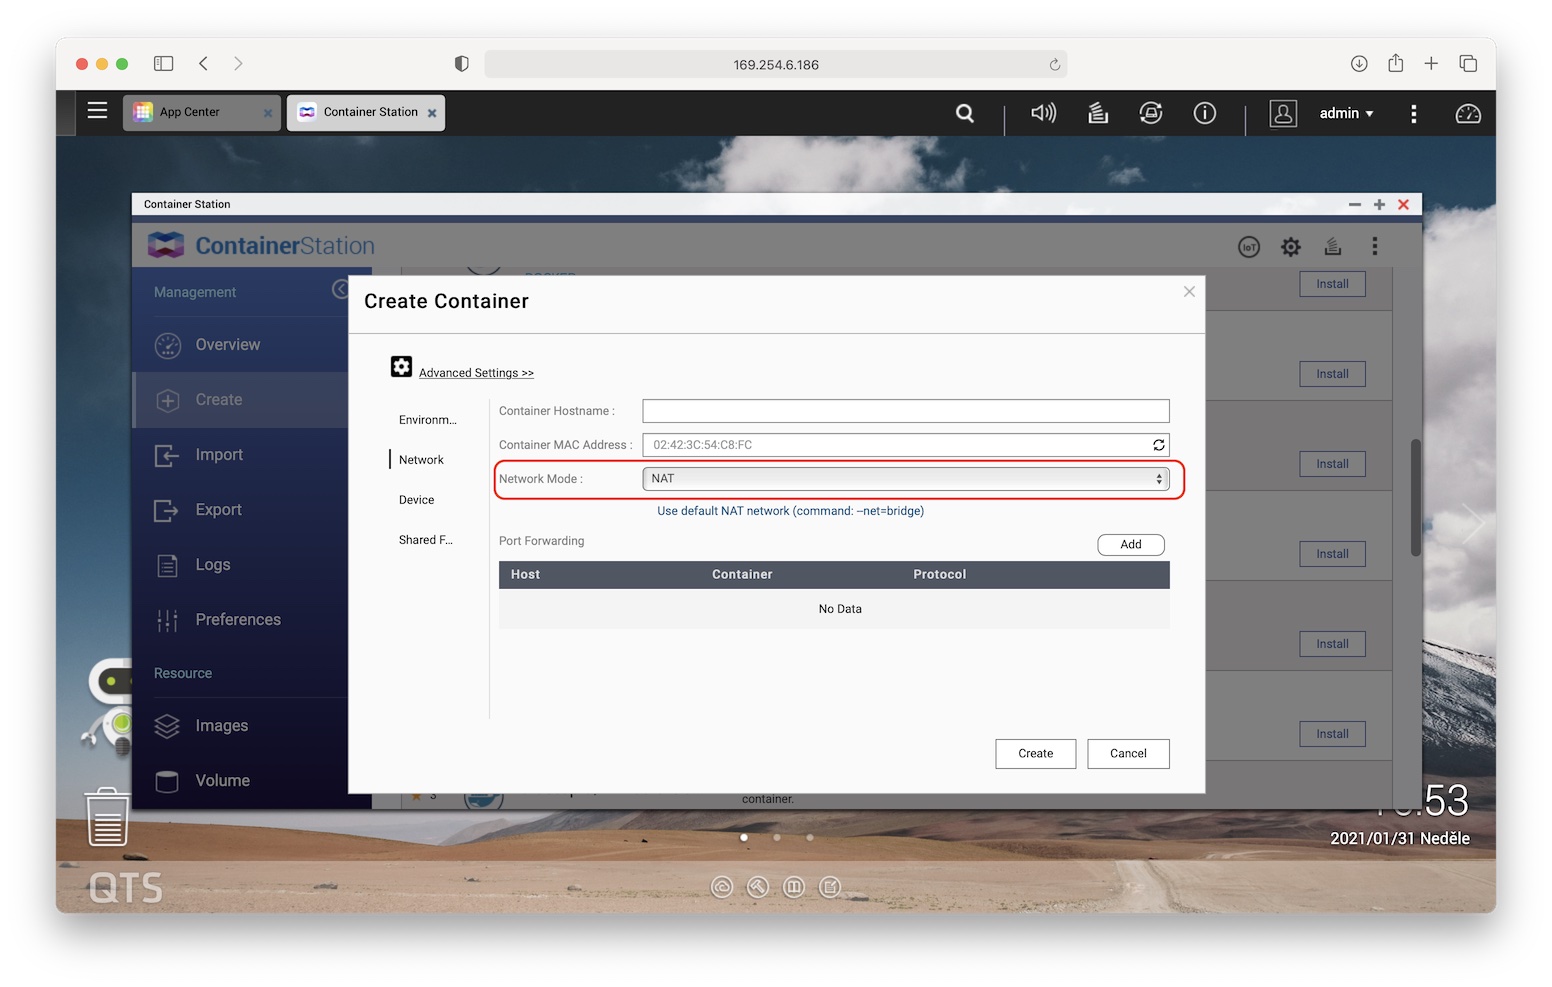
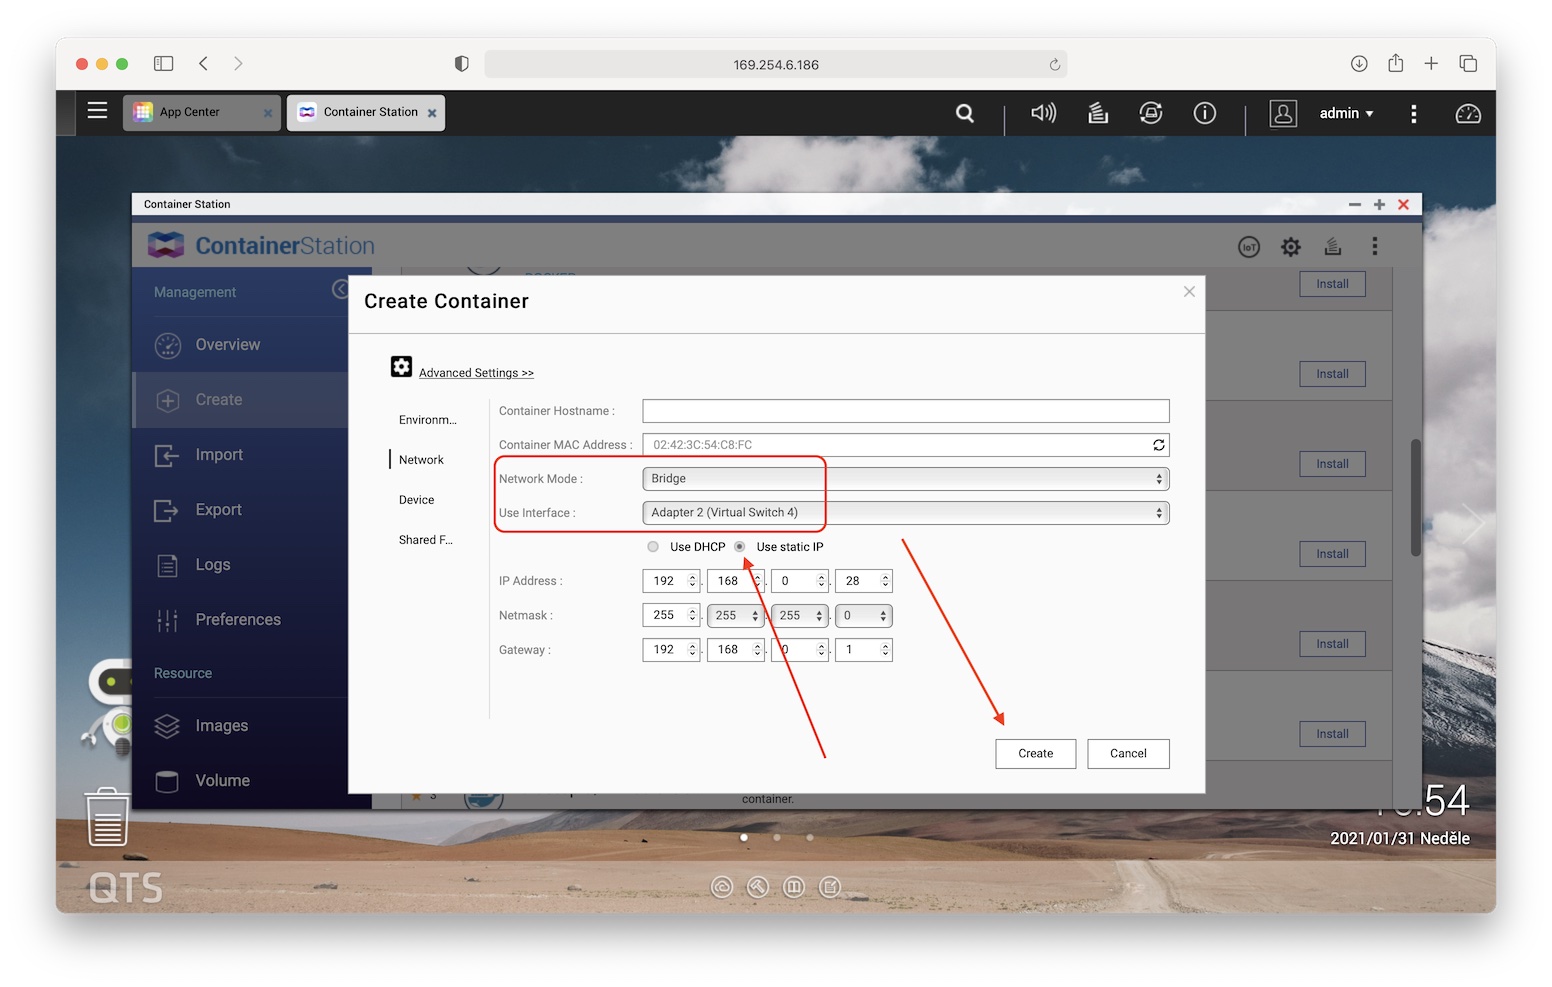
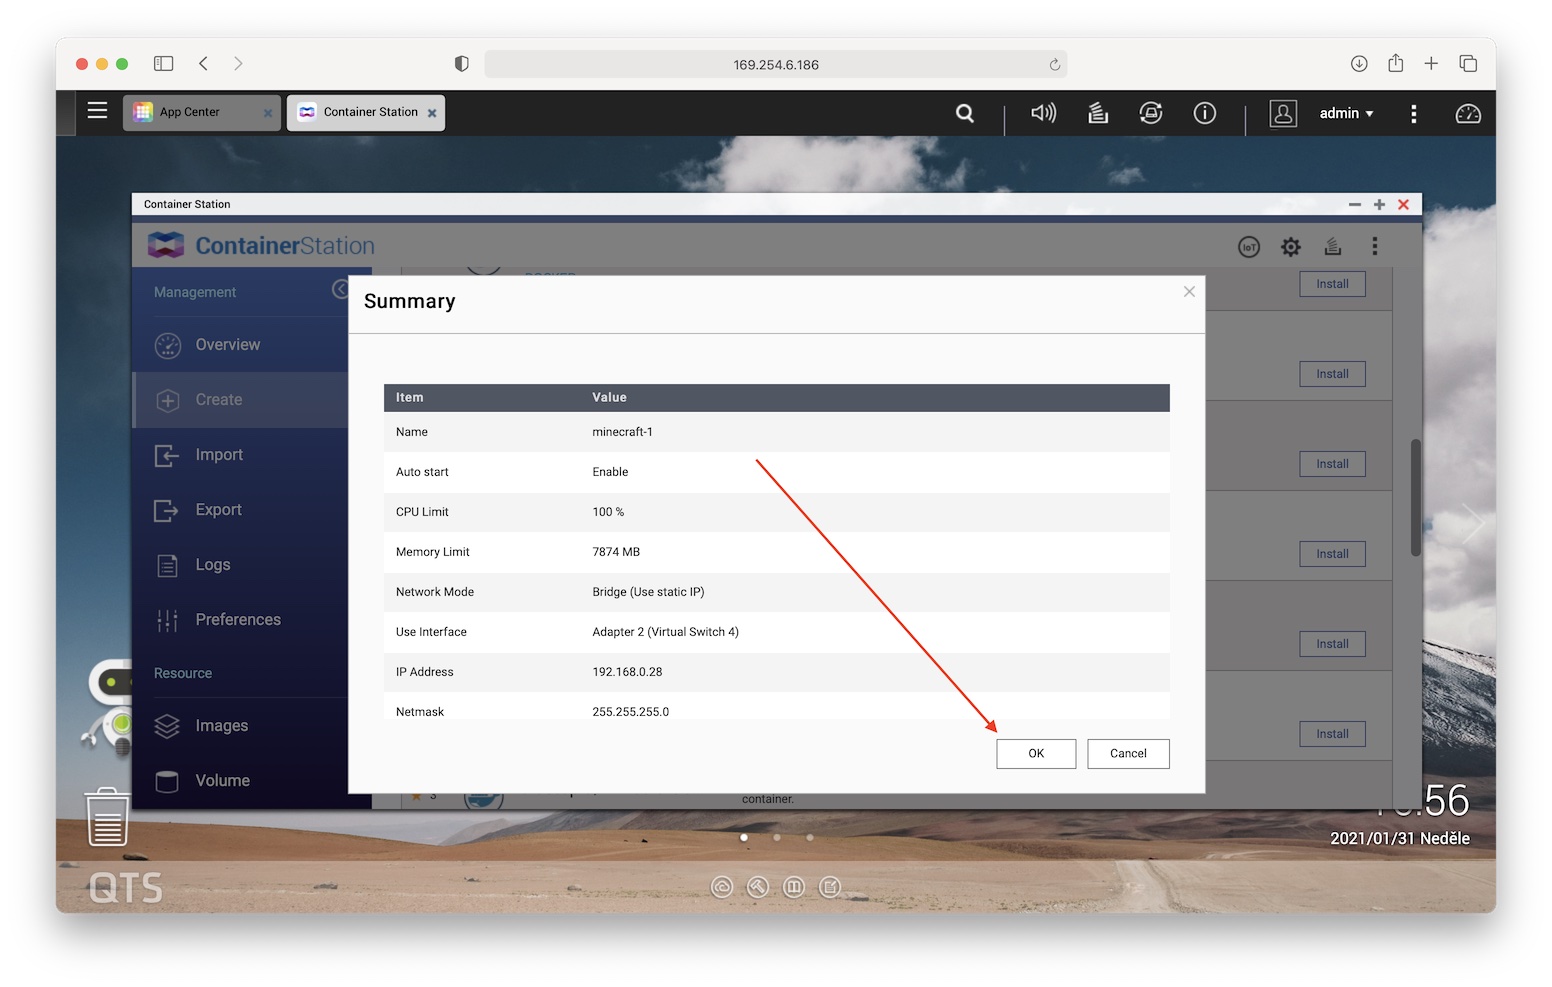
In the default settings, you can incredibly easily encounter various problems on the network, where, for example, the connection will not be stable and the game will be unplayable, and in addition, the IP address of your server will change dynamically. That's why we open up the possibility Advanced Settings, where we go to the tab Network. Here it is necessary to change the Network Mode from the option NAT na Bridge. Right below that, at the choice Use Interface, we choose the necessary one Virtual Switch. In addition, in order to prevent the IP address from constantly changing, we also click on the option Use static IP, where we assign the server an IP address that we haven't used yet and we're done. All you have to do is confirm the setting with the button Create. We will only see a recap, which we will confirm again - this time via a button OK.
Checking and connecting to the server
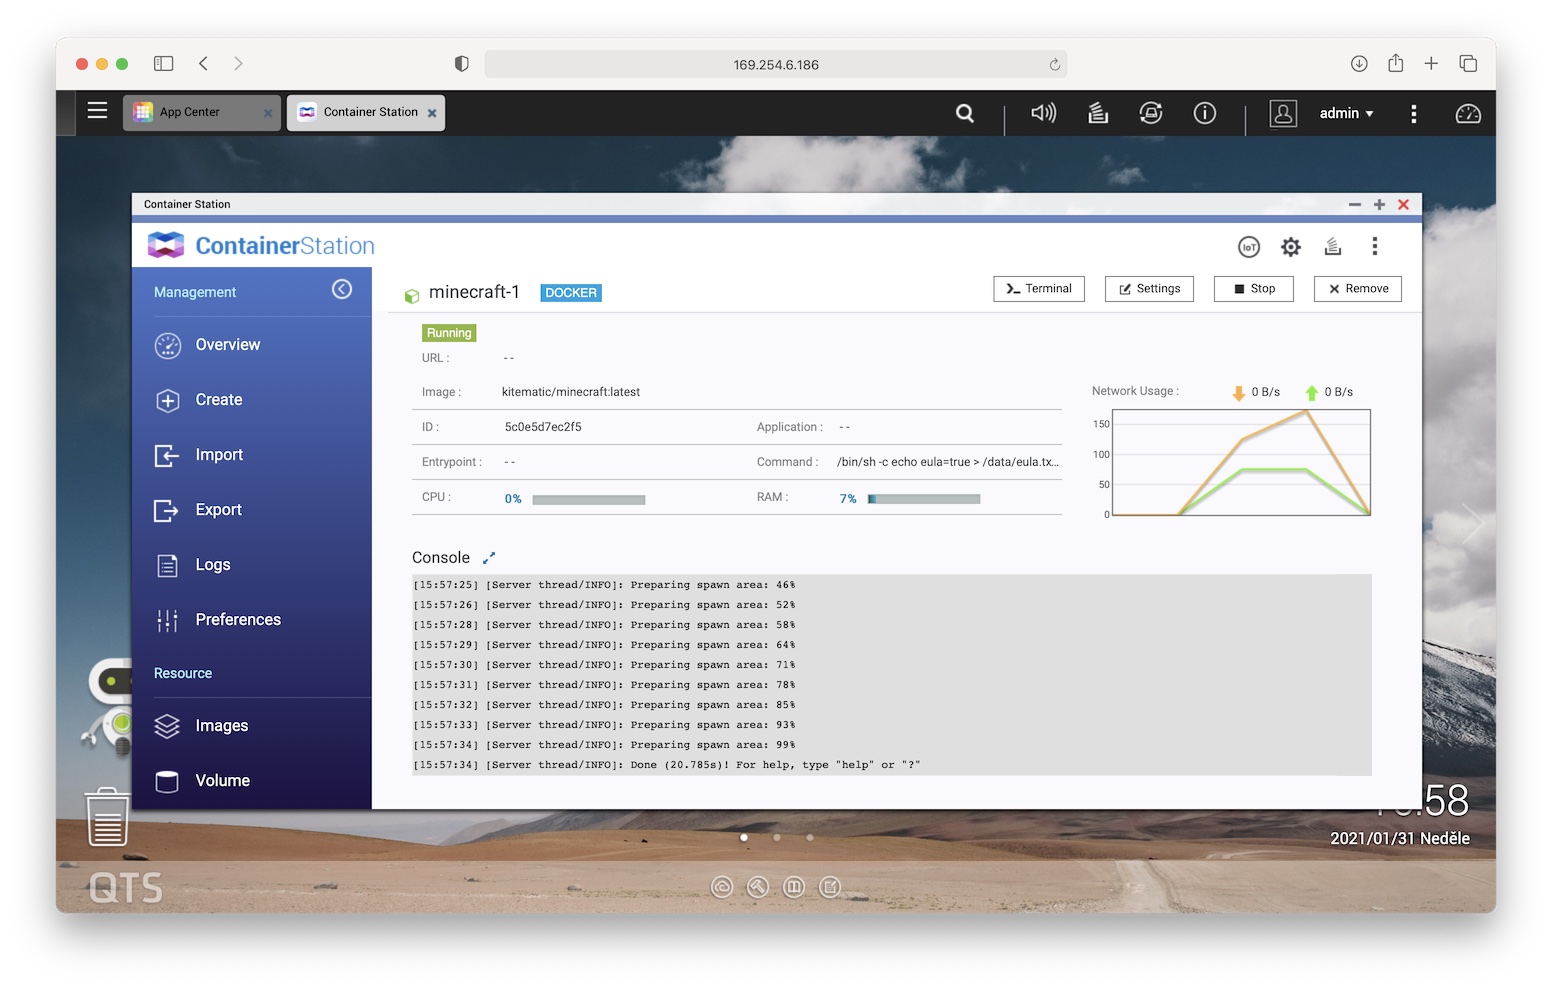
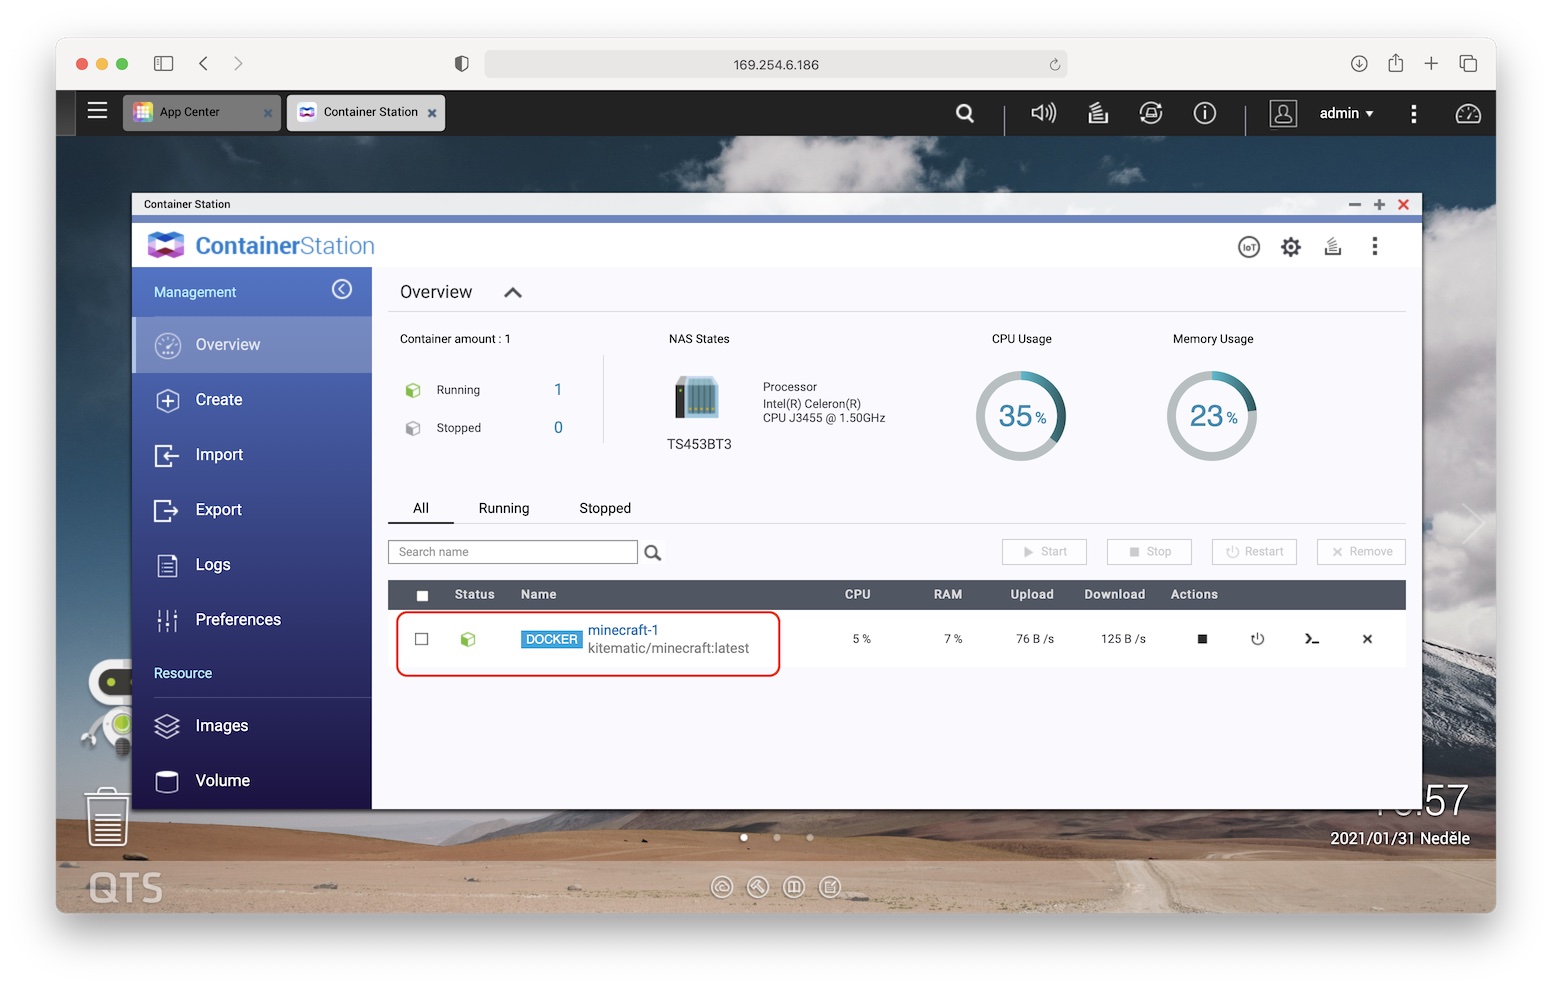
As soon as our server starts to be created, we can switch to the tab in the left panel Overview, where we will see our container. When we open it, we will immediately see our server console and world generation messages. At this point, all we have to do is launch Minecraft and enter the IP address of our choice in the multiplayer game options. Voilà – we have a fully functional Minecraft server running on our home QNAP storage.
Now you can enjoy your time in home quarantine or isolation, for example, and play with the whole family right away. If you have any questions about creating a server, be sure to write in the comments, where I will try to answer you.
