If you ever find yourself in a situation where you need to rotate a photo on your Mac, the best way to do it is to use the native Preview app. In the worst case, you then have some third-party application installed that can mediate the rotation for you. But why make things complicated when it can be done simply. Rotating photos can come in handy, for example, when your iPhone accidentally takes a photo in landscape instead of portrait, and vice versa, of course. Let's see together in this article the easiest way to rotate photos on Mac without having to use any apps.
It could be interest you

The easiest way to rotate photos on Mac
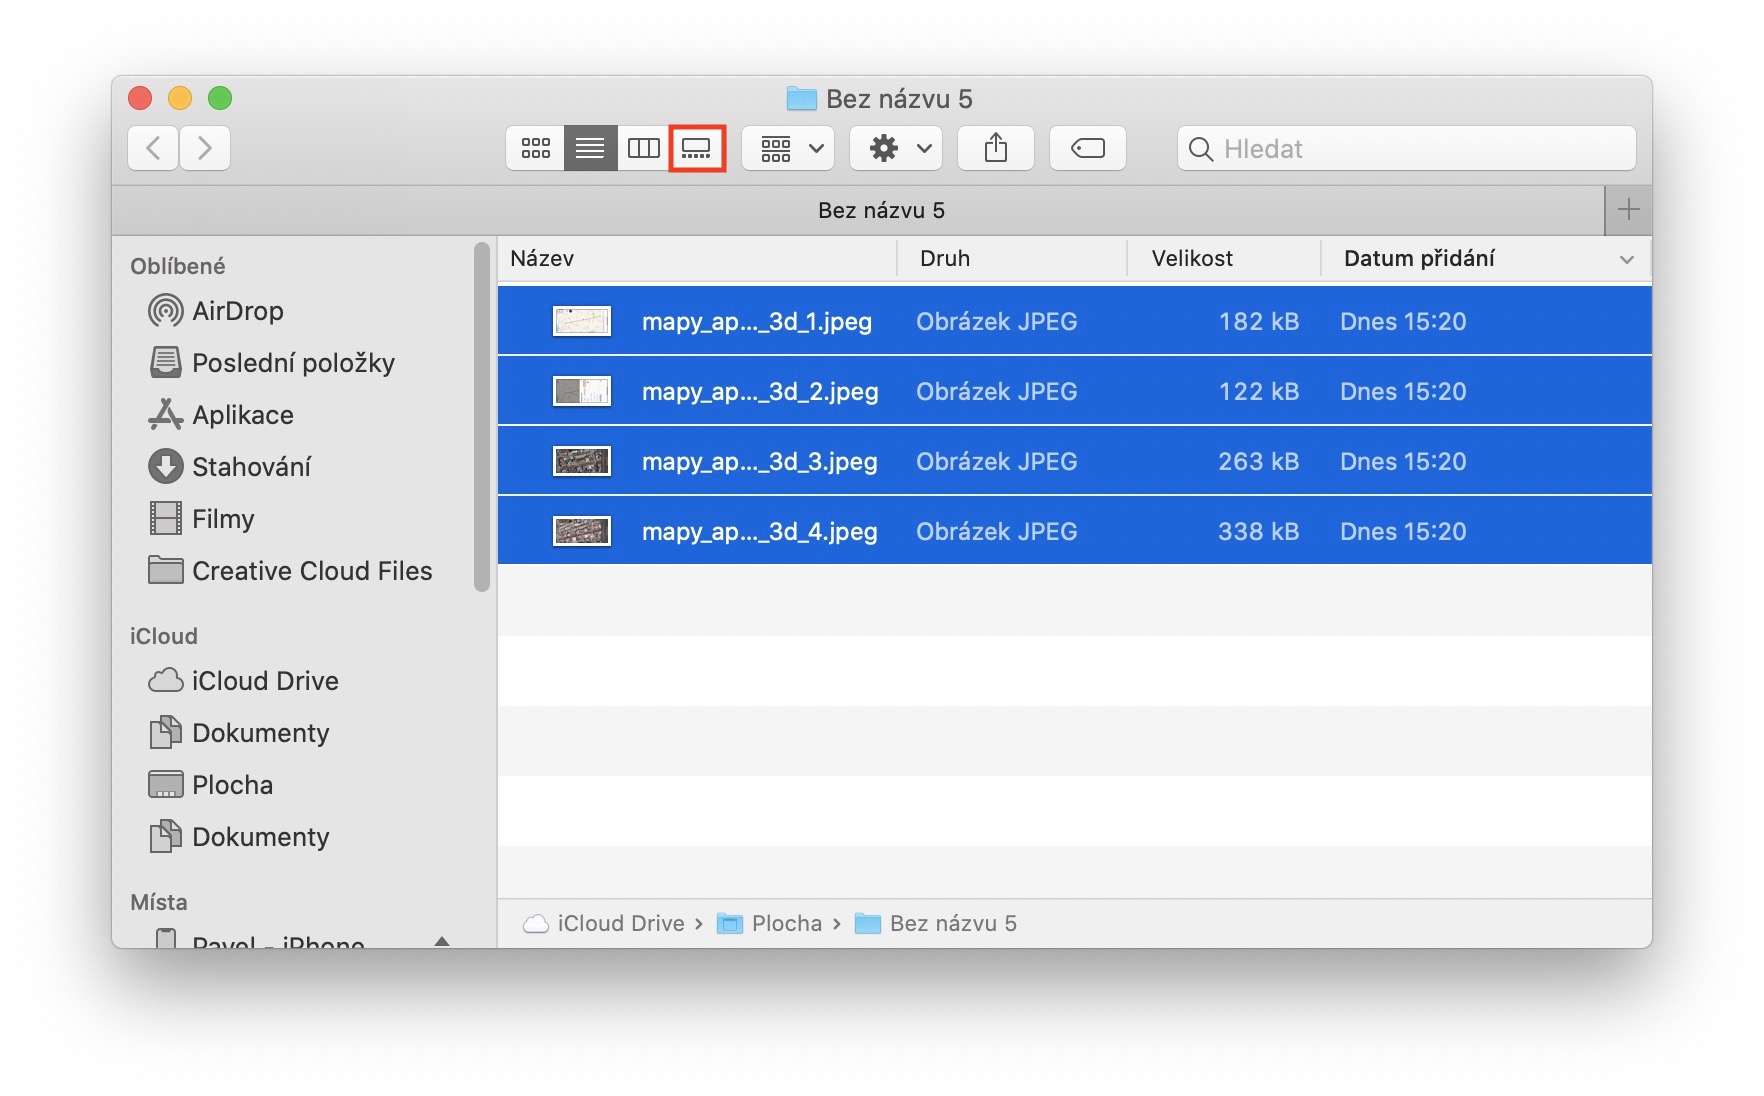
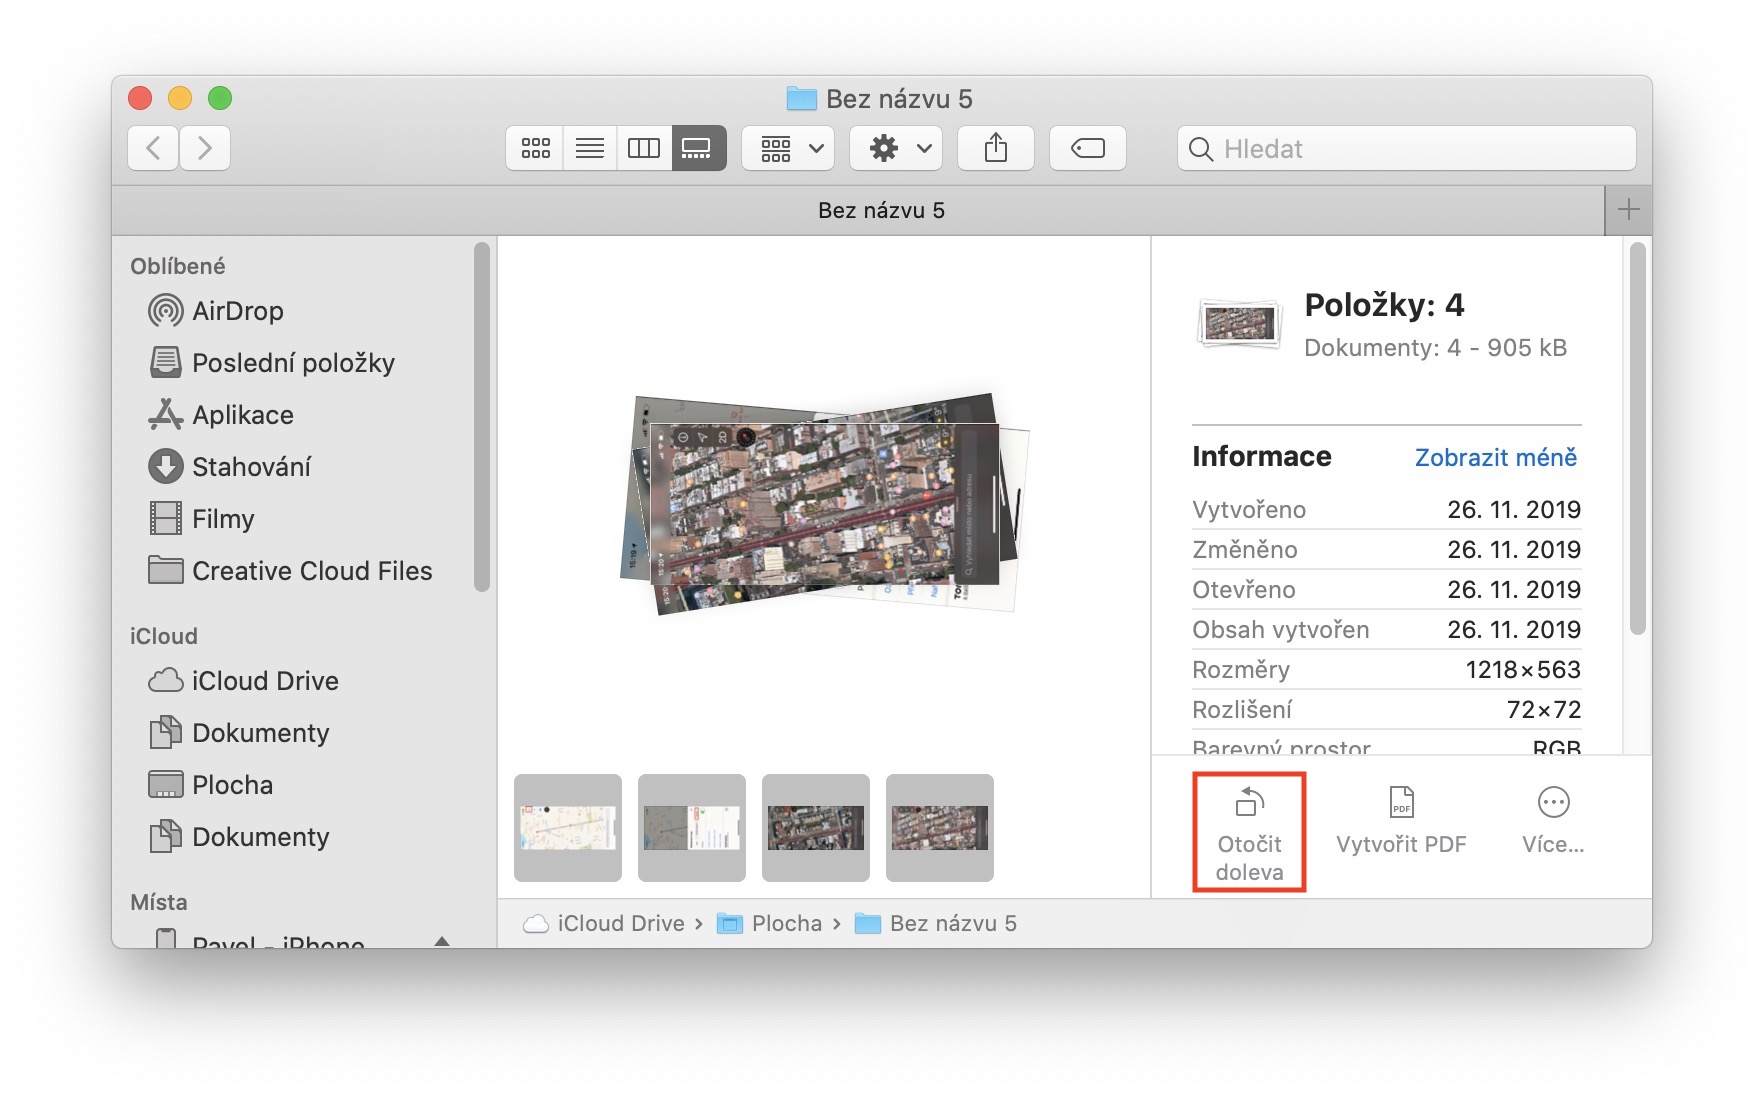
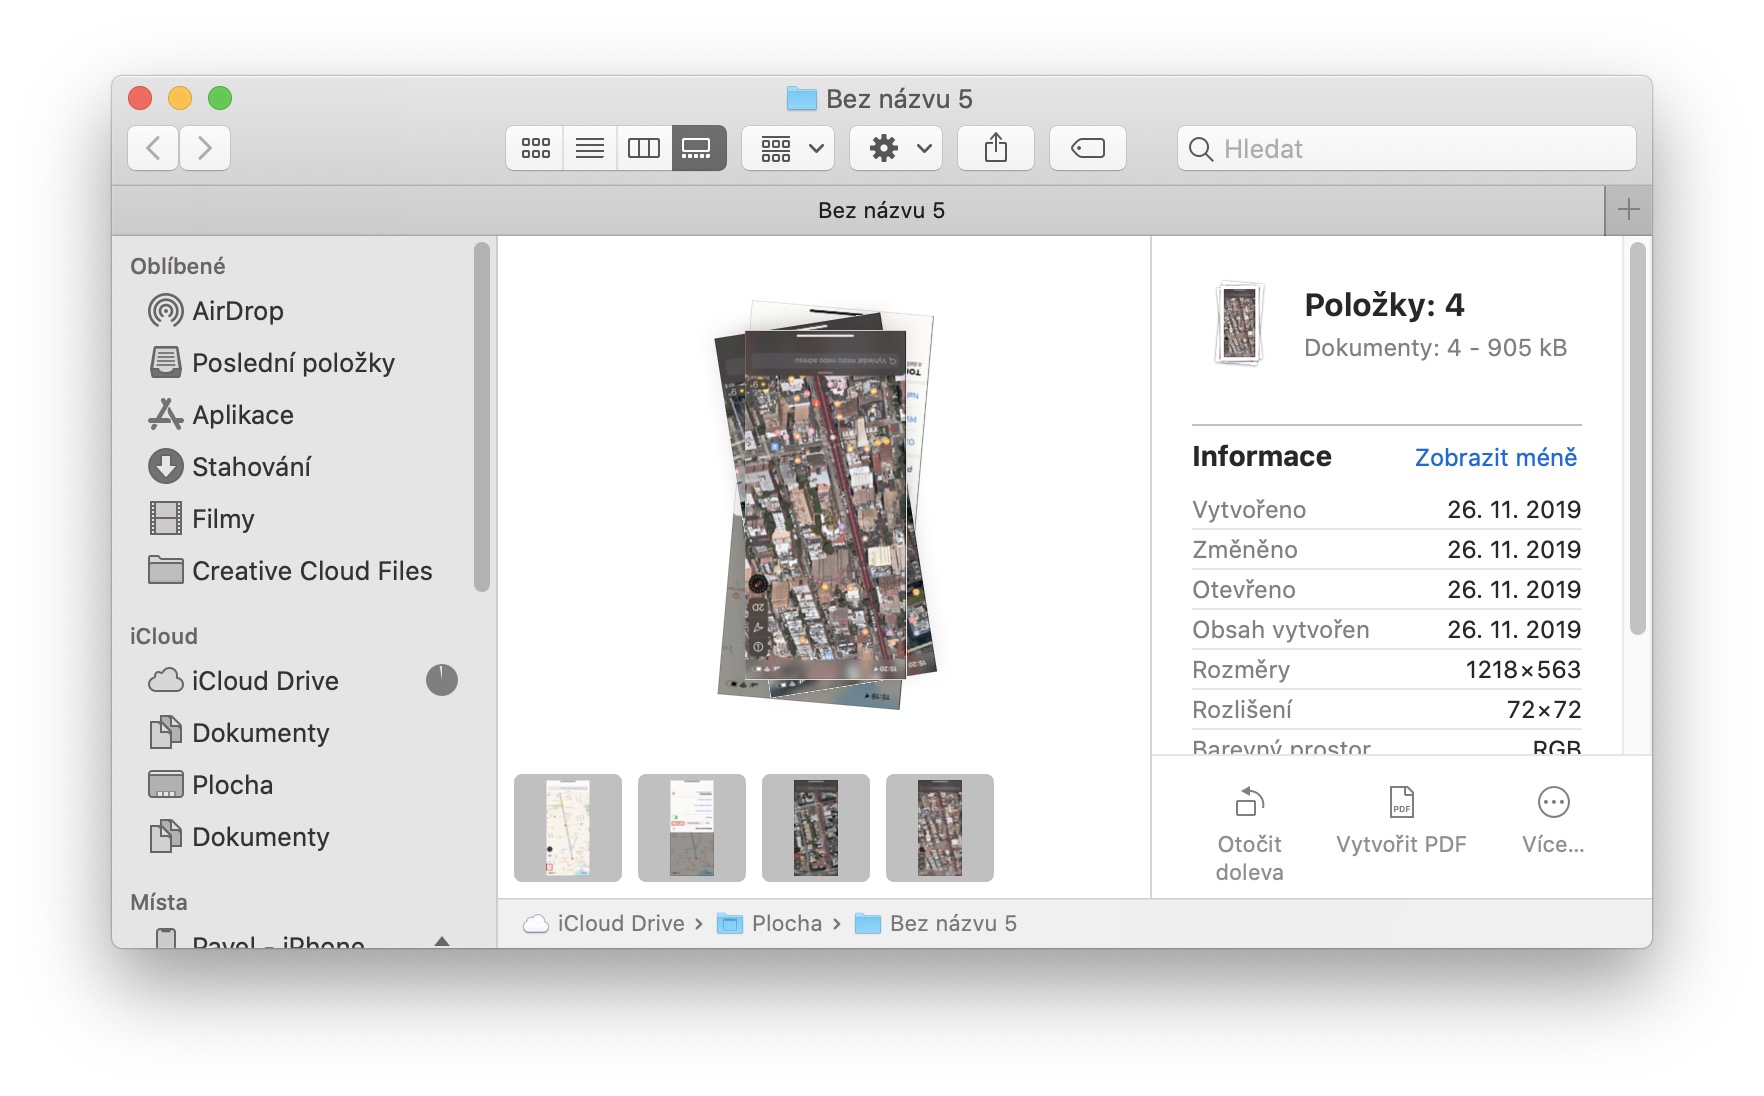
To rotate photos on a Mac, you can use a new function that was added together with the old macOS 10.14 Mojave a year and a few months ago. In addition to the dark mode, it also brought a fourth option to display items in the Finder to our Macs and MacBooks. This new option is called Gallery and can easily display several photos at once with a simple control panel, which can be especially useful for photographers. However, this display mode can be used by absolutely everyone, and that is precisely for the simple rotate photos. To rotate a photo, you just need to go to the gallery mode they switched (the fourth icon in view mode from the right). Then take a photo or several photos mark and in the lower right part of the window, click the option Turn left. If you hold down the key options, so the option will appear Turn right. This way you can rotate the photos until they have the correct orientation.
In addition to the ability to easily rotate photos, the Gallery view mode also offers the display of metadata (data about data) about photos and, for example, the ability to easily create a PDF file from a photo. You can also use annotation tools to add simple sketches, texts, notes and more to photos.
