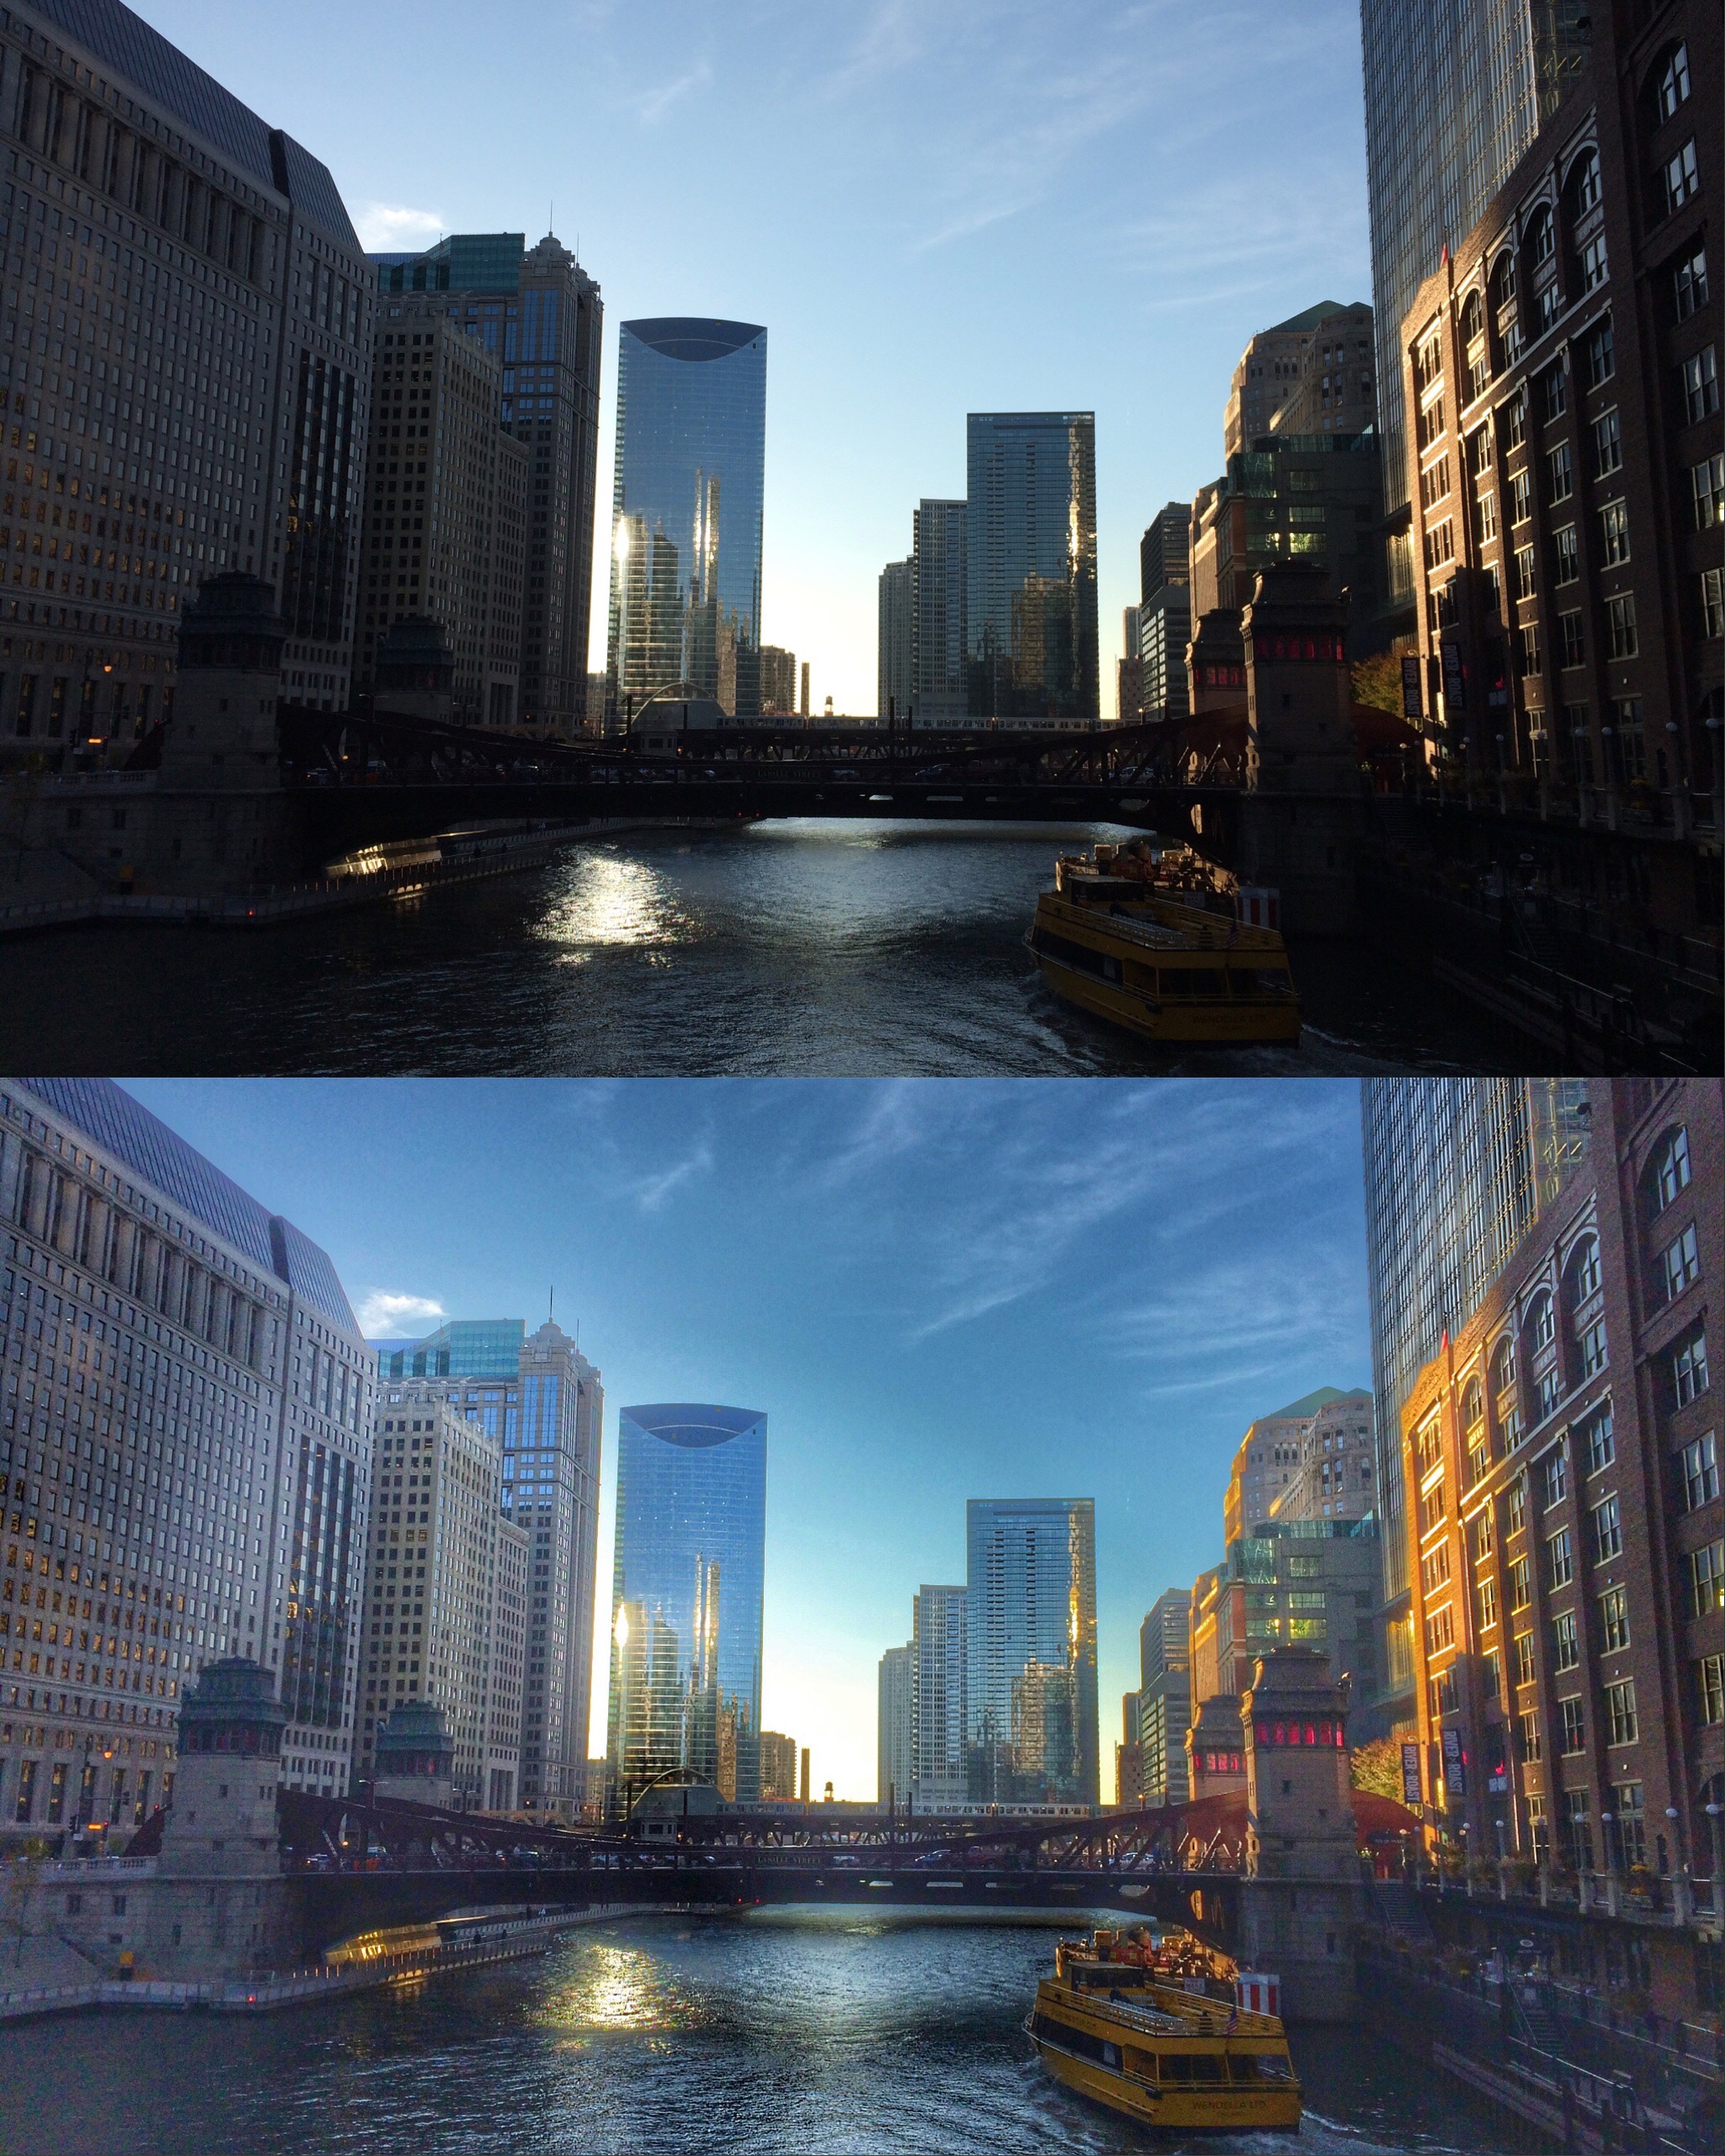
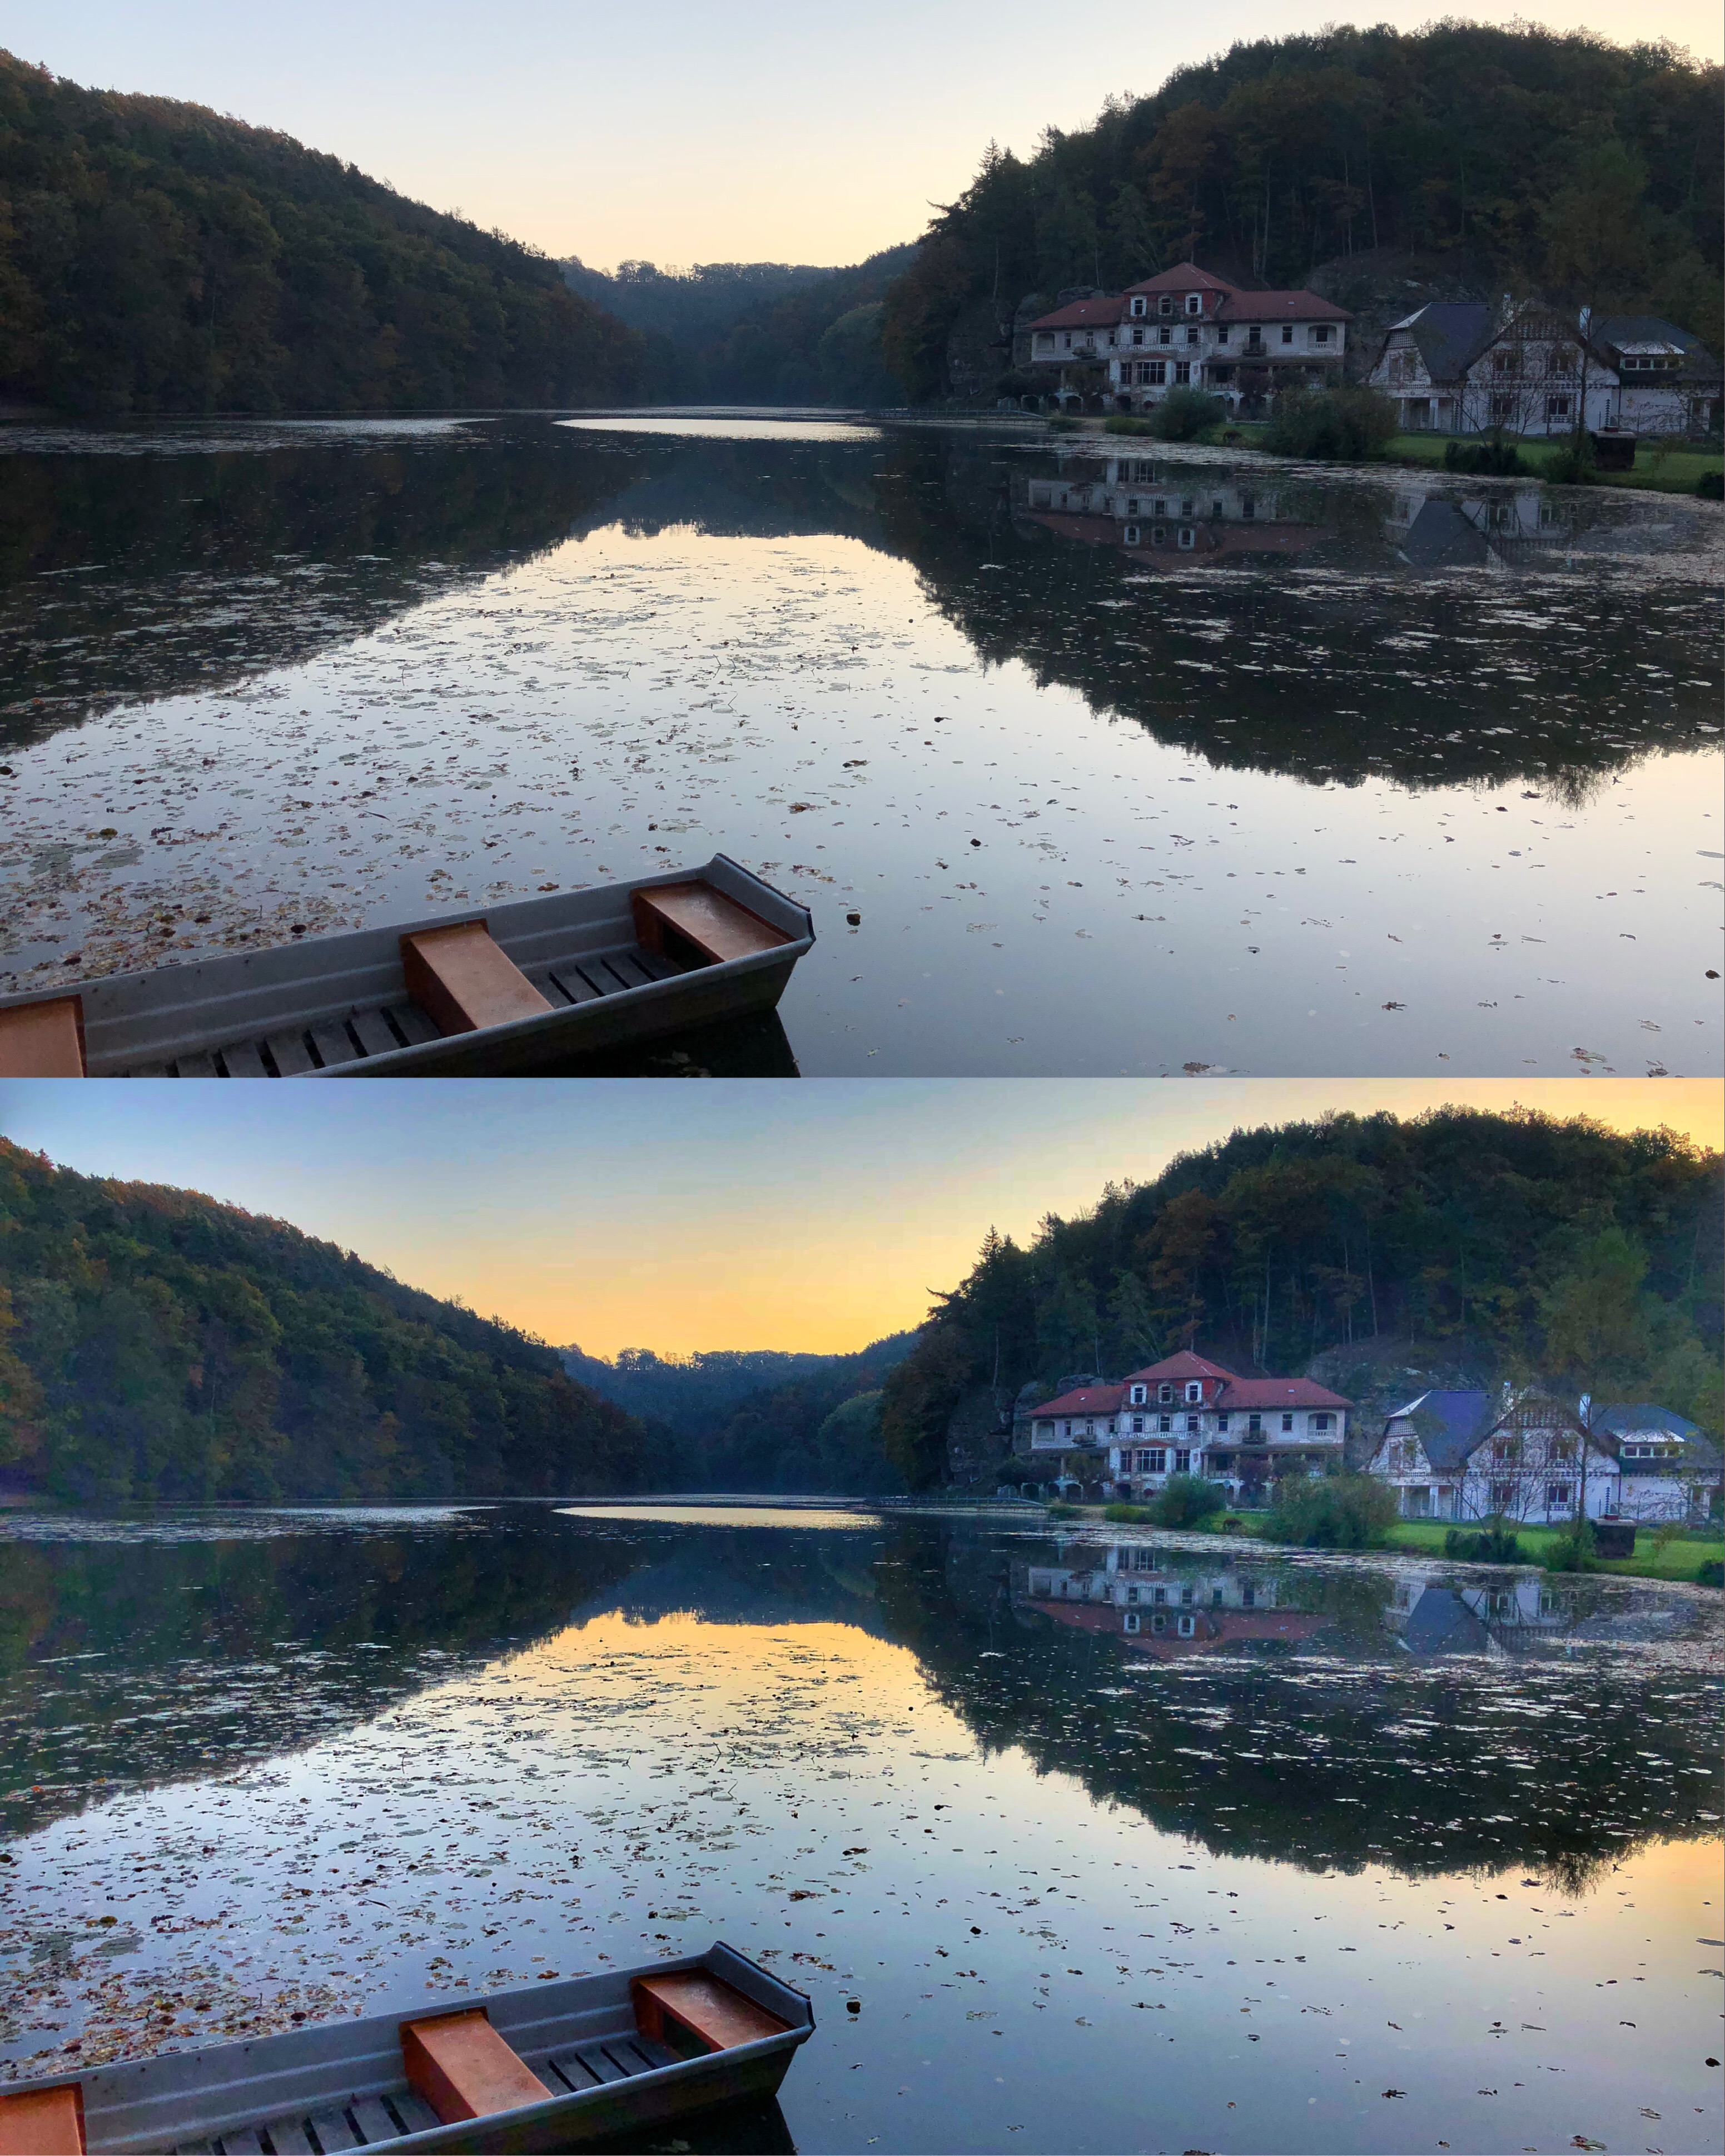
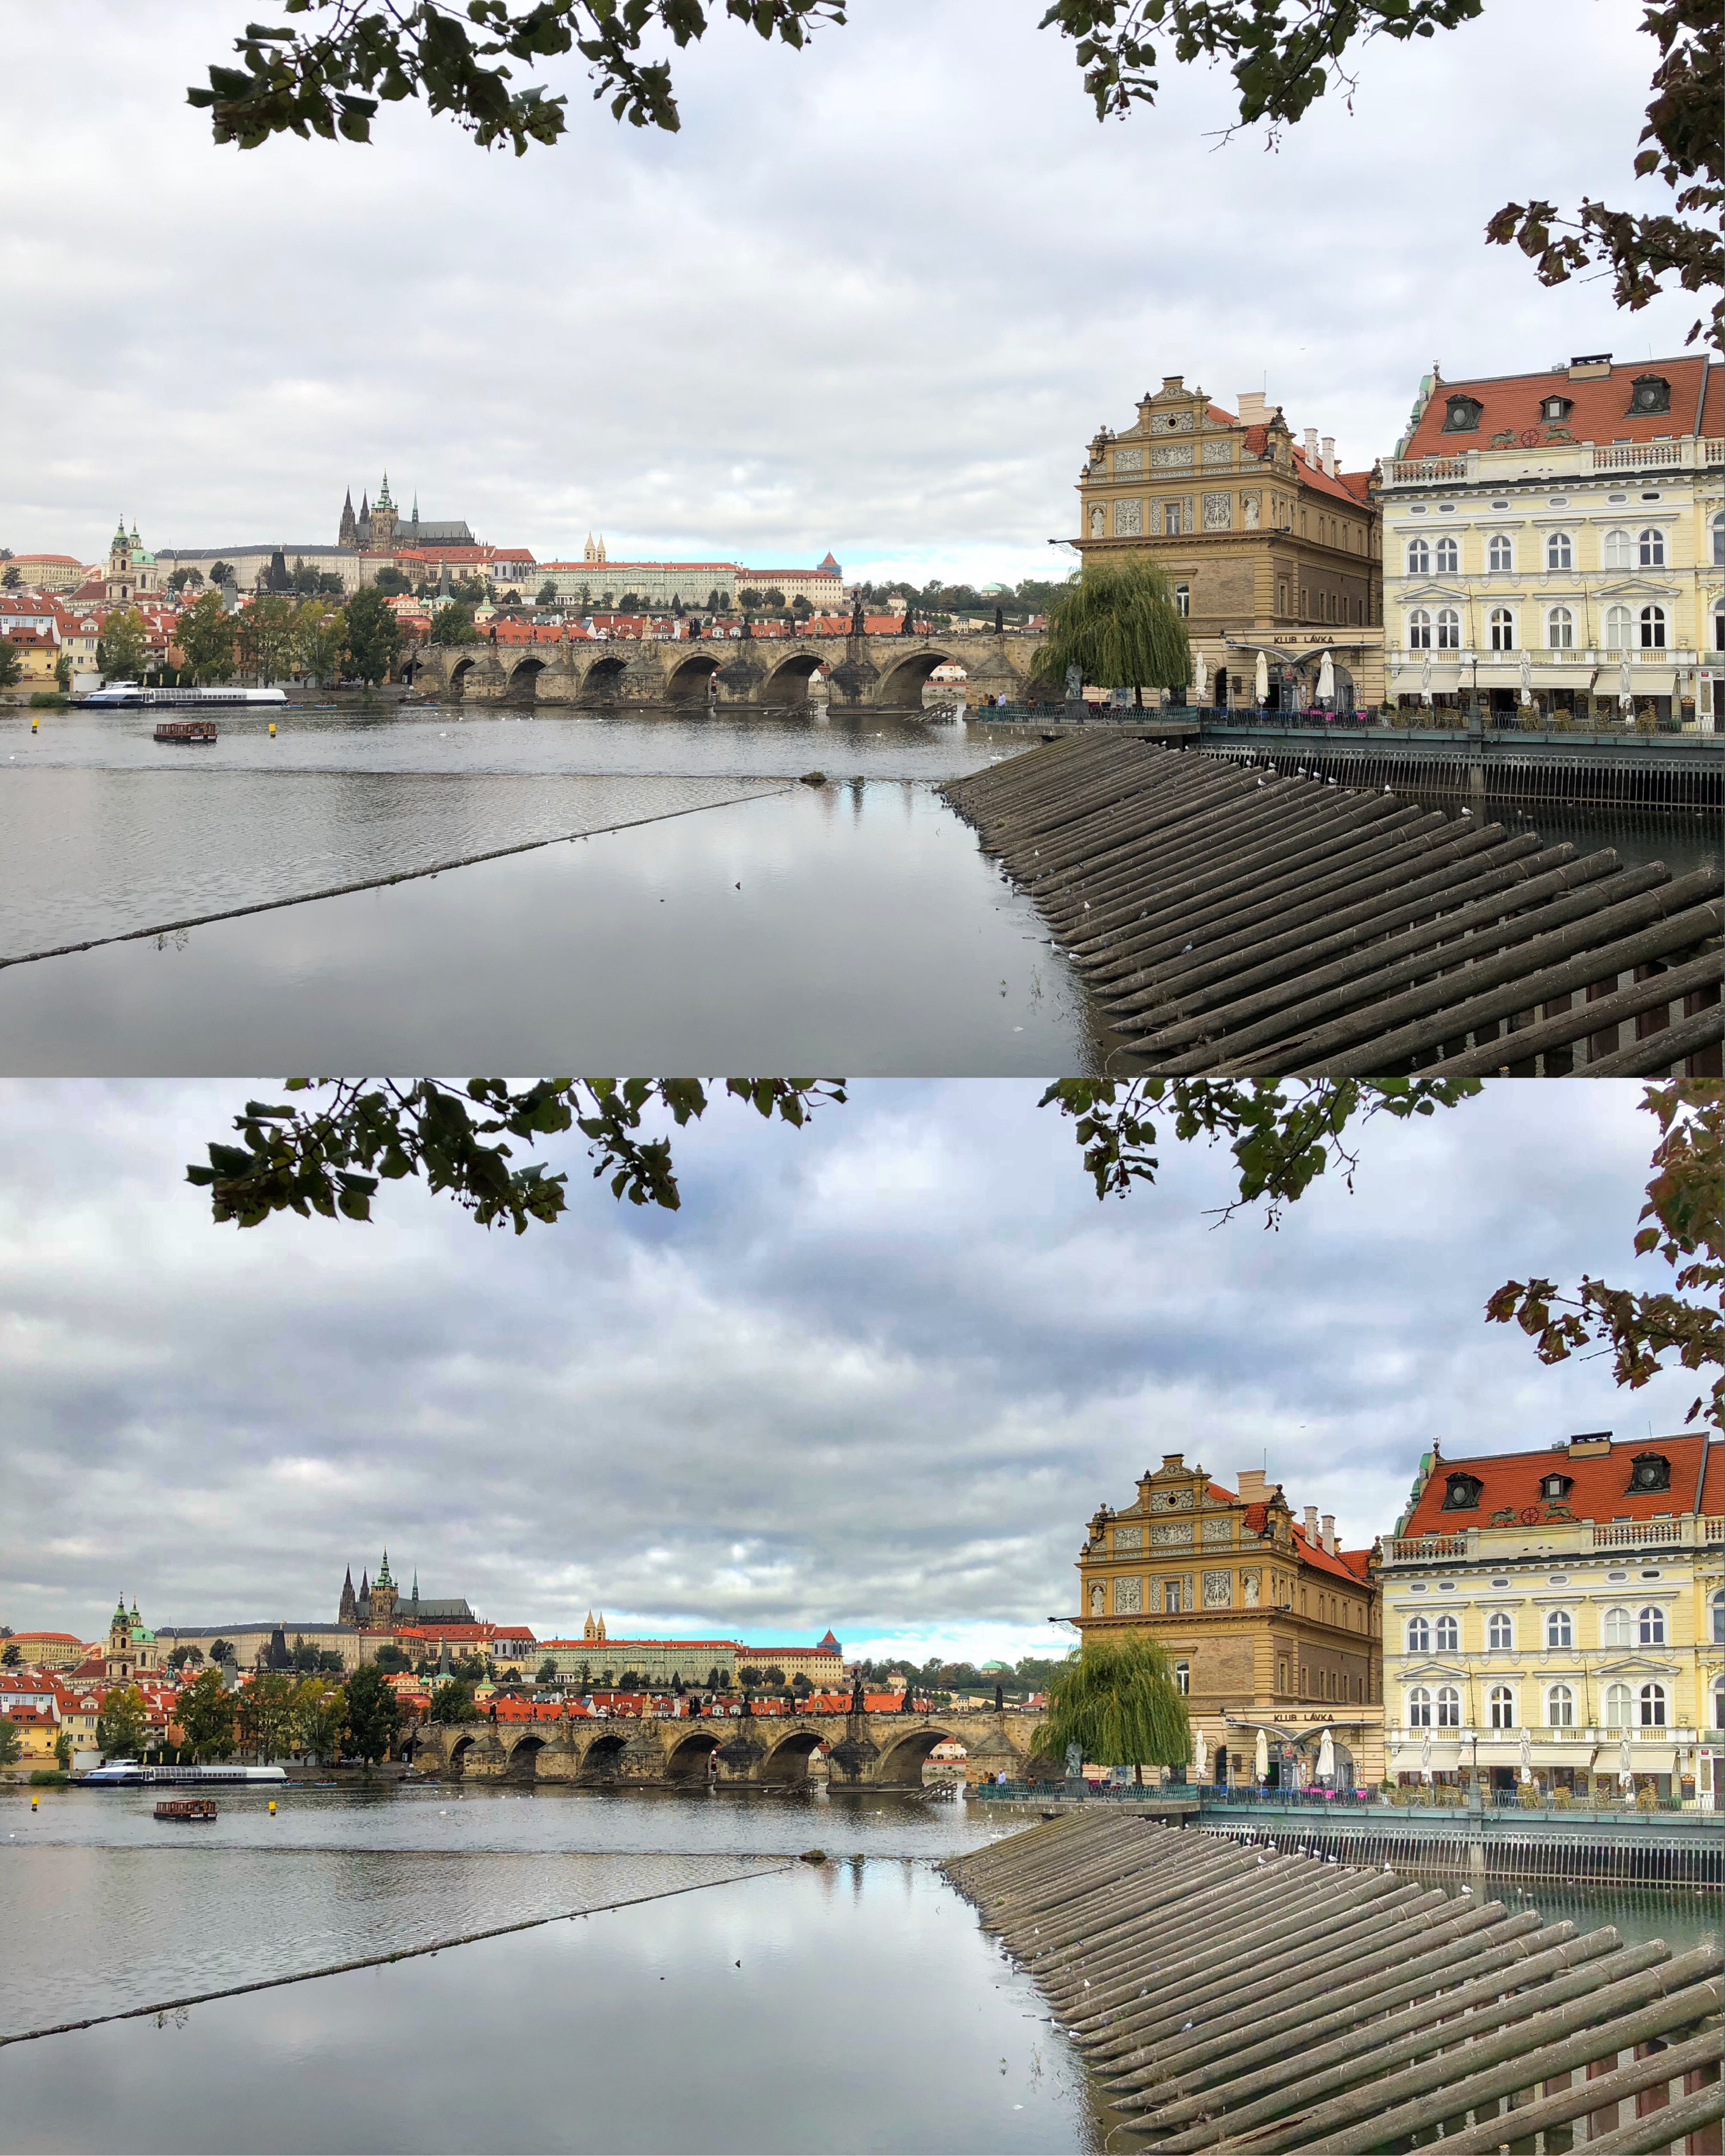
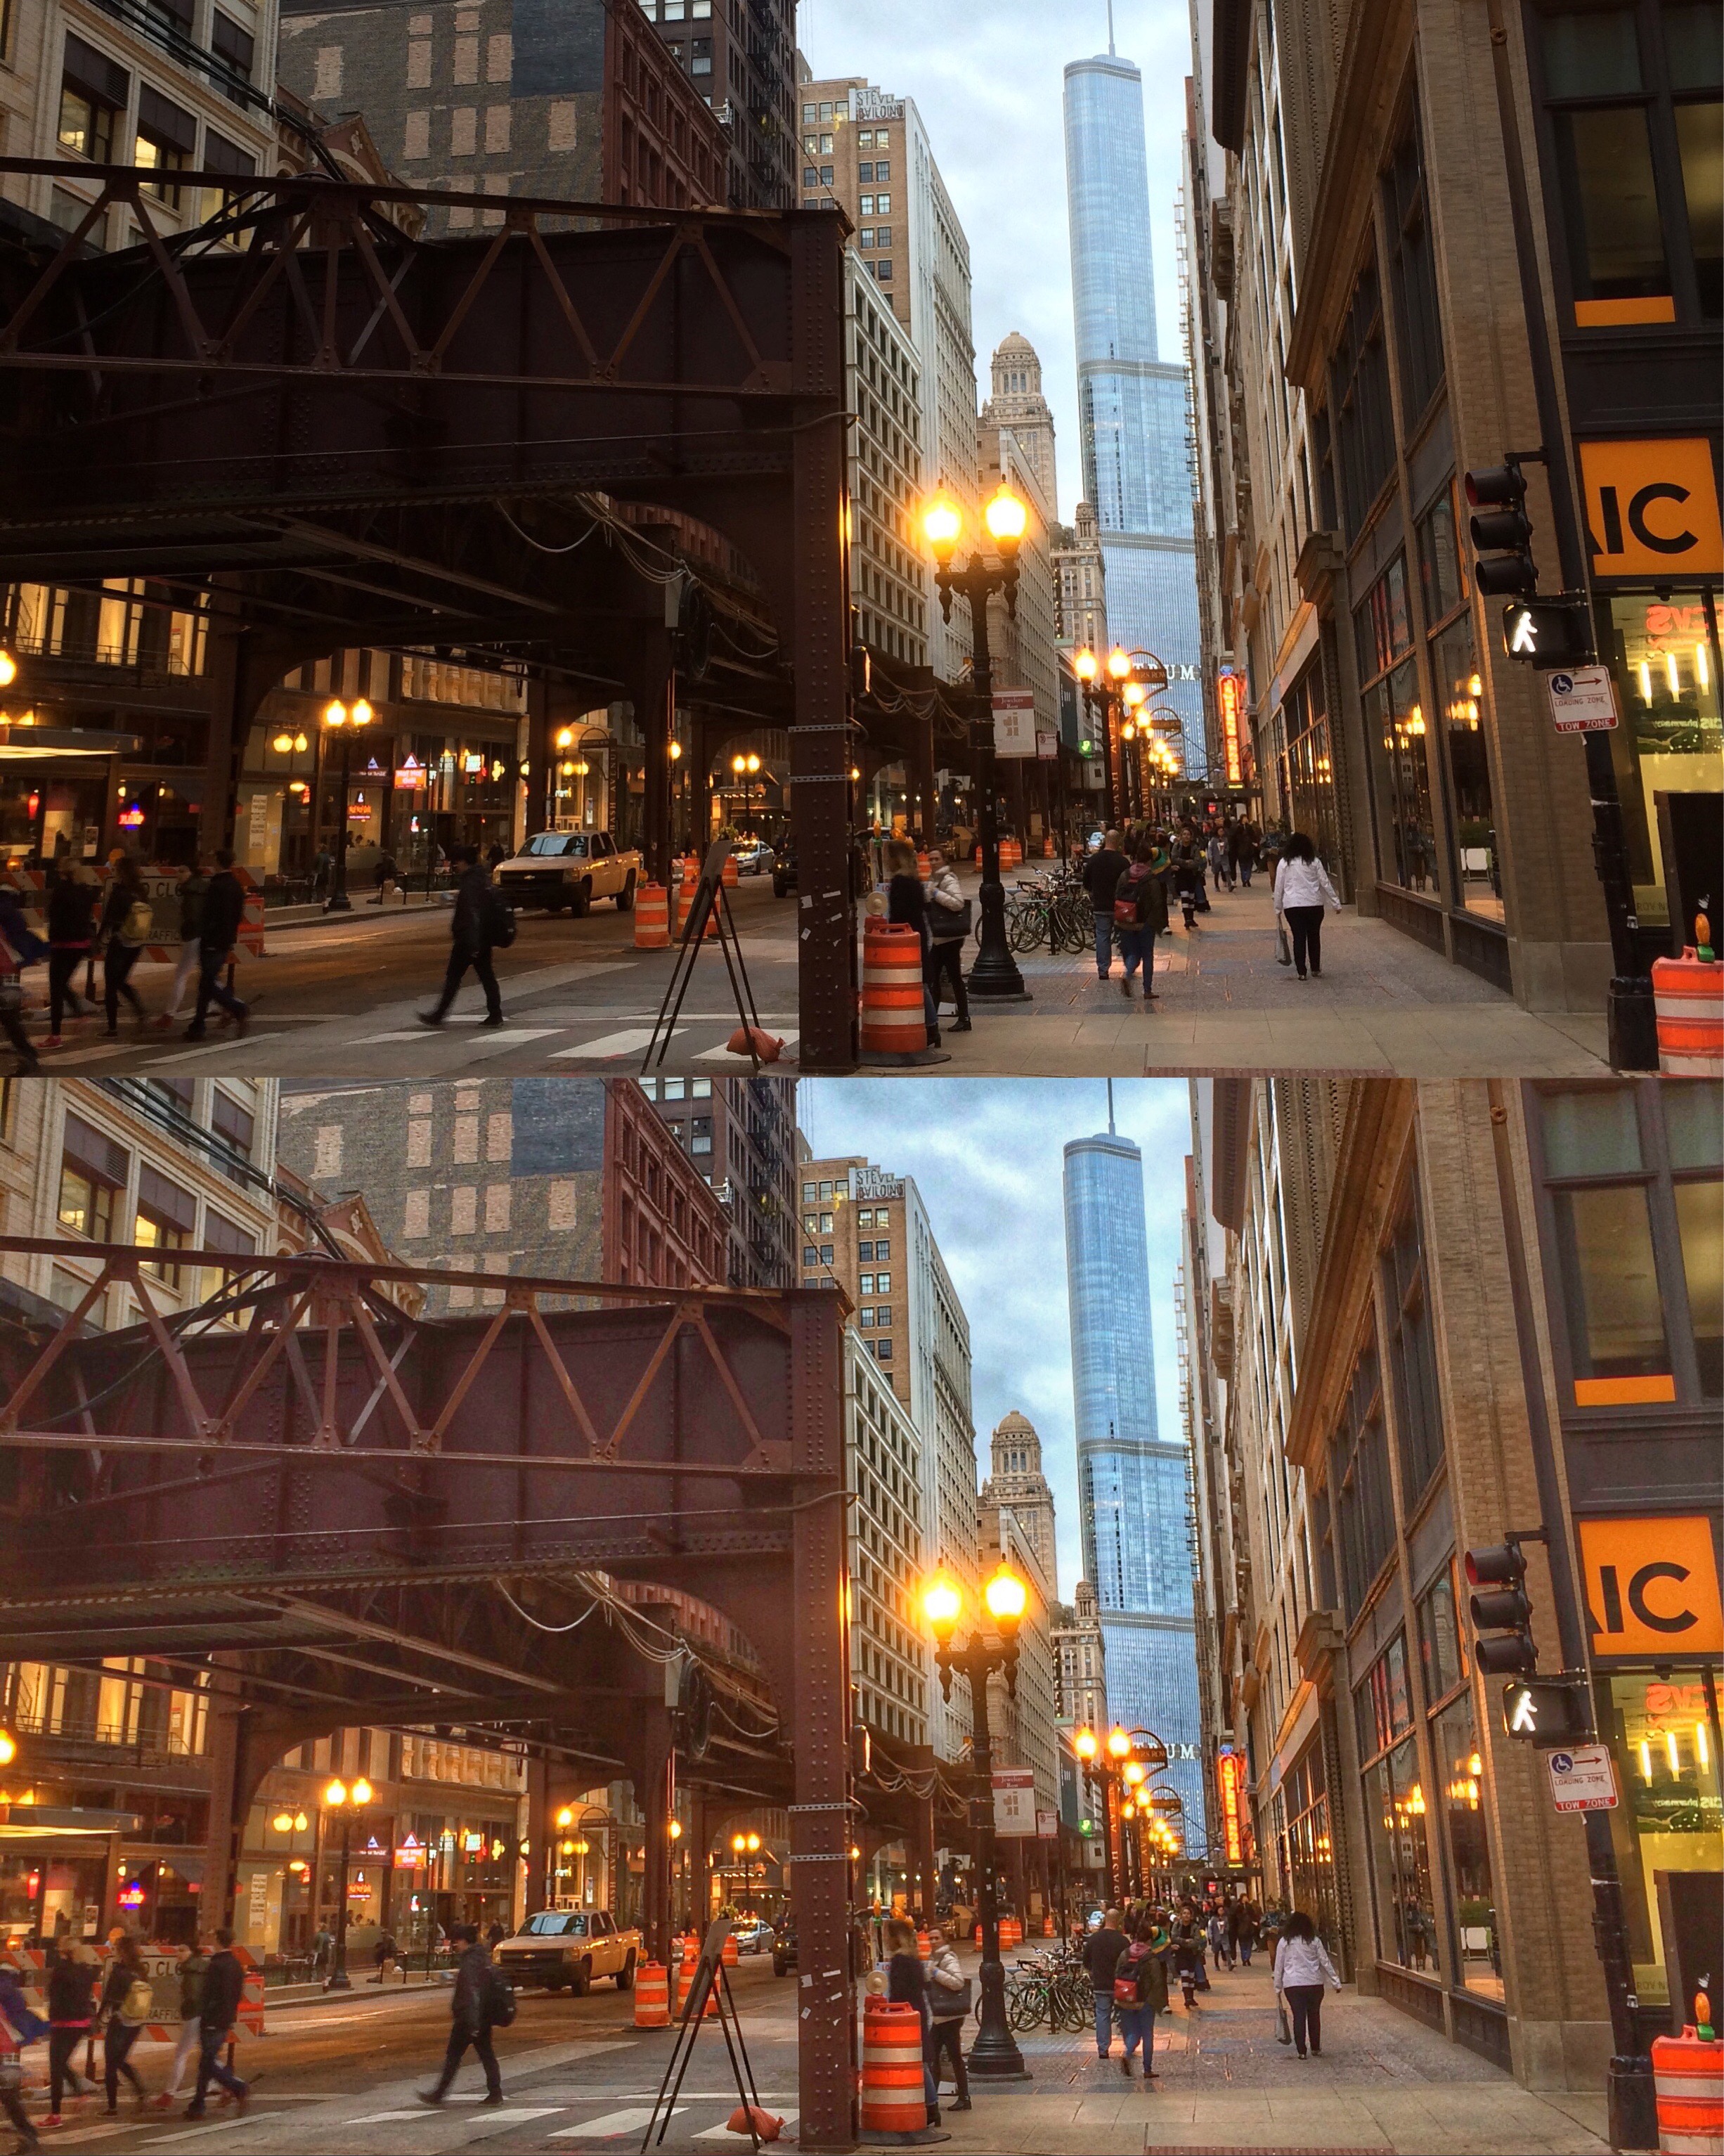
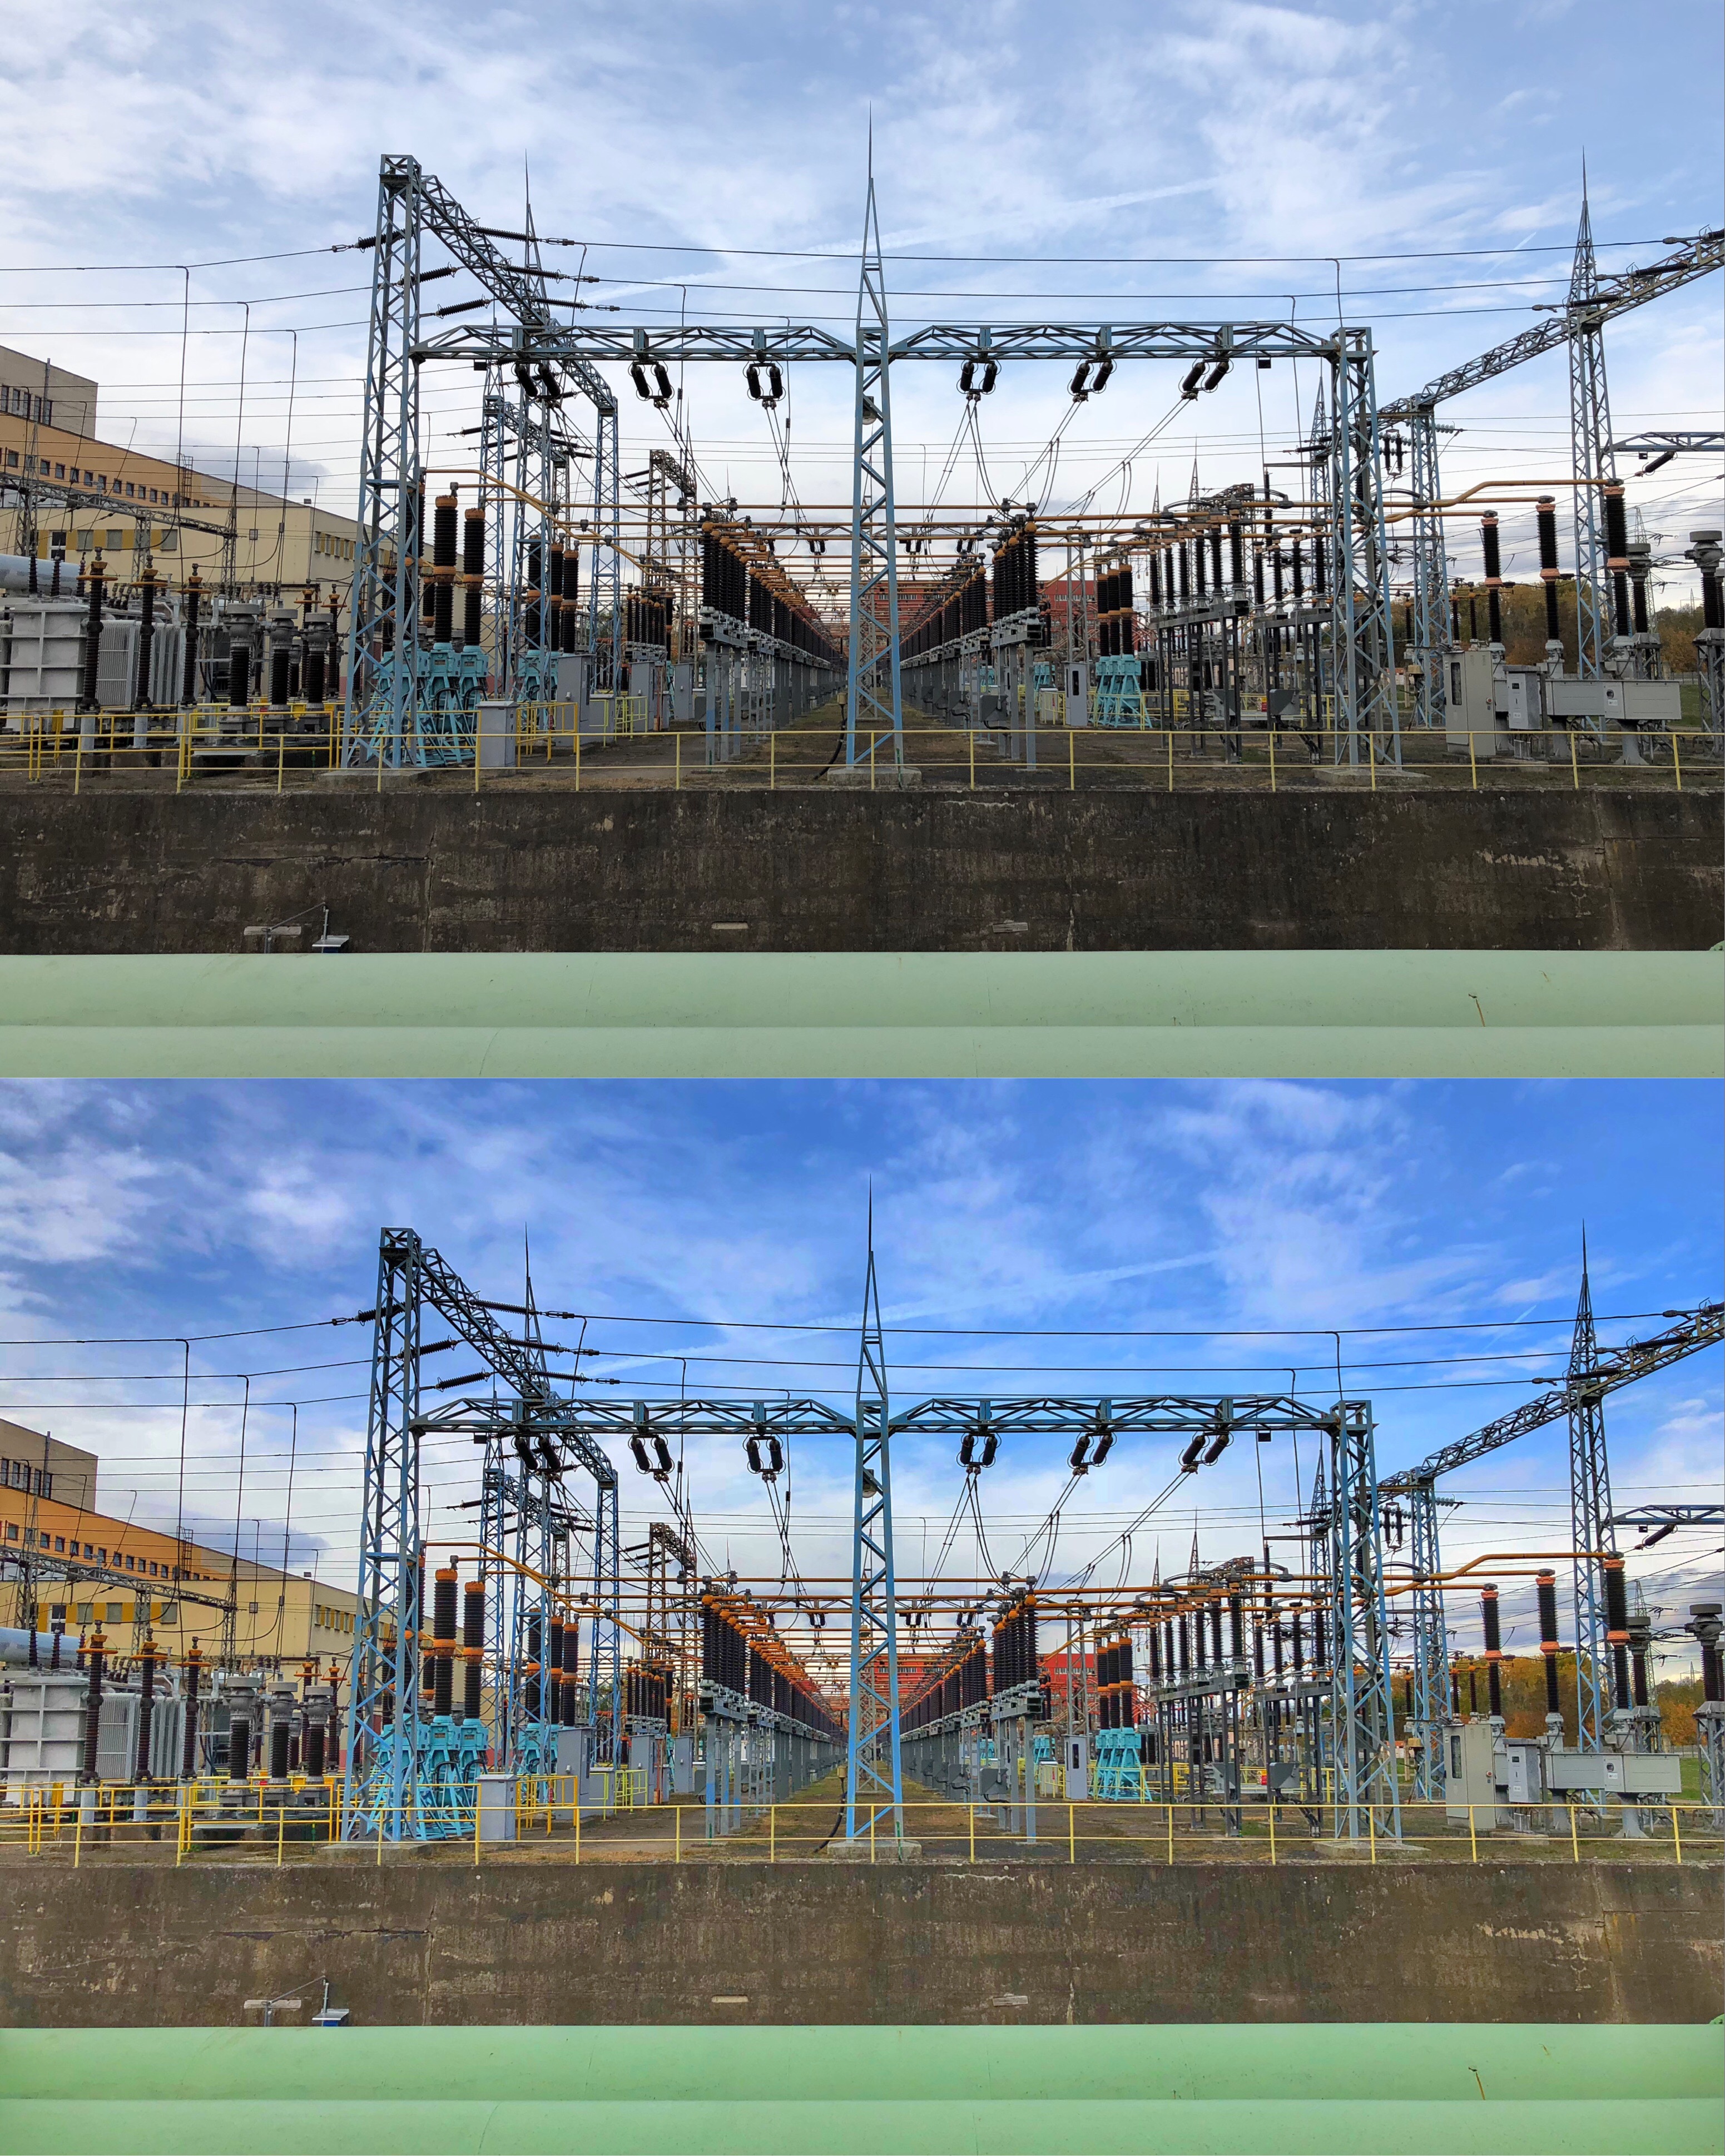
High Dynamic Range, or HDR, is one of the popular effects of today, because it expands the possibilities of the photos taken. Its essence is a "composition" of images from the lightest to the darkest. In short, HDR editing allows you to squeeze as much as possible out of the picture taken, even in poor lighting conditions. With HDR, better details, structure and most importantly – colors appear in the photo. Today we will therefore show you how to control the HDR effect on the iPhone and get even more interesting photos.
The basis is the application Snapseed from Google, which is free in the App Store and allows you to choose from many different photo editing effects. In addition to the mentioned effects, you can also play with curves or perspective, different framing, text or image sharpness. You can save the resulting photo as a new file or overwrite an existing one.
How to edit HDR:
- Let's launch the application Snapseed.
- We select the top left Open.
- We will Open image from device and we choose Photo, which we want to edit.
- In the lower part of the display, select instruments and we find HDR scene.
- Four options will appear HDR and we can also choose different ones filter intensity.
- After selecting the selected effect or intensity, we confirm the effect by applying it.
- Next we will give Export and then we save the photo in the HDR effect, which will be displayed in the gallery.
Samples (before and after using HDR):
About autor:
Kamil Žemlička is a twenty-nine-year-old Apple enthusiast. He graduated from an economic school with a focus on computers. He works as a technologist at ČEZ and is studying at the Czech Technical University in Děčín – majoring in Aviation. He has been intensively engaged in photography for the past two years. One of the biggest successes is Honorable Mention in the American competition iPhone Photography Awards, where he succeeded as the only Czech, with three photographs. Two in a category panorama and one in the category nature.


