The power of cell phones is that once you unbox them and fire up the camera app, you can immediately take photos with them. Just aim at the scene and press the shutter, anytime and (almost) anywhere. But the result will also look like that. So it takes some thought to make your images as pleasing as possible. And from that, here is our series Taking photos with an iPhone, in which we show you everything you need. Now let's look at how to actually take pictures so that your pictures are always perfectly sharp.
It could be interest you
You have passed Settings and determined all the important parameters of the photo. You know how fast launch the Camera application even what each one contains modes, offers and how to work with them. So now all that remains to be said is how to actually take pictures. Yes, you can mindlessly snap shots, but there's a lot more you can do to get the perfect photo.
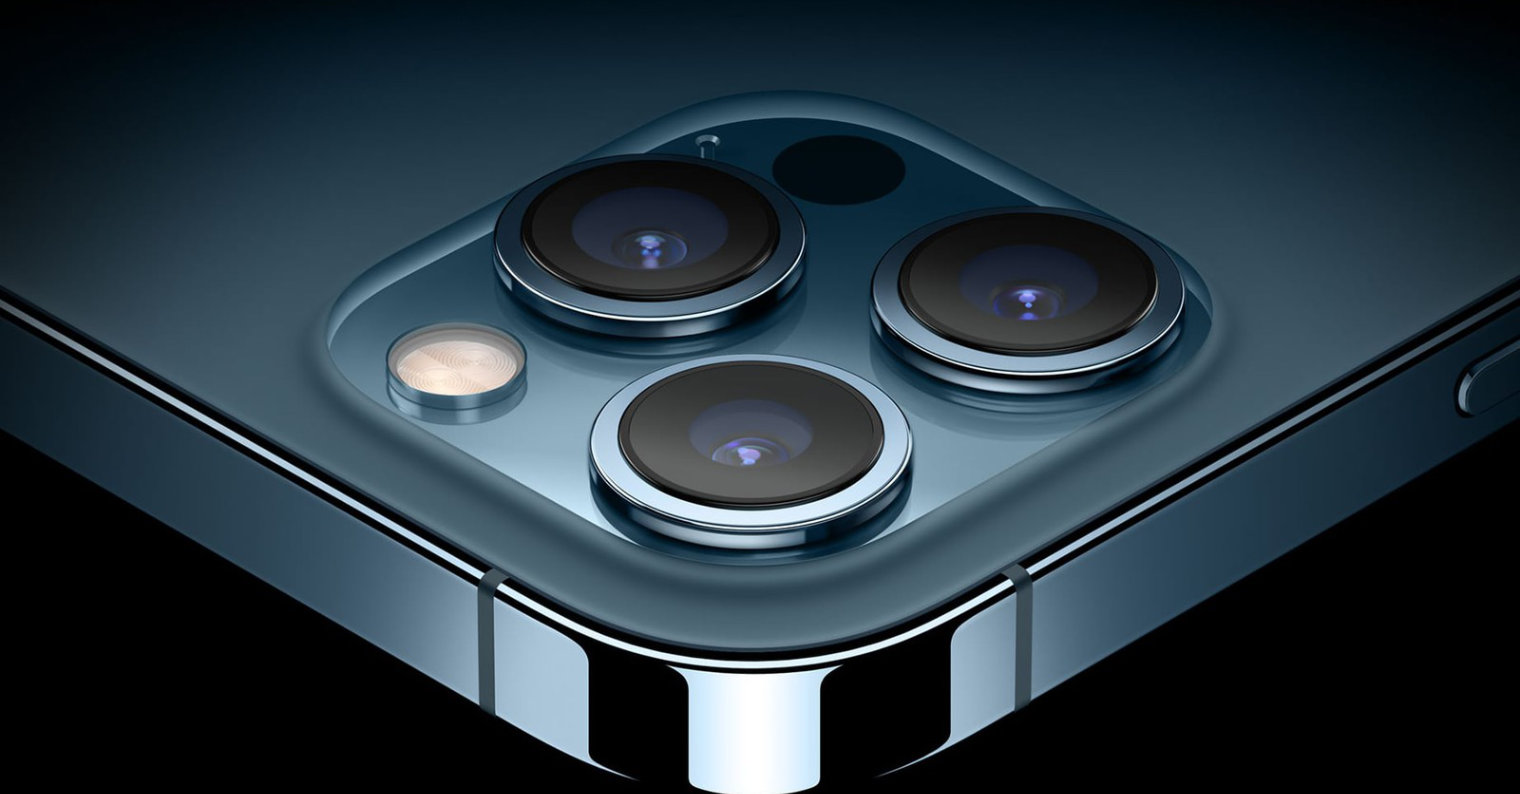
Deportment
Even though iPhones have optical stabilization since the 7 Plus model, it doesn't mean that it will ensure a 100% sharp image. This is of course especially in low light conditions. It is therefore advisable to have an ideal attitude for those photos that really matter to you. Obviously, you won't be taking snapshots that way, but where you have time to prepare, you'll maximize the result.
- Hold the phone in both hands
- Bend your elbows and rest them on your body/stomach
- Stand with both feet on the ground
- Bend your knees slightly
- Use the volume button instead of the on-screen trigger
- Only press the trigger when exhaling, when the human body trembles less
Composition
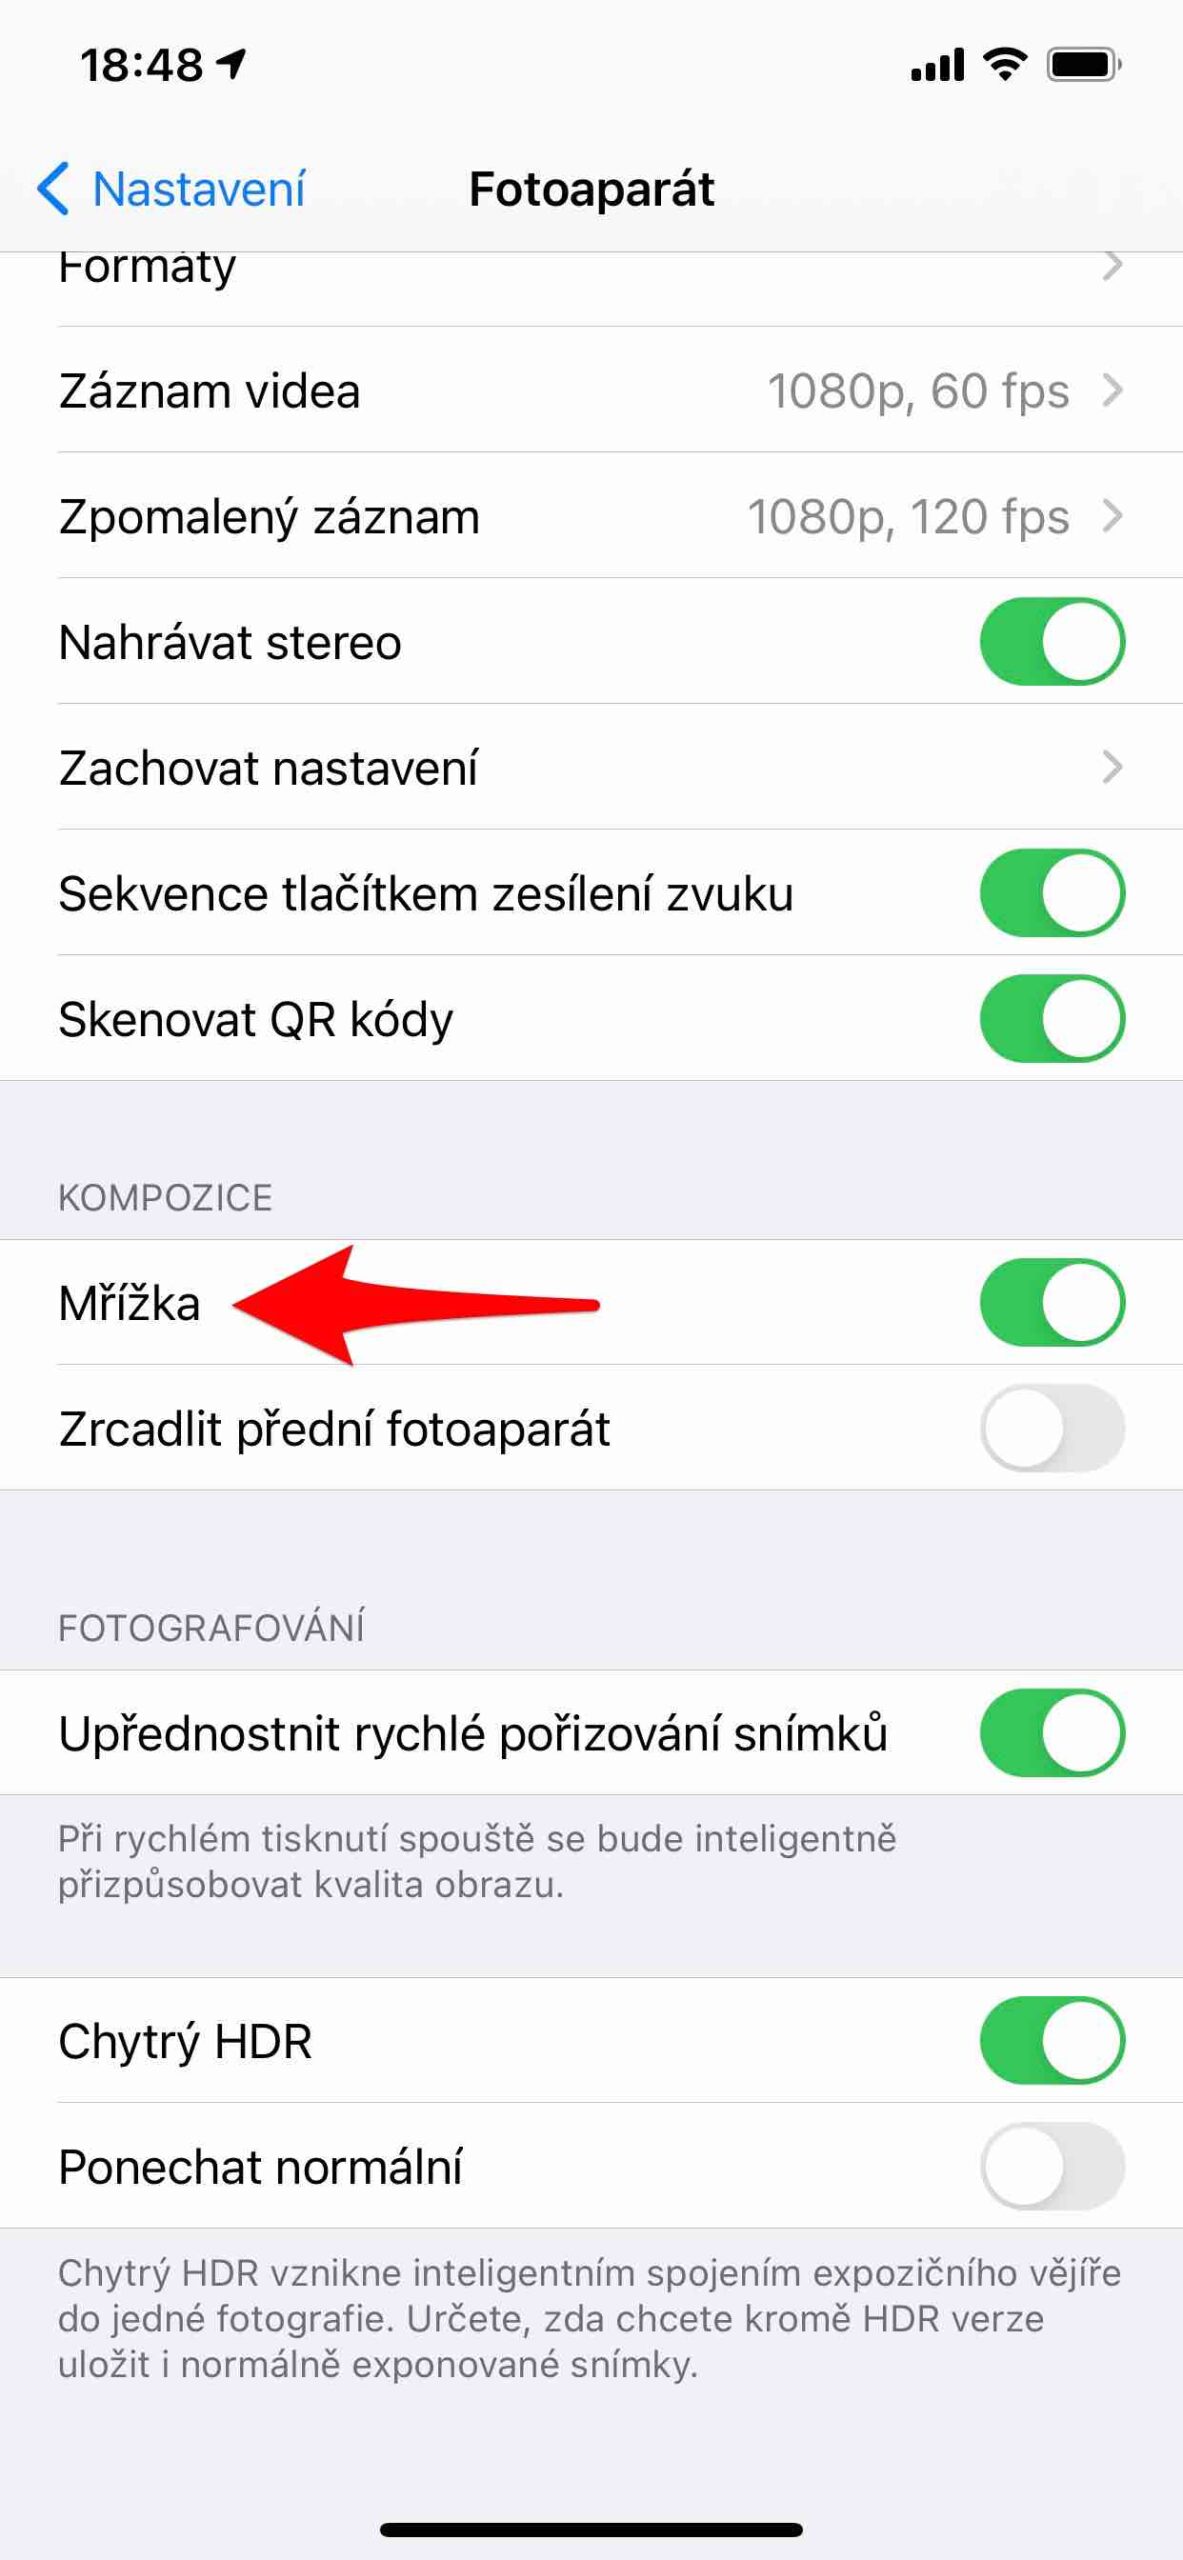
Correct composition is essential because it determines the "likability" of the result. So don't forget to turn on the grid in the settings. Make sure you have an even horizon and that the central subject is not in the center of the frame (unless you intentionally want it to be).
Self-timer
The camera interface will offer you a self-timer option. You can find it after launching the arrow and the clock icon. You can set it to 3 or 10, which is definitely not useful only for taking pictures of a group, so that you can get to the shot from the phone. Thanks to it, you will prevent the body from shaking when you press the shutter button and thus the possible blurring of the scene. You can also use wired headphones with volume control, Apple Watch or remote triggers - but more so if you're shooting with a tripod.
Do not use flash
Use the flash only if you are doing a backlit portrait where you can illuminate their face. At night, don't count on the fact that you will be able to conjure up who knows how miraculous scenes. So avoid using phone backlight whenever possible. If you need light, look elsewhere than the back of your iPhone (street lights, etc.).
It could be interest you

Do not use digital zoom
If you wanted to zoom, you would only degrade the result. You'll get closer to the scene, but the pixels will blend together and you won't want to look at a photo like that. If you want to zoom in on the scene, just use the number symbol next to the shutter button. Forget about the square, the use of which will only save you pixels.
Play with the exposure
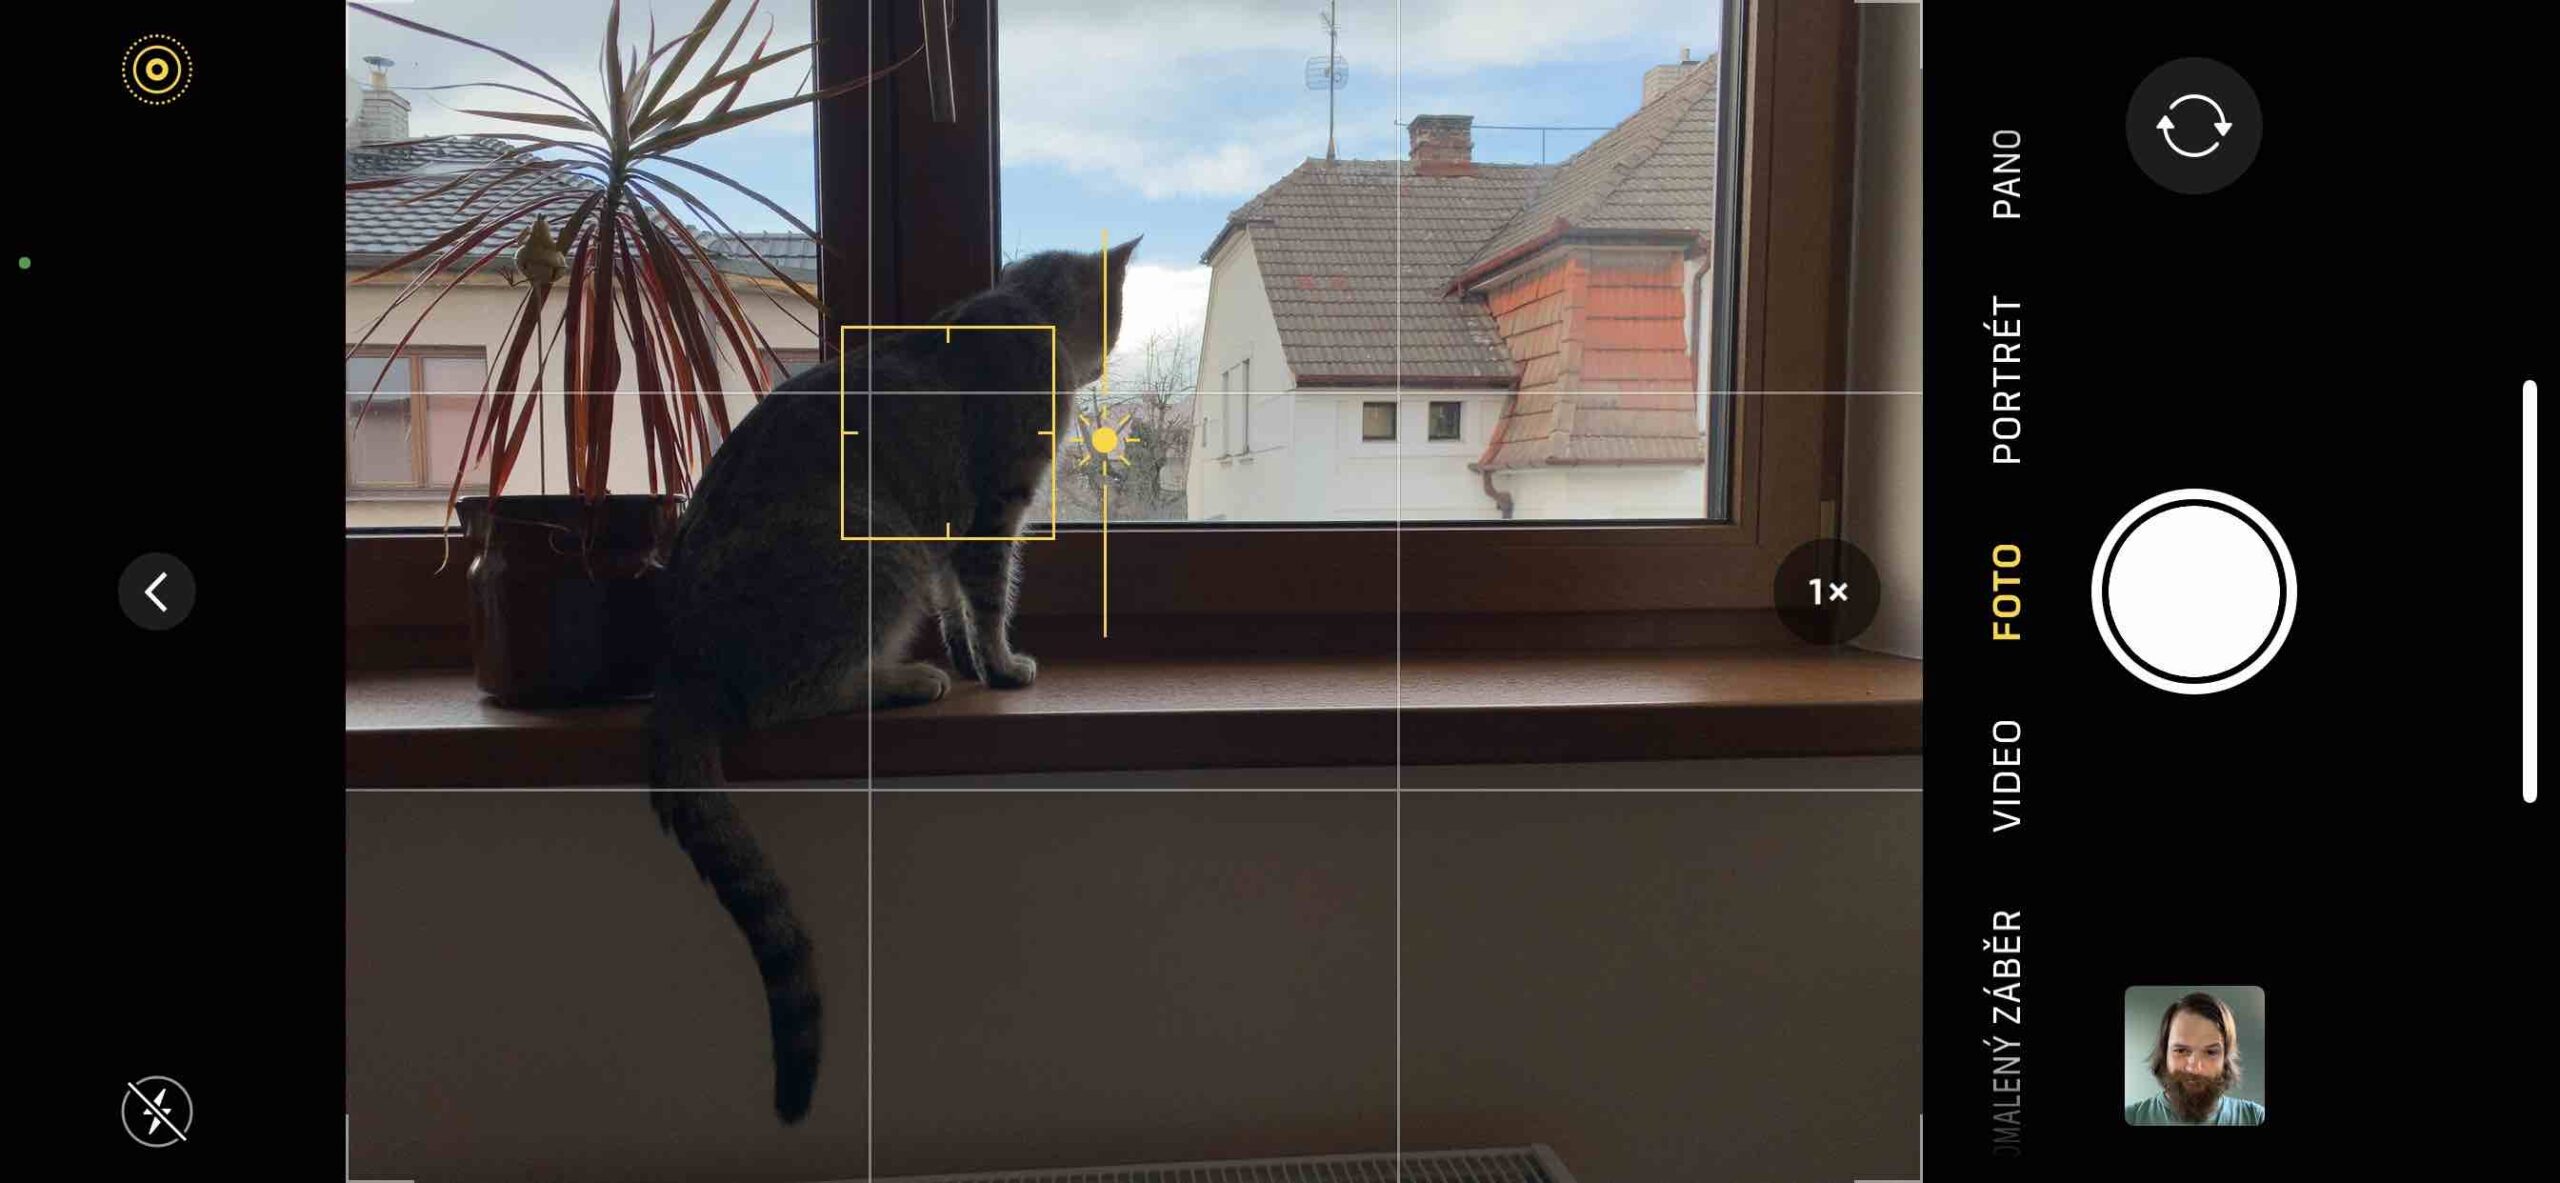
Save yourself the work of post-production by ideally exposing the picture when you take it. Tap on the display where you want to focus and how the exposure is calculated and just use the sun symbol to go up to lighten or down to darken.
Keep it charged
If you are going off-road, it is of course more than useful to have a charged battery. He might think it's automatic, but he often forgets it. It is ideal to have a backup power source in the form of an external battery at hand. Nowadays, it costs a few hundred kroner and can save you more than one great shot.
Note: The interface of the Camera app may differ slightly depending on the iPhone model and iOS version you are using.
 Adam Kos