The iPhone is a great companion for taking videos. In addition, the native iOS application Photos also offers a number of functions for basic editing of the pictures you take, and more demanding users can use a number of photo applications from the App Store. Nevertheless, it may happen that for any reason you want to work with photos from your iPhone in the Mac environment. In today's article, we will introduce you to five ways that you can easily and quickly transfer your photos from iPhone to Mac.
It could be interest you

AirDrop
For a long time, Apple's operating systems have offered the possibility of transferring content of all kinds with help the AirDrop feature. With the help of this function, you can send not only web links, but also photos and videos from one of your Apple devices to another. If you're new to Apple, you might find it helpful to know how to actually activate AirDrop on your iPhone. First of all, launch Settings and tap on General. Here, select AirDrop and choose who you want your device to be visible to for using AirDrop. For security reasons, the best solution is to set AirDrop visibility to contacts only. To activate AirDrop on a Mac, launch the Finder and choose AirDrop from the menu on the left side of the Finder window. After that, all you have to do is set the visibility. To actually send a photo via AirDrop from iPhone to Mac, first launch the native Photos app and select the image you want to send. Click the share icon in the lower left corner, choose AirDrop, and then click the name of your Mac in the list of devices.
Manual photo import
Moving photos using the AirDrop function is especially convenient when you are sending a small number of images. To transfer a larger number of photos, it will be better to choose a manual transfer. In addition to your iPhone and Mac, you will also need a cable to connect your Mac to your iPhone for this method of transfer. Once both devices are connected, launch the native Photos app on your Mac. Click on iPhone in the menu on the left side of the application window - you may need to unlock the iPhone itself. After that, all you have to do is select the photos and videos you want to move to your Mac in the application window and choose Import Selected.
It could be interest you

iCloud
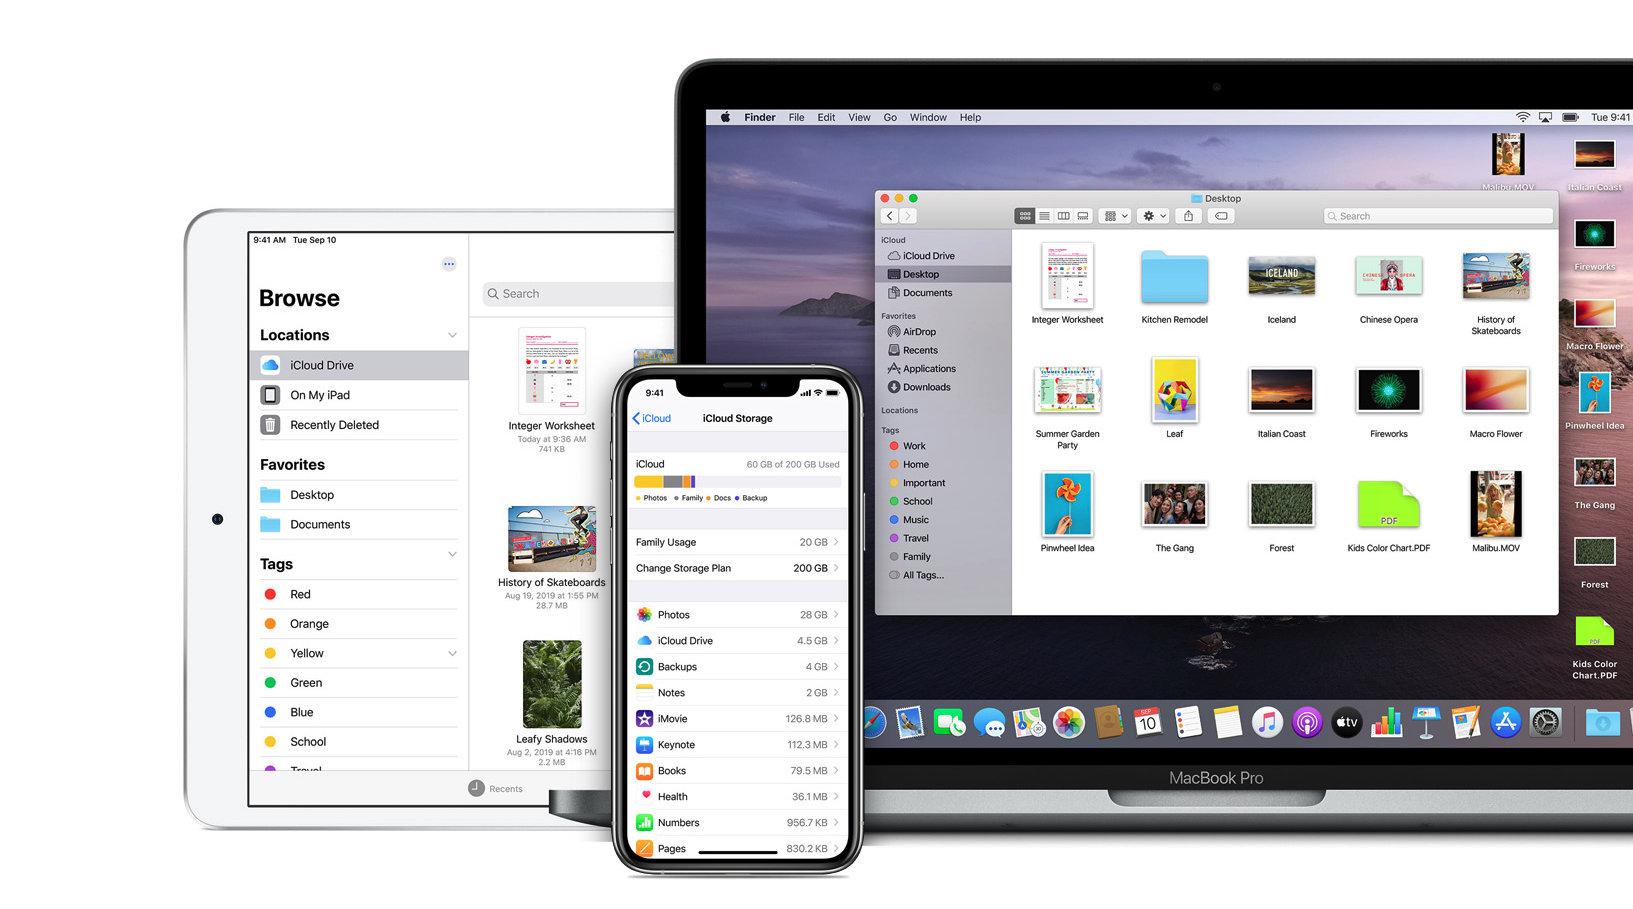
Another way to move photos from your iPhone to your Mac is to use iCloud. If you activate the Photo Library function on iCloud, you don't have to worry about anything else - the photos you take on your iPhone will be automatically stored in iCloud, from where you can "retrieve" them at any time from any other device that has access to this storage access. To activate iCloud Photos, go to Settings on your iPhone and tap Photos, then just activate iCloud Photos.
Third Party Cloud Services
A variety of third-party cloud services can also be a sure solution for moving photos from iPhone to Mac. Popular and reliable tools in this regard include, for example, Dropbox, OneDrive or Google Drive. Of course, the detailed procedures differ for individual applications, but the principle is the same – you upload photos to cloud storage on your iPhone, which you then download on your Mac, either from the website or from the relevant application. You can see a comparison of the most frequently used cloud services, for example, on our sister site.
It could be interest you
E-mail attachment
Another way to send photos from iPhone to Mac is to add them as an email attachment. Depending on which e-mail client you use on your iPhone, you simply add the photos as an attachment to an e-mail message that is then sent to your address. On the Mac, all you have to do is open the message and download the photos from the attachment to the computer's disk. You can find an overview of iPhone email clients in one of our older articles.
It could be interest you







 Flying around the world with Apple
The Photo Transfer App also works great. It is good in that it works with previews, you can set the resolution in which I want to transfer the photos, and I can delete them immediately after transferring them.
Hello, thank you for the tip, we will try :-).