Attachment test of attachments
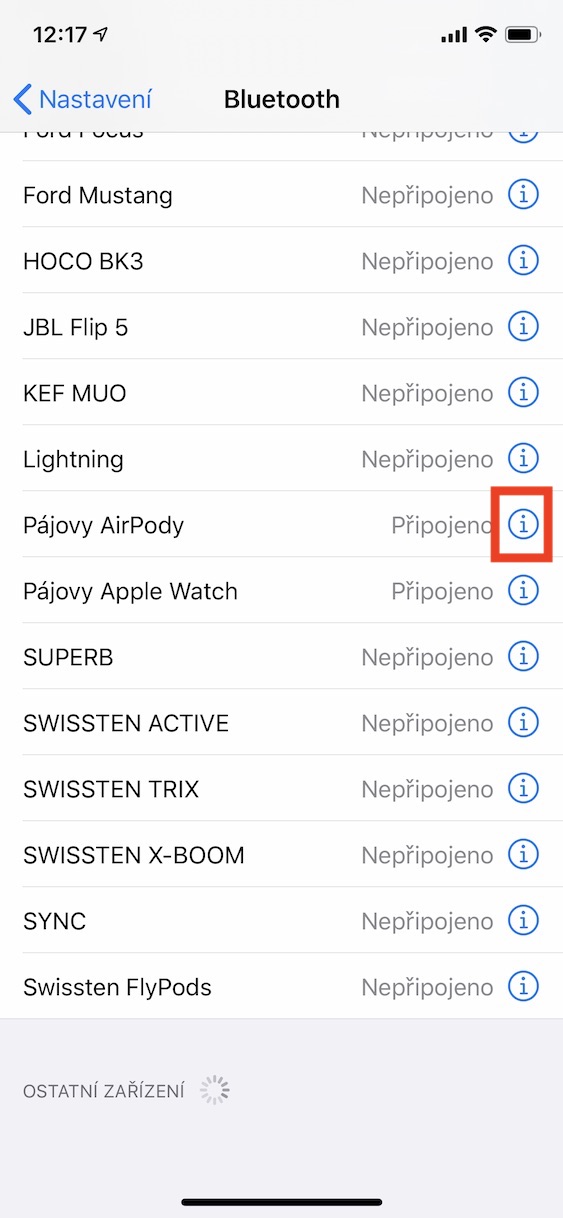
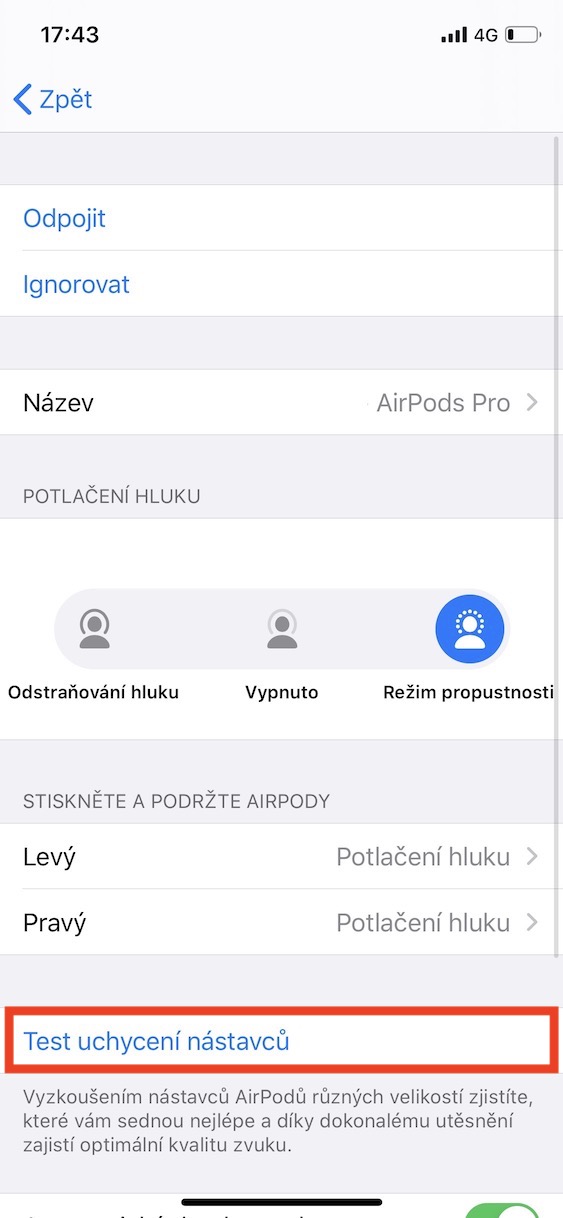
AirPods Pro are the only earphones from Apple with plugs. While the classic AirPods fit the majority of users, this cannot be said in the case of the AirPods Pro, as each user's ear is shaped differently. It is precisely for this reason that Apple includes earplugs of different sizes in the AirPods Pro package that you can replace. If you like it, don't be afraid to use a different attachment for each ear - this is how I have it, for example. And if you would like to make sure that the extensions fit you well, just run the attachment test. To do this, connect AirPods Pro to your iPhone, then go to Settings → Bluetooth, where you tap on ⓘ by your headphones and then press on Attachment test of attachments. Then just go through the guide.
Activate Optimized Charging
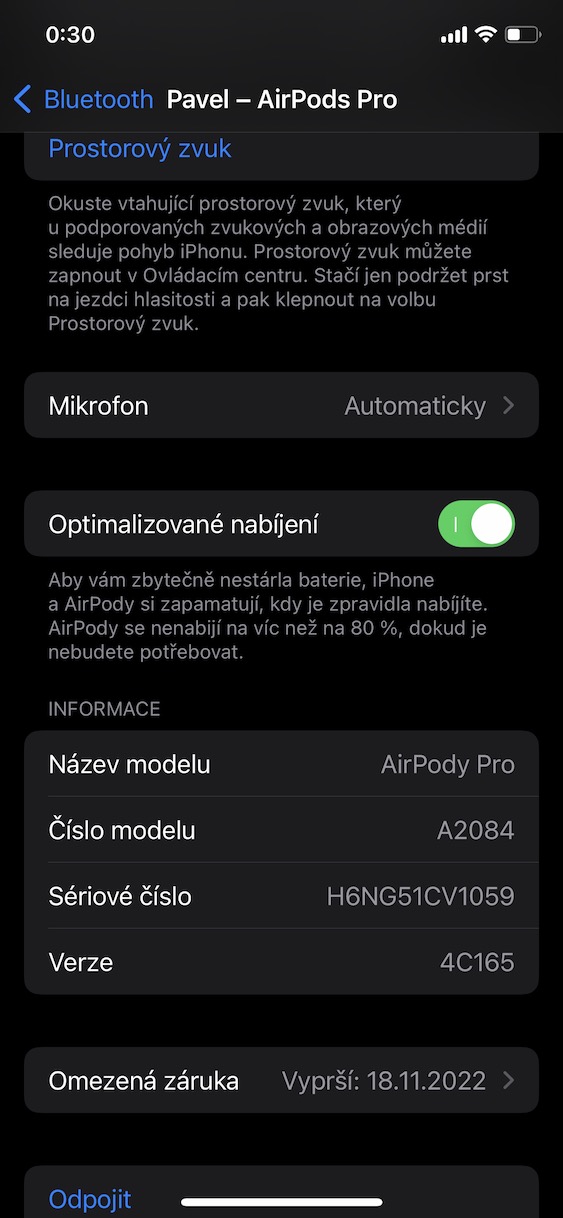
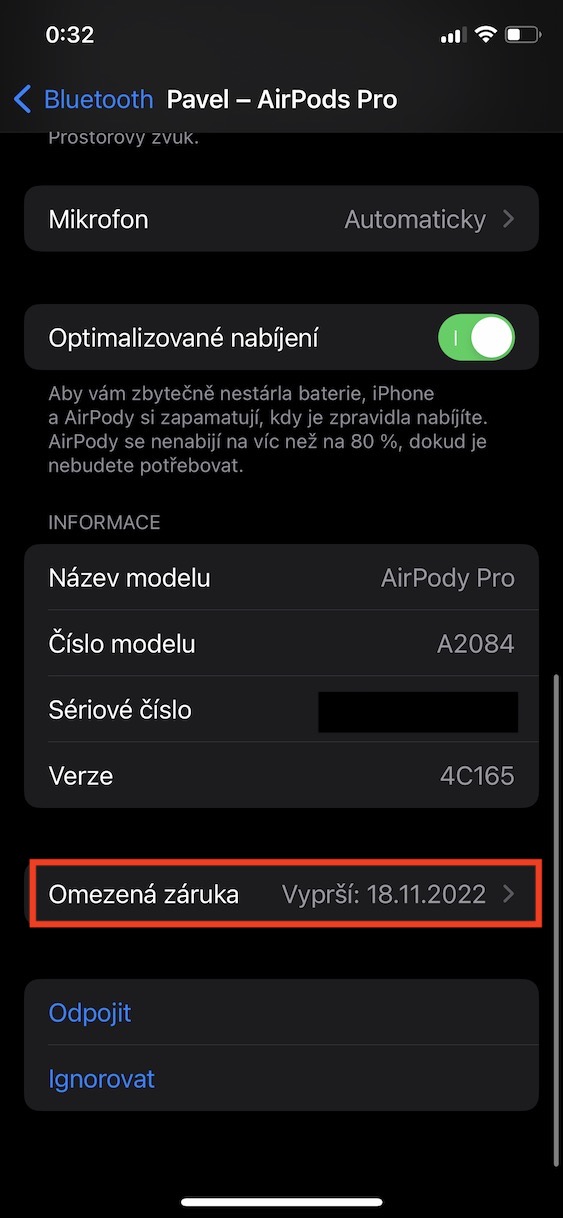
For a long time, iOS has included a function called Optimized charging, which has only one task - to extend the battery life of the Apple phone. If you activate this function, the iPhone will remember how you most often charge the phone and create a kind of charging "scheme". Thanks to it, the battery is not immediately charged to 100%, but only to 80%, with the remaining 20% being charged just before you remove the iPhone from the charger. Of course, this works best if you charge your iPhone regularly at night. In general, it is best for a battery to be in the range of 20% to 80% charge, as this is the range where the least degradation of properties occurs. Optimized charging can also be used with AirPods Pro. You can activate in Settings → Bluetooth, where for your AirPods Pro, tap ⓘ, and then below enable Optimized charging.
Experience surround sound
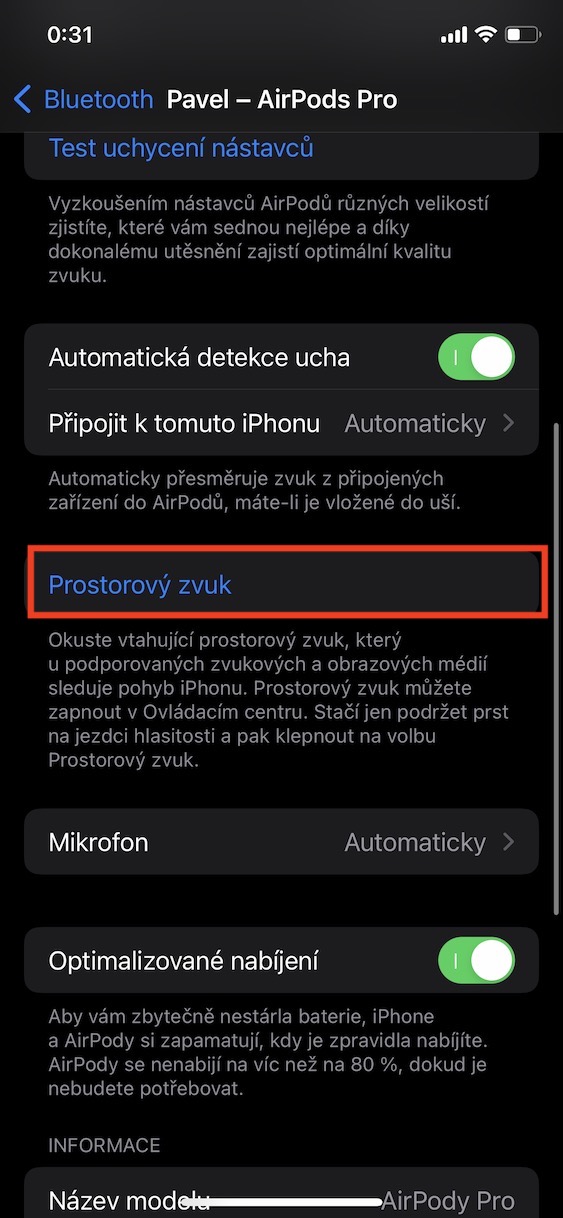
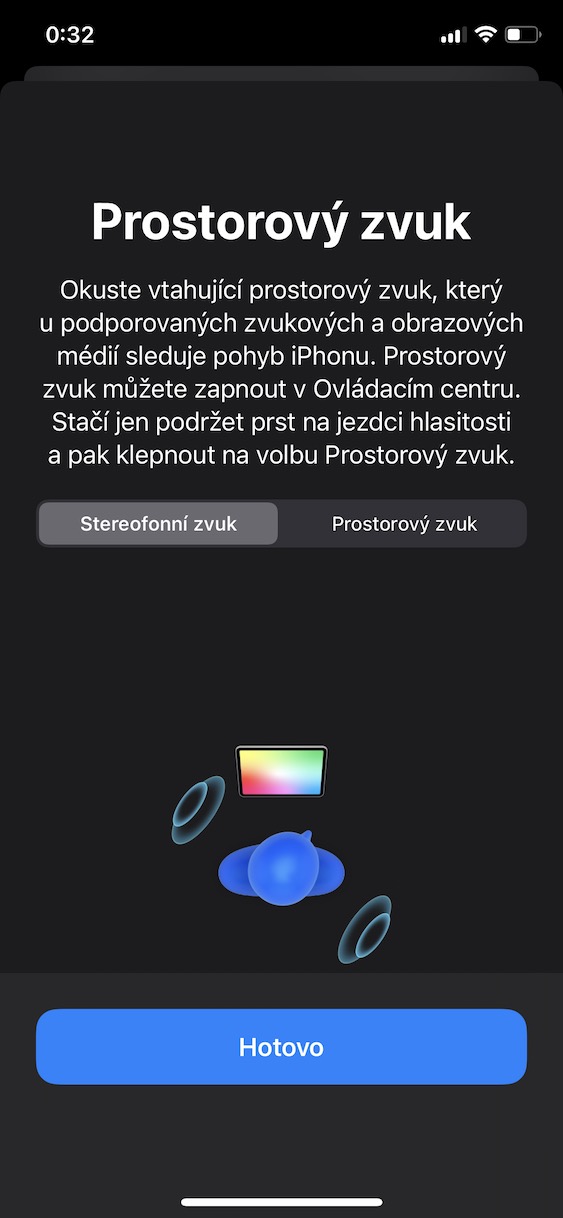
If you follow the events in the world of Apple, you surely know that AirPods Pro can play surround sound. With supported audio and video media, it can follow the movement of the iPhone and draw you into the action much better. With the arrival of iOS 15, it is possible to use surround sound practically anywhere, but it is services from Apple, i.e. for example Music and TV+ that offer the best experience. If you don't use these services and would like to find out how good surround sound can sound, just go to Settings → Bluetooth, where for your AirPods Pro, tap ⓘ. Then tap on the option below surround sound, which puts you in an interface where you can compare normal stereo sound and surround sound. Maybe this demo will convince you to subscribe to Music instead of Spotify. Of course, you must have AirPods Pro connected. Surround sound can then be (de)activated also in the control center, where you hold your finger on the volume tile, where you can find the option below.
Custom sound settings
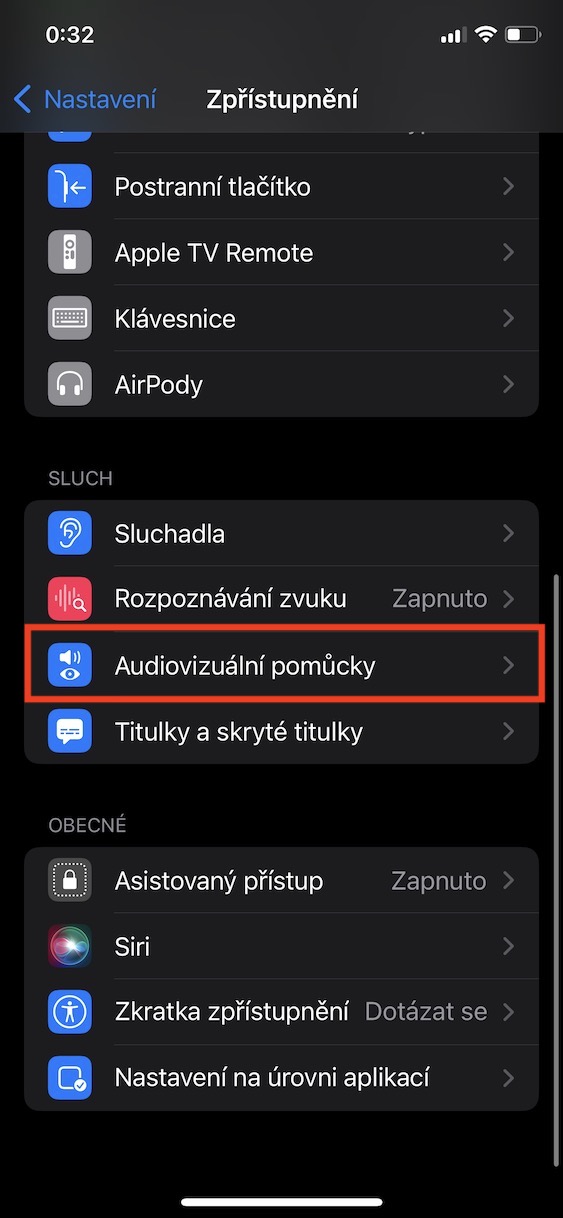
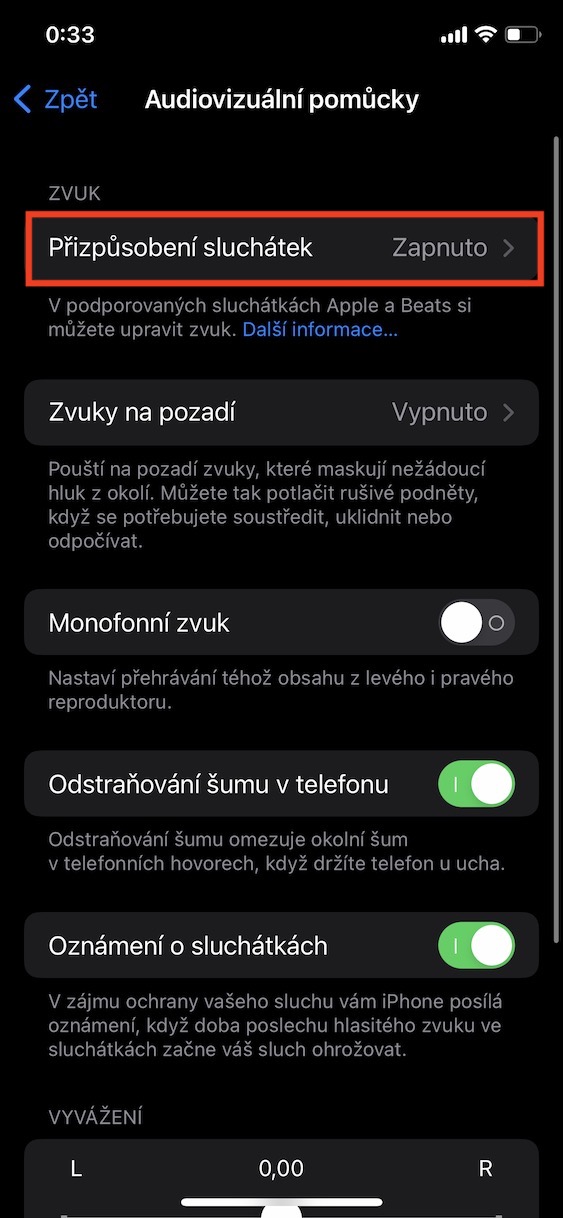
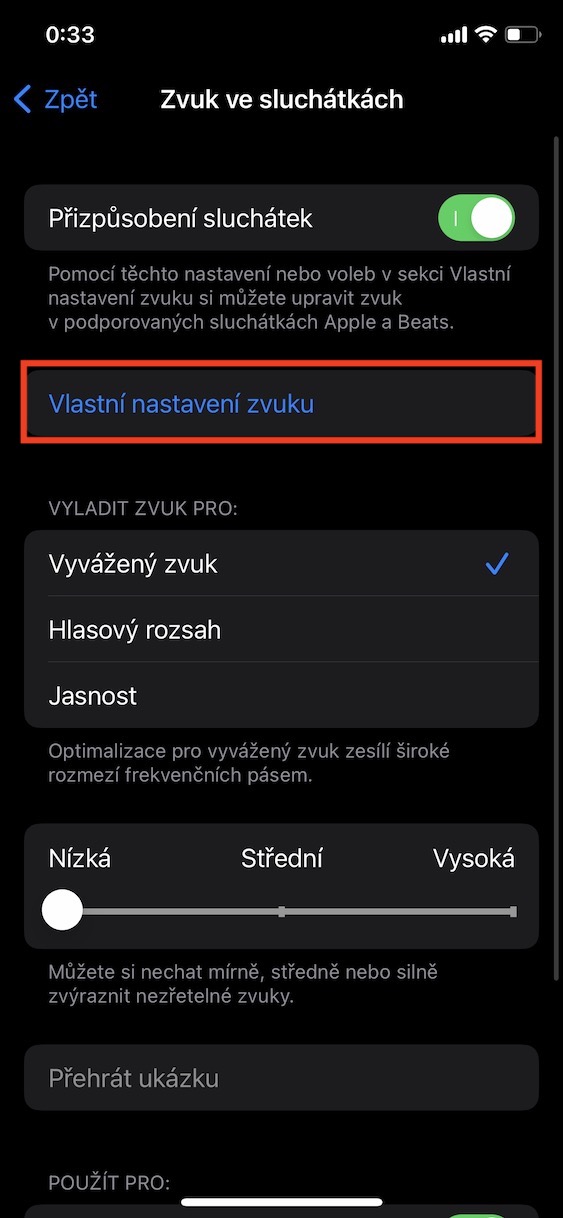
As I mentioned on one of the previous pages, each of us has different ears. And the same is true of how each of us hears sounds. So if the native sound from AirPods Pro or other supported headphones from Apple or Beats does not suit you, then I have good news for you. In iOS, you can completely customize the sound to your own image, which will definitely be used by many of you. Unfortunately, this option is slightly hidden, so you won't find it easily. To set your own sound from the headphones, you must go to Settings → Accessibility → Audiovisual aids → Headphone customization. Here using the switch this function activate and then after tapping on Custom sound settings go through the wizard with headphones connected to adjust the sound to your taste.
Check the validity of the limited warranty
When you buy any device (not only) from Apple in the Czech Republic, you get a two-year warranty for it by law. But this is certainly not the case all over the world. Apple provides its own one-year warranty for its devices - it differs from the legal one in that, for example, you can bring your non-functional device to any authorized Apple service center in the world for a claim. Apple's one-year warranty starts on the day you activated the device. For a long time now, you can view the validity of the warranty on your iPhone directly in iOS, but you can also view this information on AirPods. Just connect them, and then go to Settings → Bluetooth, where for your headphones, tap ⓘ. Here, then go all the way down and click on the box Limited Warranty. Here you will already see when the warranty expires, as well as what is covered by the warranty, along with other information.

