If you follow our magazine, you surely know that from time to time an article from me will appear in it, in which I somehow deal with the repair of iPhones or other Apple devices. In addition to trying to introduce you, our readers, to the issue of repair, I also try to pass on to you the experience, knowledge, tips and tricks that I have acquired during my "repair career". For example, we have already looked at basic tips and tricks for home repairers, in addition we have also talked more about how Touch ID or Face ID works, or other components. In this article, I would like to share with you 5 things that any home repairer of iPhones or other Apple devices should not miss. This is purely my list of things that I could not do without during repairs, or things that can make repairs more pleasant or easier.
It could be interest you
iFixit Pro Tech Toolkit
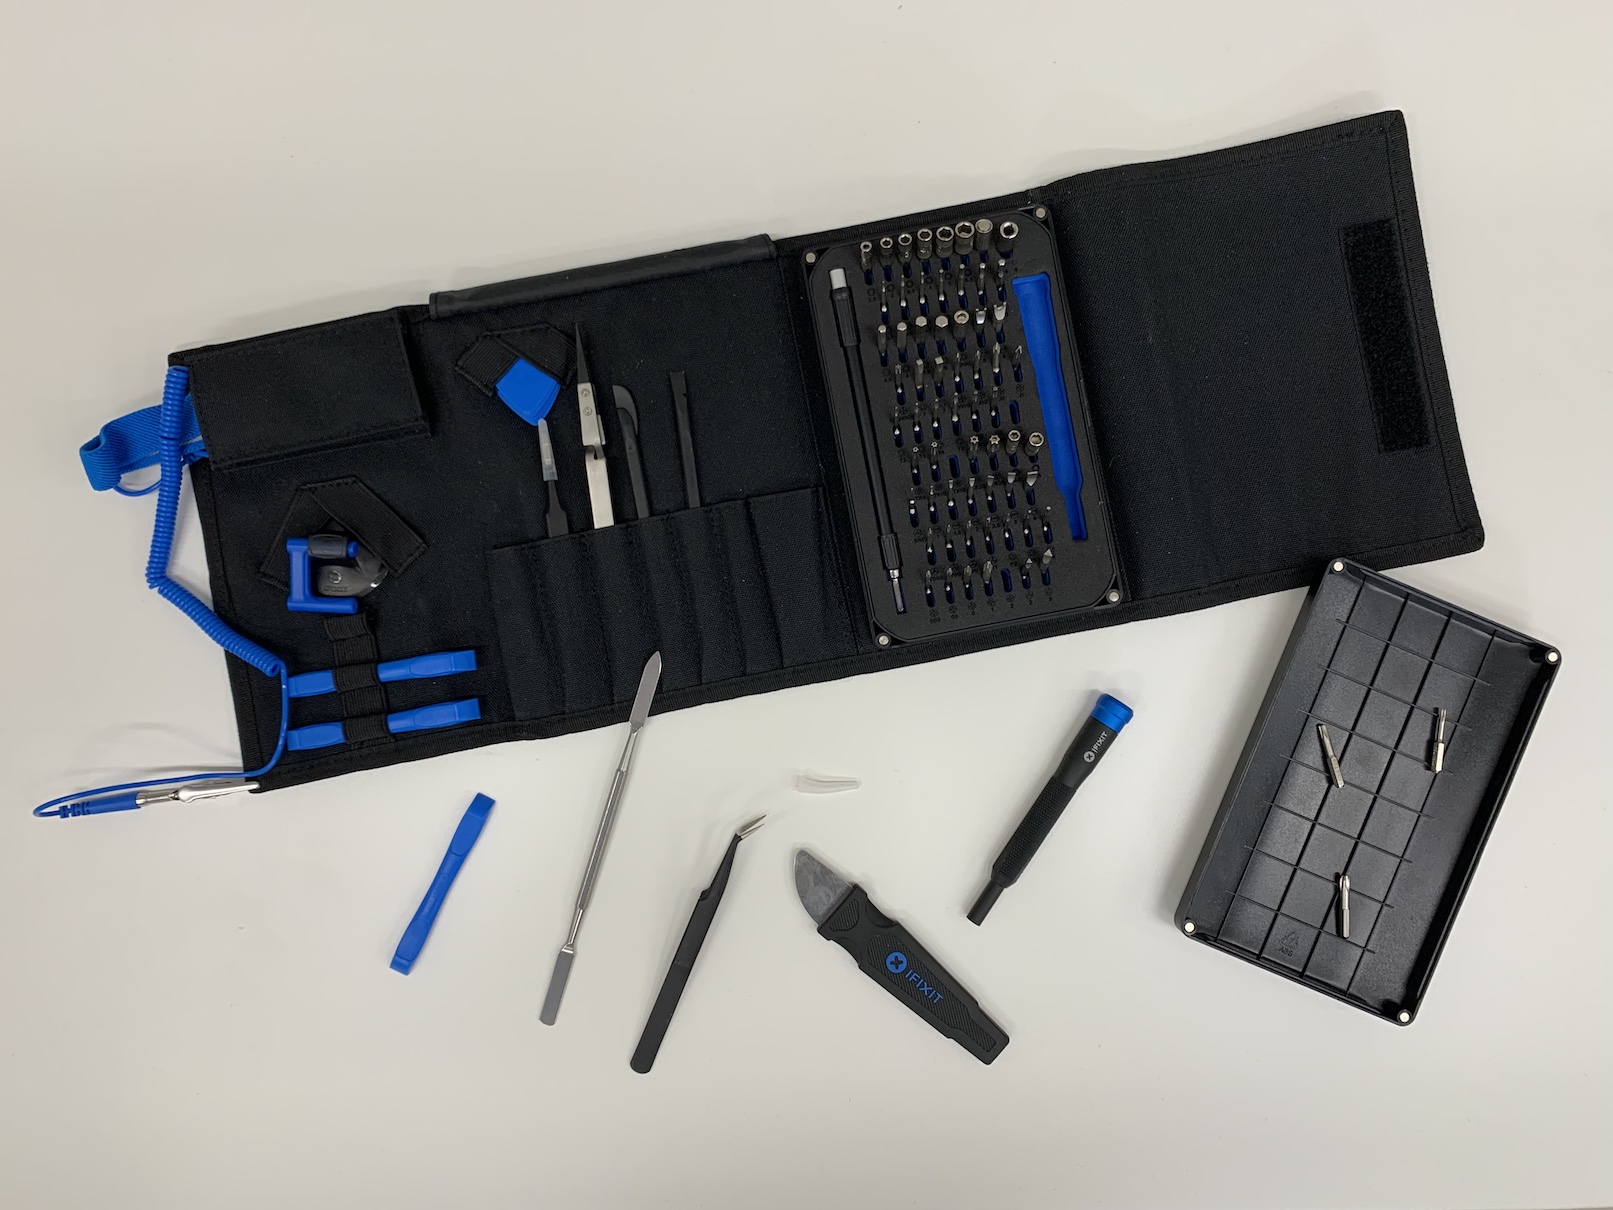
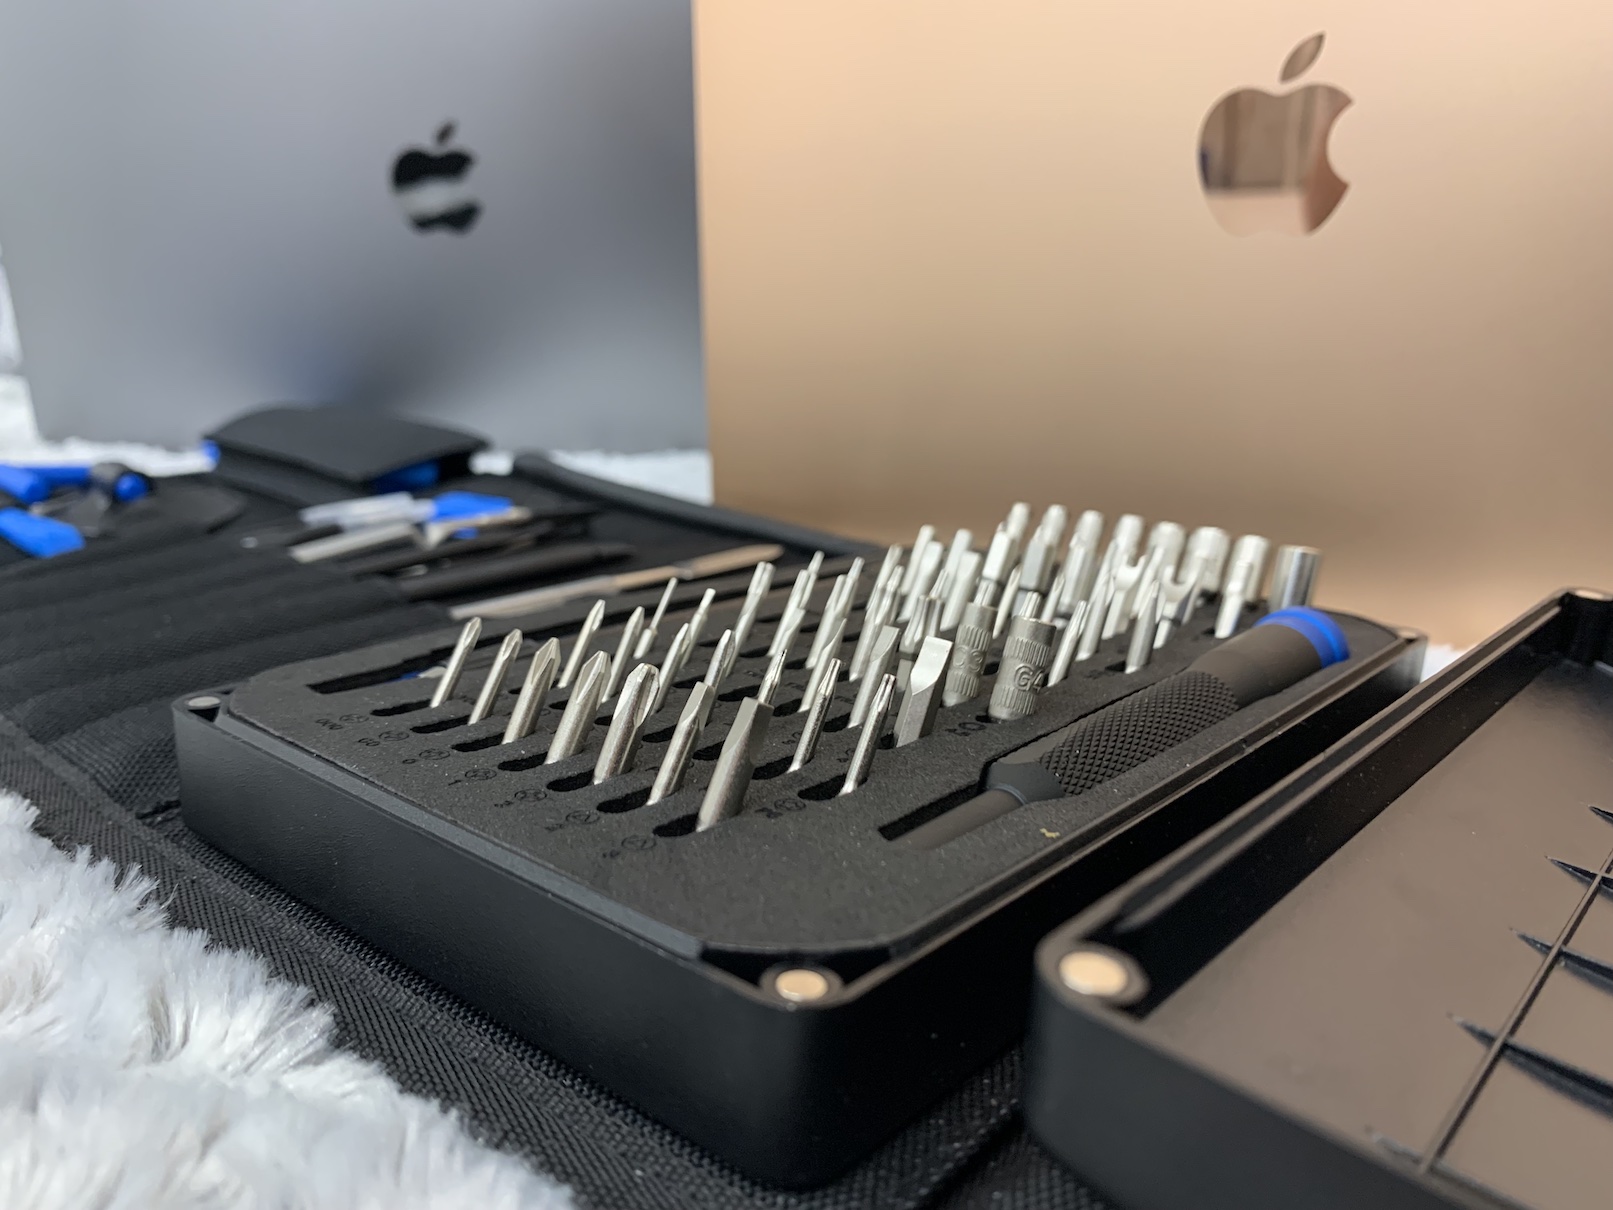
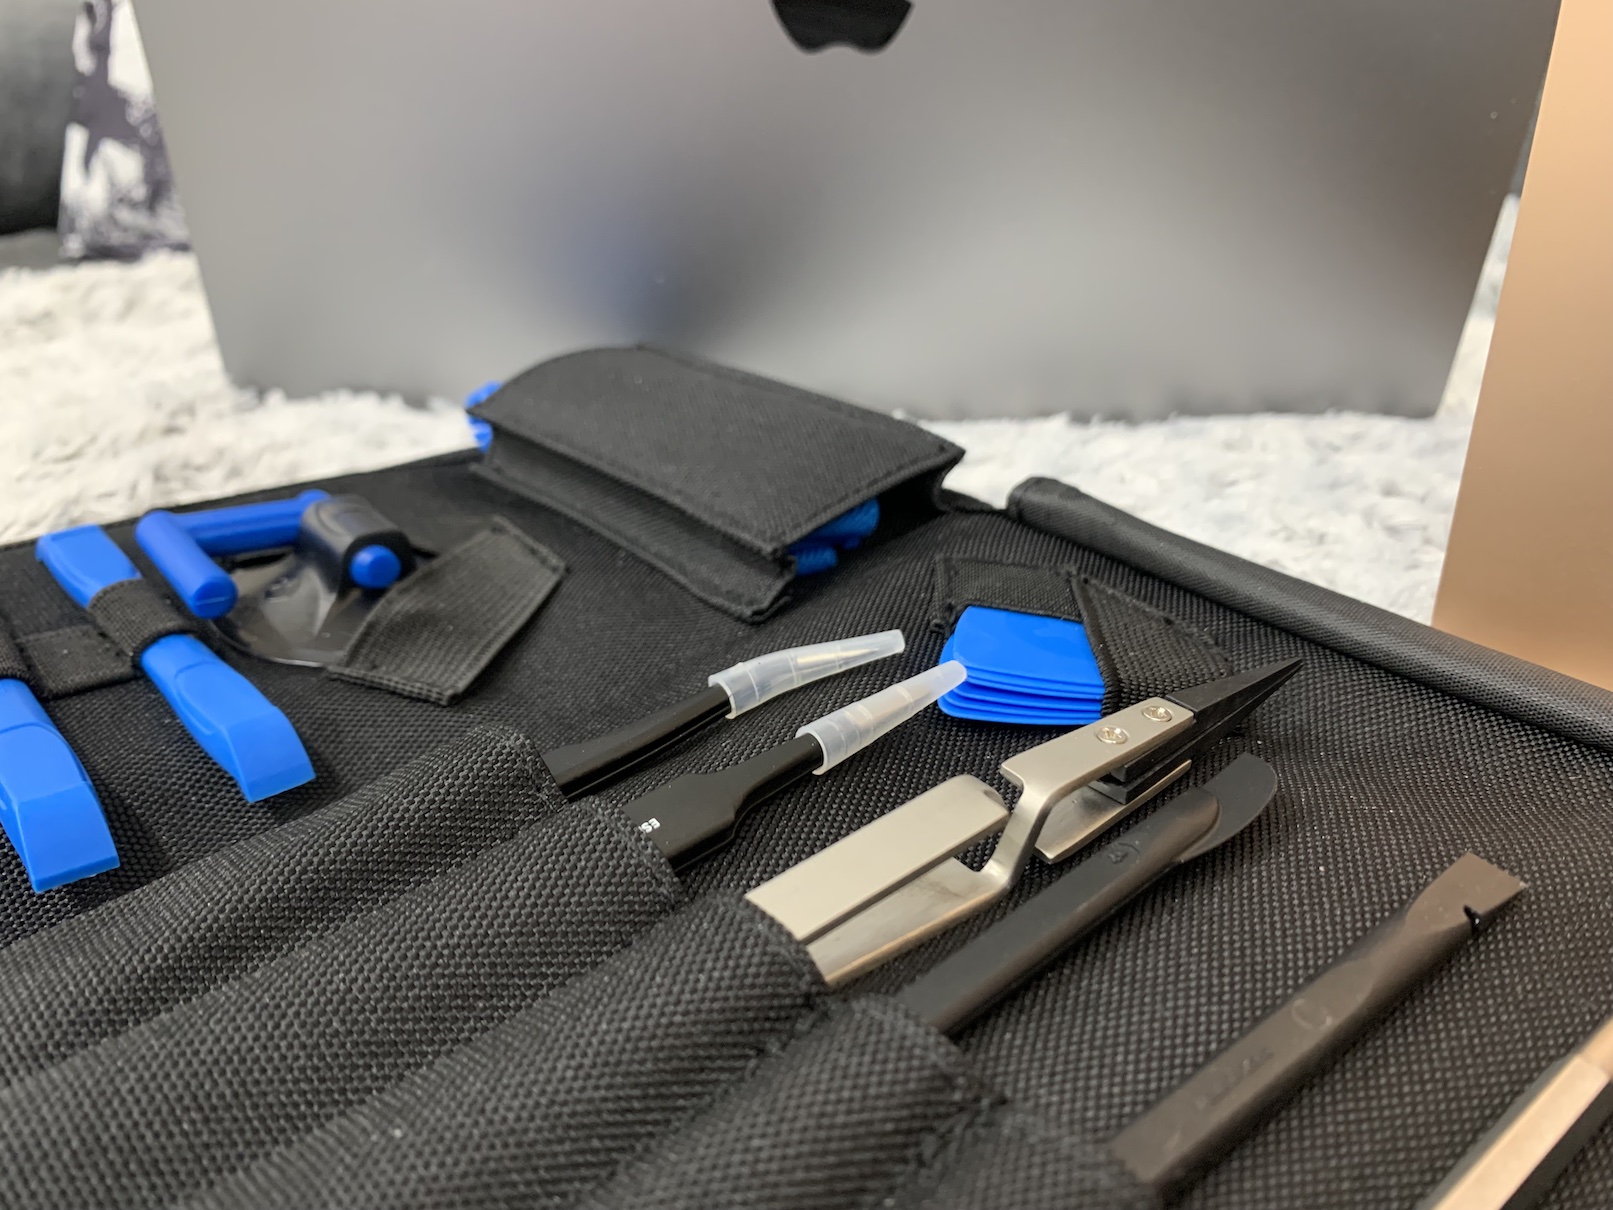
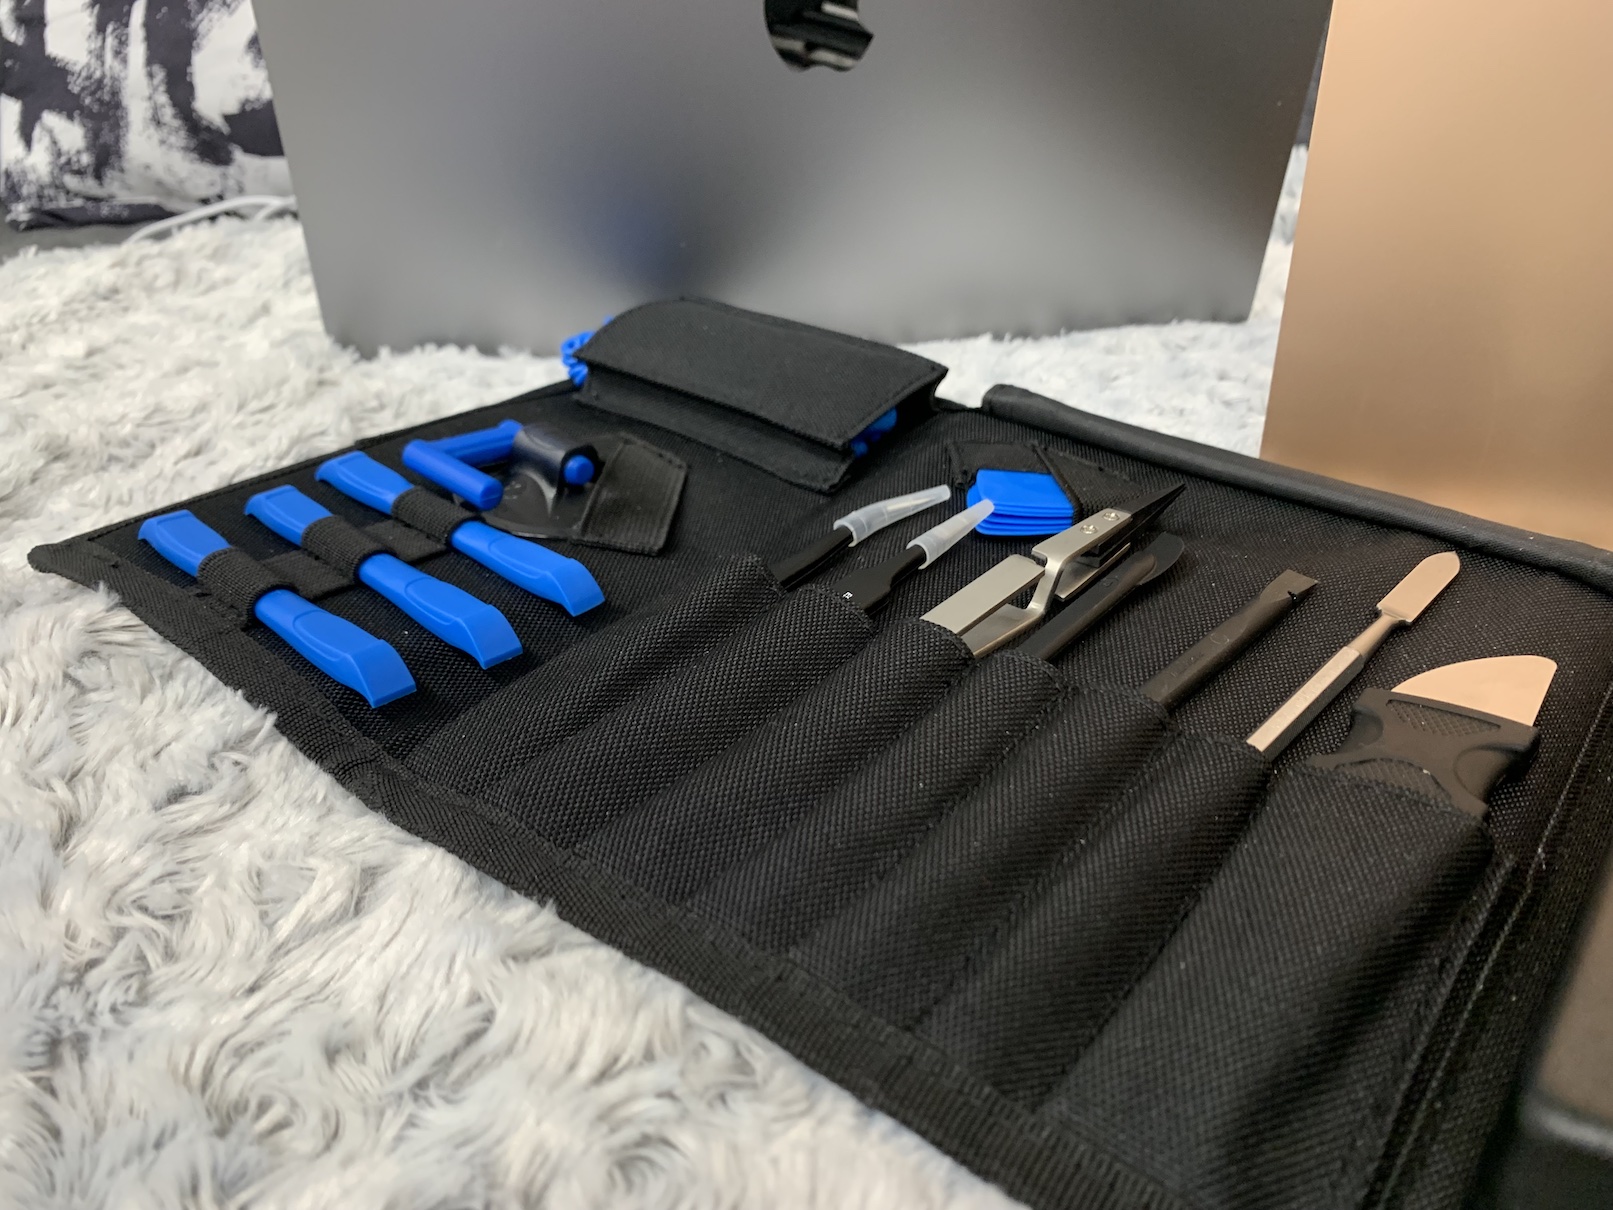
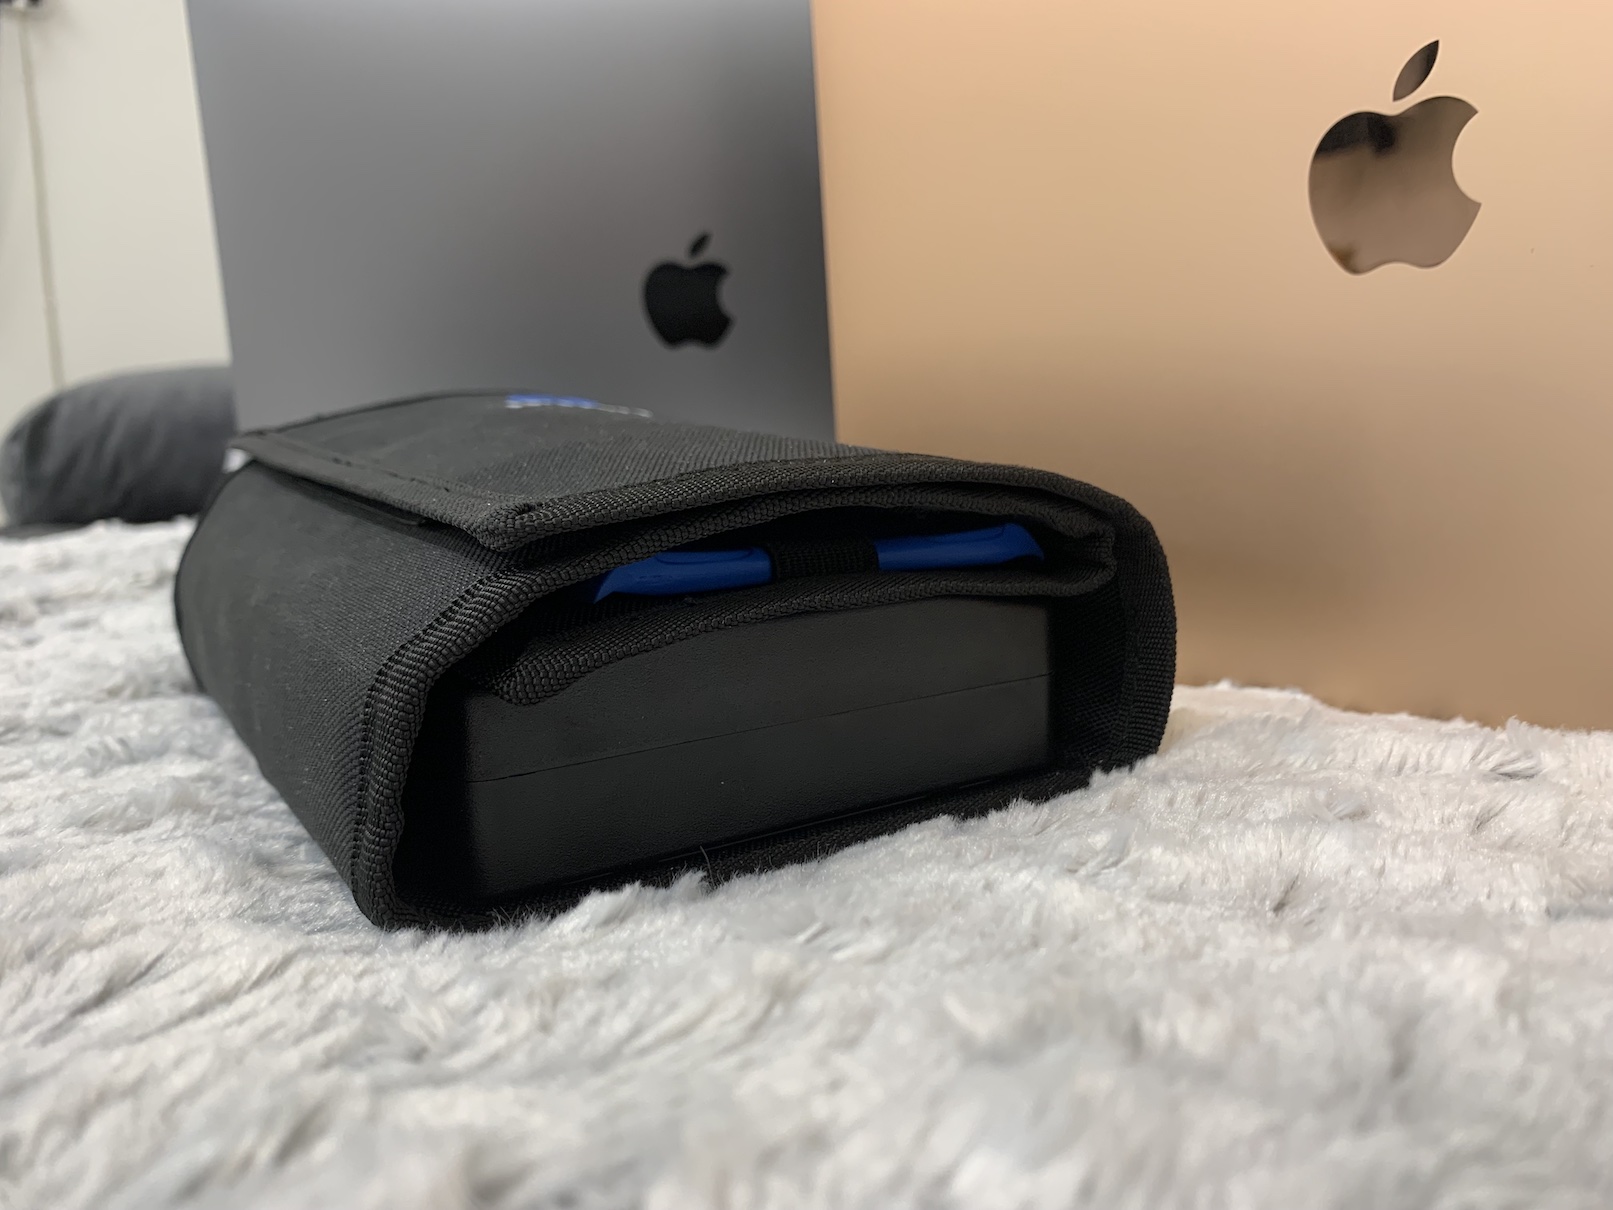
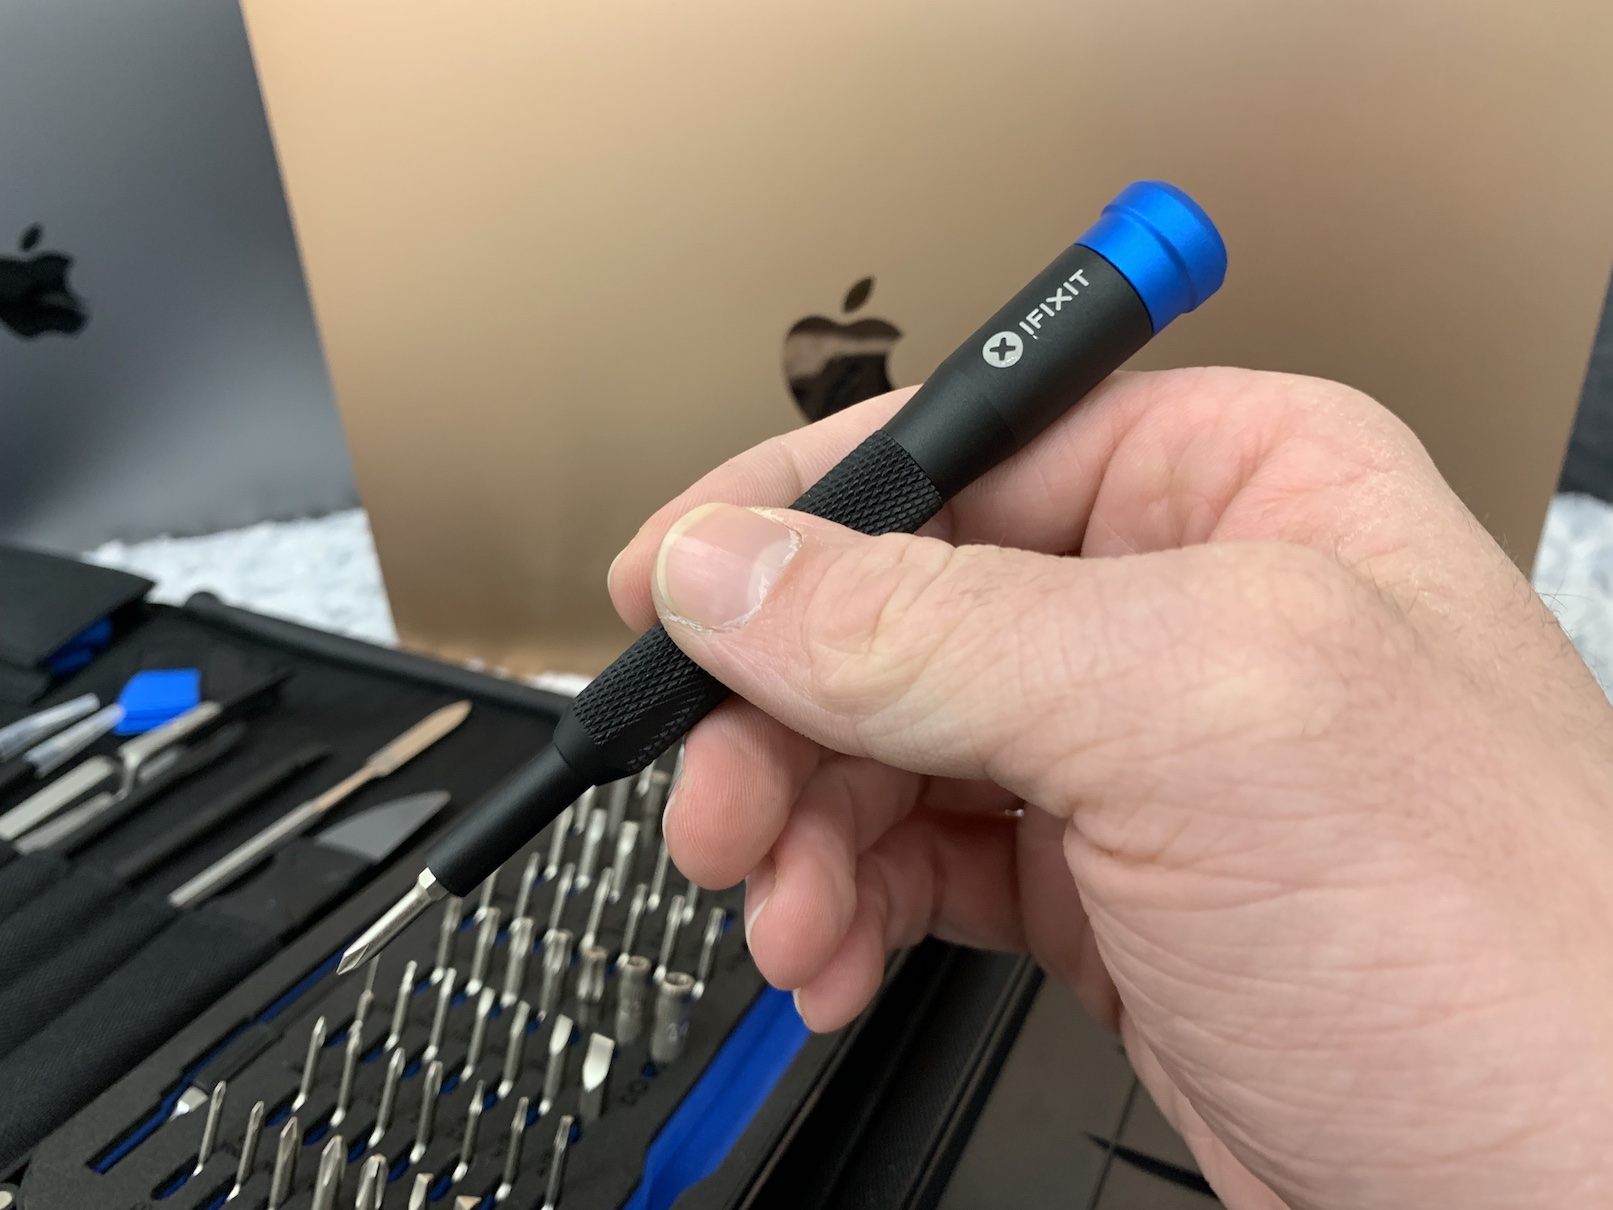
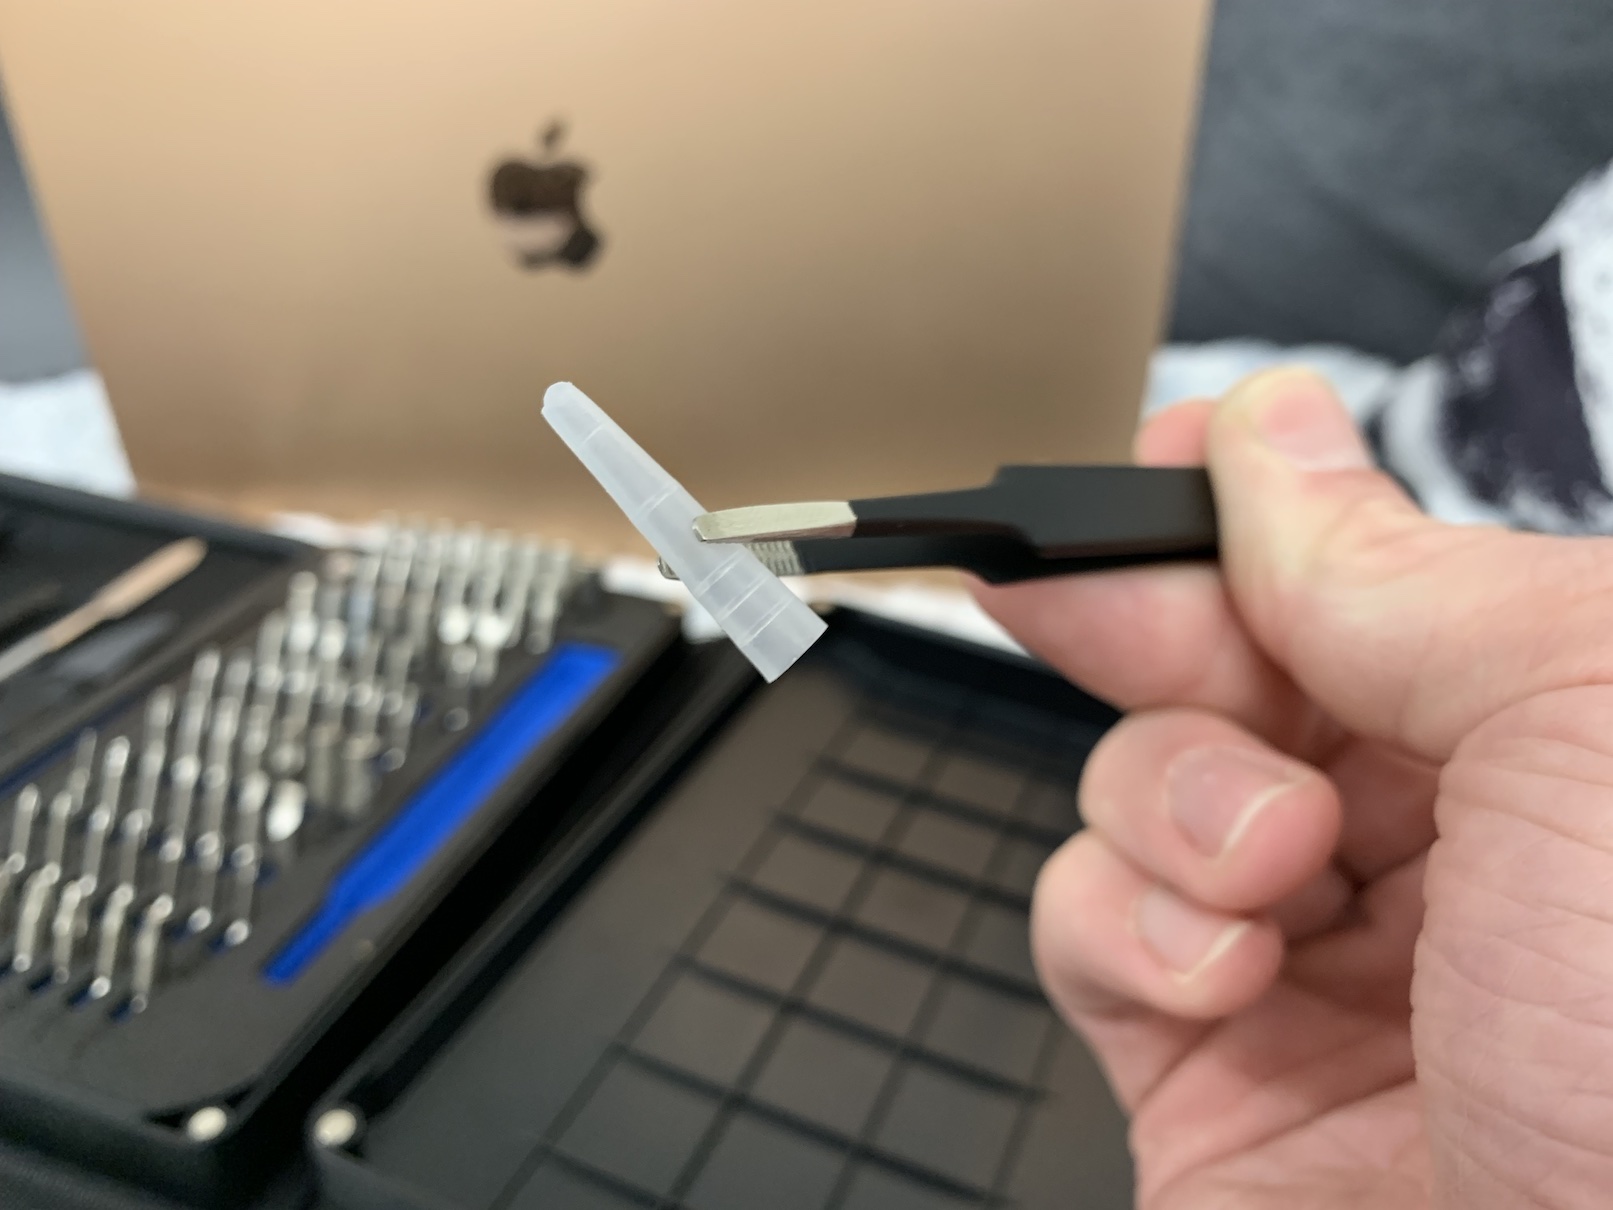
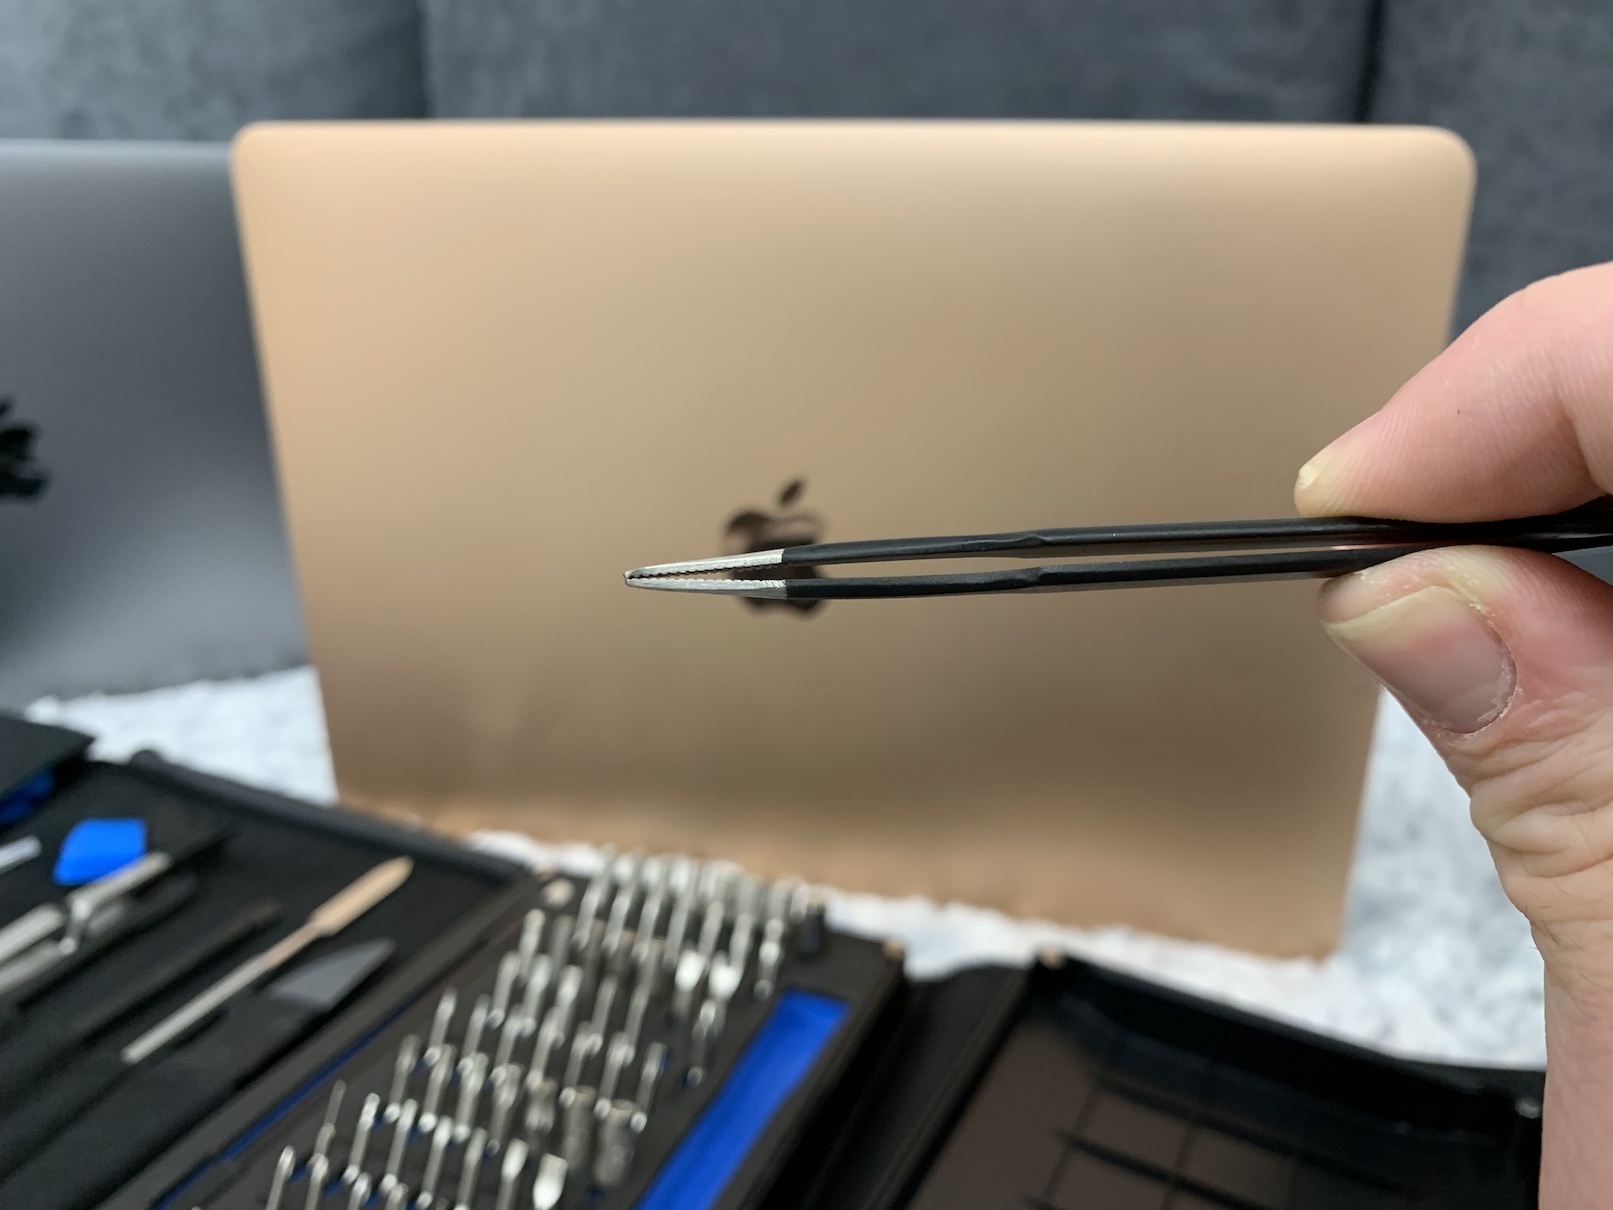
How else should I experience this article than iFixit Pro Tech Toolkit. This is probably the best set of equipment repair tools you can find in the world. You will find absolutely everything you could ever need in it. Includes tweezers, plastic and metal pry bars, anti-static wristband, picks, large suction cup, dozens of bits with two screwdrivers and much more. This set will also please you in terms of quality - I have personally been using it for over a year straight and all the tools are in perfect order. In addition, during this year I have never had any tools or implements missing from my kit. In addition, by purchasing the iFixit Pro Tech Toolkit, you get a lifetime option to replace any damaged tools. If you buy this set once, you will neither need nor want another. Although it costs 1 crowns, it is definitely worth the money. For my iFixit Pro Tech Toolkit review, click here.
You can buy the iFixit Pro Tech Toolkit here
Silicone and magnetic pad
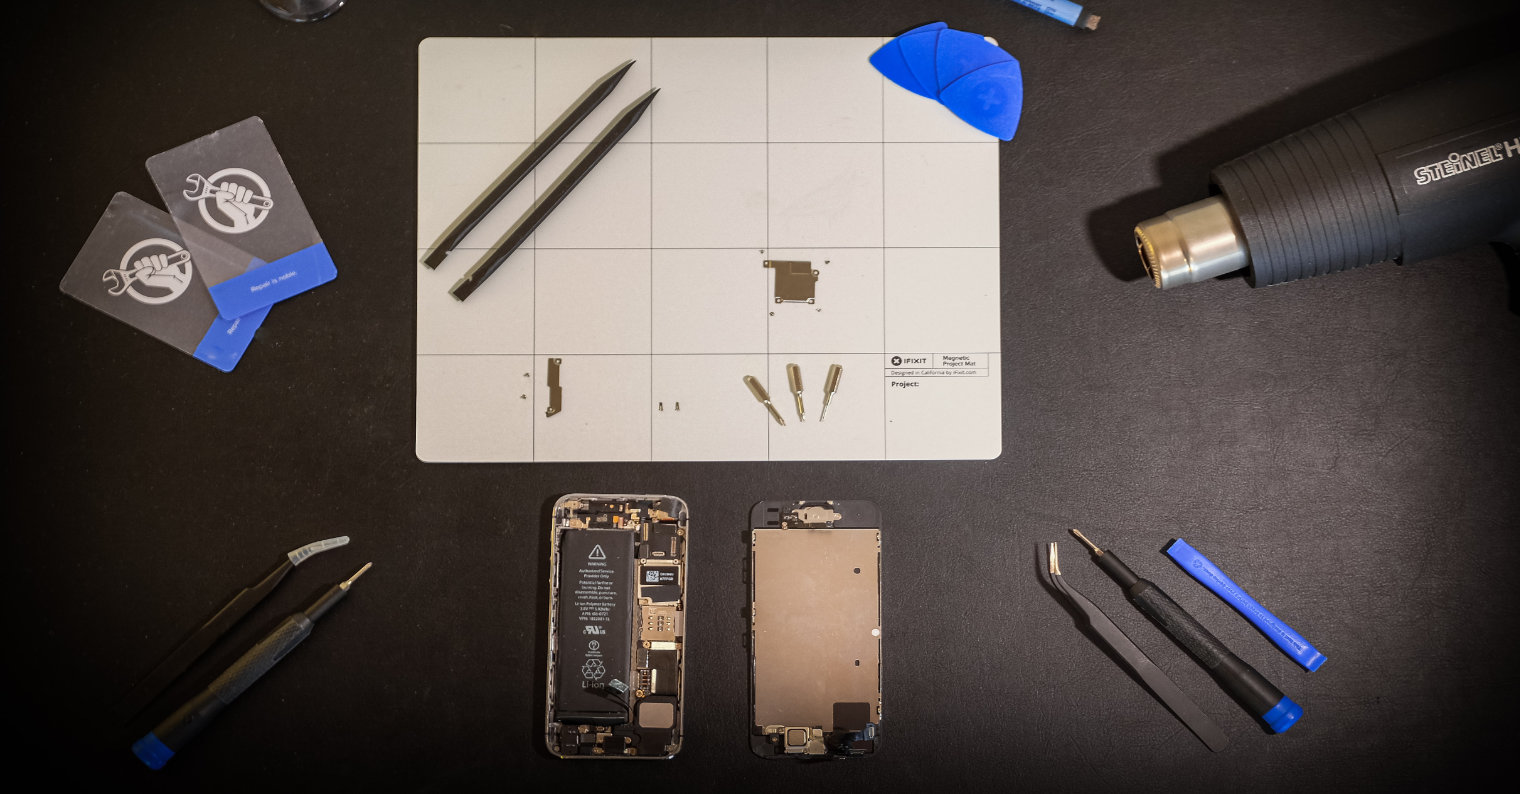
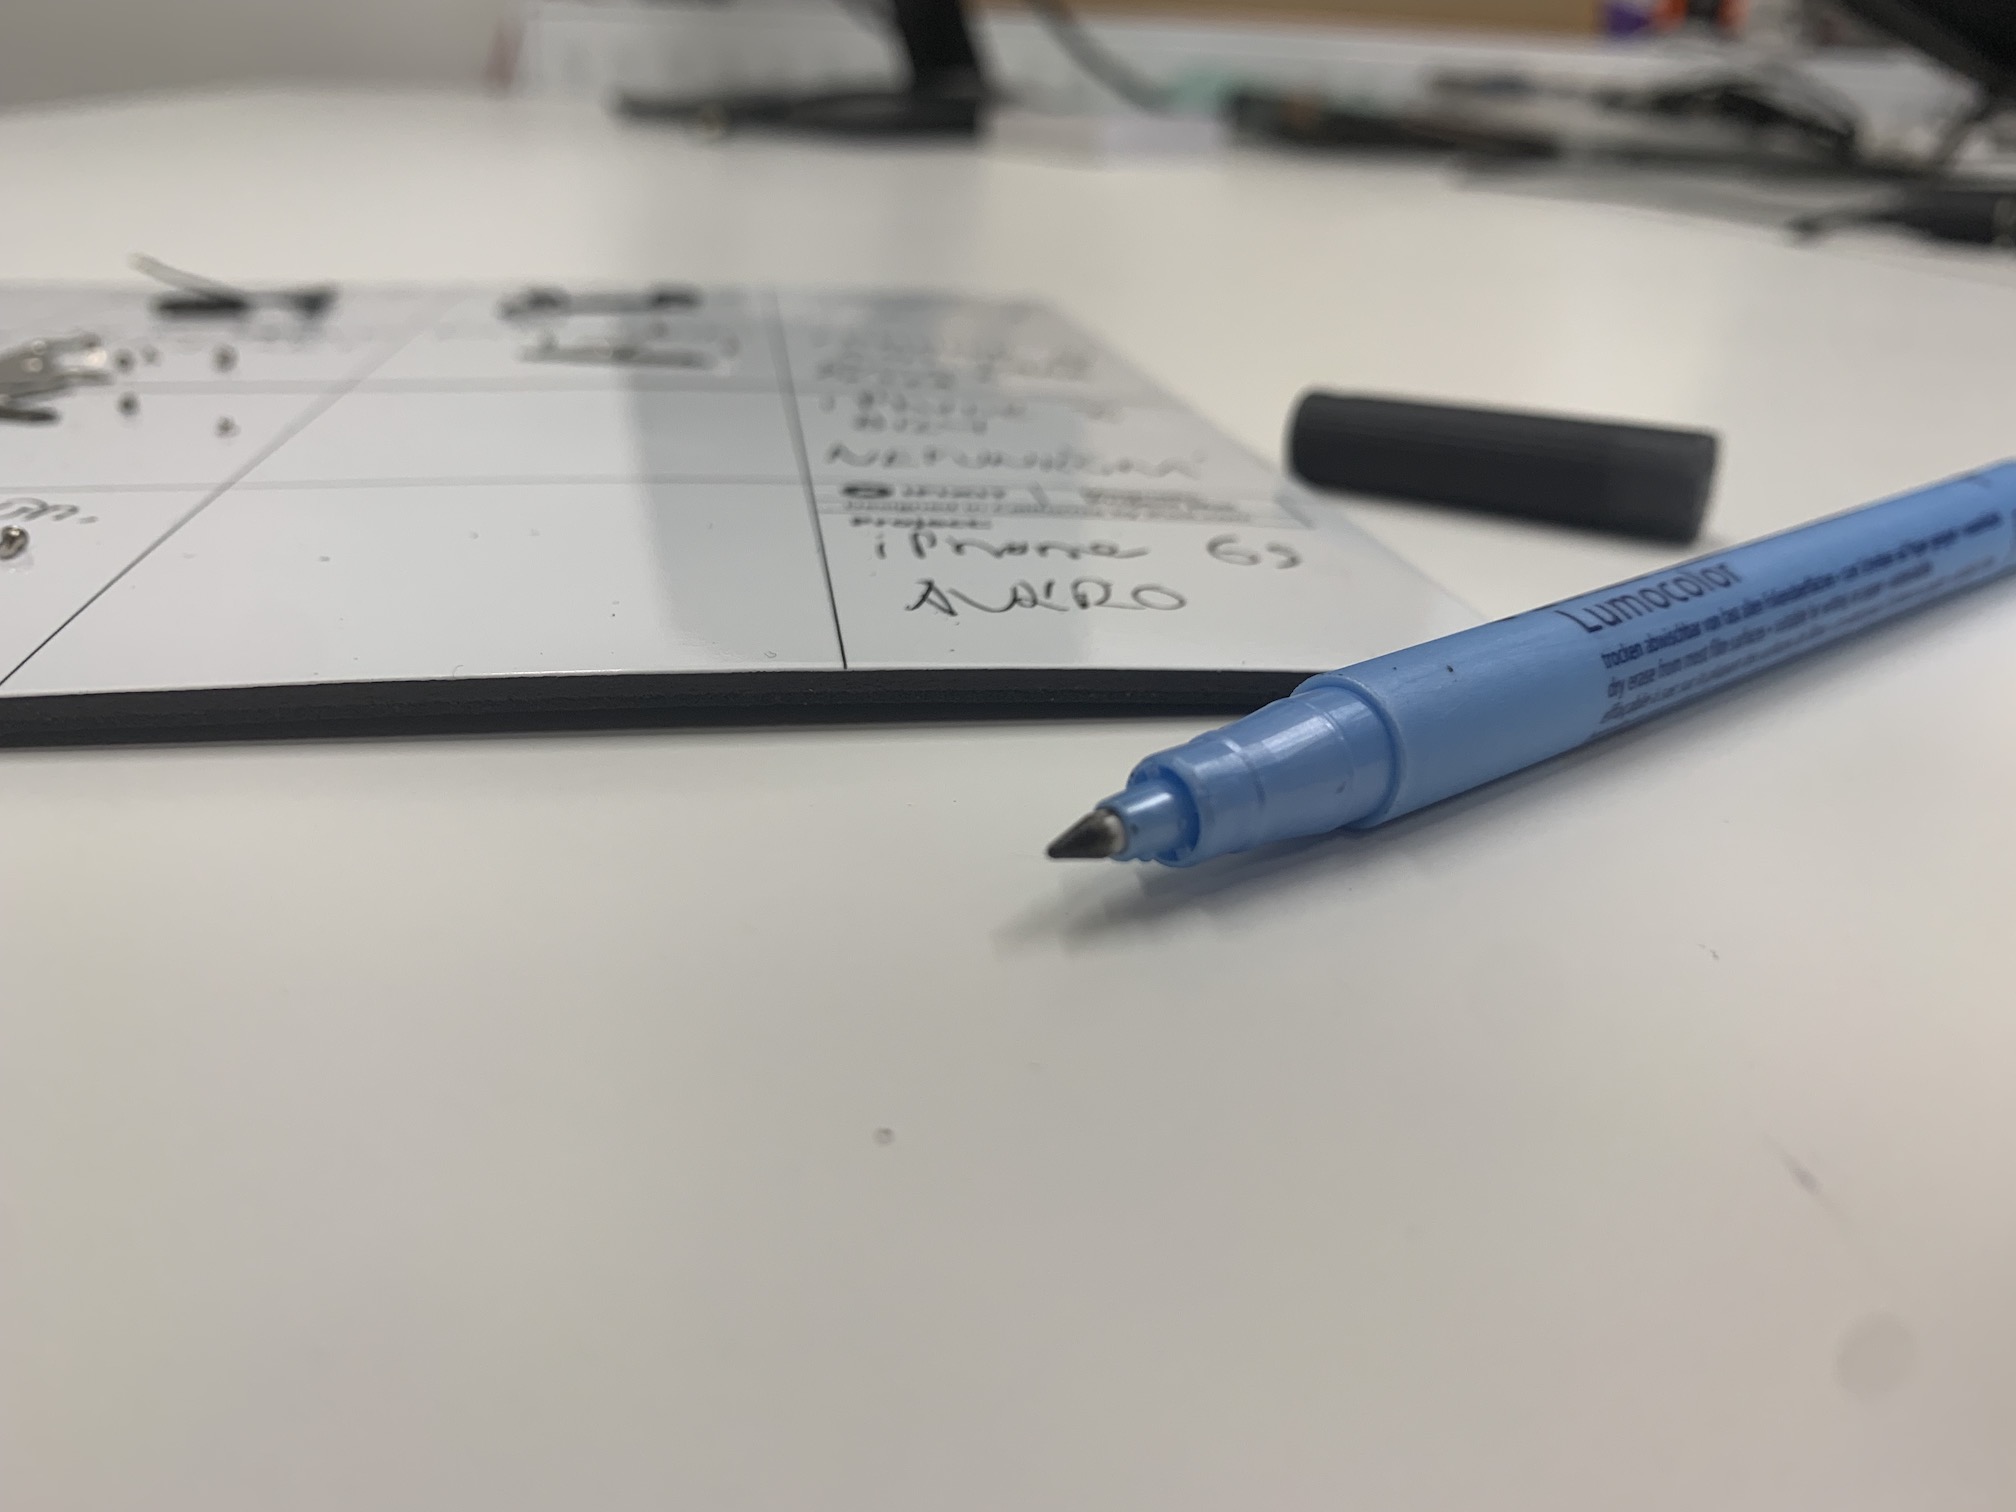
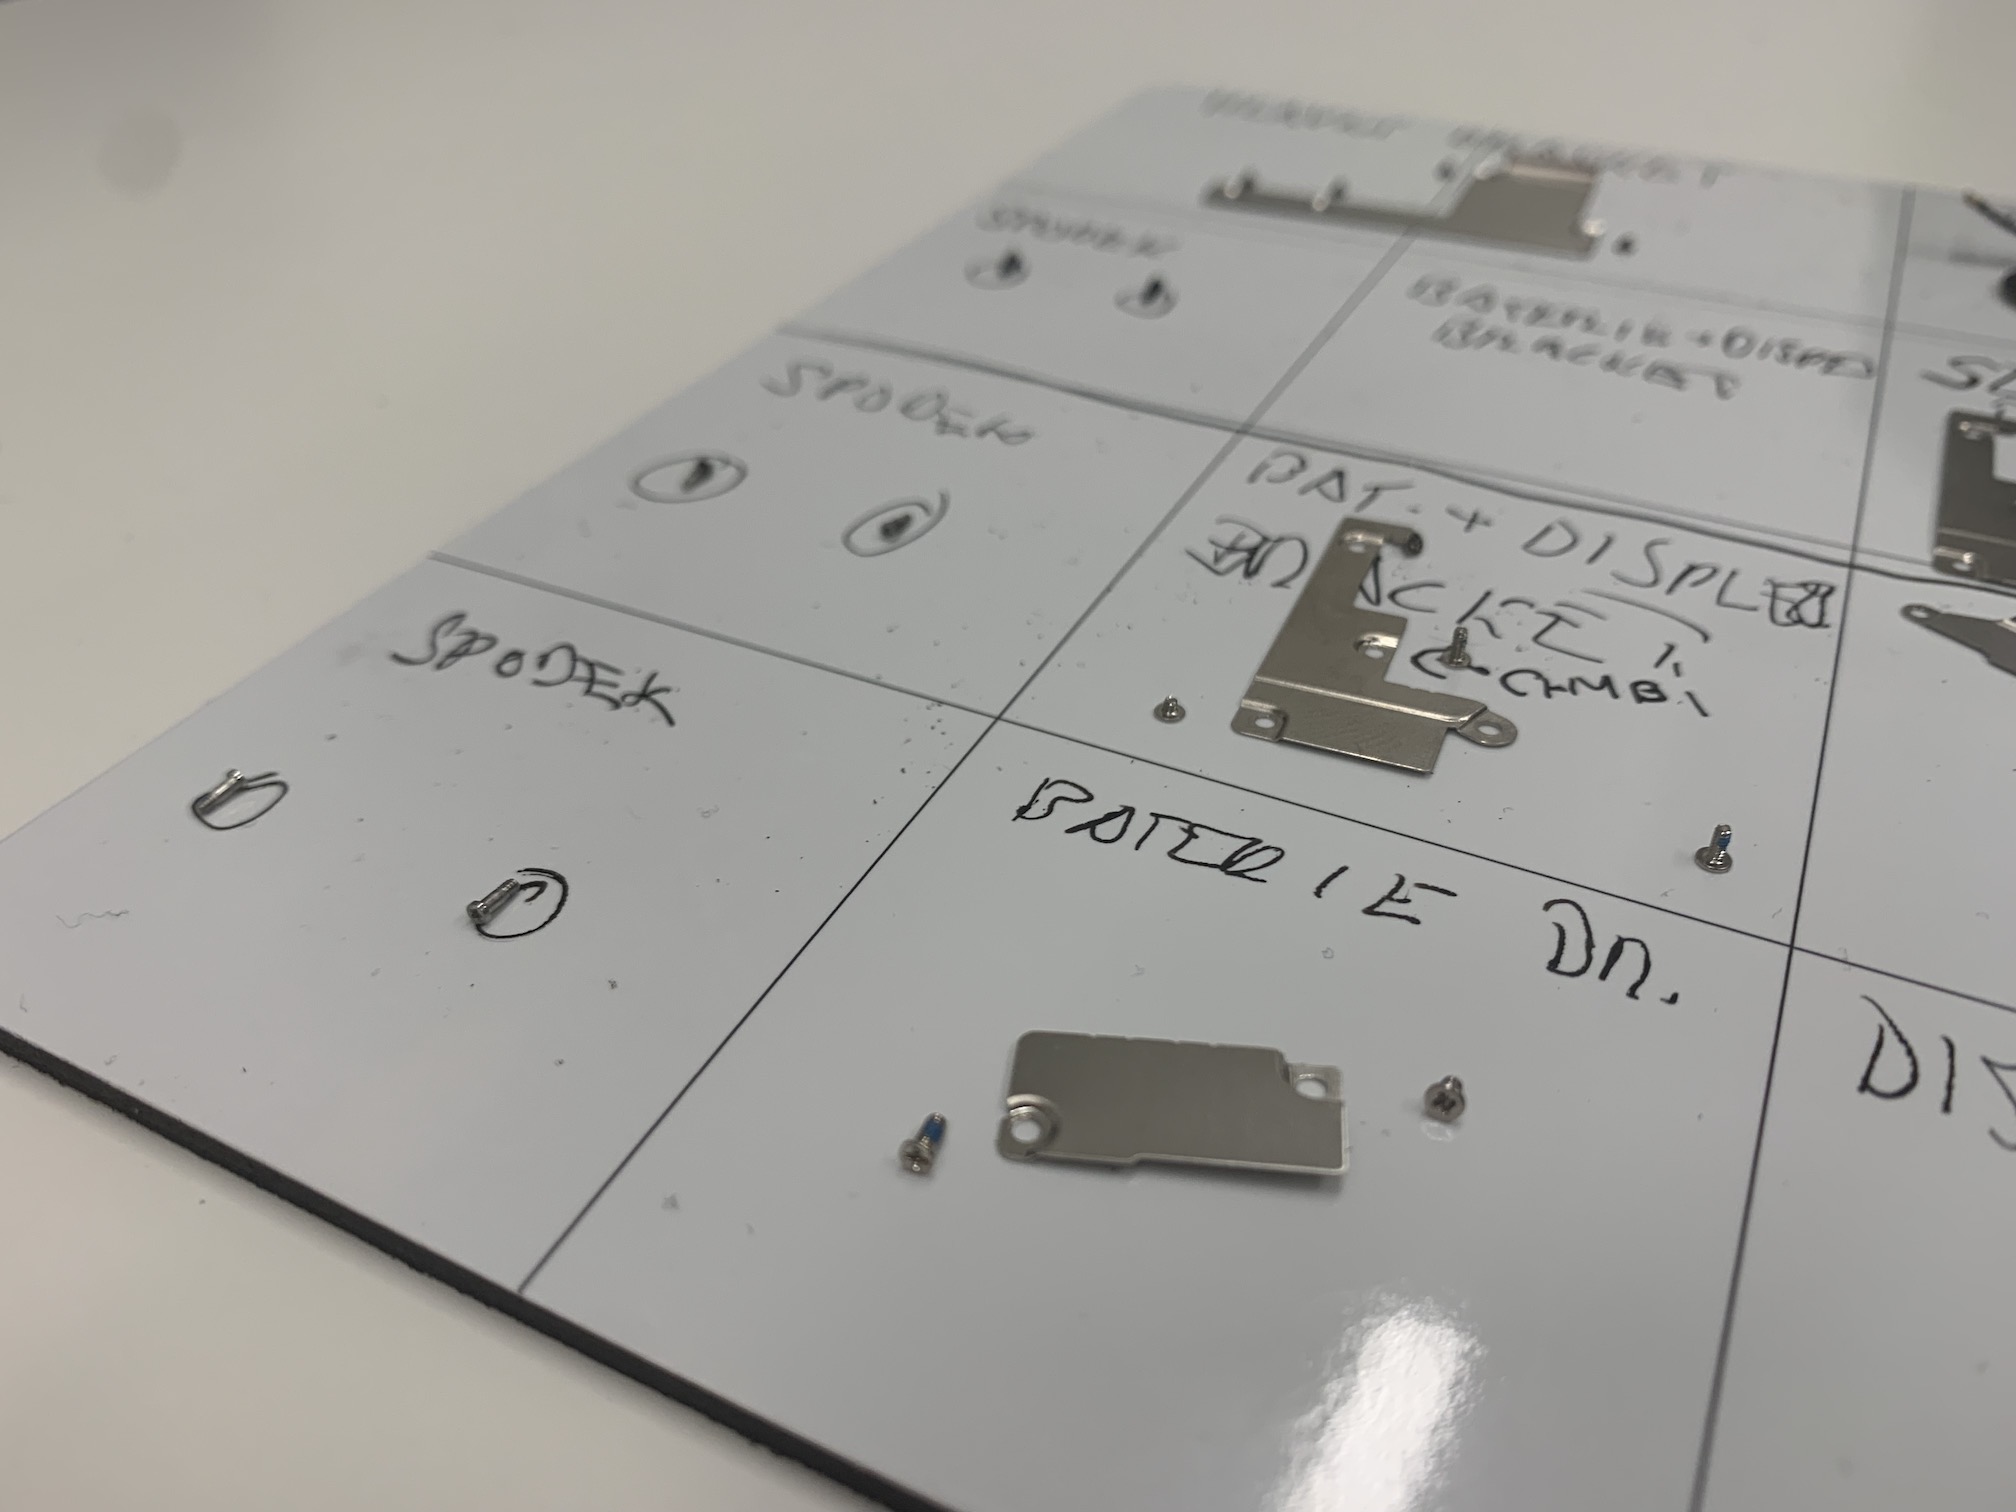
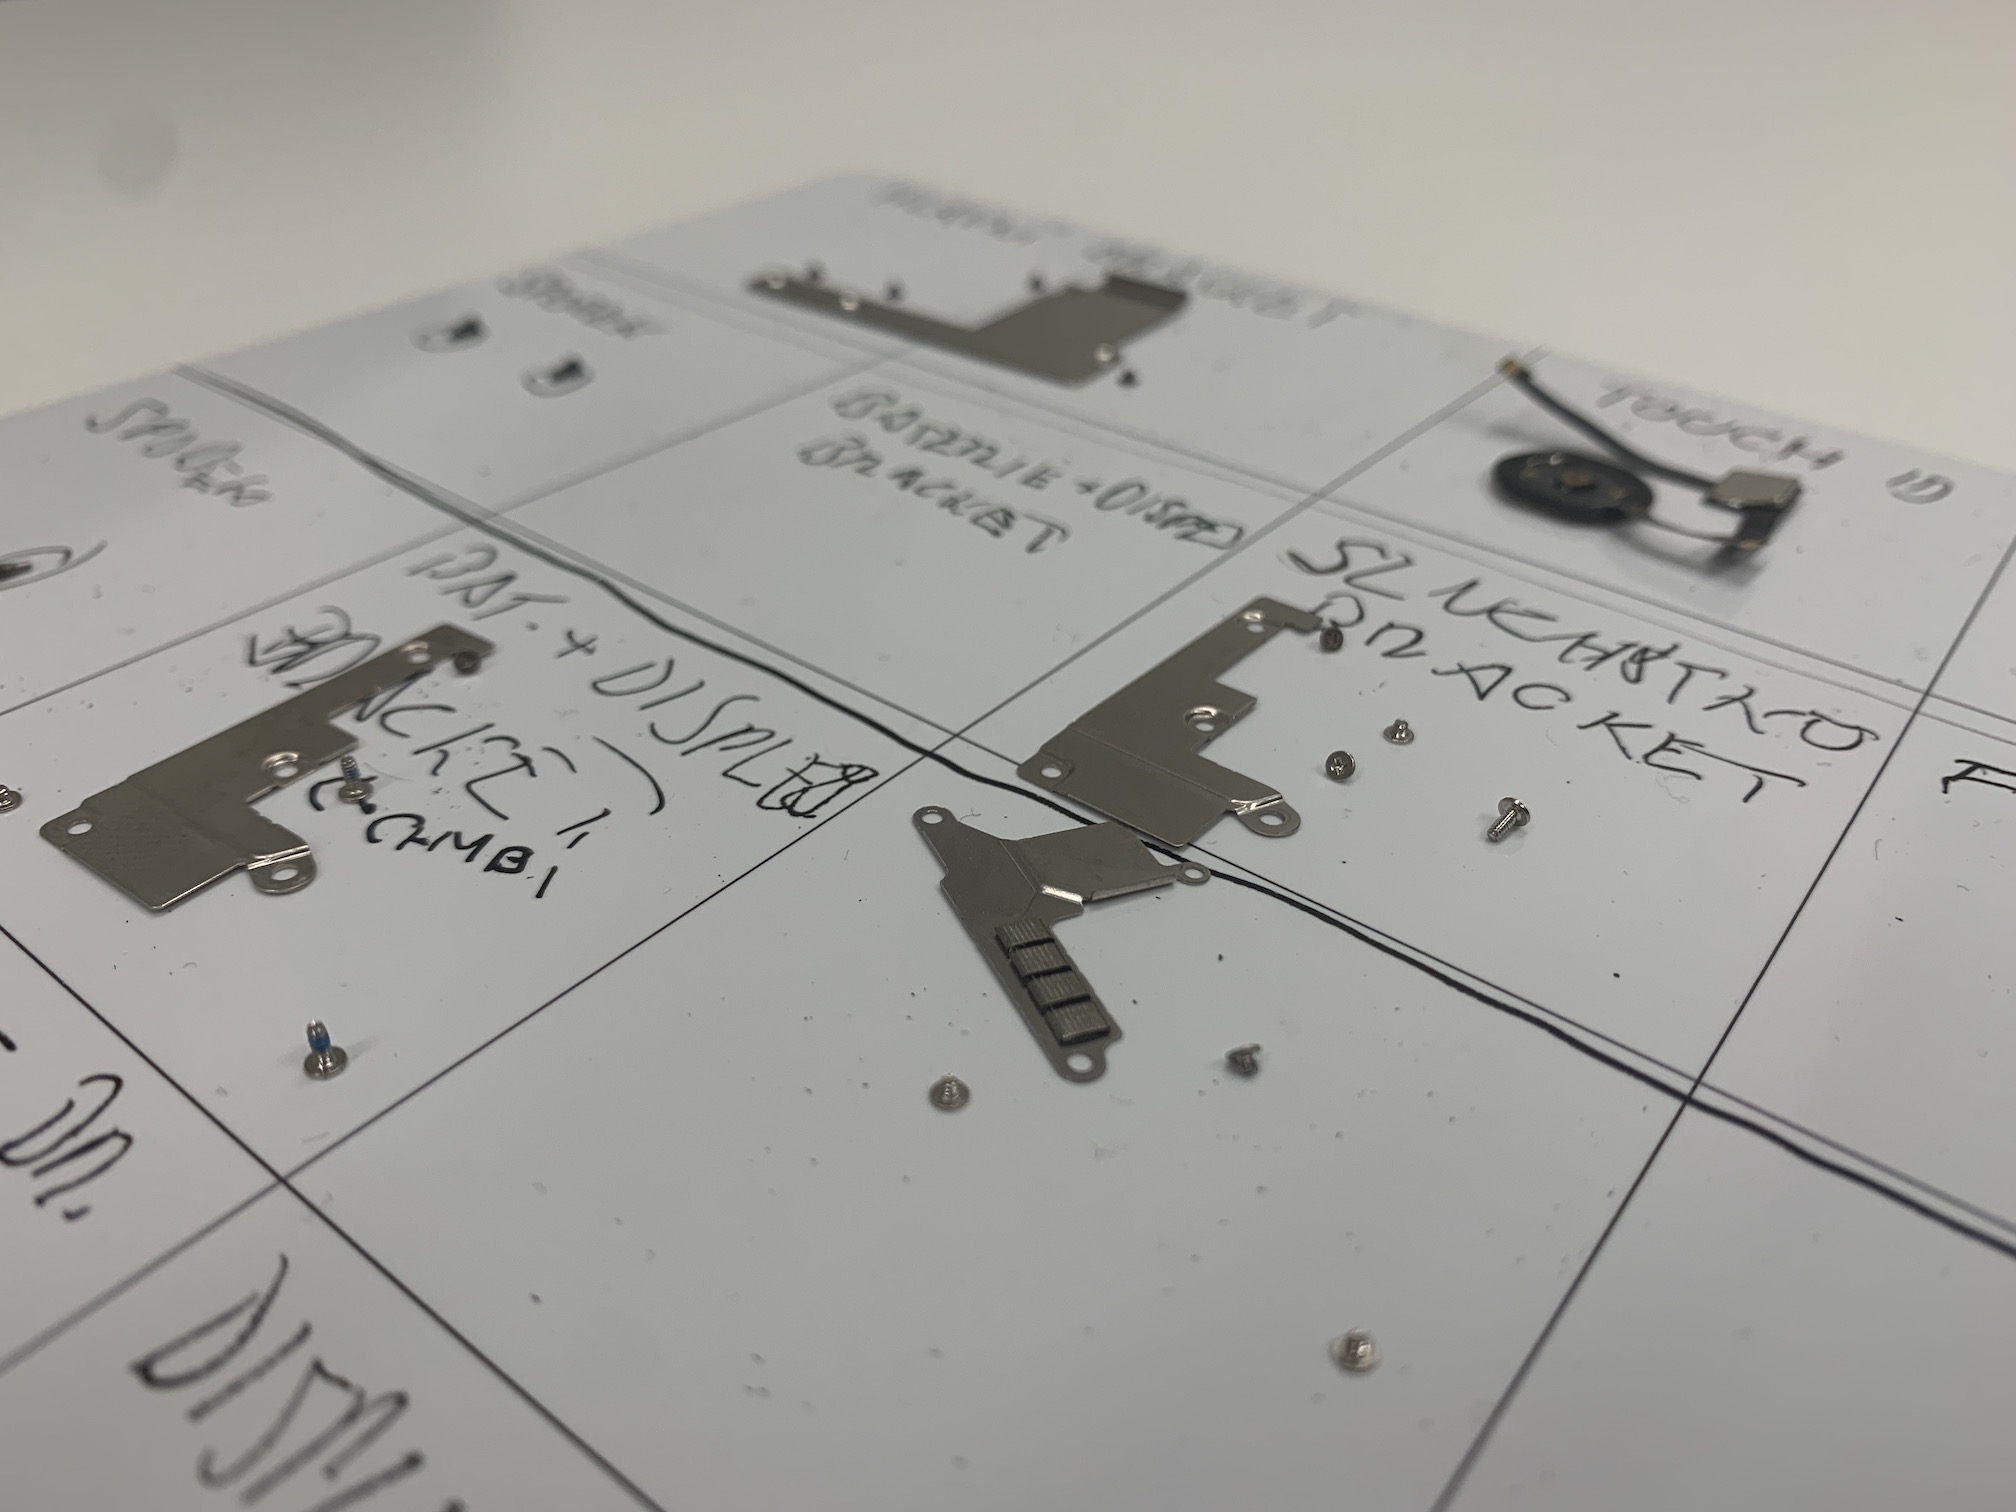
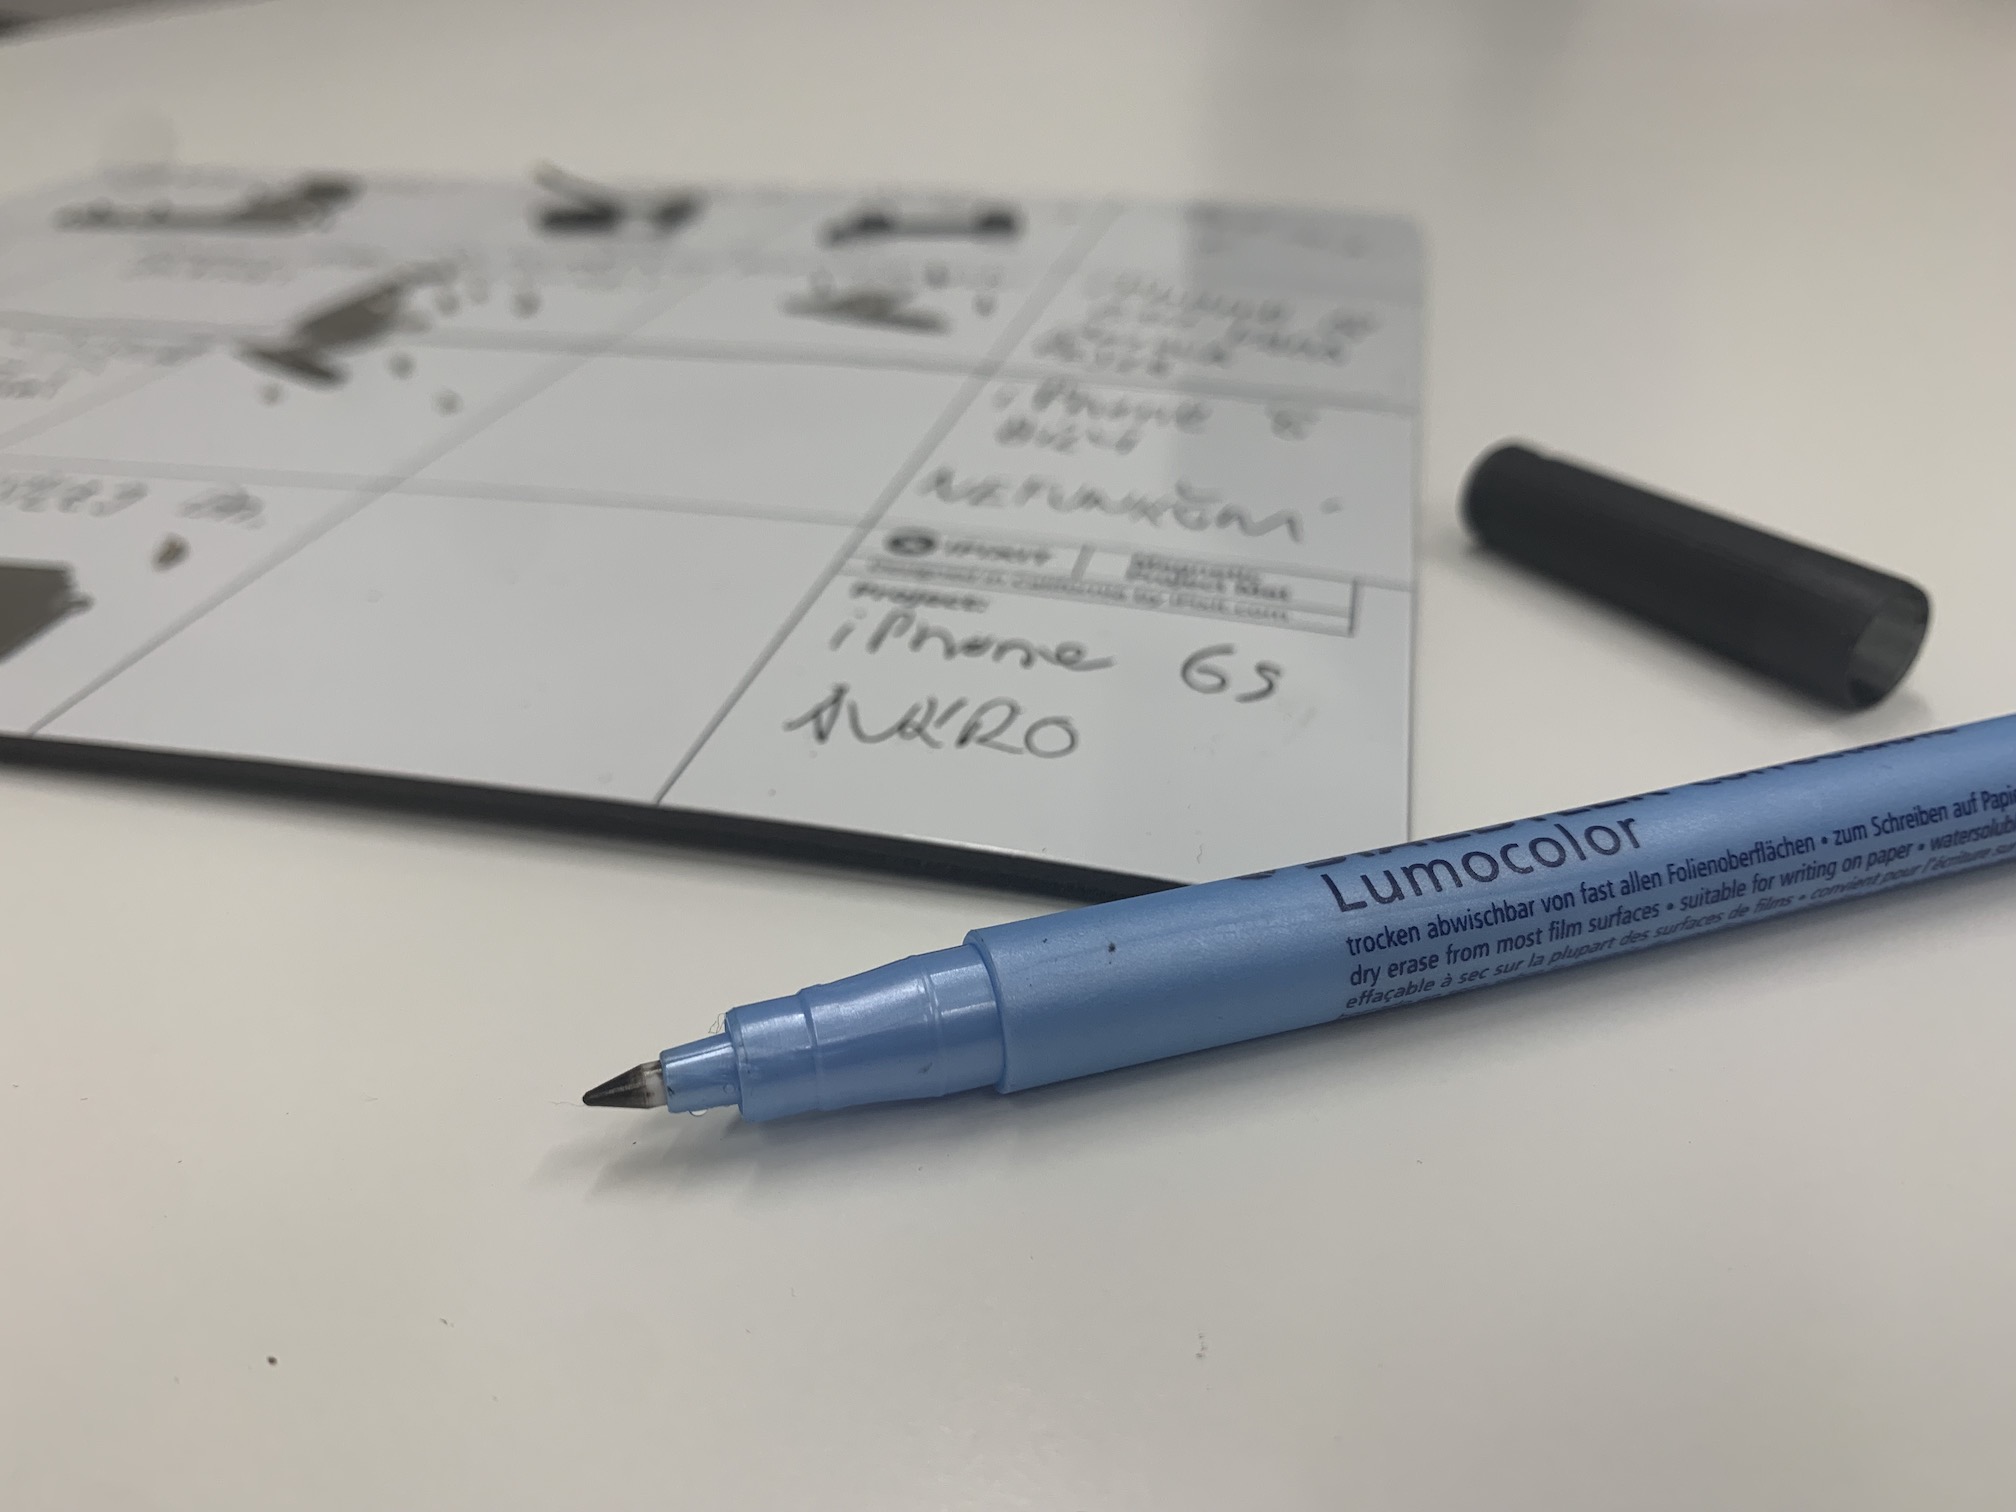
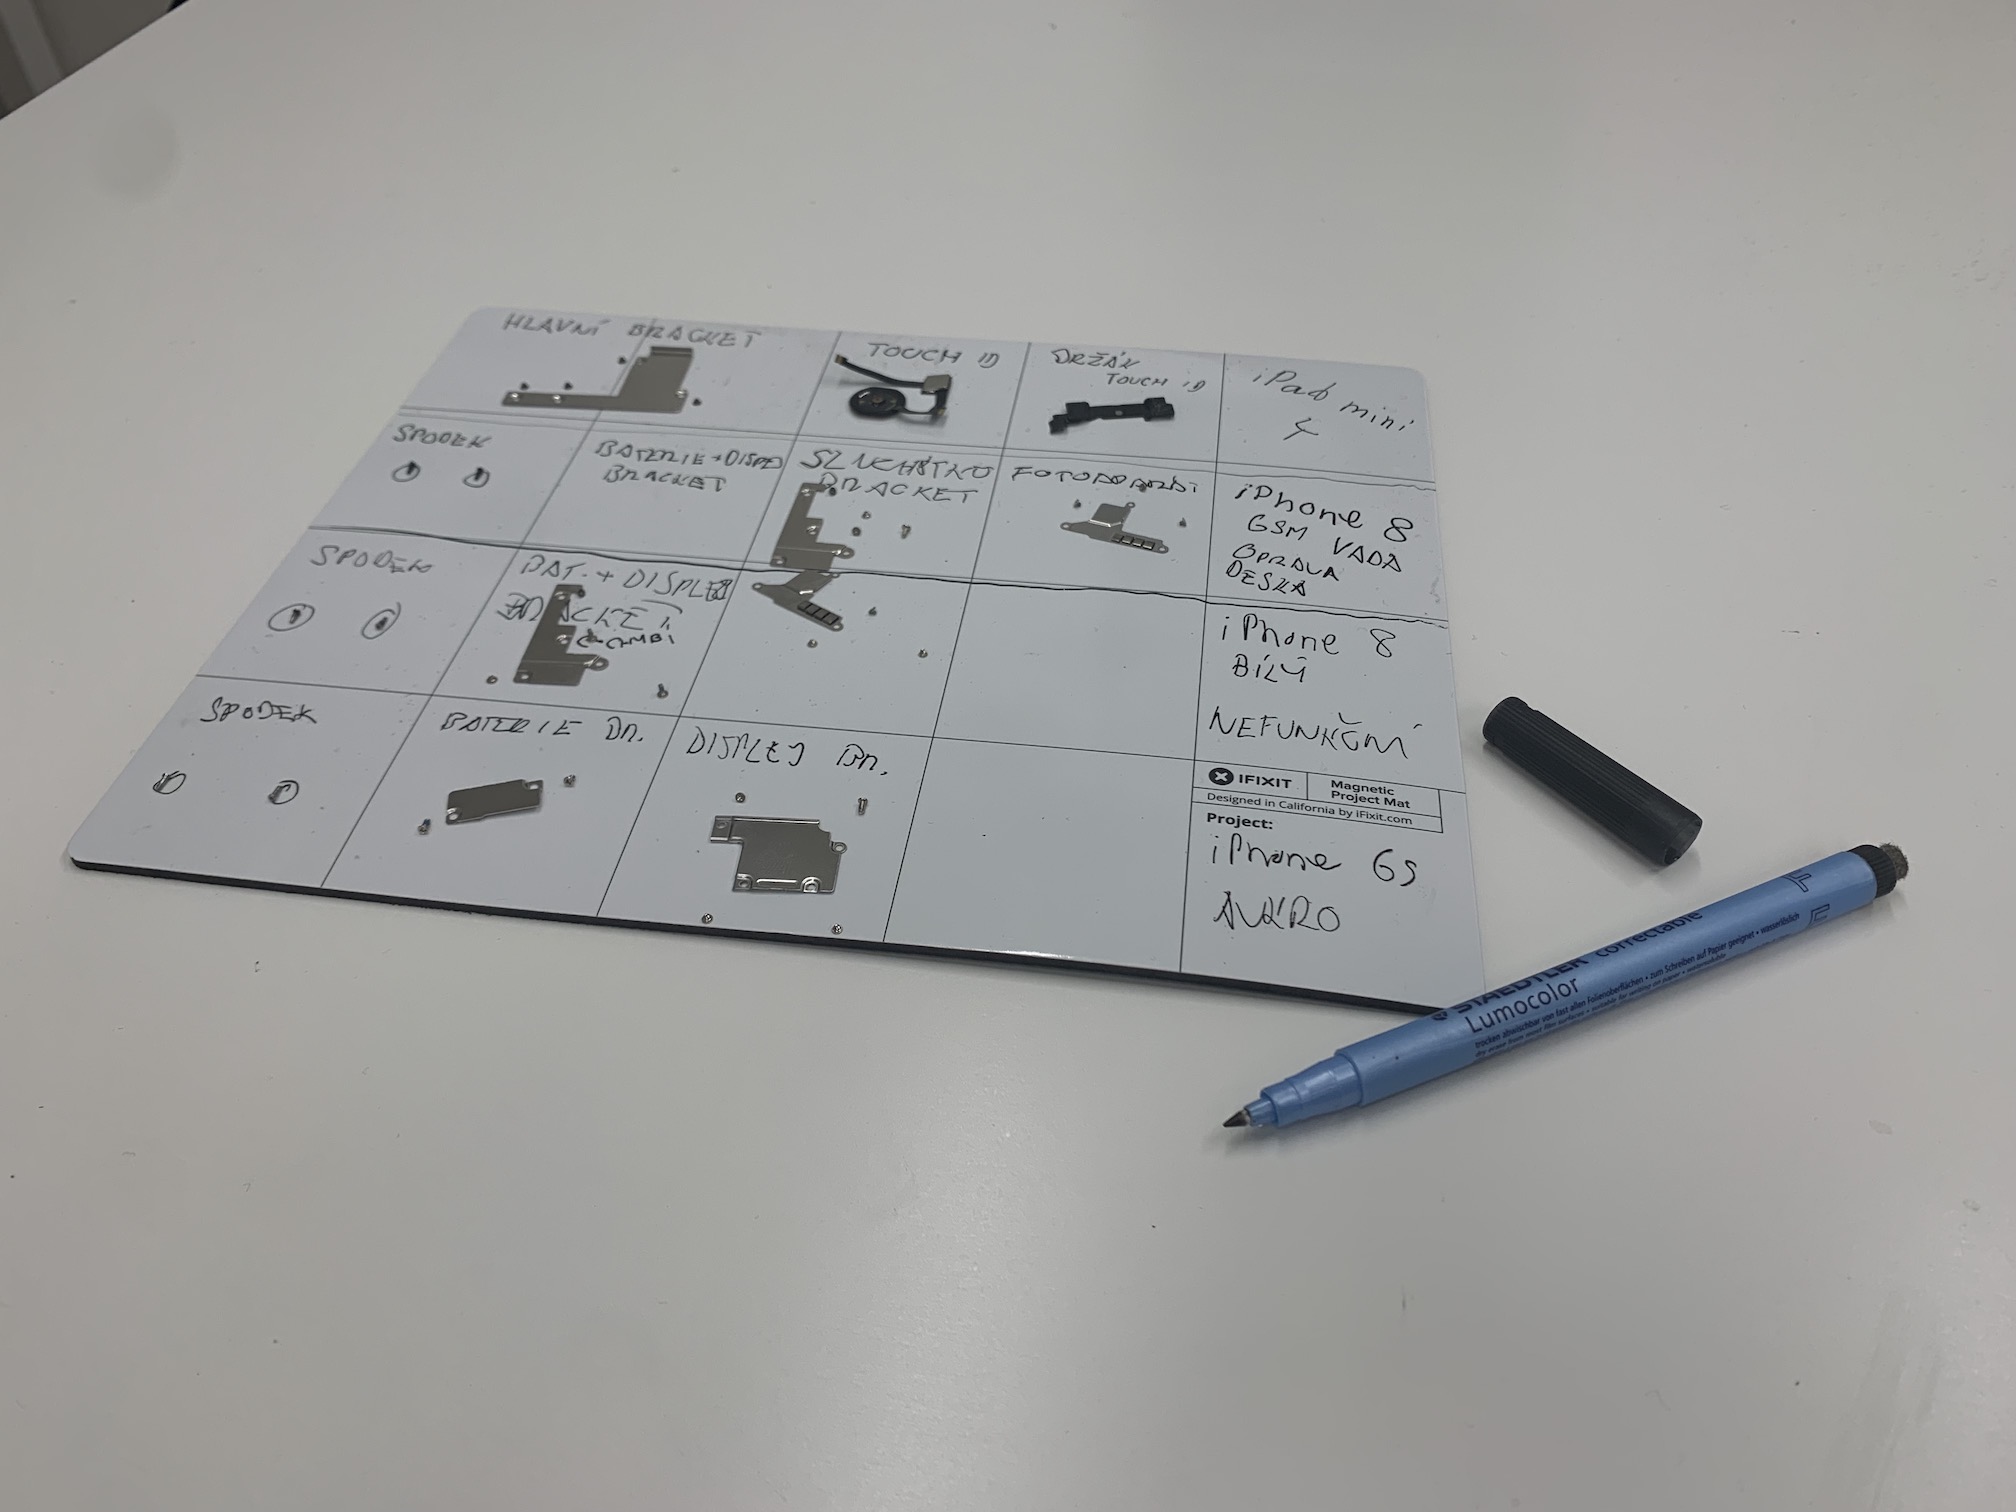
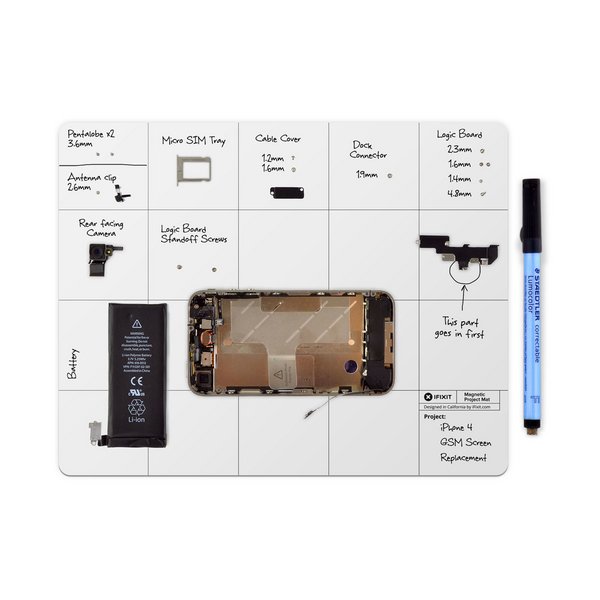
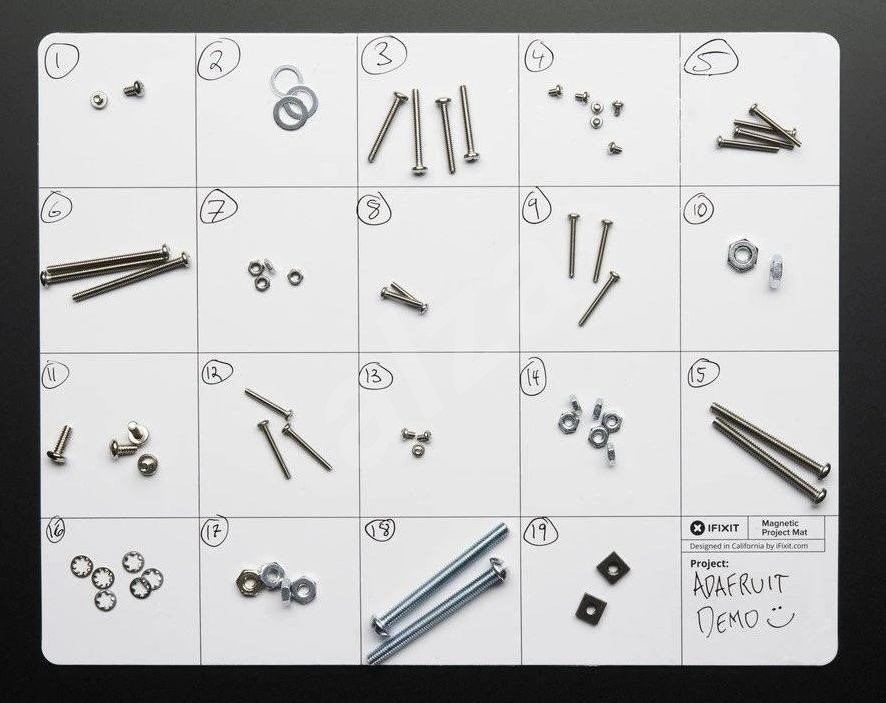
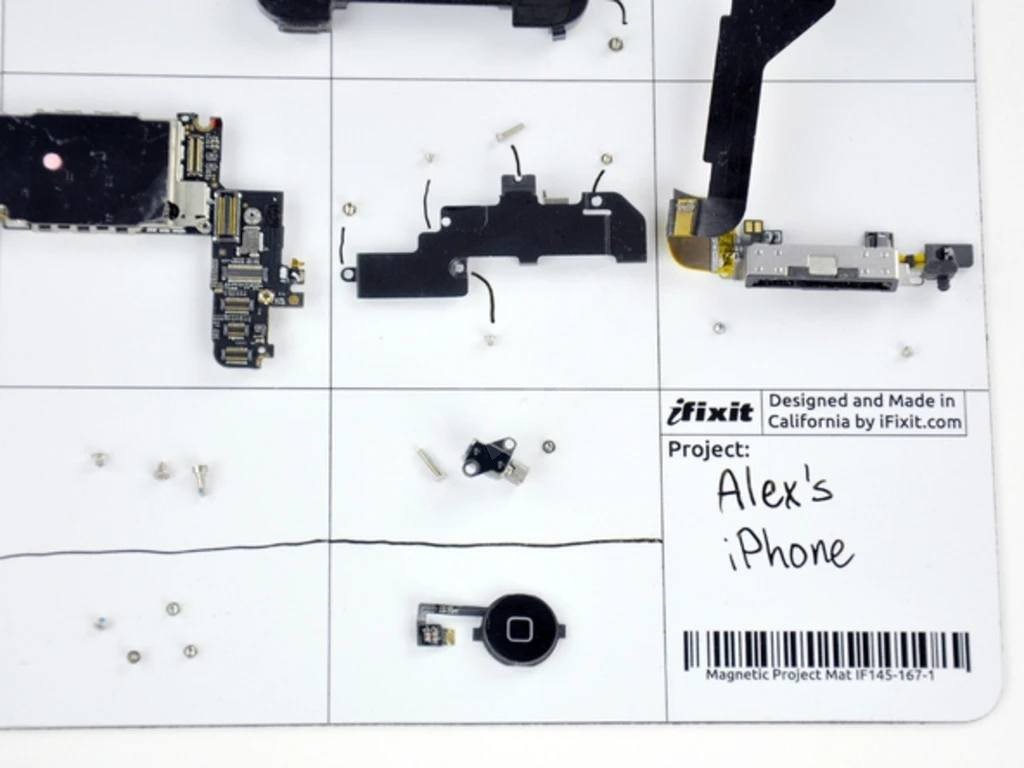
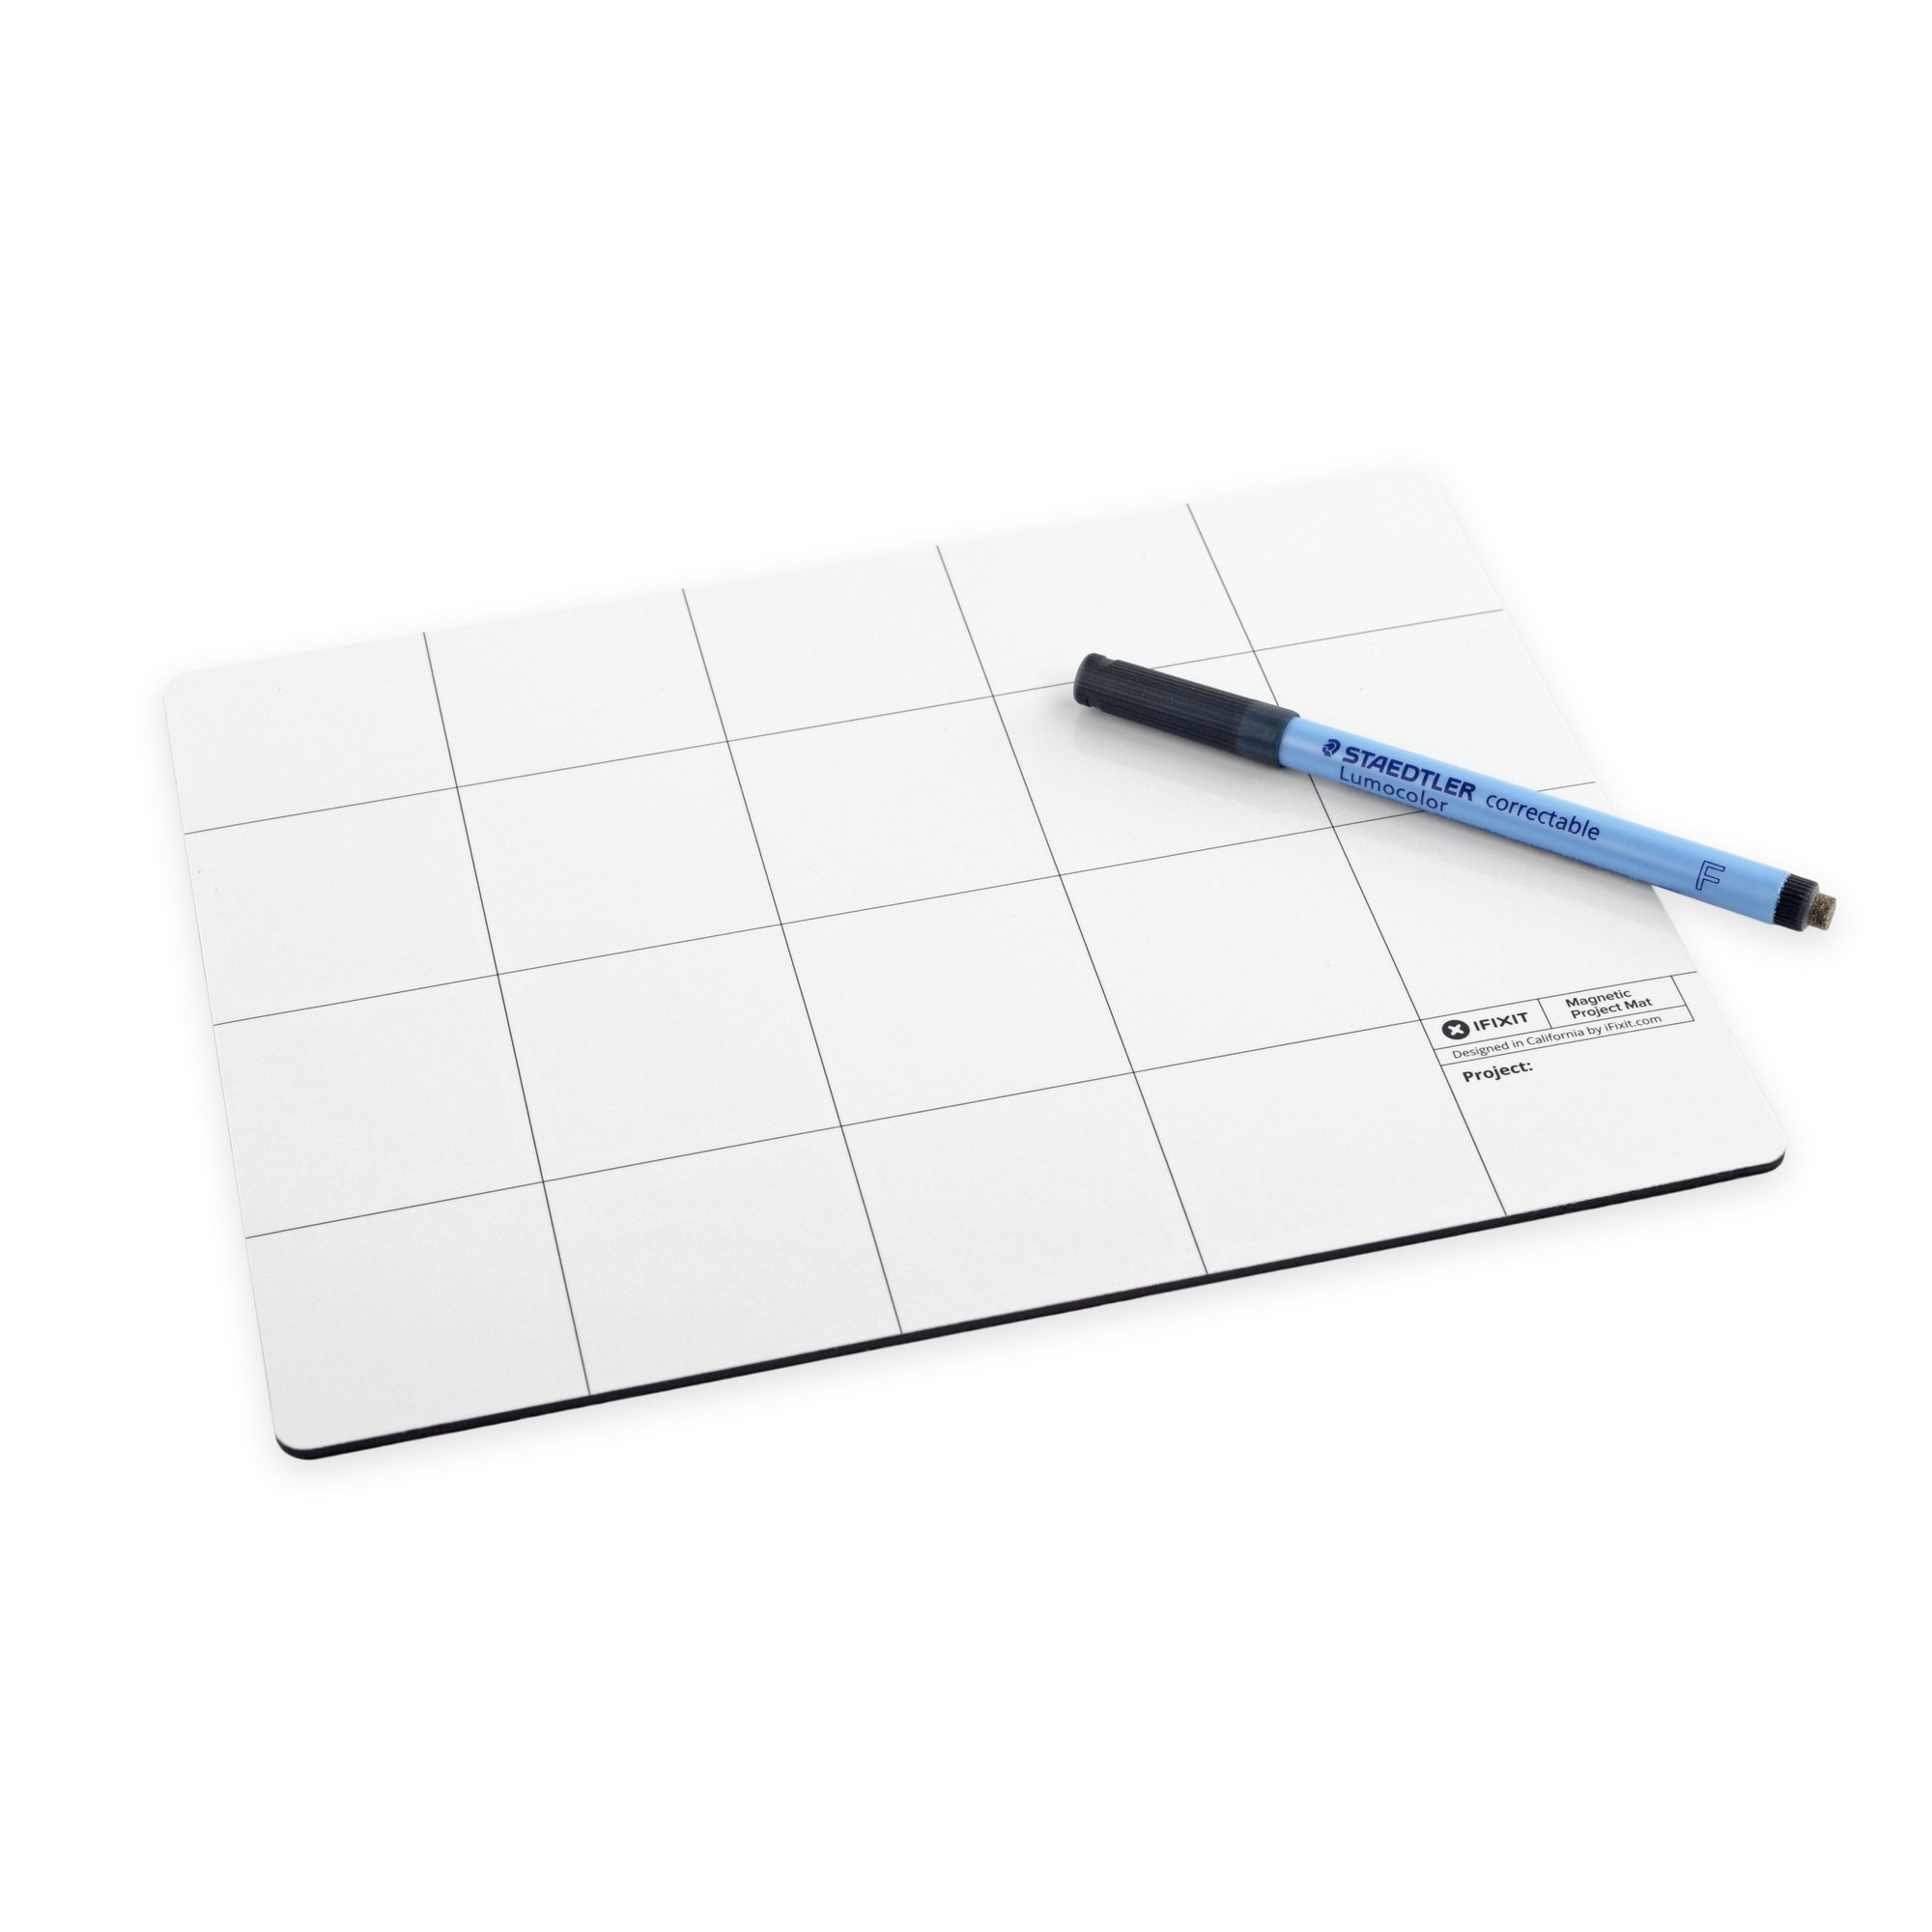
When disassembling an iPhone or any other device, it is necessary that you clearly organize the screws, together with other components. Individual screws can have a different size or diameter. If you put the screw in a different place during reassembly, you risk, for example, that sooner or later it will come loose, in the worst case, you can completely destroy the motherboard or even the display. Of course, you can place the individual screws in a clear way on the table, but all you have to do is bump it against it, or otherwise move it, and suddenly all the screws are gone. It is therefore necessary to have some sort of pad, in my case ideally two – one silicone and the other magnetic. Silicone pad I use ordinary no-name, always when carrying out repairs to temporarily put away screws and components. I then recommend a magnetic pad iFixit Magnetic Project Mat, which I use for neatly storing screws. It is also useful if you have several projects at once and you don't want to accidentally mix screws or parts together.
You can buy the iFixit Magnetic Project Mat here
Quality double-sided tapes and primer
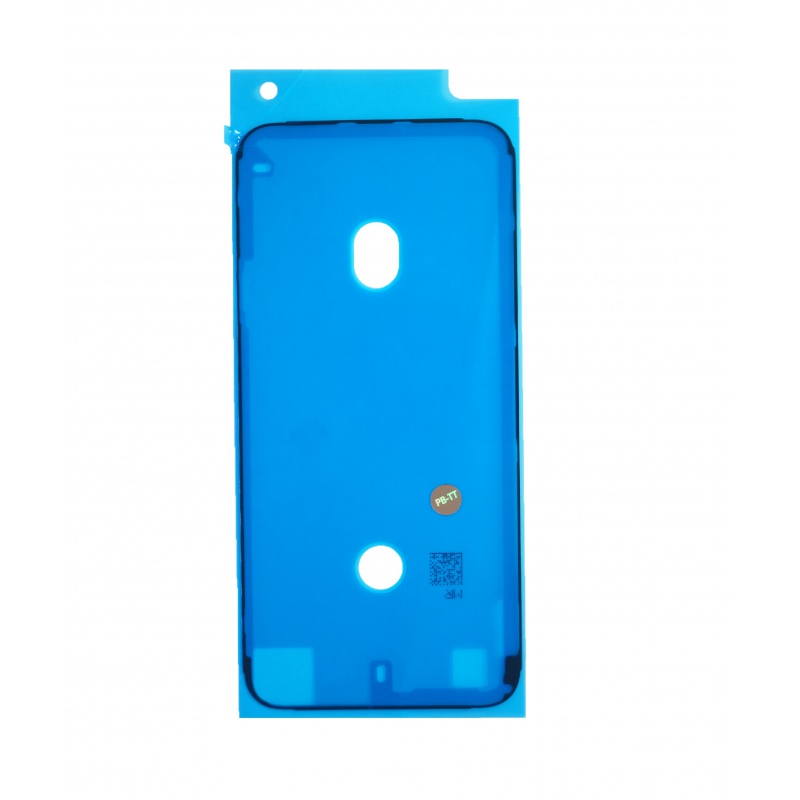
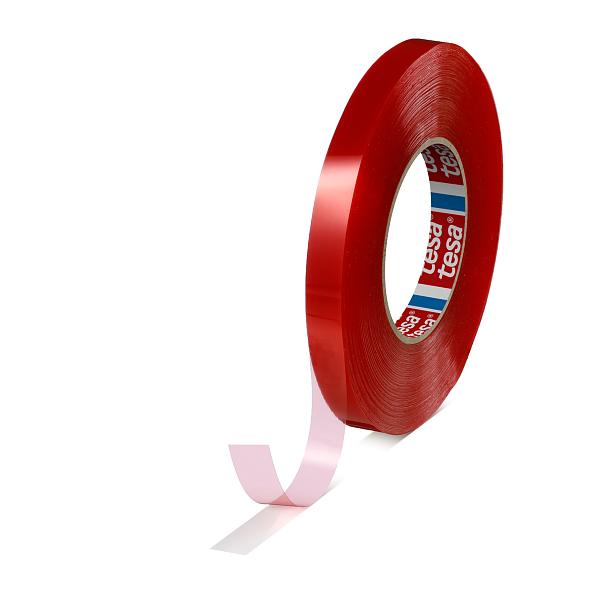
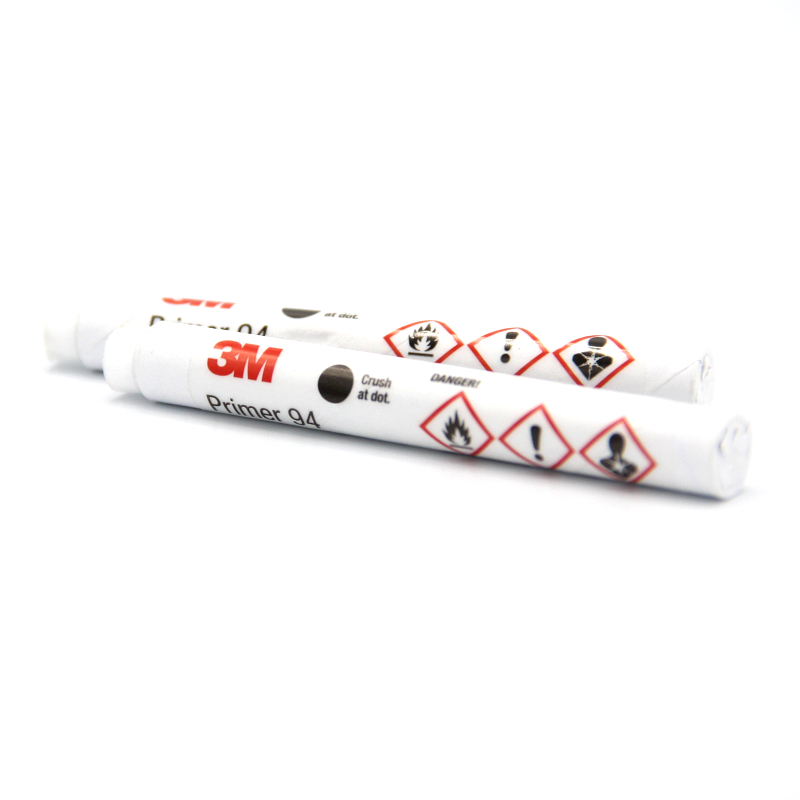
If you are going to repair a newer iPhone, or perhaps an iPad, in addition to high-quality tools, you will also need high-quality double-sided adhesive tapes. These adhesive tapes, or gluing or sealing, are mainly used to seal iPhones so that water does not get inside. Otherwise, the display is mainly held by a special mechanism with metal plates that are inserted into the "case" together with the screws on the bottom. Quality gluing is much more important with iPads, where you won't find any screws and the display is only really held by gluing. For practically every Apple device, you can buy pre-cut stickers that you simply apply to the body. However, I only have good experience with these pre-made adhesives on iPhones. Whenever I used such gluing on the iPad, it never properly held the display and kept peeling off. So when repairing iPads, you will do better if you get a proper and high-quality adhesive tape. I can recommend two, both from the Tesa brand. One has a label Tesa 4965 and is nicknamed simply "red". The second tape has a label Tesa 61395 and it is even a bit stickier than the previously mentioned one. You can buy these tapes in different widths according to your needs. However, quality double-sided tape is only one part of gluing success. In addition to them, it is necessary to purchase a primer, i.e. a special solution with which you can prepare the glued surfaces for gluing. After applying this solution, you will increase the adhesion of the adhesive tape several times, which then really holds like nails. Most repairers do not have the slightest idea about a primer, and it must be mentioned that it is really extremely important and should not be missing by any repairer. I can recommend 3M Primer 94, which you can buy either directly in a tube (ampoule) for easy application, or in a can.
isopropyl alcohol
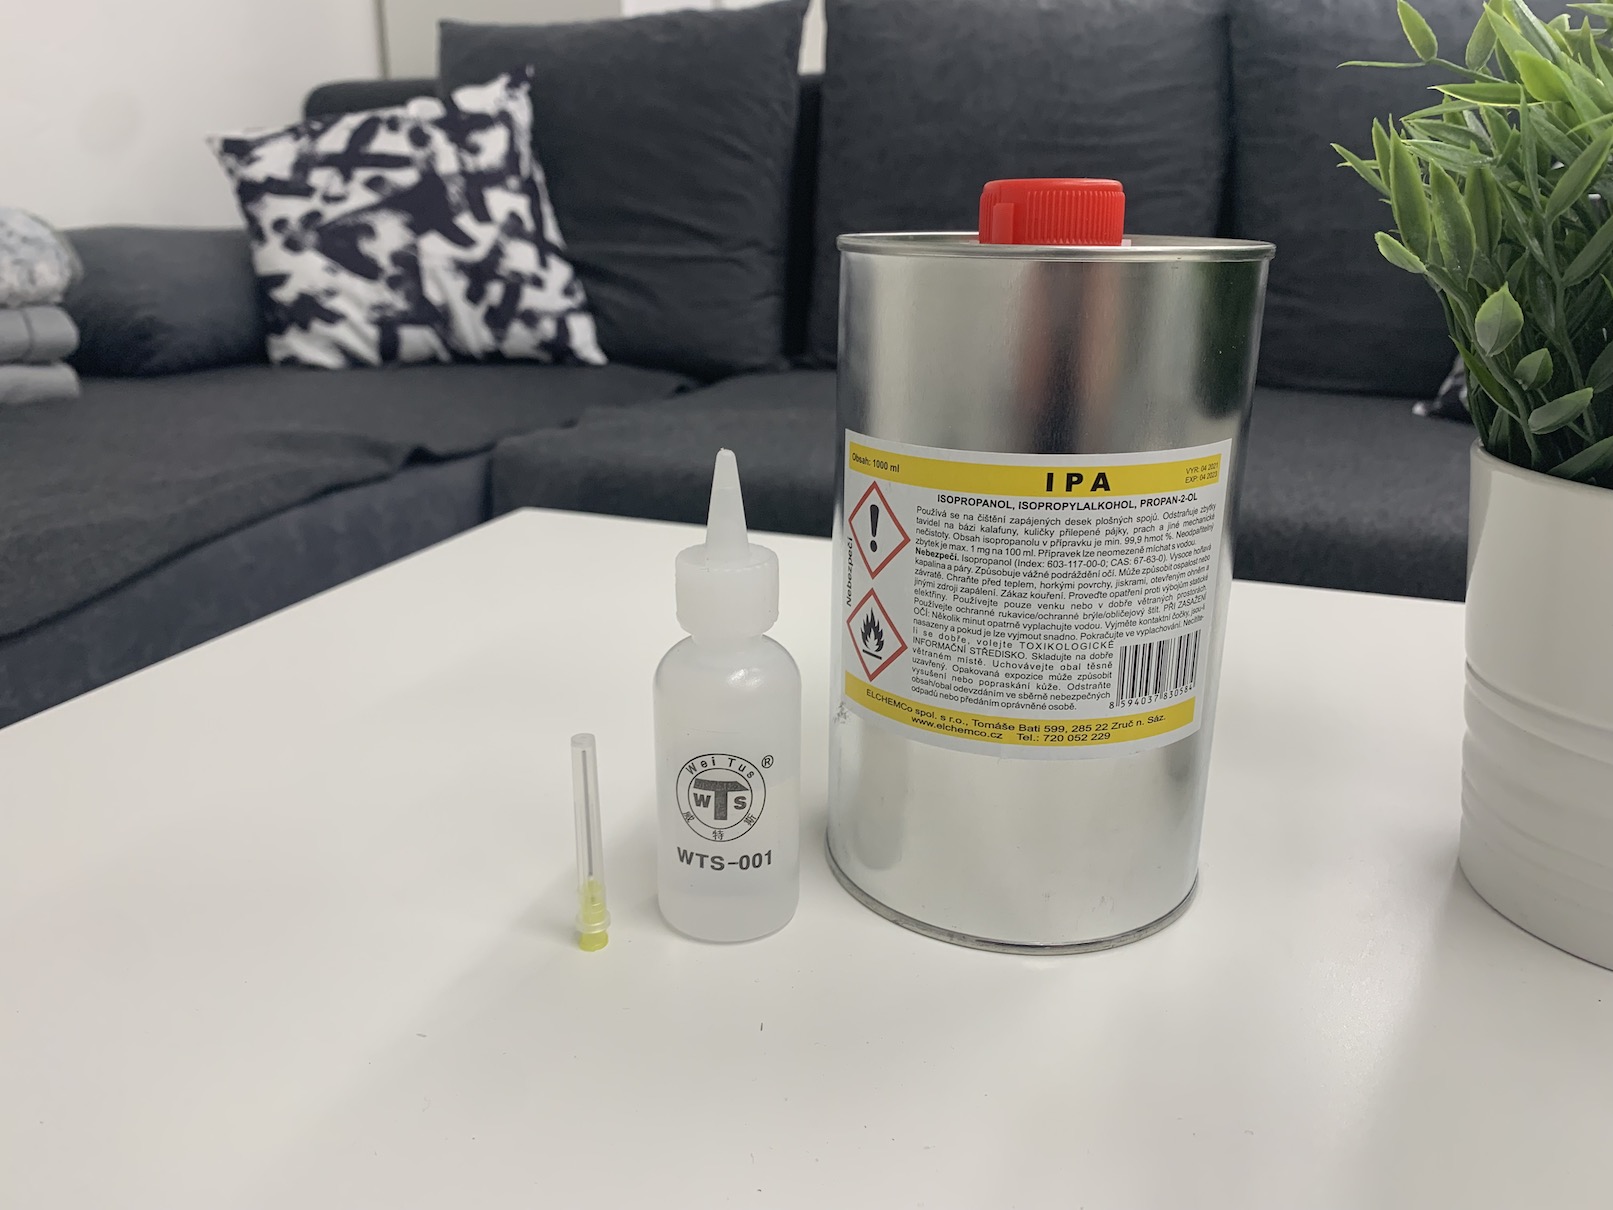
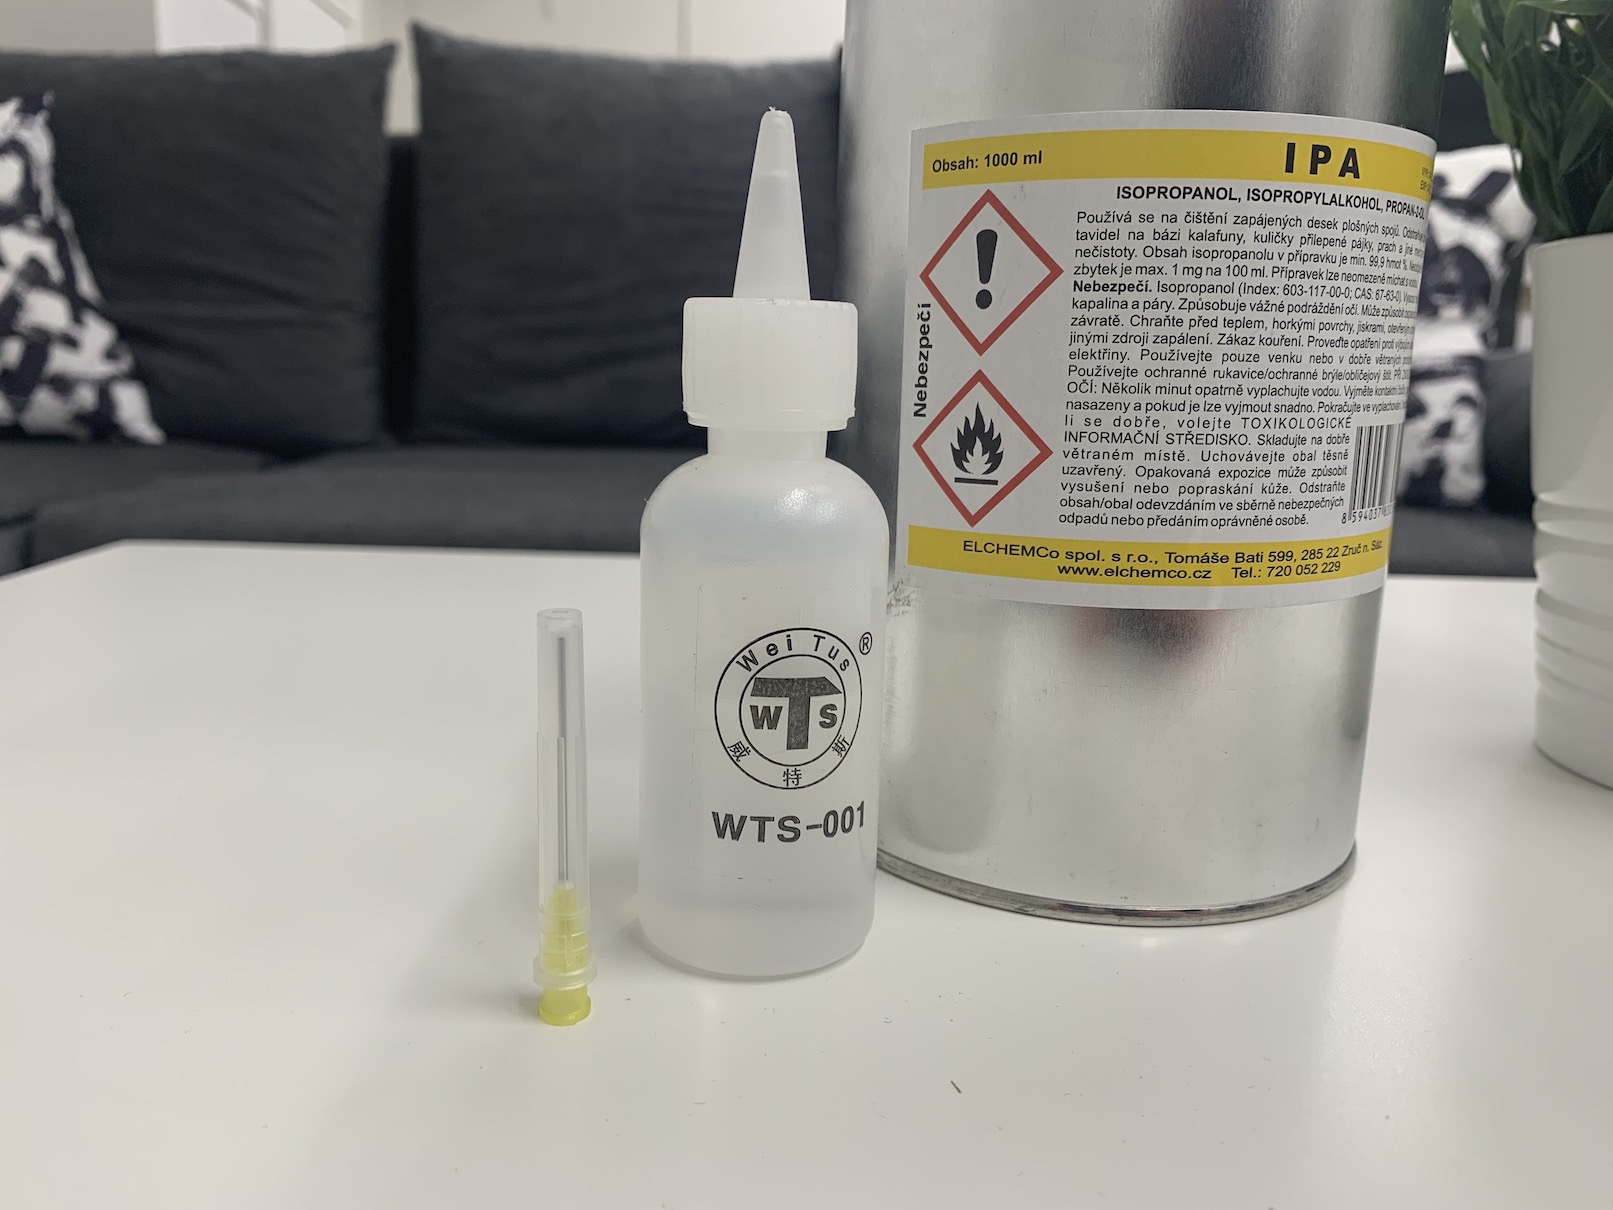
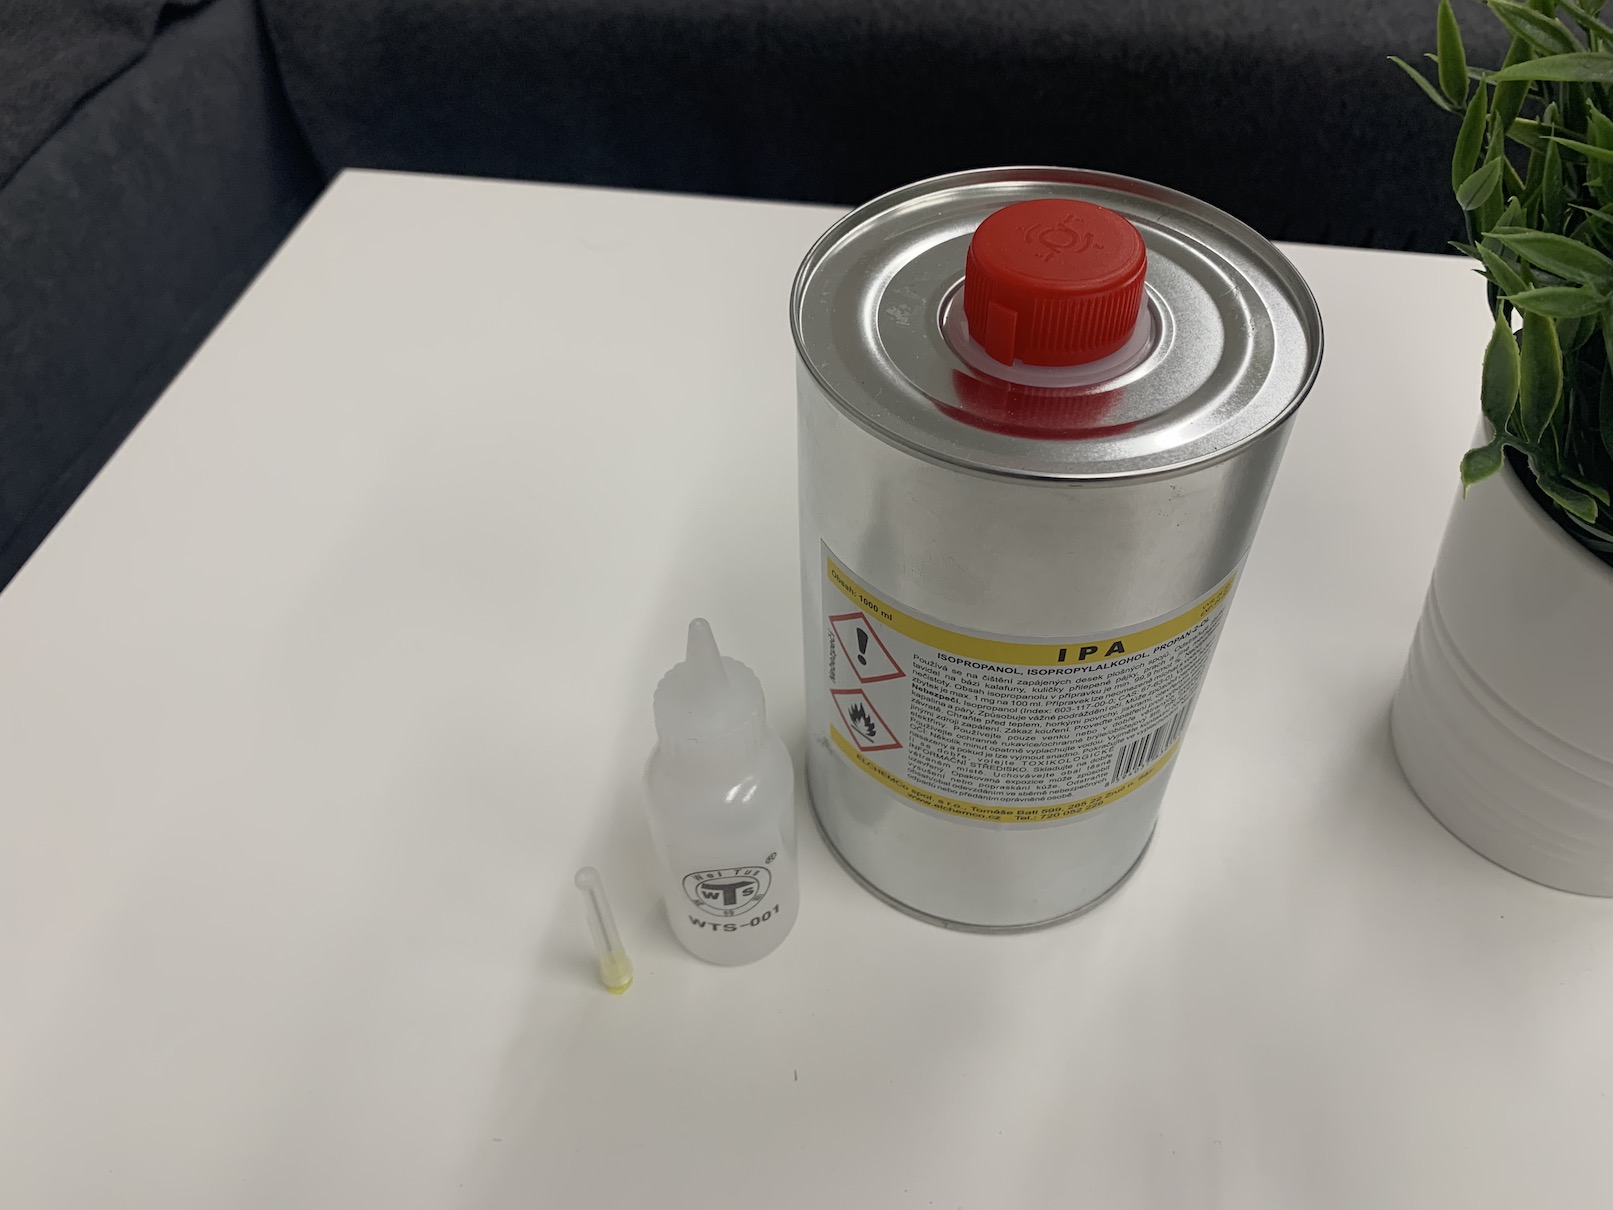
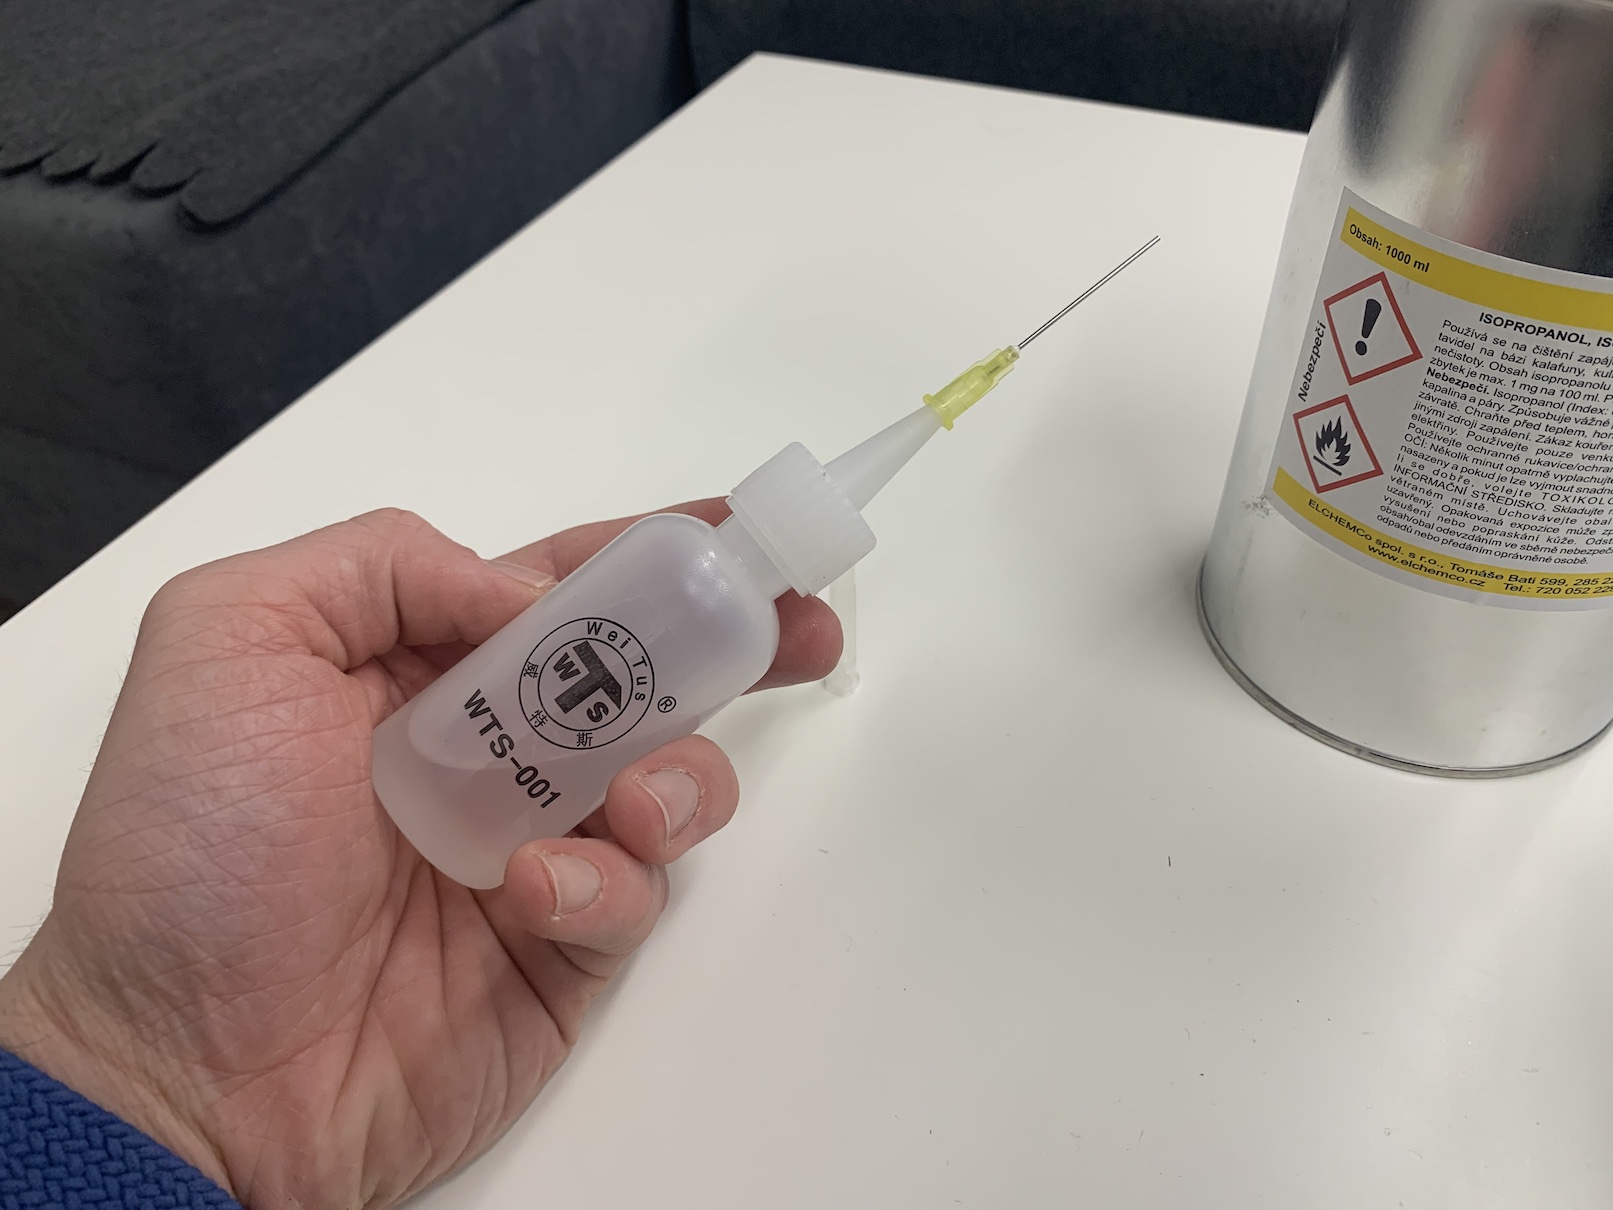
Another essential part of the equipment of every home repairman is isopropyl alcohol, also known as isopropanol or the abbreviation IPA. And in what cases can IPA be useful? There are several of them. Primarily, using IPA, you can easily remove practically any adhesive, for example the original one, which may remain on the display or body of the device after opening it. You simply apply isopropyl alcohol to a cloth or to the place you want to clean, and the whole process becomes much easier. I also use IPA when I need to pull a battery out of a device where the "magic pull strips" have broken off. After dripping, the adhesive will be released, making the entire process of removing the battery easier. I personally purchased a large can of isopropyl alcohol, decanting it into a small bottle. I then apply IPA from it through a small opening at the end of the bottle. In some situations, I put a syringe (modified for these purposes) on the end of the bottle, thanks to which I get isopropyl alcohol in the most difficult to reach places. So even isopropyl alcohol can significantly simplify repairs, significantly.
Good light
You can have the best tools, mat or adhesive tape. But if you don't have proper light so you're simply uploaded because you won't be able to see much of the fix in the dark. In order to be successful in every repair, it is necessary that you have really high-quality light, thanks to which you will be able to see everything without problems. Personally, in addition to the main light, I also use a special lamp with a gooseneck during repairs. Thanks to it, I can easily direct the light source to where I need to see as best as possible. However, how you ensure good light in the repair room is up to you. In addition to light, you should then ensure that there is as little dust as possible in the room. If dust gets into the connector, for example, it can cause mischief. The same problem occurs if a speck of dust gets into the camera or anywhere else.



Good article, but I'm missing something here. Some kind of tool to heat up the display or battery for better "tear off". Heating roller or hot air gun or hair dryer.
Hello, of course, the hot air gun is also among the basics. I will prepare a sequel to this article soon, focusing on other things.
Thank you very much and have a nice day!