Not long ago, Apple finally released the macOS Ventura operating system to the public, alongside iPadOS 16. This operating system comes with a huge number of new features, some of which are definitely worth it, some of which users will have to get used to, and others that did not receive full praise. Anyway, one of the most anticipated features is definitely Camera in Continuity, thanks to which you can (wirelessly) use your iPhone as a webcam and microphone for your Mac. Therefore, let's take a look together in this article at 5 tips for Camera in Continuity from macOS Ventura that you should know.
It could be interest you
Dirty test
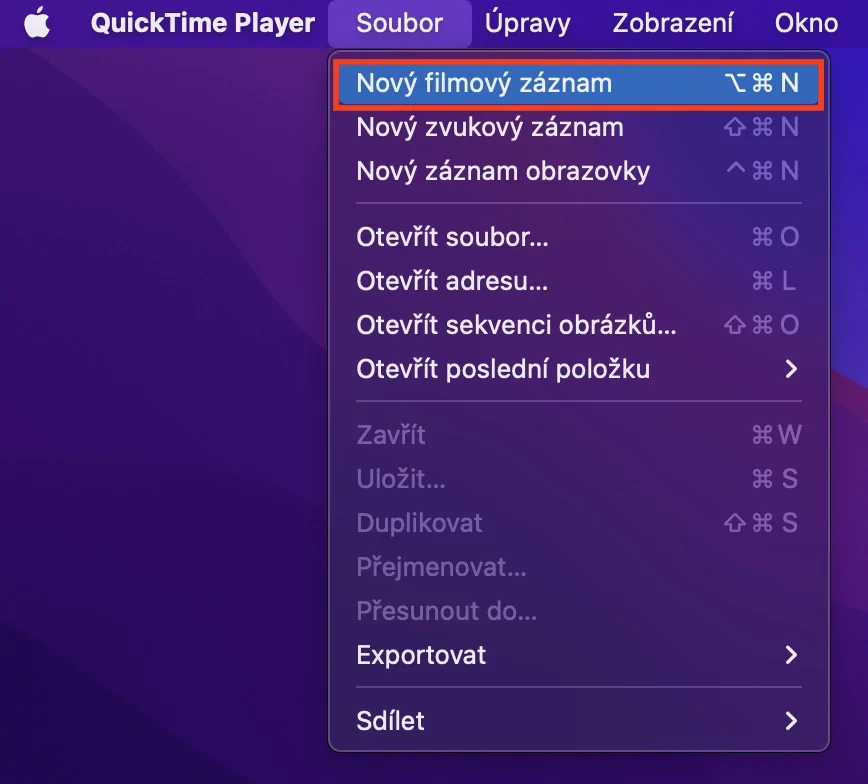
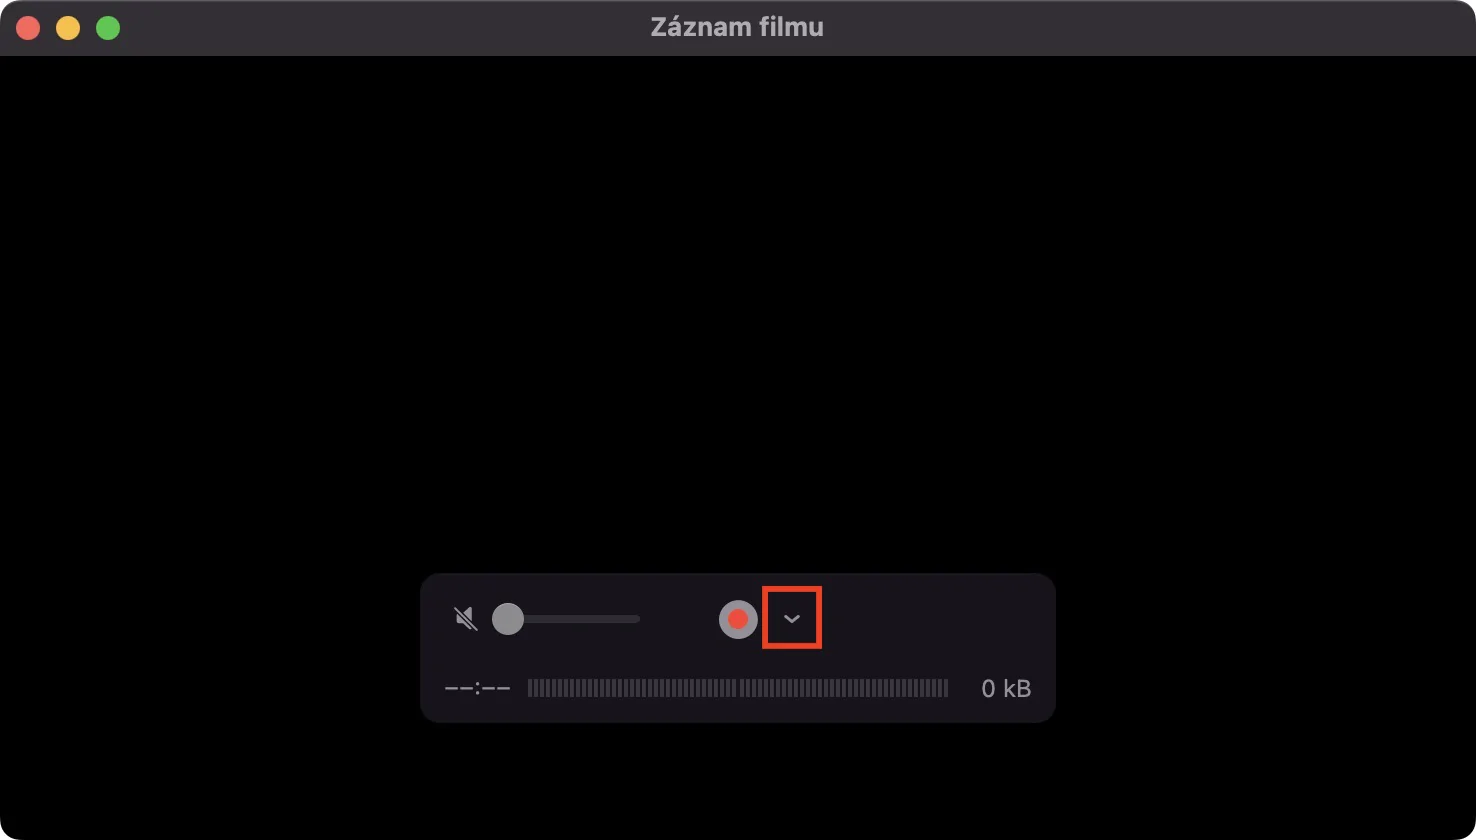
If you would like to try out the Camera in Continuity outside of a video call, of course you can. To be able to use the Camera in Continuity, you must have an iPhone XS (XR) and newer, which must be within range of your Mac, and both devices must have active Wi-Fi and Bluetooth. To try it out, you can use the QuickTime Player application, after opening which click on in the left part of the top bar File → New movie recording. Then just tap next to the recording icon small arrow where select your iPhone as your camera and microphone.
Perform activation in applications
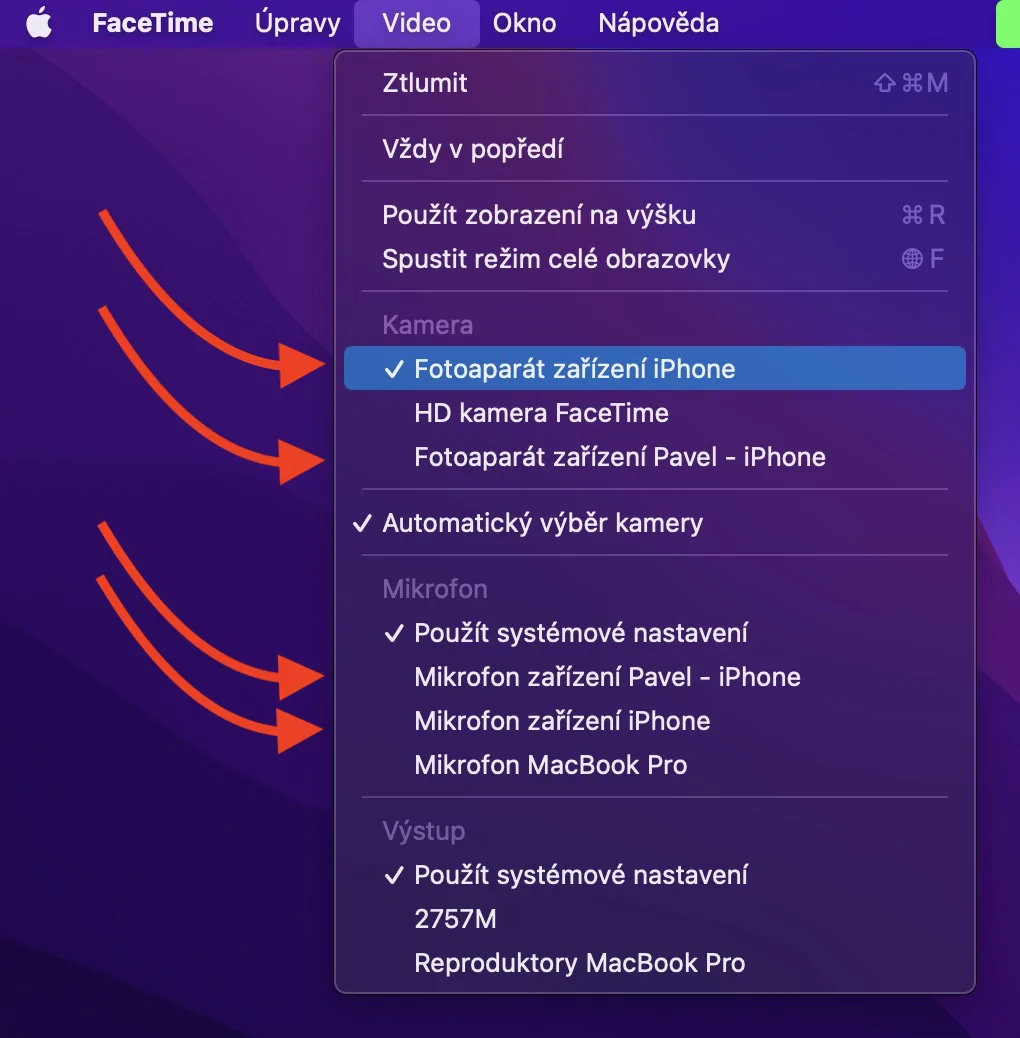
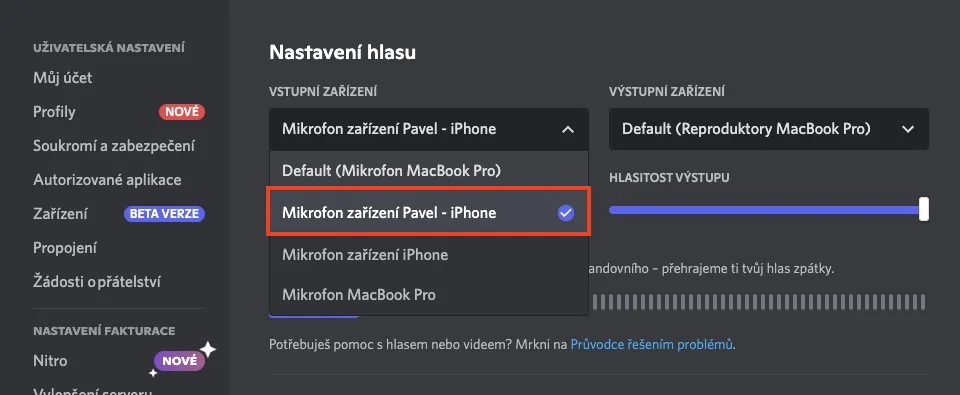
If you've already tried the Camera in Continuity, now it's time to activate it directly, for example directly in FaceTime. It is necessary to realize that when using this function, your iPhone really behaves as any other video or camera source, just as if you connected an external webcam. In translation, this means that it can be used really everywhere. To activate within FaceTime just click on the tab in the top bar video, where you can select camera and microphone as iPhone. As far as other applications, for example, Discord, Microsoft Teams, etc., so just go to presets, where make the settings.
A view of the table
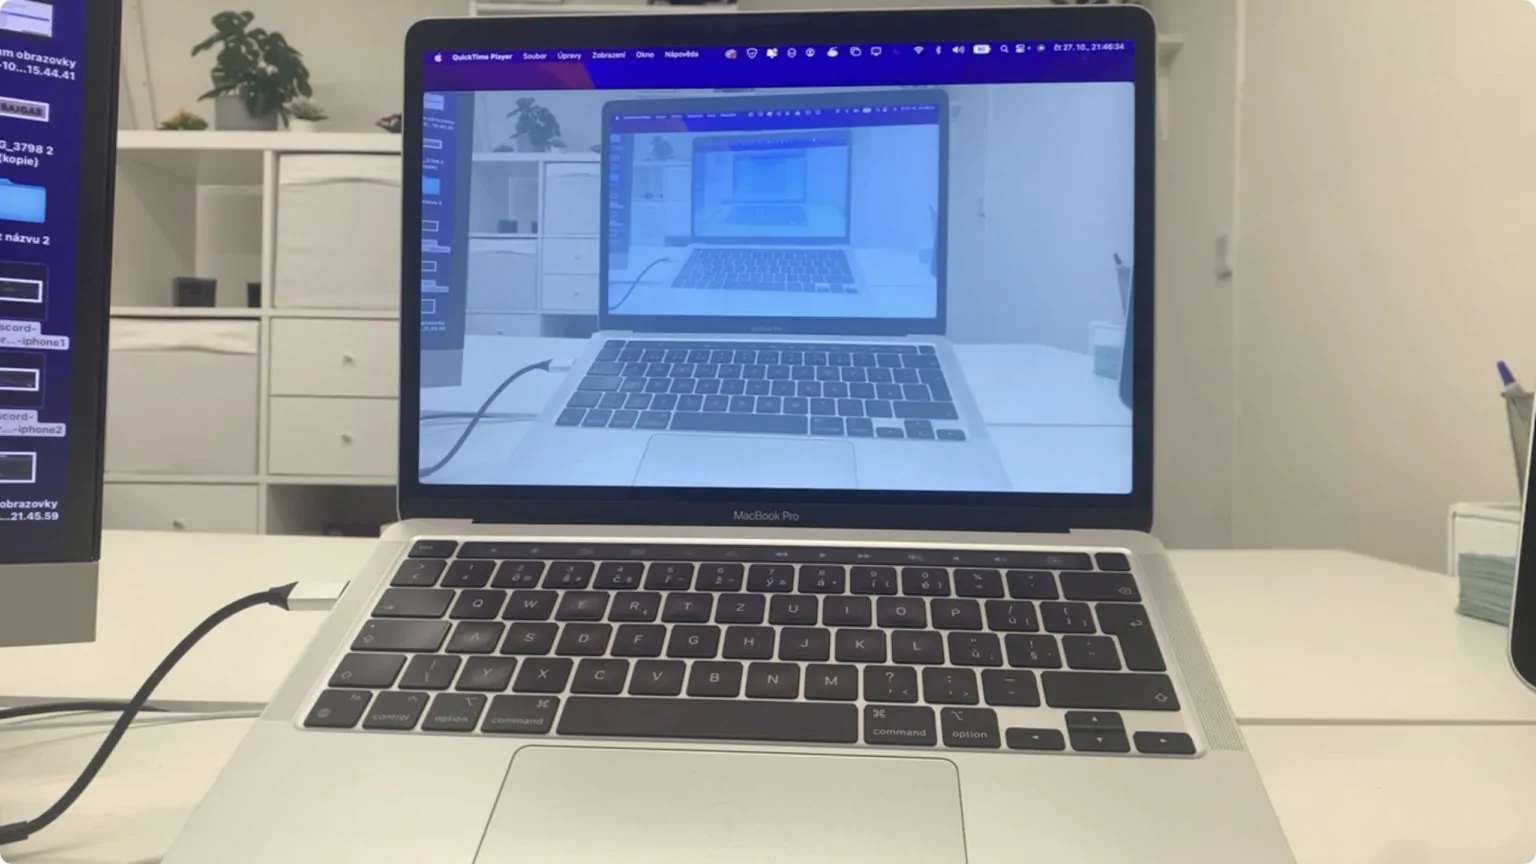
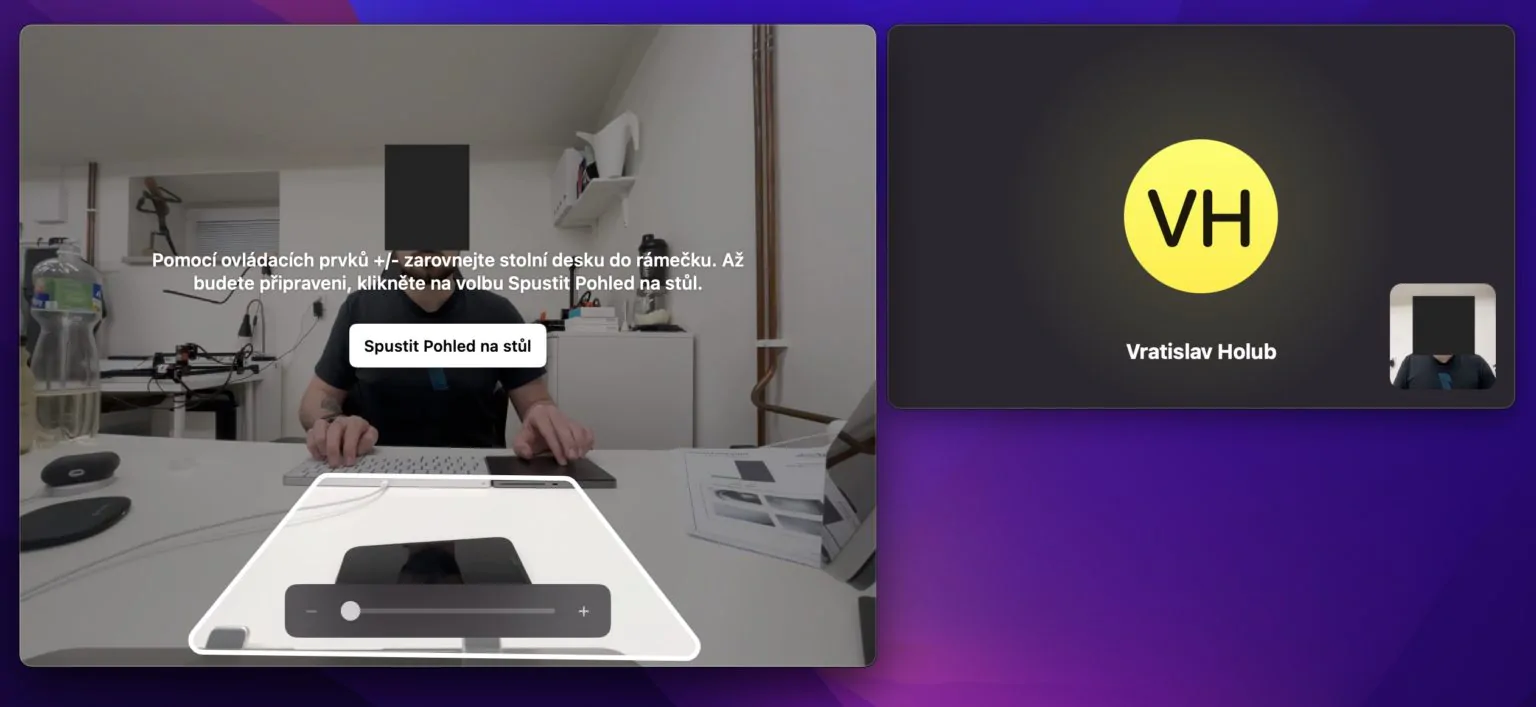
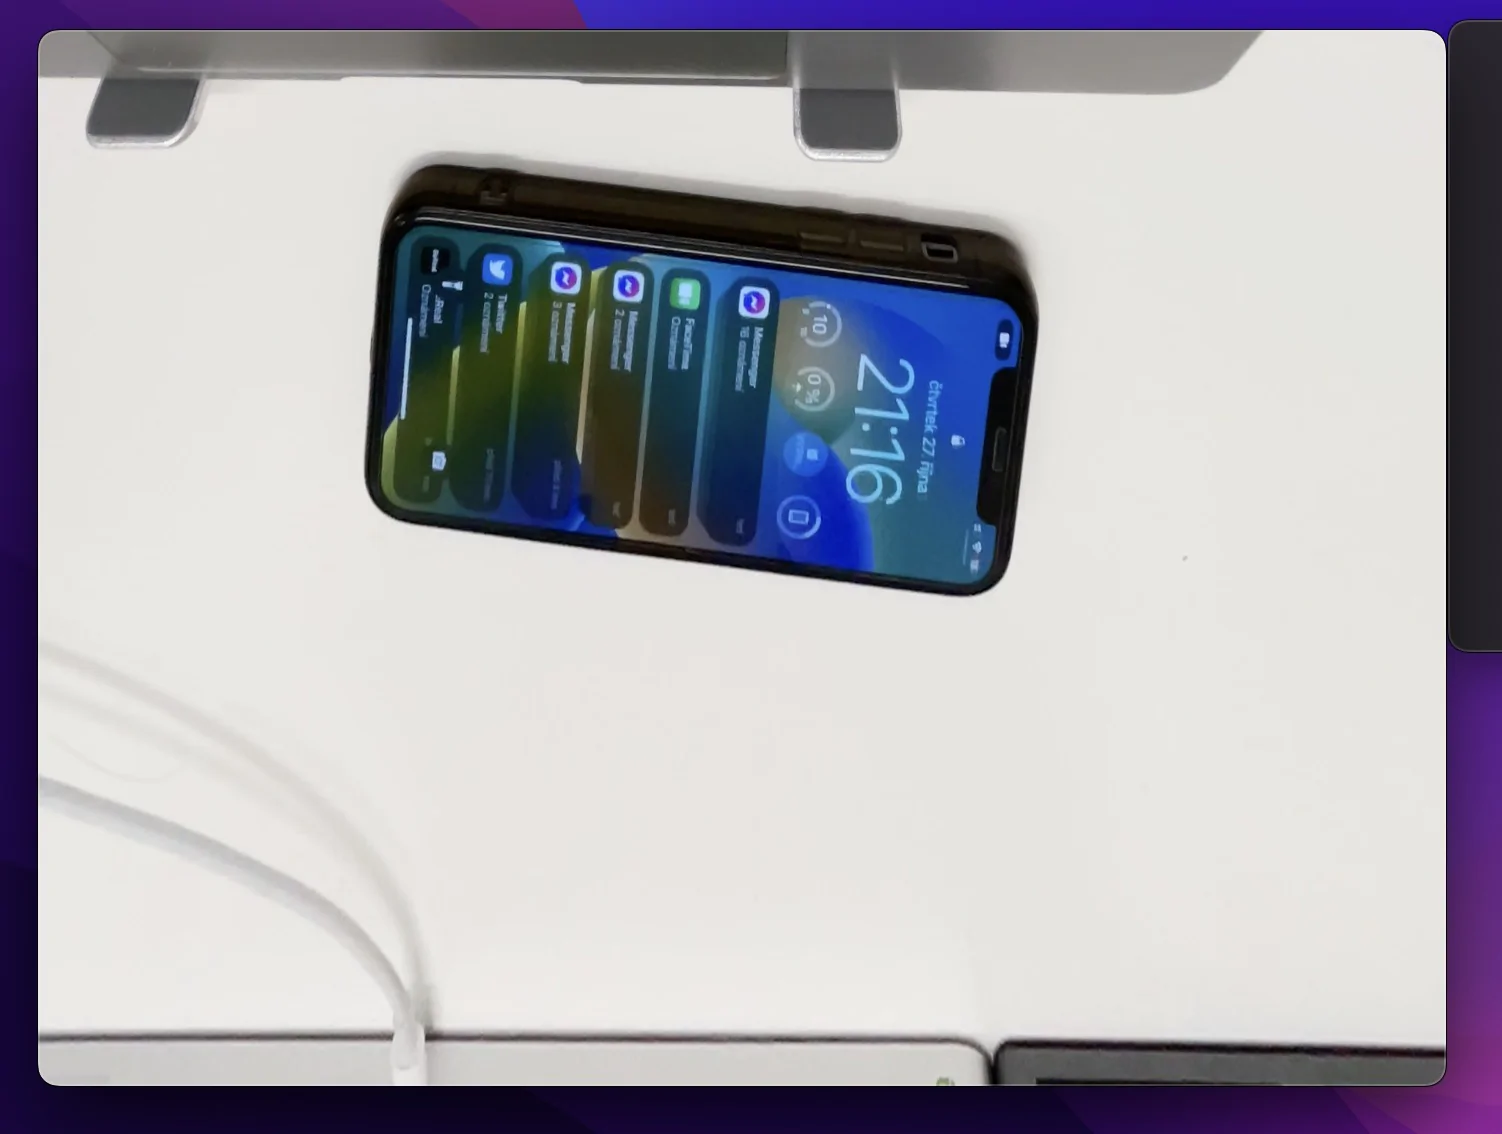
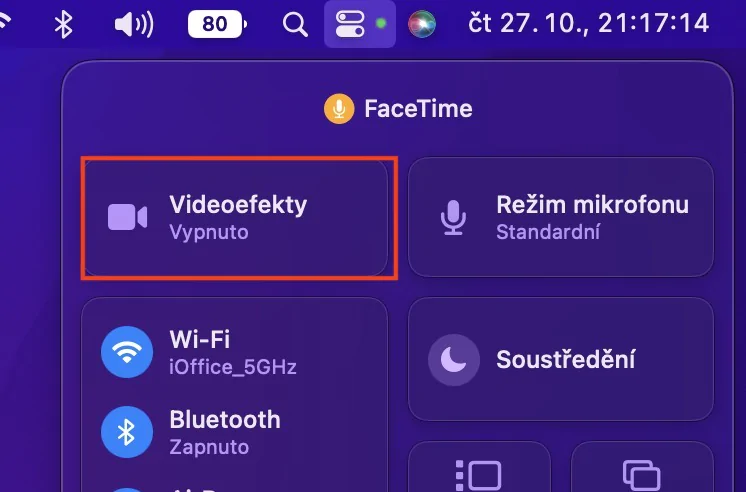
One of the very interesting features of the Camera feature in Continuity is definitely Table View. With this feature, your iPhone can begin to capture the view of the table, if you have it placed on top of your Mac's screen, as presented by Apple itself. In this case, an ultra-wide-angle camera is used, the image of which is subsequently adjusted in real time so that it is not distorted and deformed. If you would like to try View on the table, then in FaceTime just tap on the top right A view of the table. In any another application then just open it in the top bar control center, where to click Video effects a turn on A view of the table. Subsequently, opens a wizard window function settings that you can subsequently start to use. In order to use Table View, you must have iPhone 11 and later.
Centering the shot
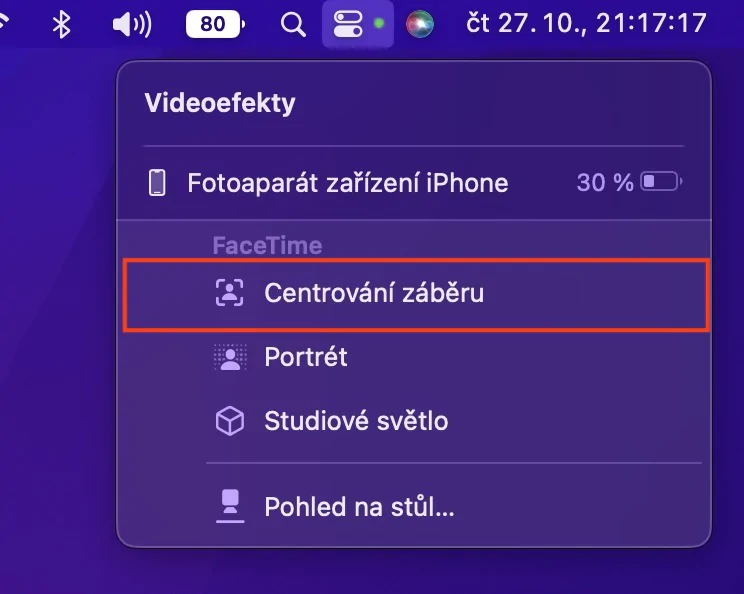
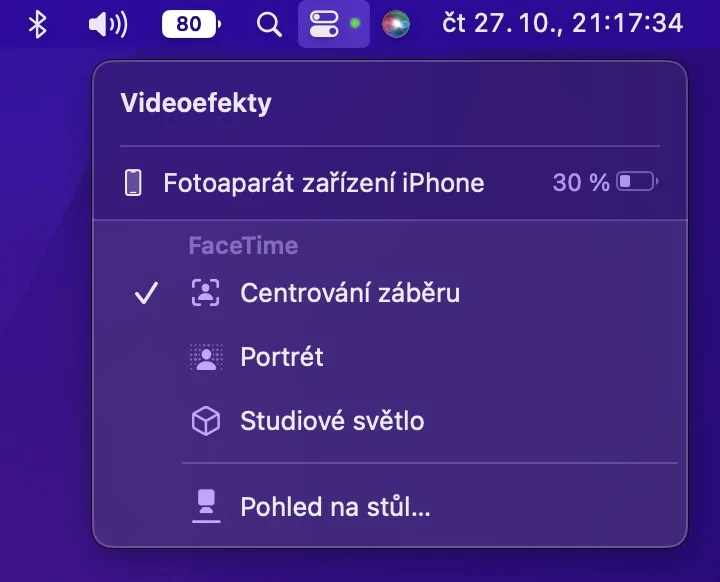
Another great feature you may know from iPads is centering the shot. If you activate this gadget, you can always be sure that you will be in the middle of the shot during a video call - it automatically moves and follows your face. And if more people join the shot, it will automatically expand. If you would like to activate the centering of the shot, it is enough in the top bar open control center, where then click Video effects. Finally, just a tap Turn on the centering of the shot.
Other effects
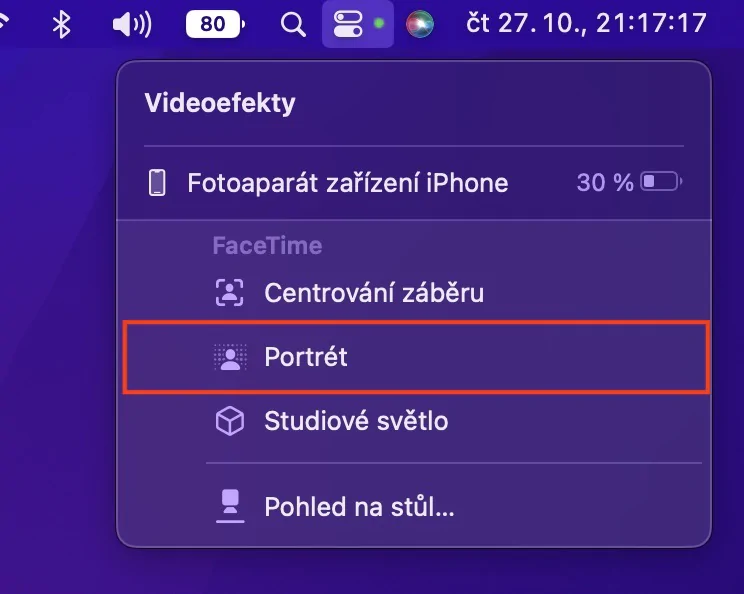
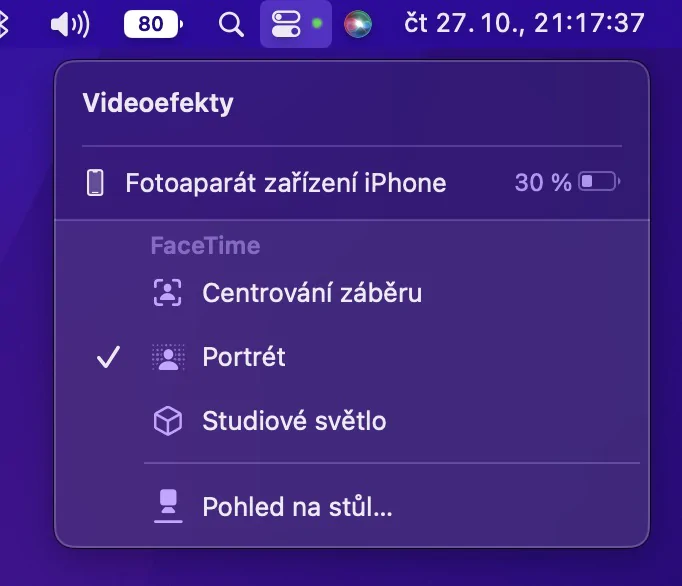
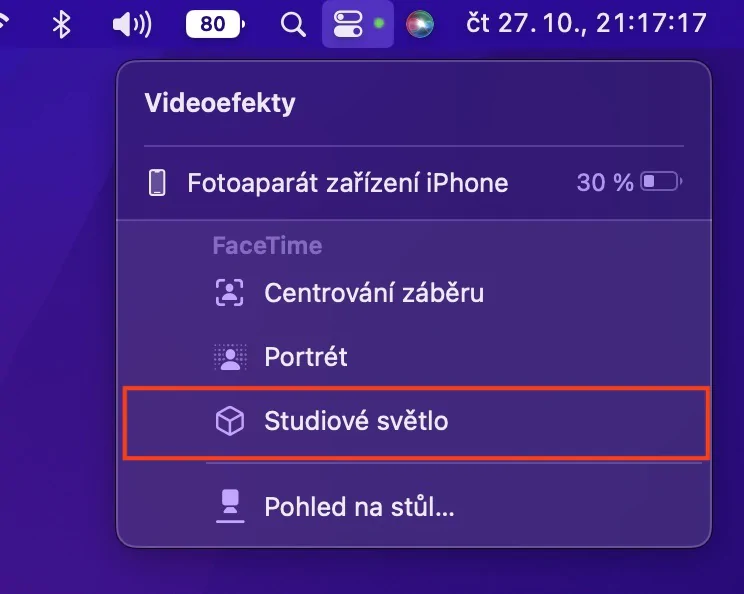
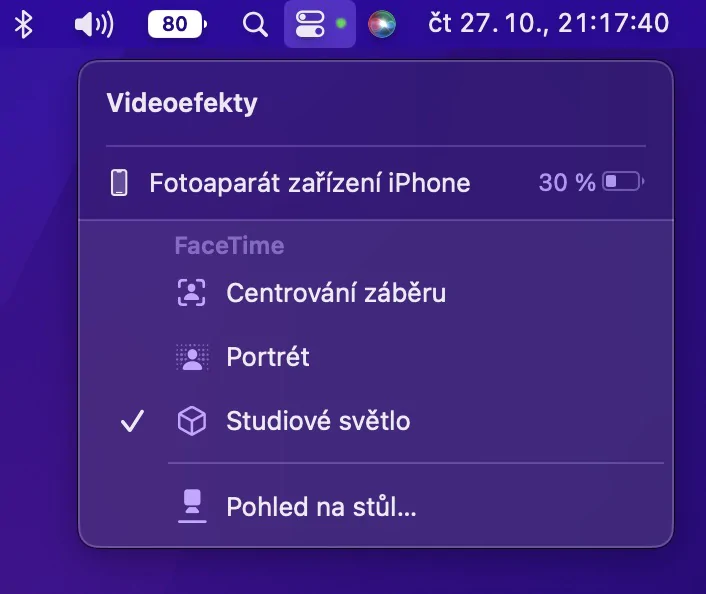
The Camera in Continuity also includes other effects that you can use - specifically, we are talking about Portrait Mode and Studio Light. As far as portrait mode, so it, just like on the Mac, can blur the background around you perfectly and precisely using the Neural Engine. Studio light then, when activated, it can lighten your face and darken the background, making you stand out. Apple states that activating this effect is also useful in low-light conditions, or in scenes in front of a window. You can turn on both of these effects by opening in the top bar control center, where you tap on video effects, where can you find them. Portrait mode can then also be activated directly in FaceTime by tapping on icon in the window with your webcam. In conclusion, I will mention that for the use of the effect Studio light You must have iPhone 12 and later.


