Part of practically all operating systems from Apple is the Accessibility section within the preferences. This section serves mainly individuals who are disabled in some way, but still want to use the systems - for example, blind or deaf users. But the truth is that there are many functions hidden within Accessibility that can help in everyday life even for ordinary users who do not have any handicap. Let's take a look at 5+5 Accessibility on Mac tips and tricks together in this article - the first 5 tricks can be found in the article on our sister magazine (see the link below), the next 5 can be found directly in this article.
It could be interest you

Zoom in on the text under the cursor
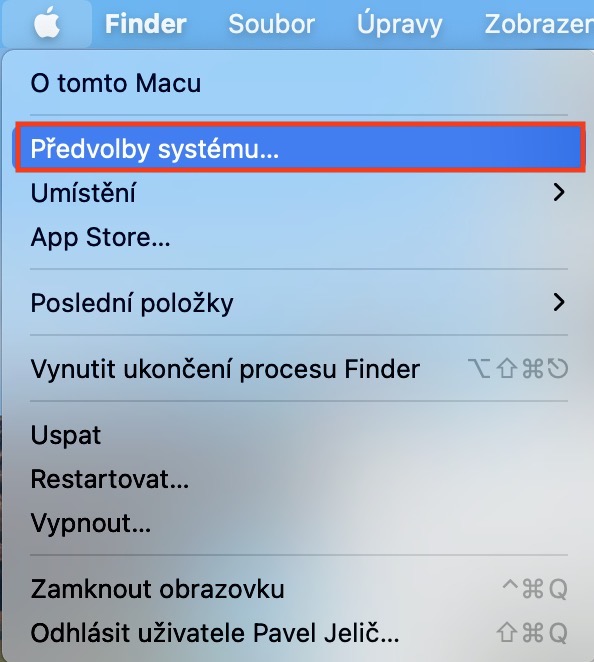
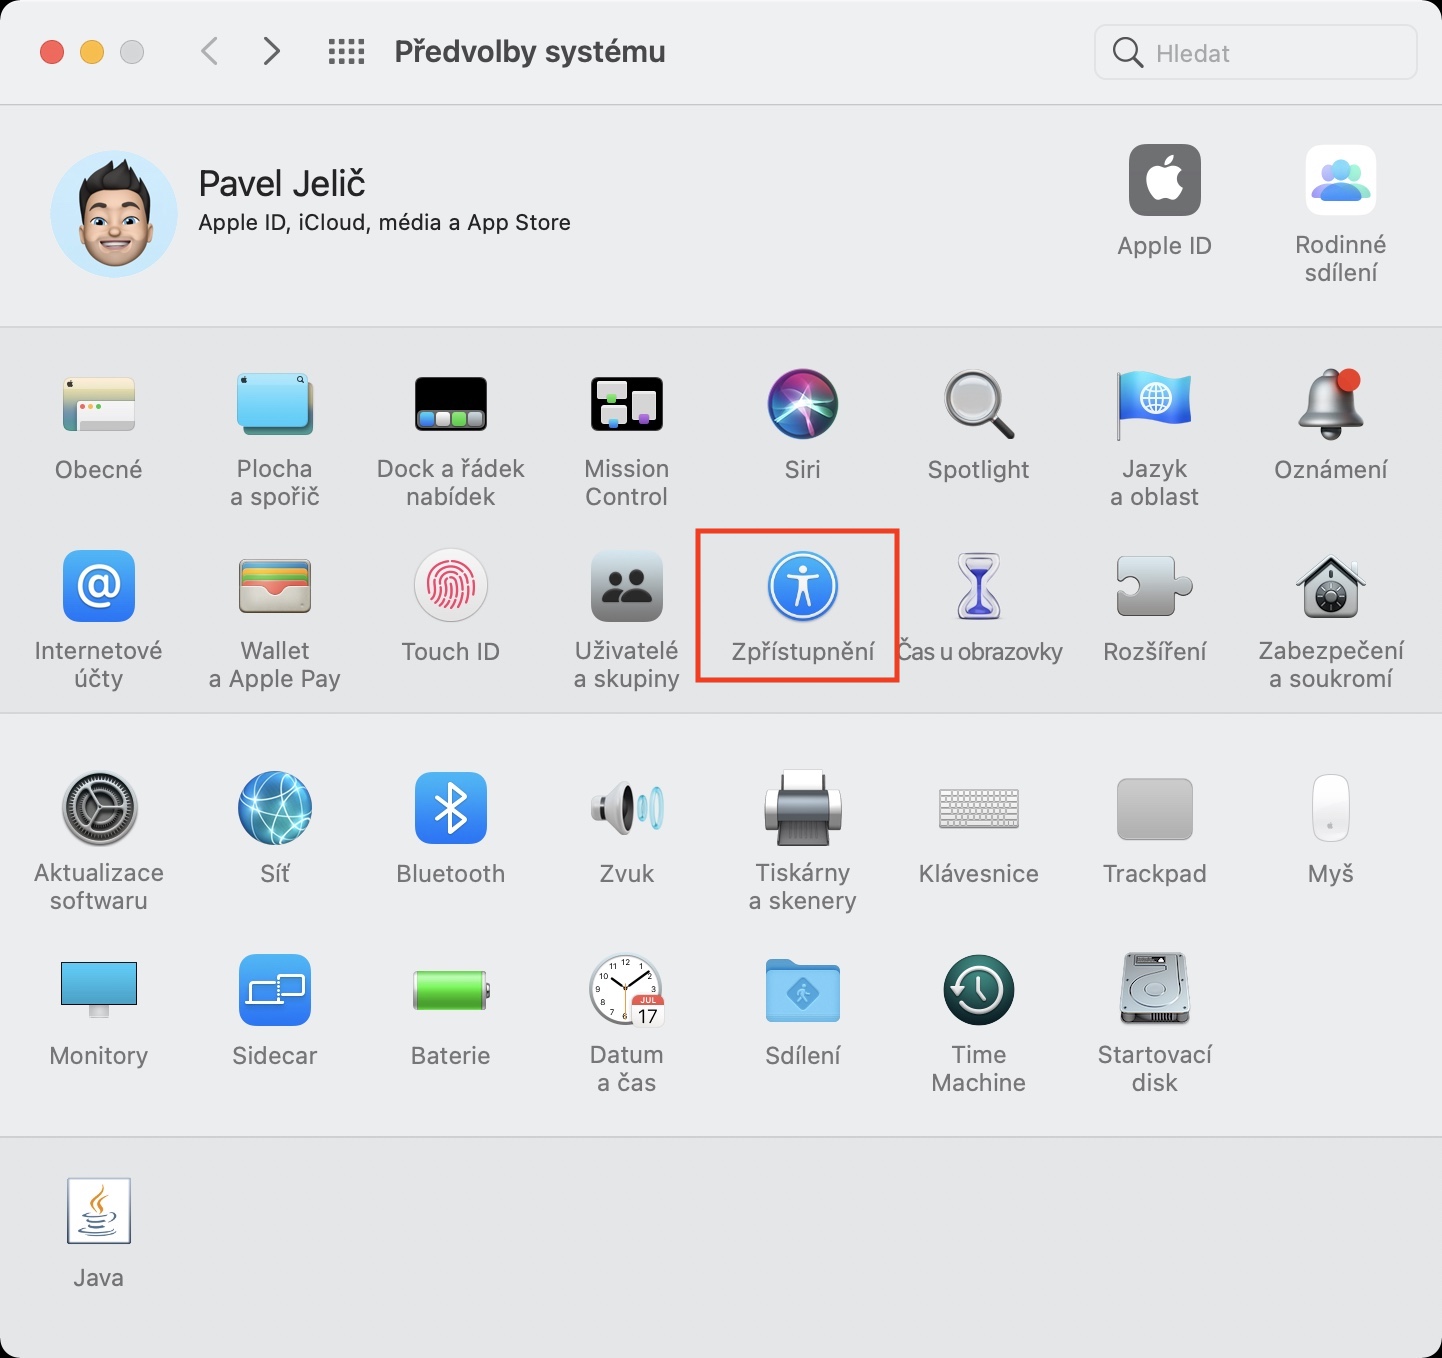
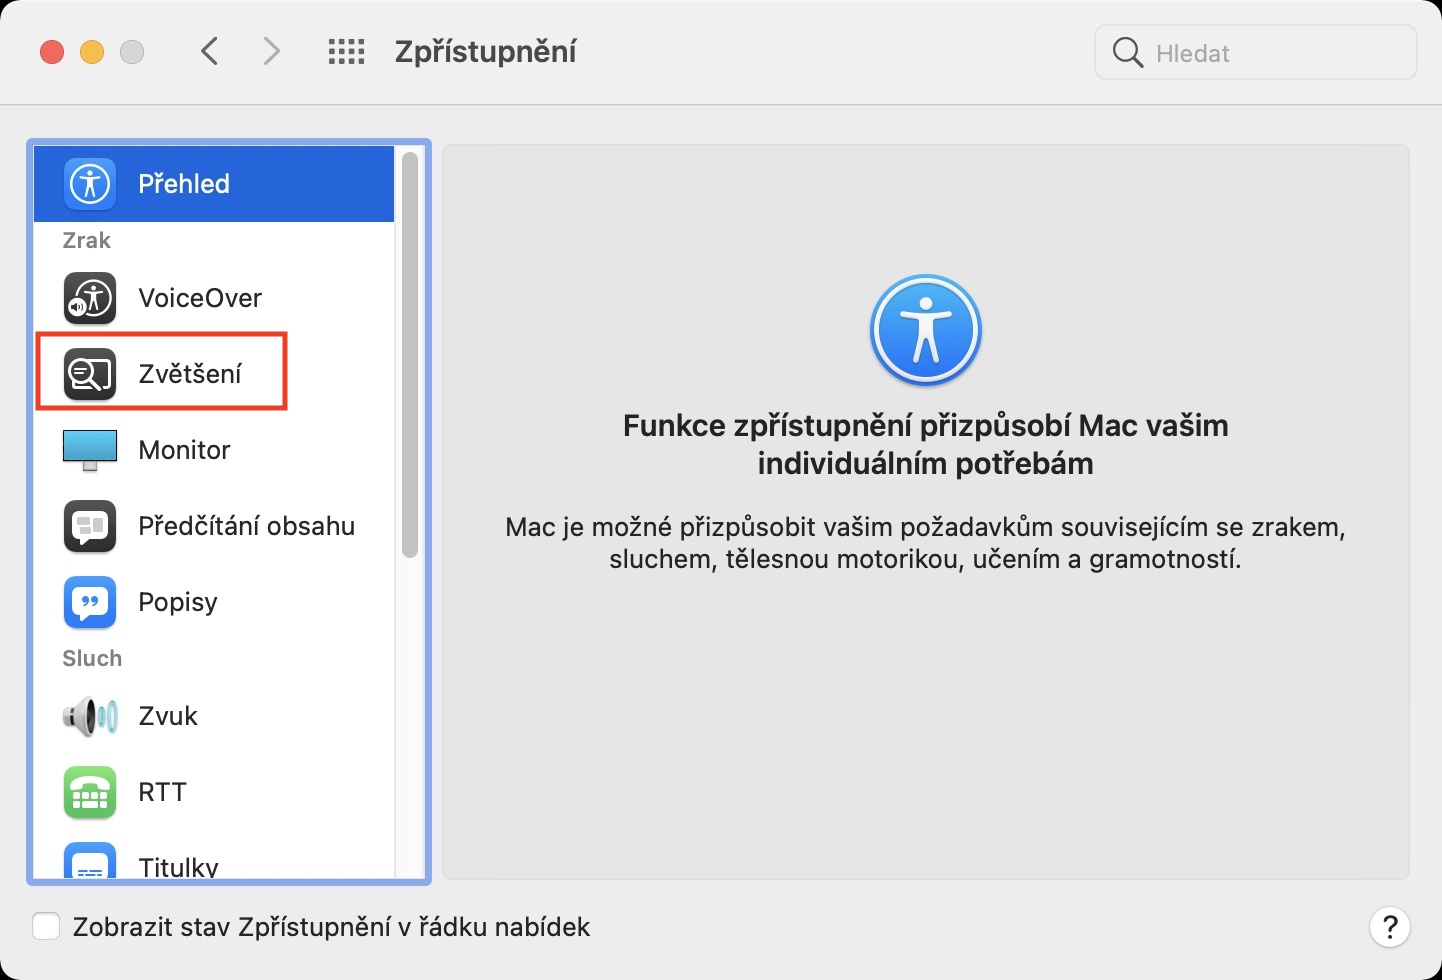
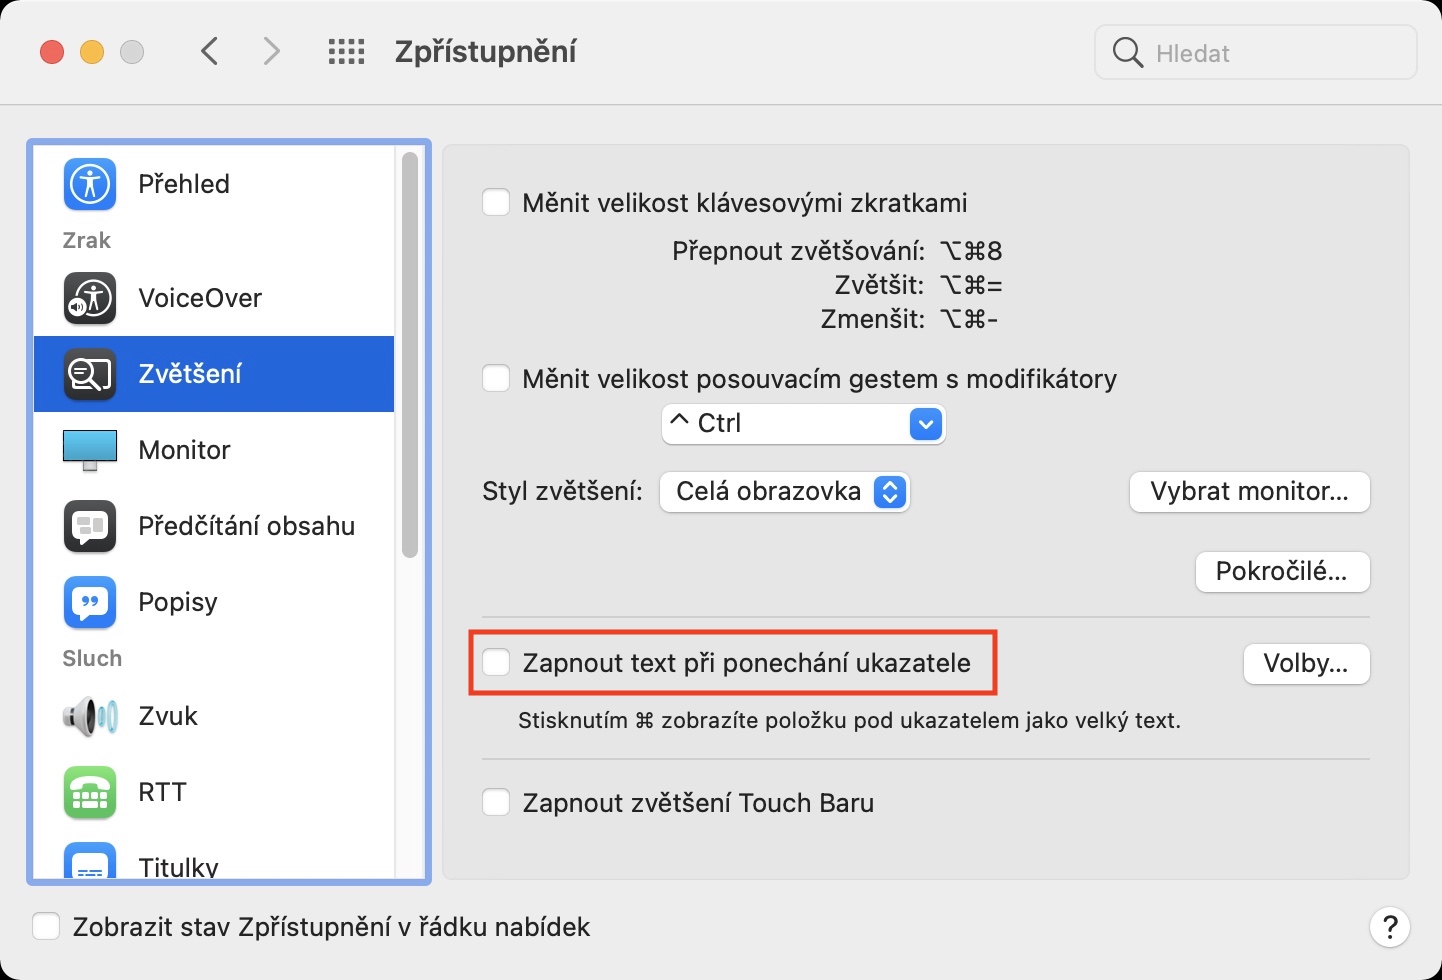
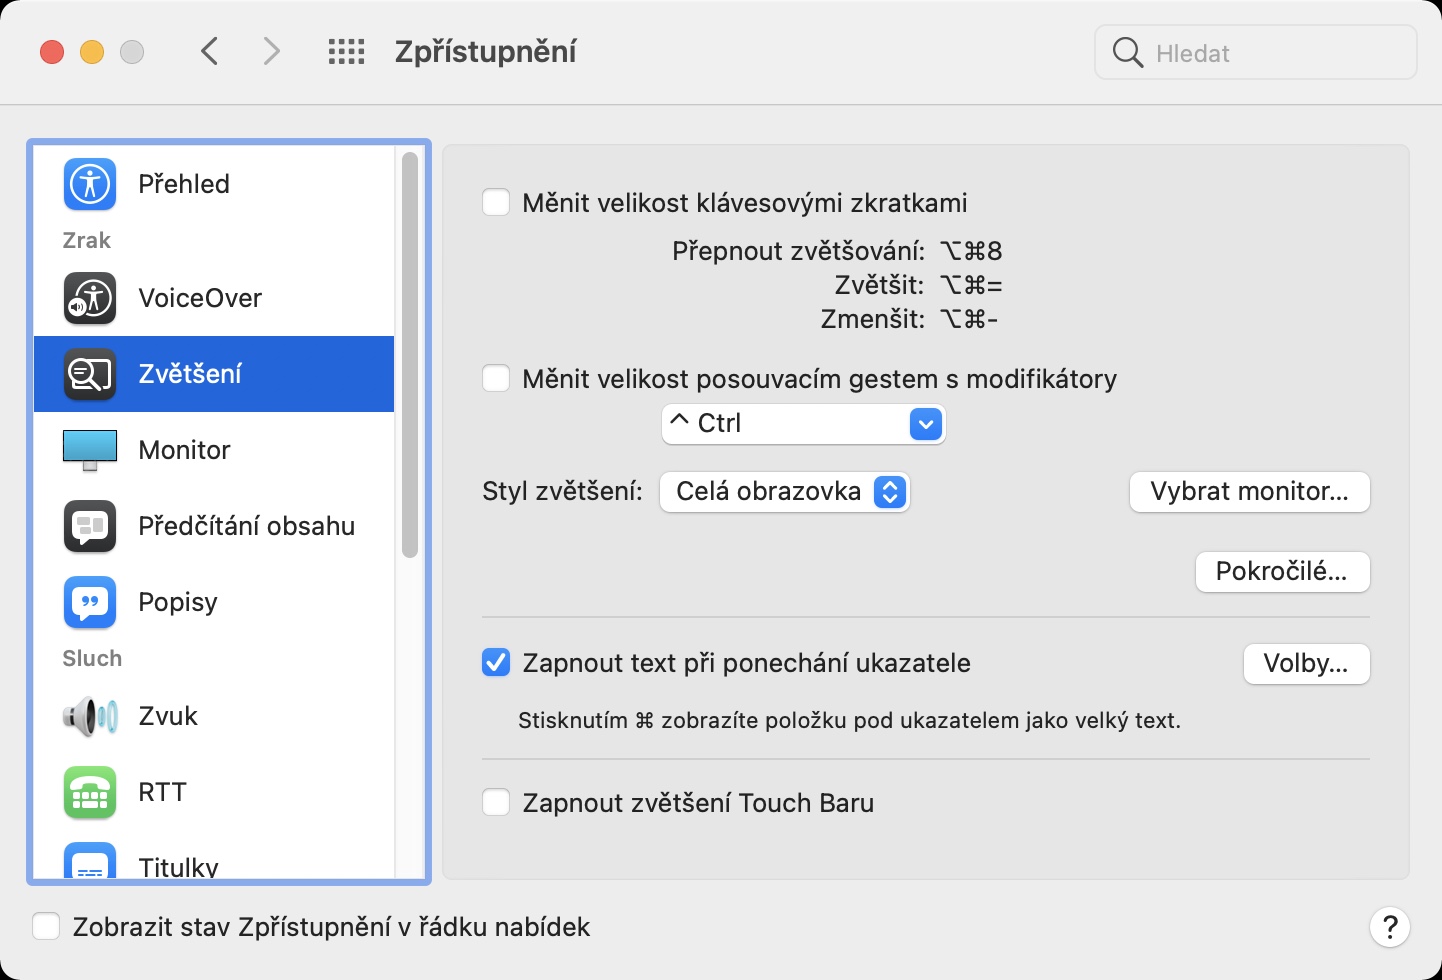
Within macOS, you can relatively easily have the screen enlarged, which is especially useful for those individuals who have a little difficulty seeing. However, this is in a way the last option. If you can see well in general and would like to enlarge only the text you hover over with the cursor, you can - just activate the function in Accessibility. So go to System Preferences -> Accessibility, where on the left, find and tap the item Enlargement. Now all you have to do is ticked possibility Turn on text on hover. If you click the button Elections…, so you can still set, for example, the size of the text and the activation key. Now, as soon as you move the cursor over some text and hold down the activation key, the text will be enlarged within the window.
Reading the selection
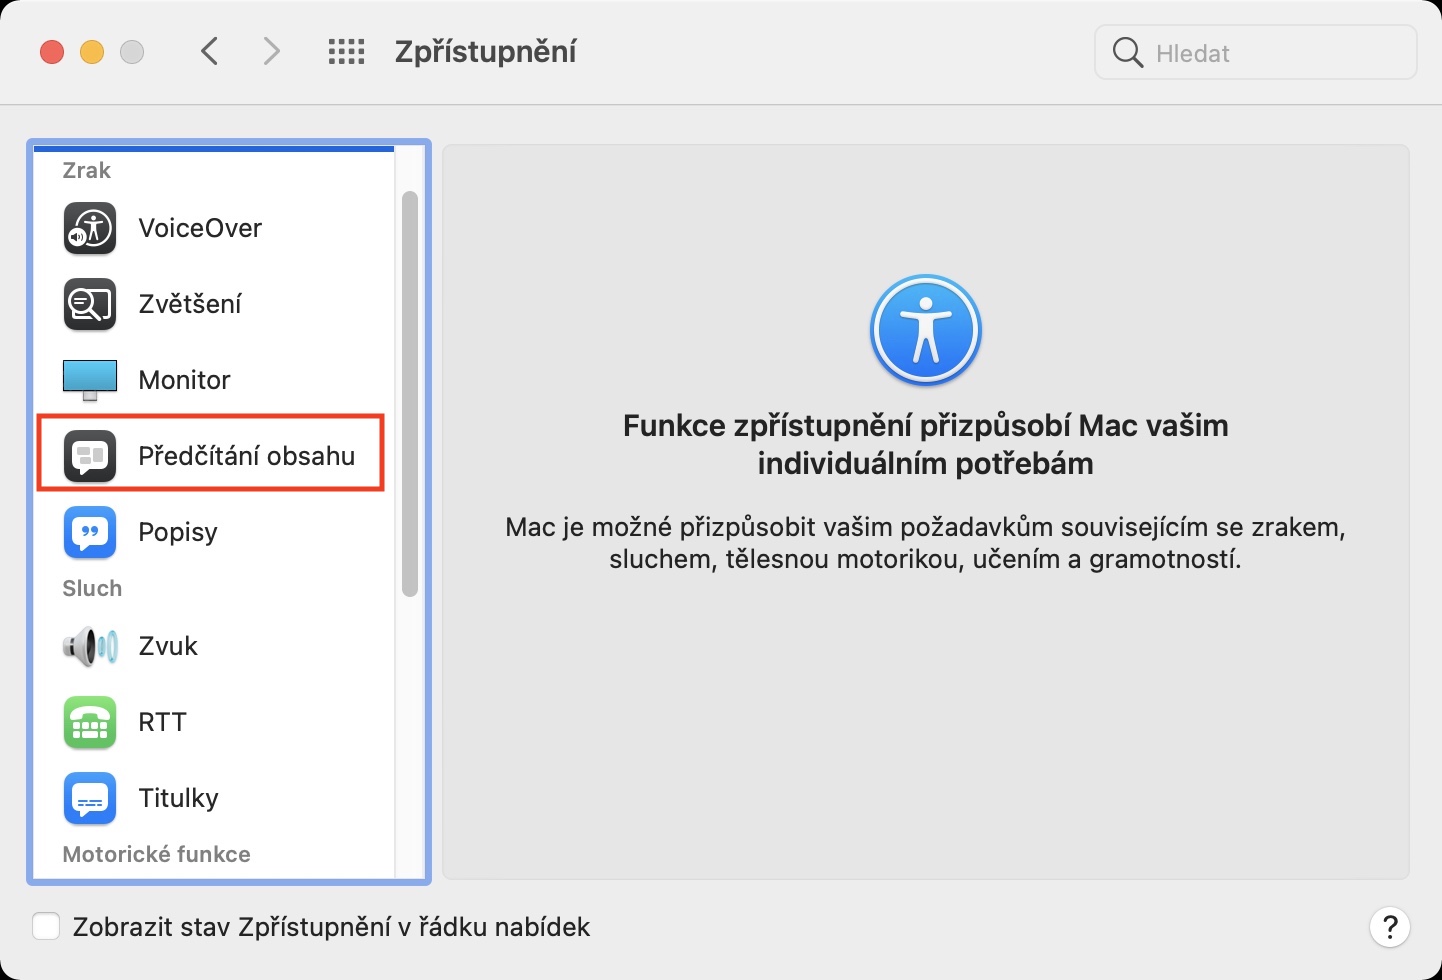
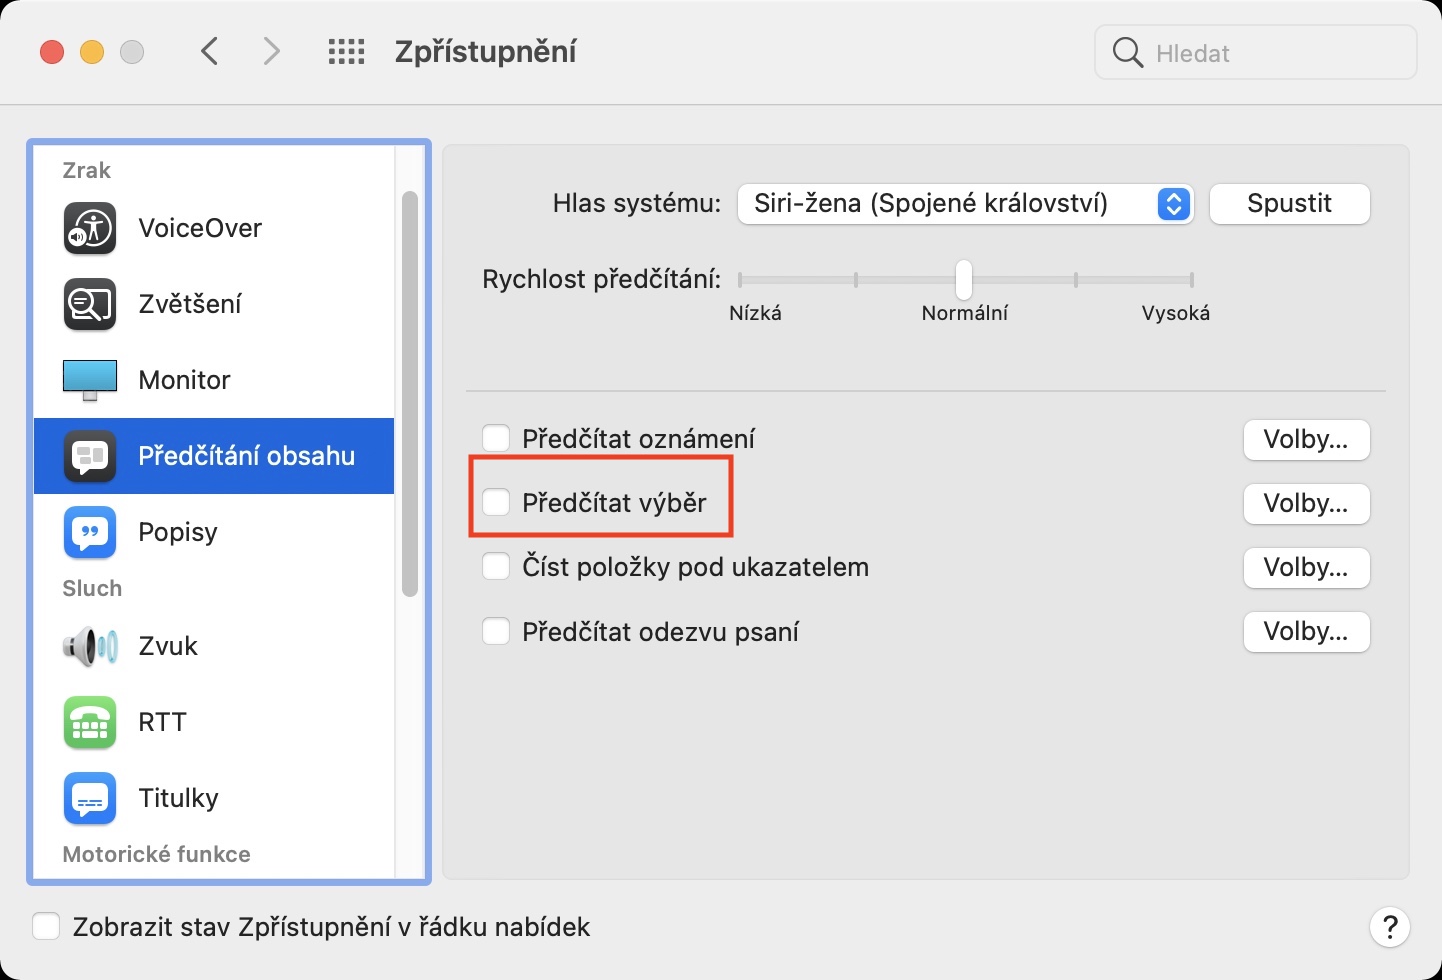
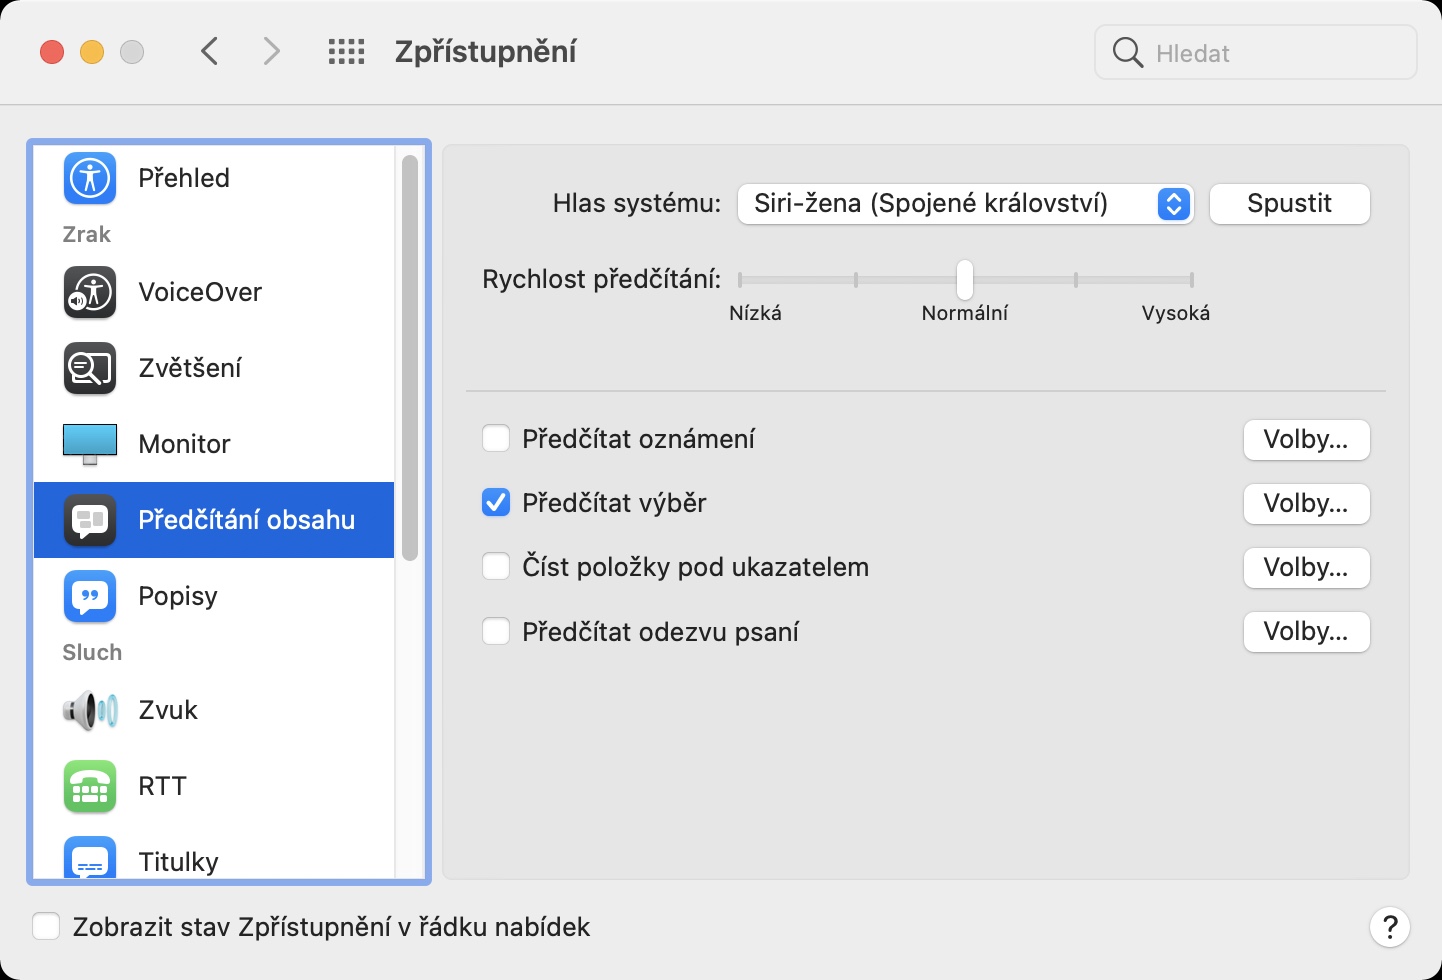
It is quite possible that you have already found yourself in a situation where you managed to read into an article, which stopped you from pursuing. On the one hand, you are interested in the article, but on the other hand, you do not want to be late for the arranged event. In macOS, you can activate a function that can read the marked text to you. That means you can have the rest of the article read while you get ready. To activate this feature, go to System Preferences -> Accessibility, where select an option in the left menu Reading content. It's enough here tick possibility Read the selection. Above, you can also set the system voice, reading speed and more if you then tap on Elections…, so you can set the activation key and several other options. Then all you have to do is highlight the text you want to read and press it keyboard shortcut (Option + Escape by default).
Head pointer control
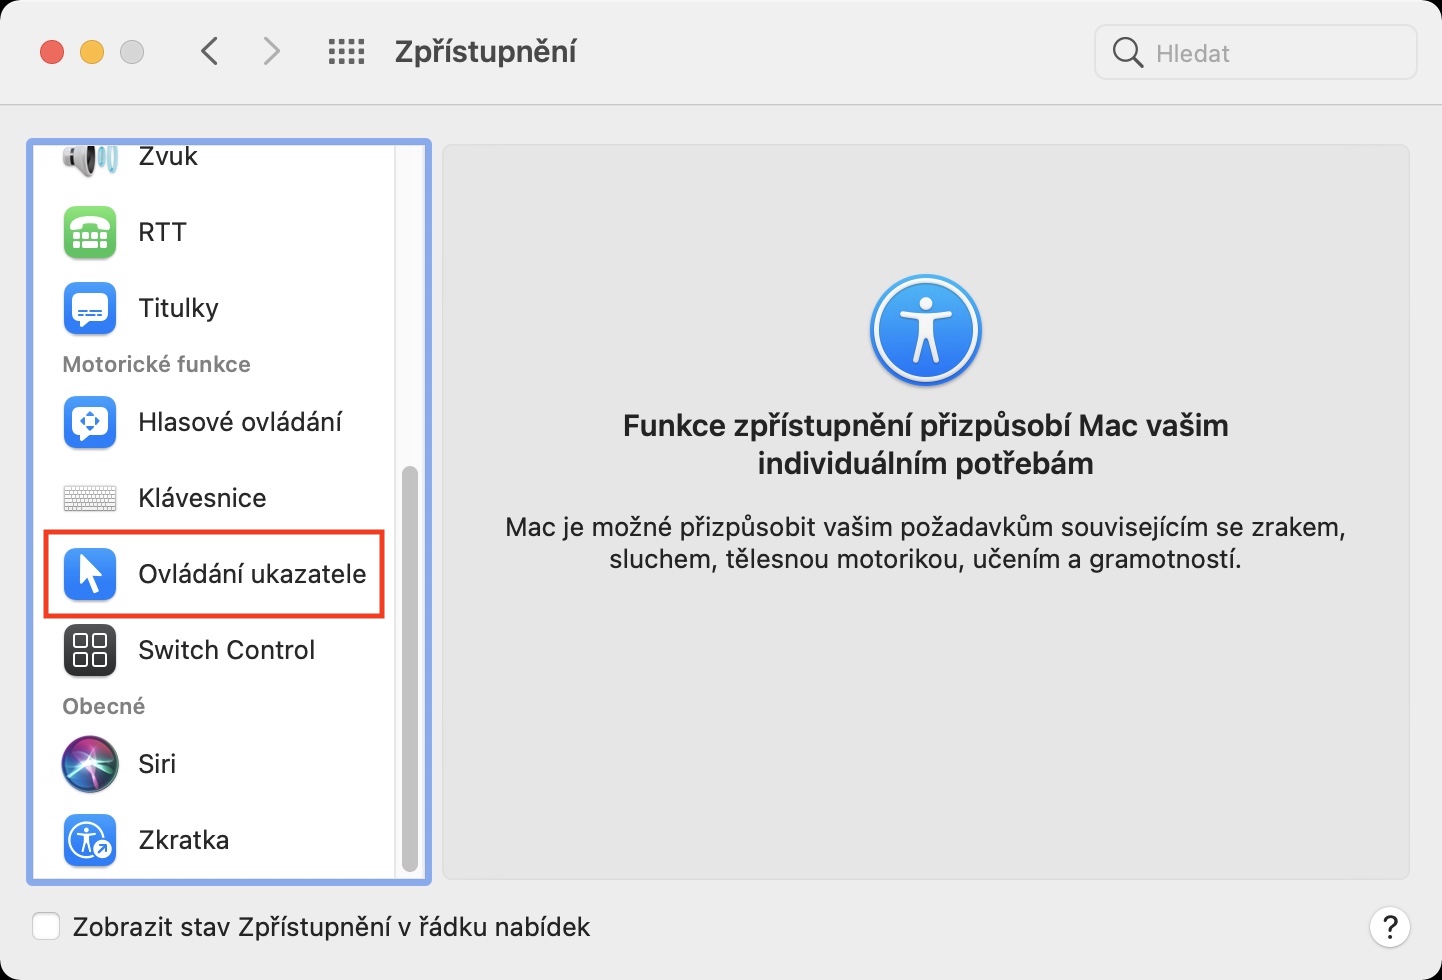
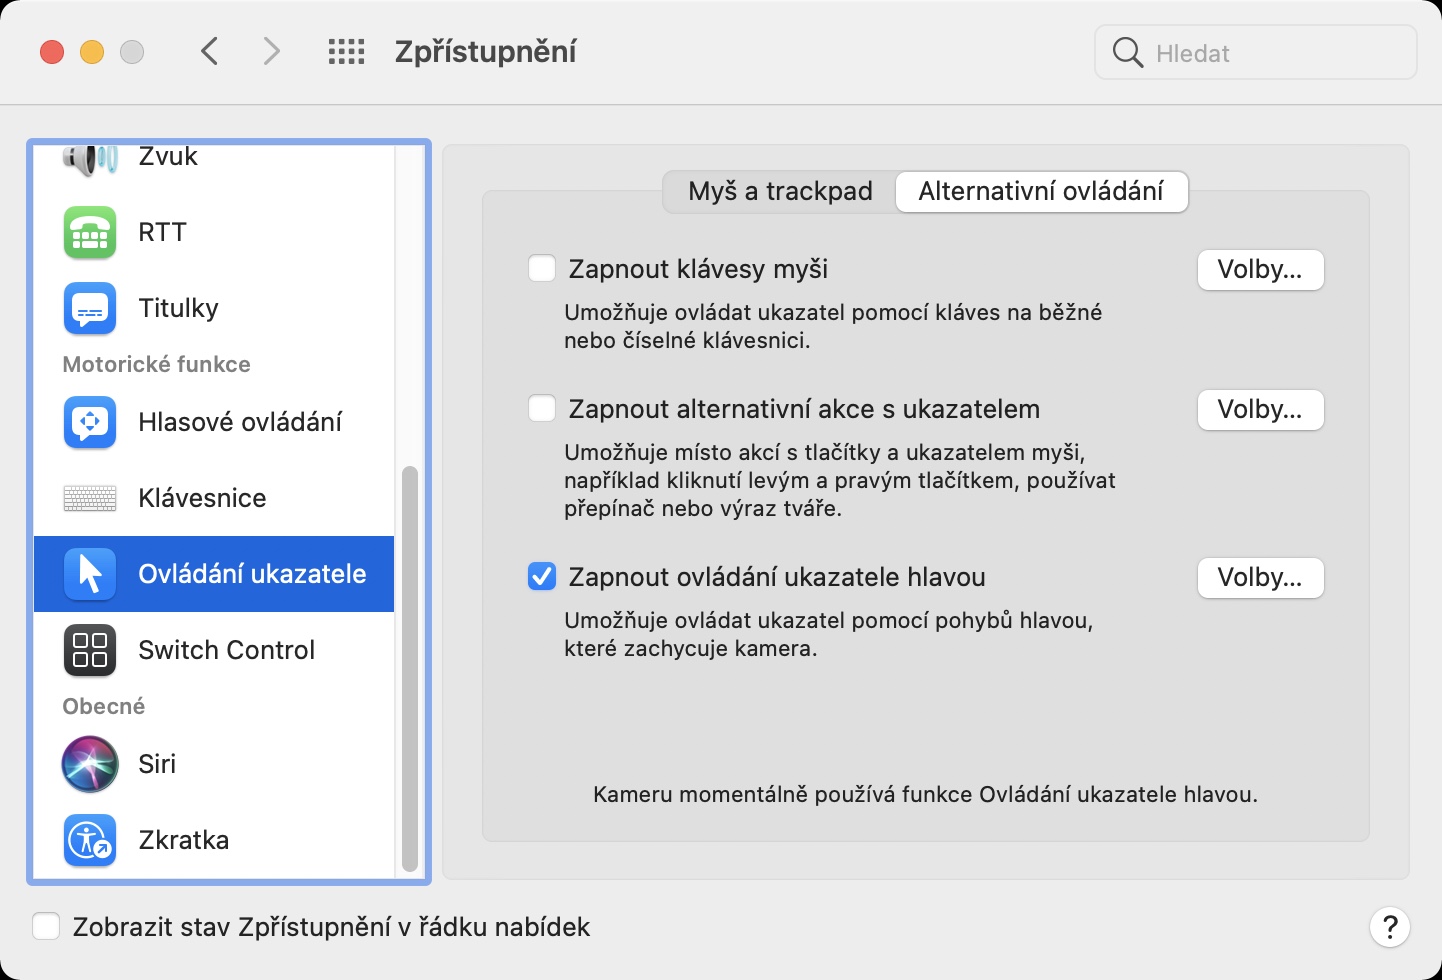
This feature is definitely not one you would immediately start using on a daily basis. In a way, it is more of a kind of joke that you can surprise your friends with, for example. A feature available in macOS that allows you to control the cursor by moving your head. So if you move your head to the left, the cursor will move to the left, then you can tap with a blink. If you want to try this feature, go to System Preferences -> Accessibility, where in the left menu click Pointer control. Then in the top menu, move to Alternative controls a activate Turn on head pointer control. After tapping on Elections… you can set several other preferences for this feature. Of course, head control works thanks to the front camera of your macOS device, so it must not be covered.
Entering text for Siri
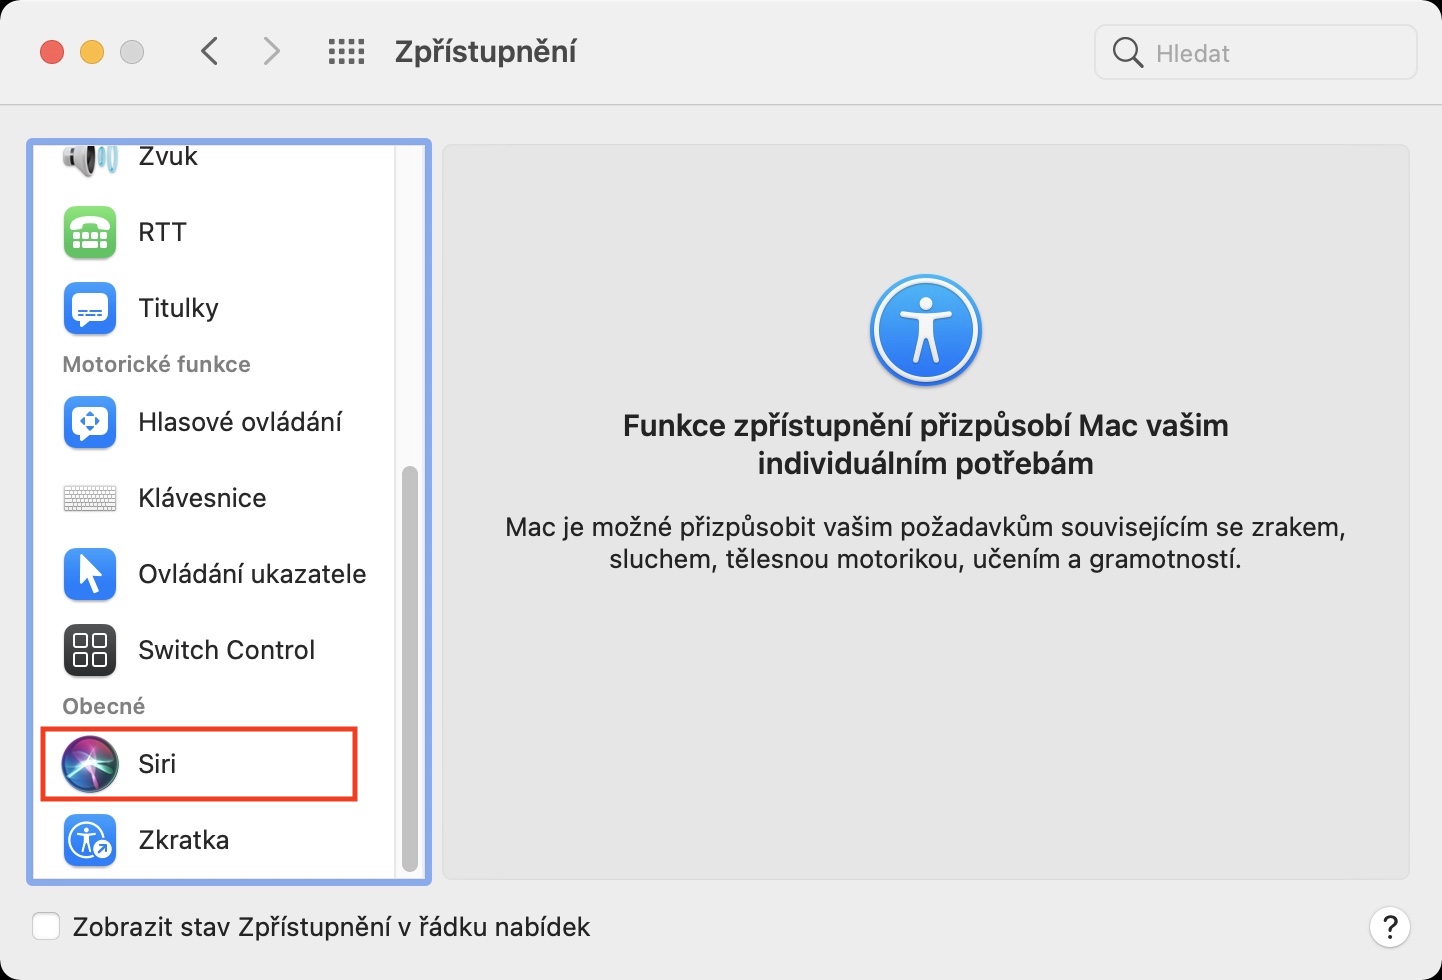
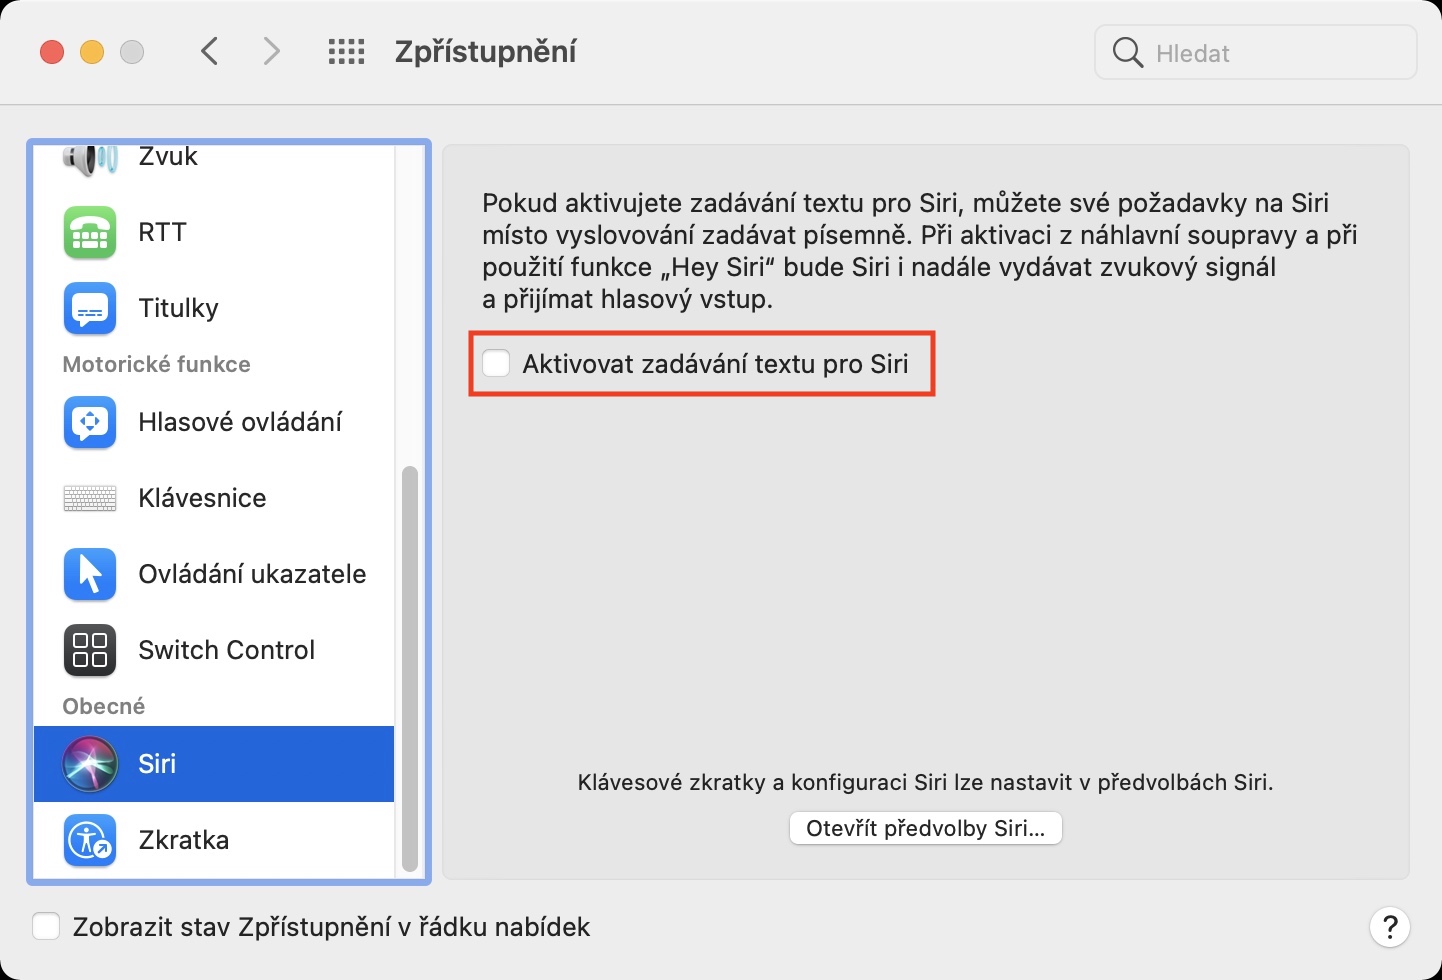
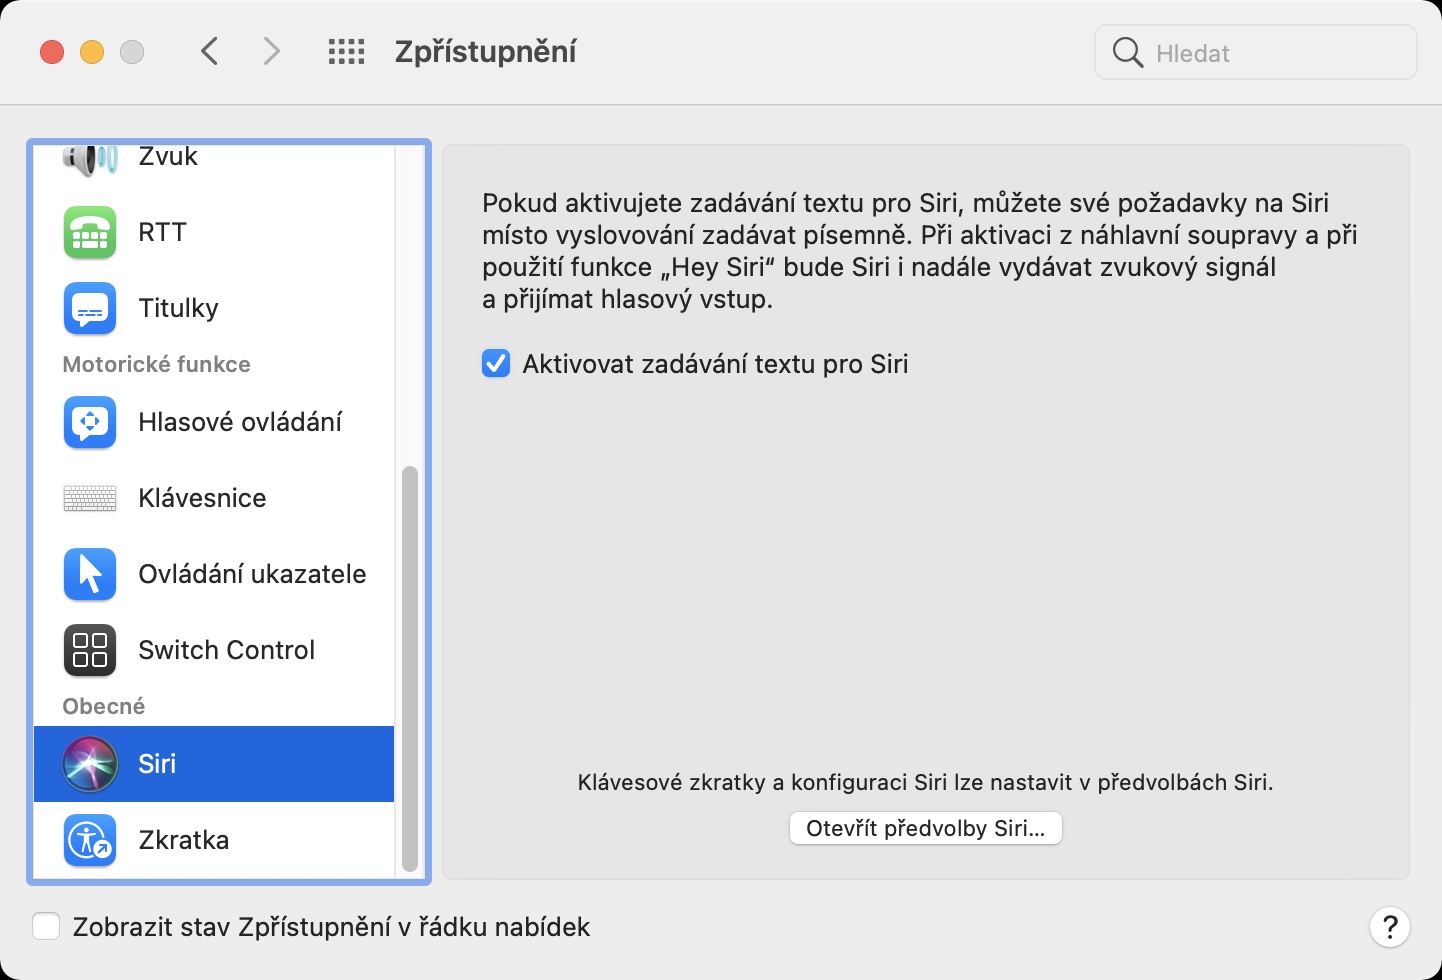
The voice assistant Siri is primarily intended to facilitate our daily use of (not only) Apple devices. Within the household, thanks to it, you can, for example, control the heating, play music and much more. But you can't speak in all cases, which is why the Text input function for Siri comes in handy. If you decide to activate it, you will be able to give Siri commands simply in writing. You can activate this function in System Preferences -> Accessibility, where on the left click on the section Siri, and then tick Enable text input for Siri. Text input will be available if you turn on Siri, for example, using the Touch Bar, or using the icon in the top bar. If you say the activation phrase Hey Siri, so the device assumes that you can speak at the moment, so the assistant will classically receive voice input.
Abbreviations Disclosure
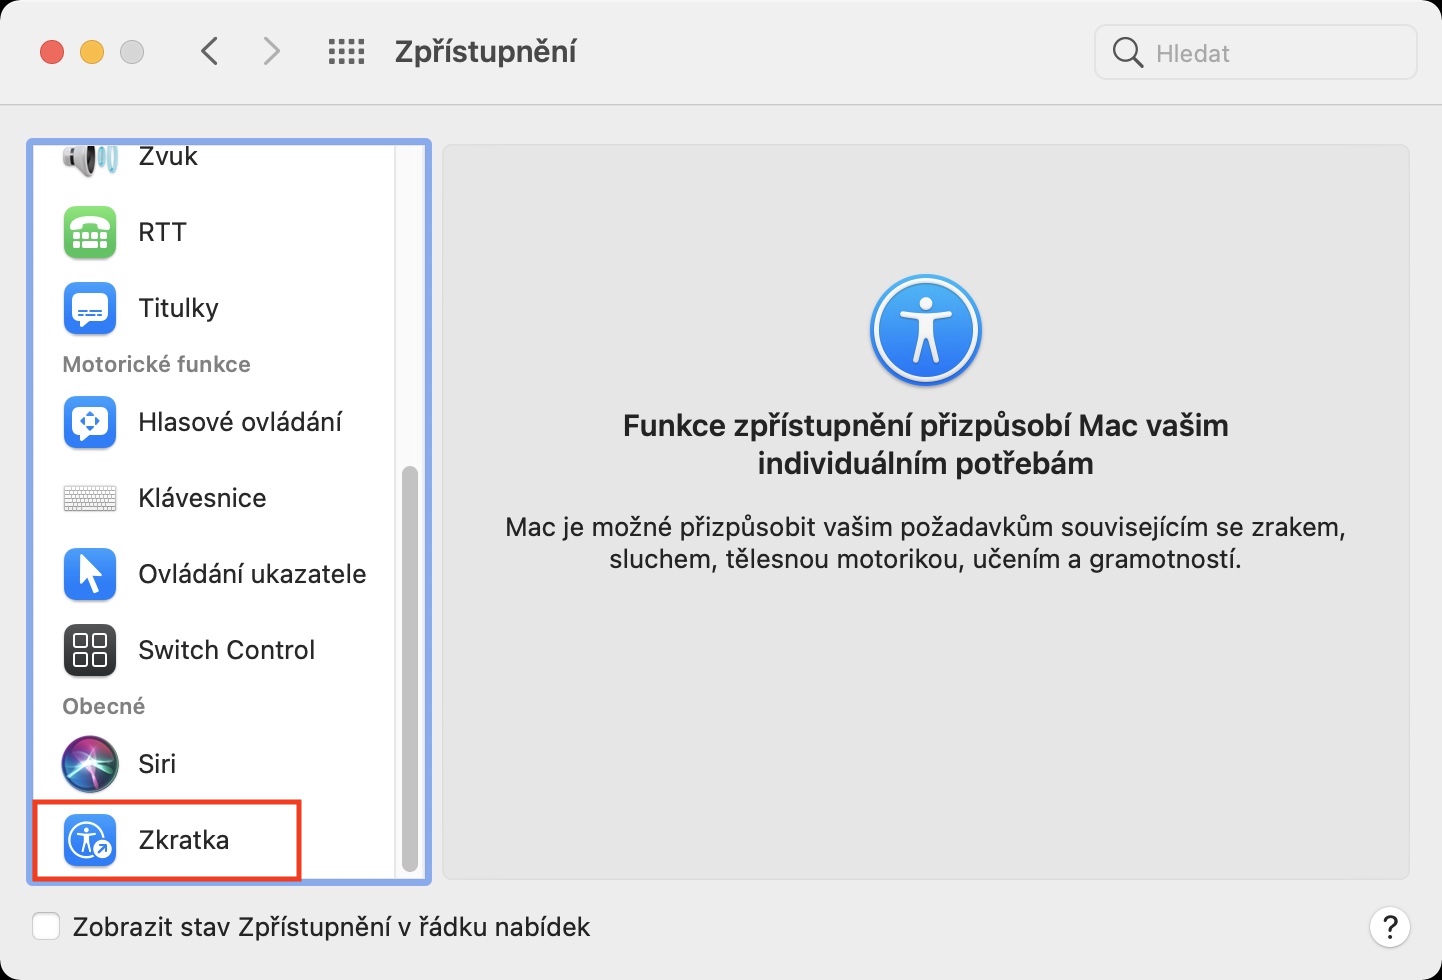
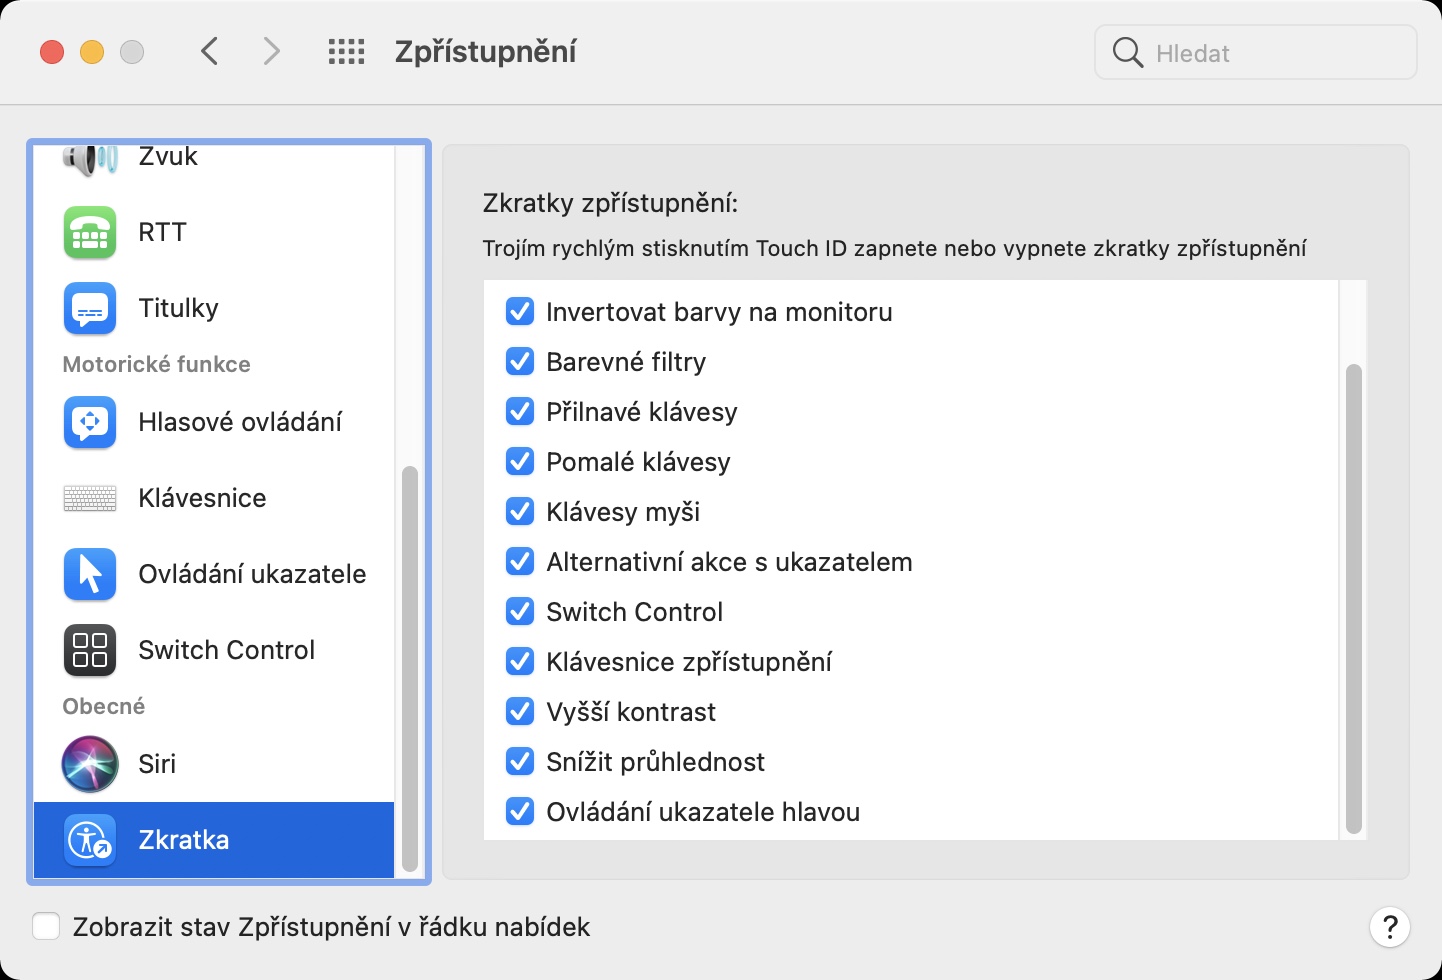
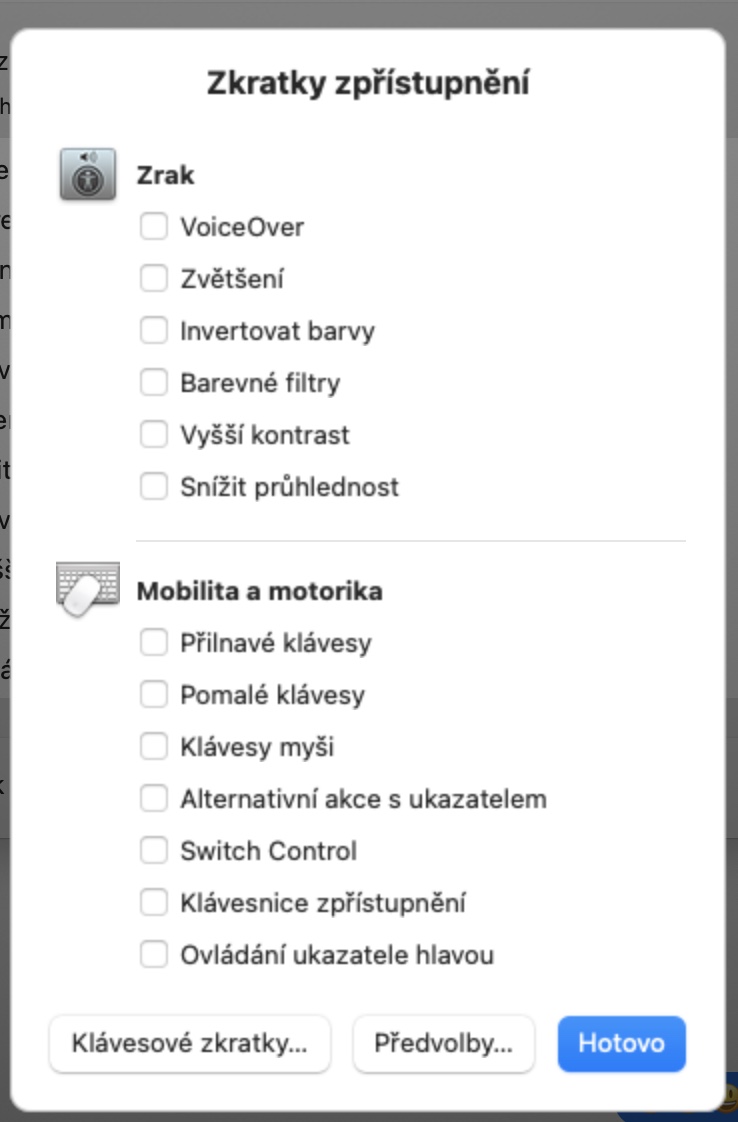
If you liked some Accessibility features, you might be demotivated by the fact that you always have to open System Preferences and the Accessibility section to activate them. Fortunately, there is an option to set Access Shortcuts, where a specific function will appear in a window after triple-pressing Touch ID. You can set the individual functions that appear here in System Preferences -> Accessibility, where at the very bottom in the left menu, click on Abbreviations. After pressing Touch ID three times, you only need to choose which of the functions you want to activate in a new window. This way you can quickly display the keyboard on the screen.
 Flying around the world with Apple