Apple is one of the few technology companies that care about the security and privacy of its customers. It proves this to us, for example, with various functions and a general approach to data collection and processing. Just think about how many times information about leaks, misuses or sales of data from other tech giants has appeared on the Internet, while you would look for similar news in connection with Apple in vain. Let's take a look at 5 tips and tricks together in this article, thanks to which you can strengthen your privacy protection on iPhone.
It could be interest you
Setting up location services
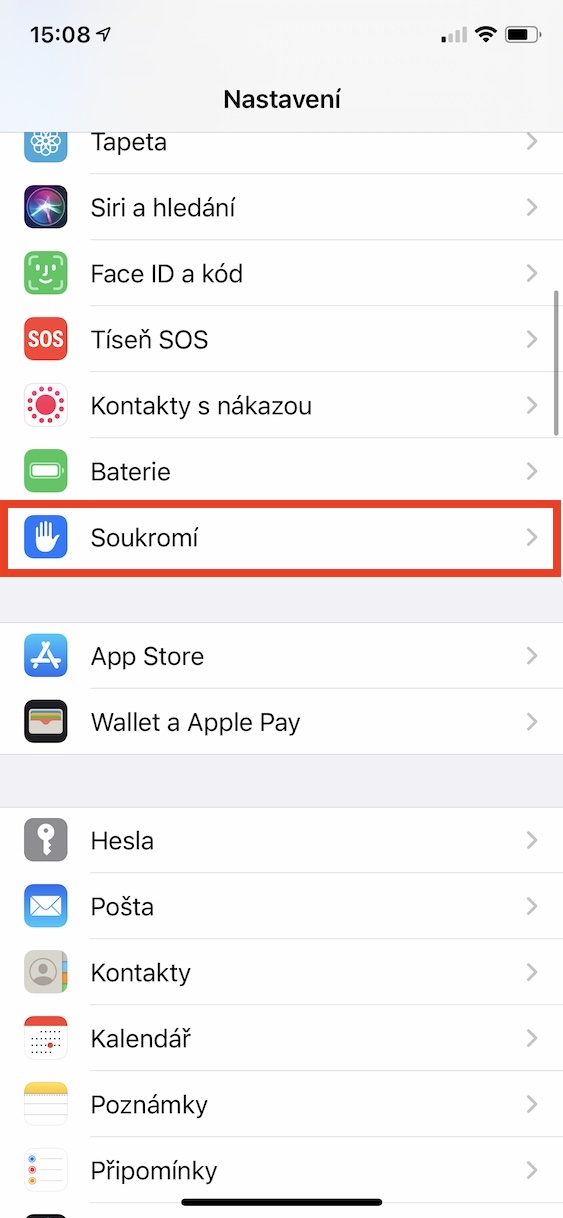
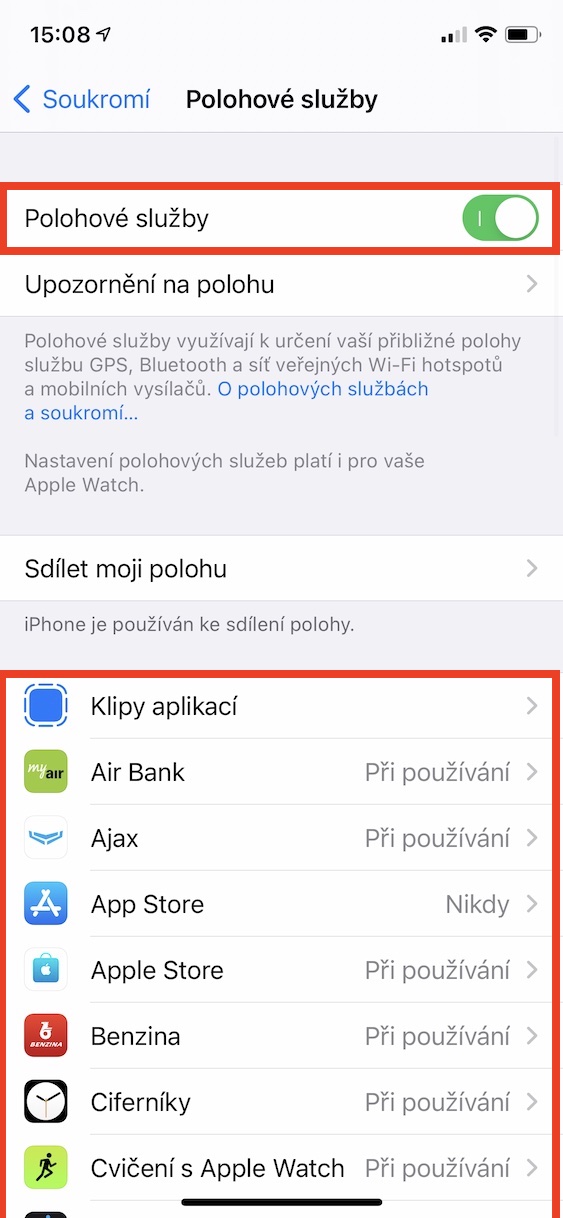
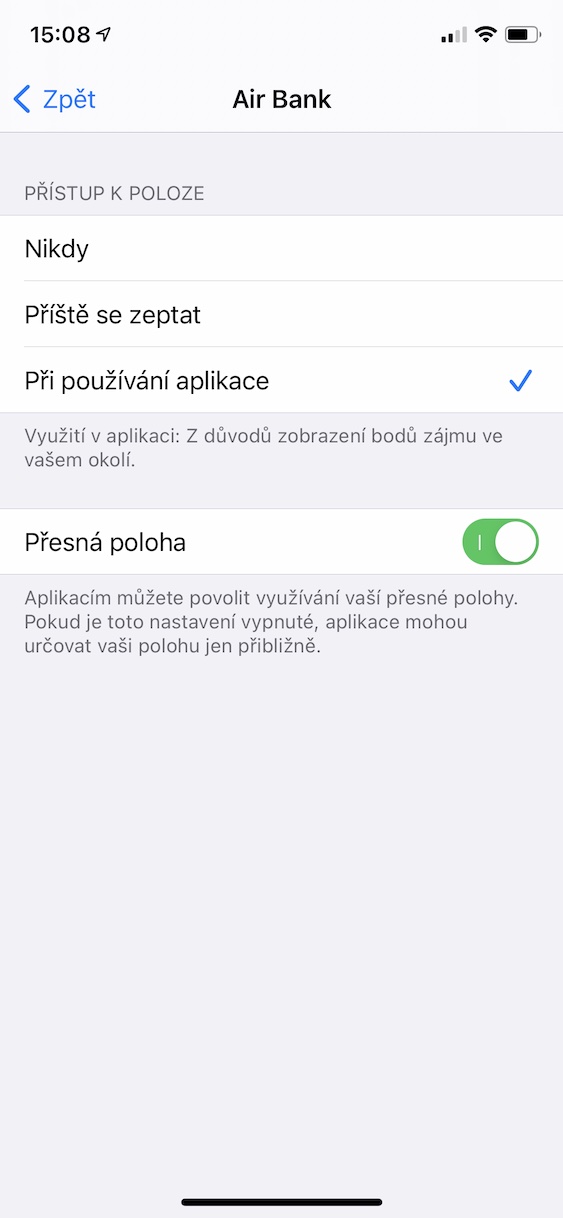
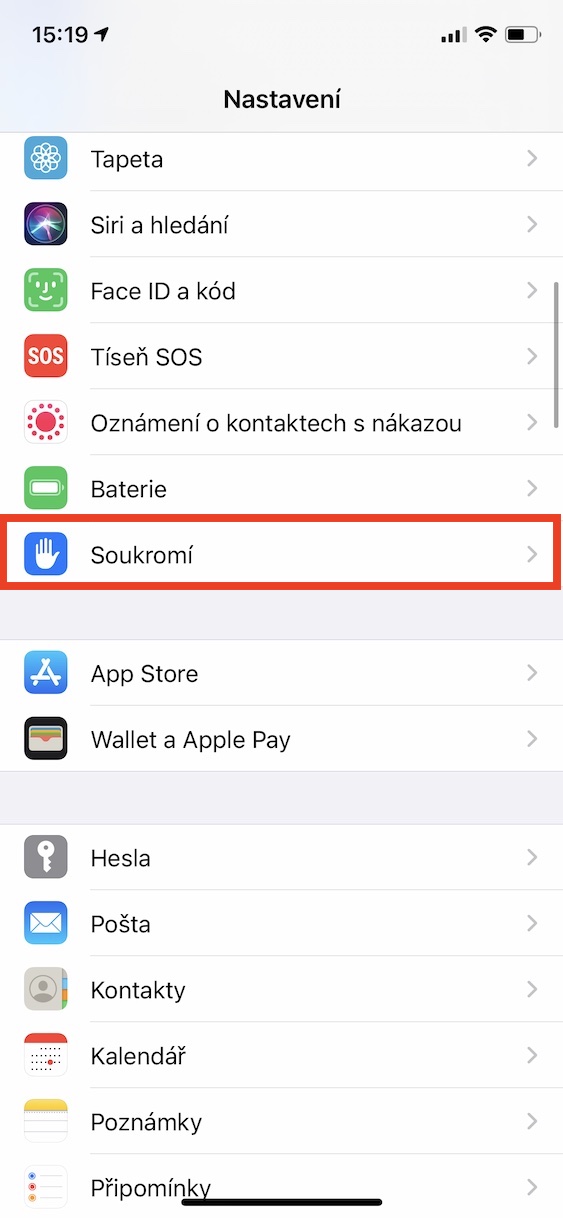
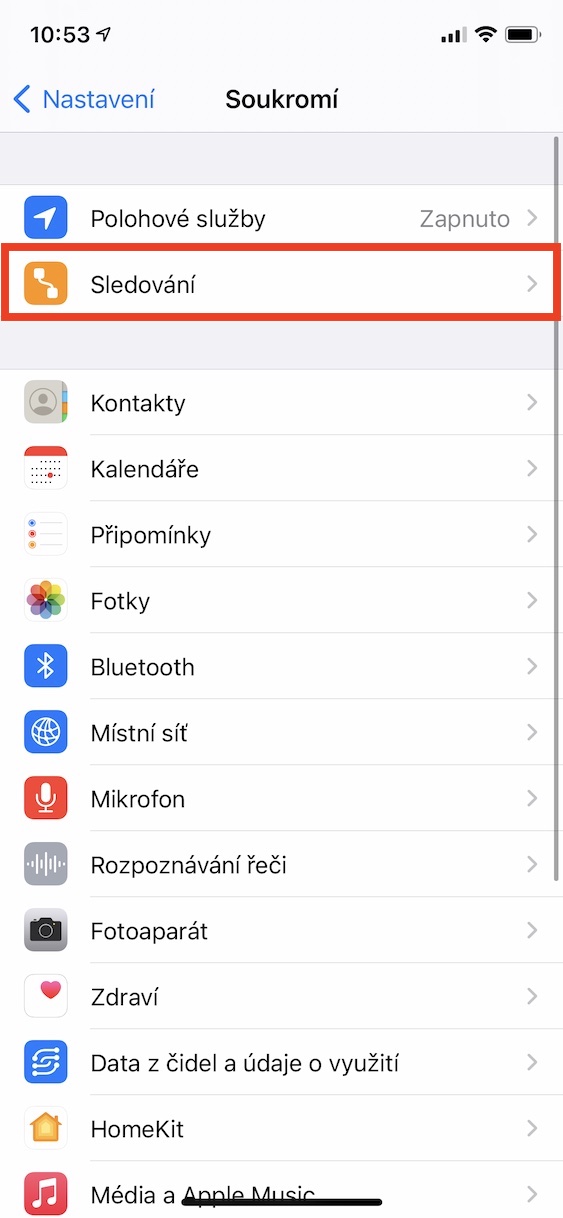
The iPhone, like the iPad and Mac, can work with your current location, both in apps and on the web. In some cases, of course, the information about the current location is useful - for example, if you are looking for the nearest restaurants or other businesses, or if you use navigation. However, for example, such social networks certainly do not need access to your location. If you want to set which apps can access your location, go to Settings -> Privacy -> Location Services. Here you are individual applications you can set access. For the application that you allow access to the location, you can also choose whether it will be able to work with an absolutely exact location or only an approximate one.
Access to microphone, camera and photos
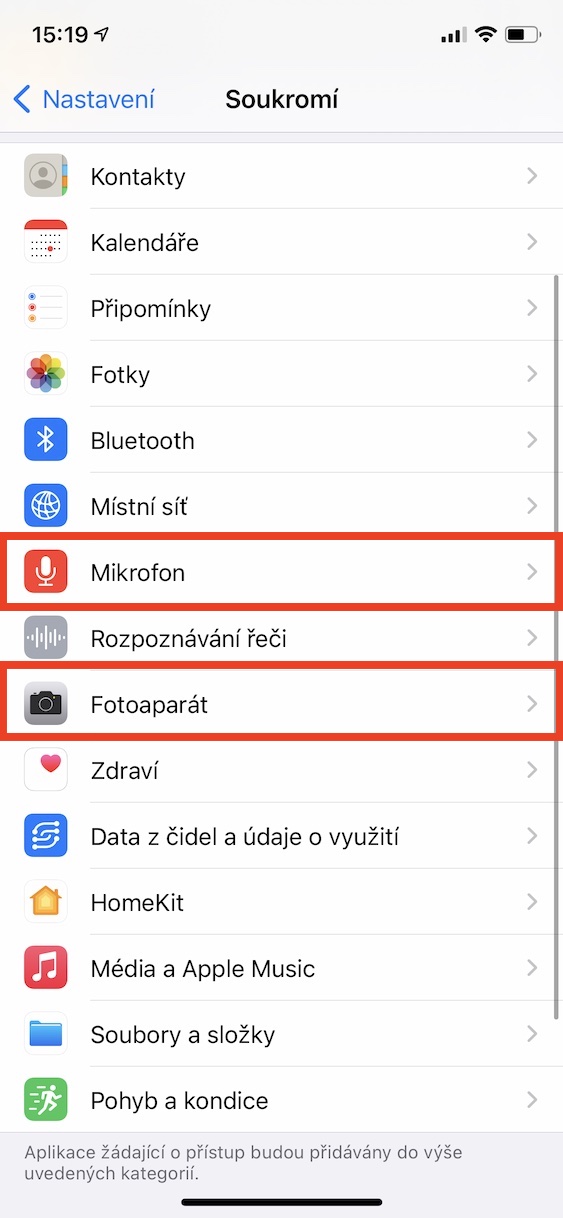
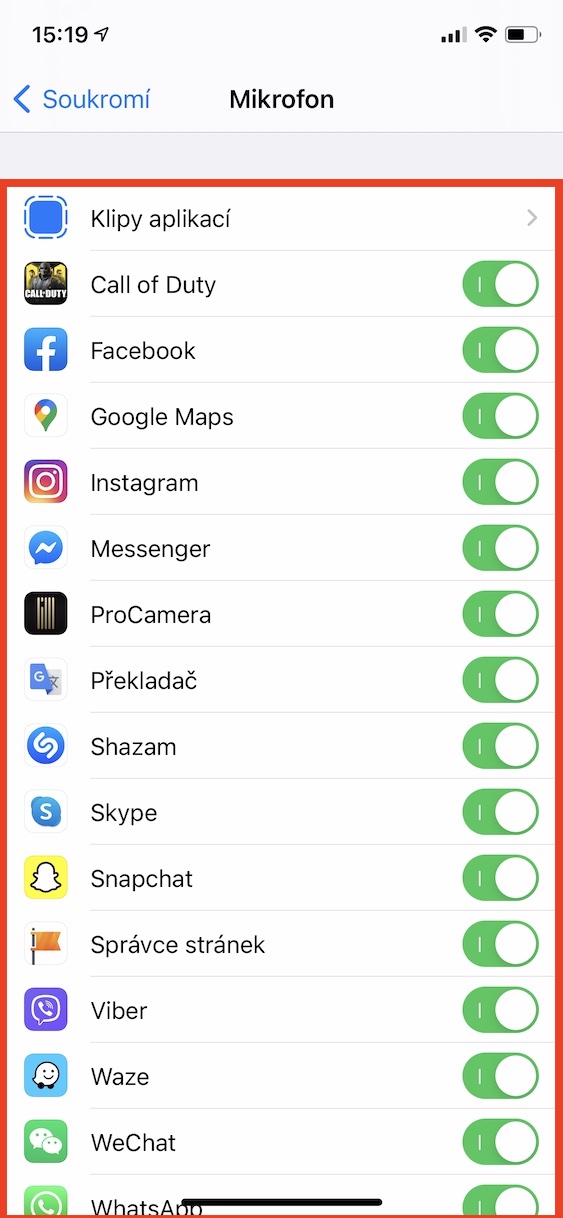
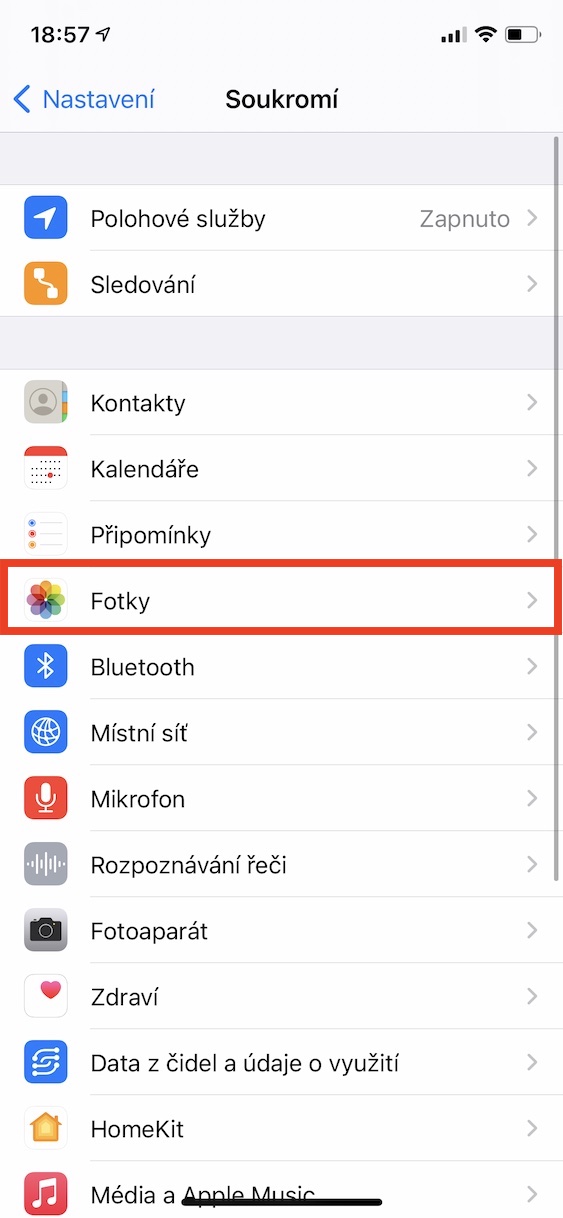
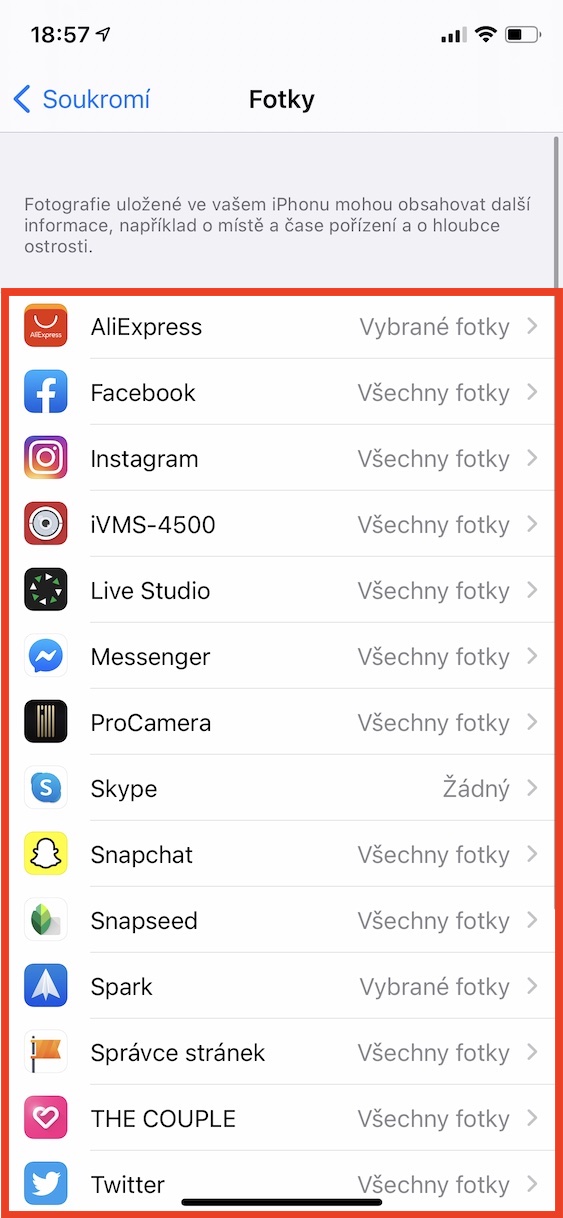
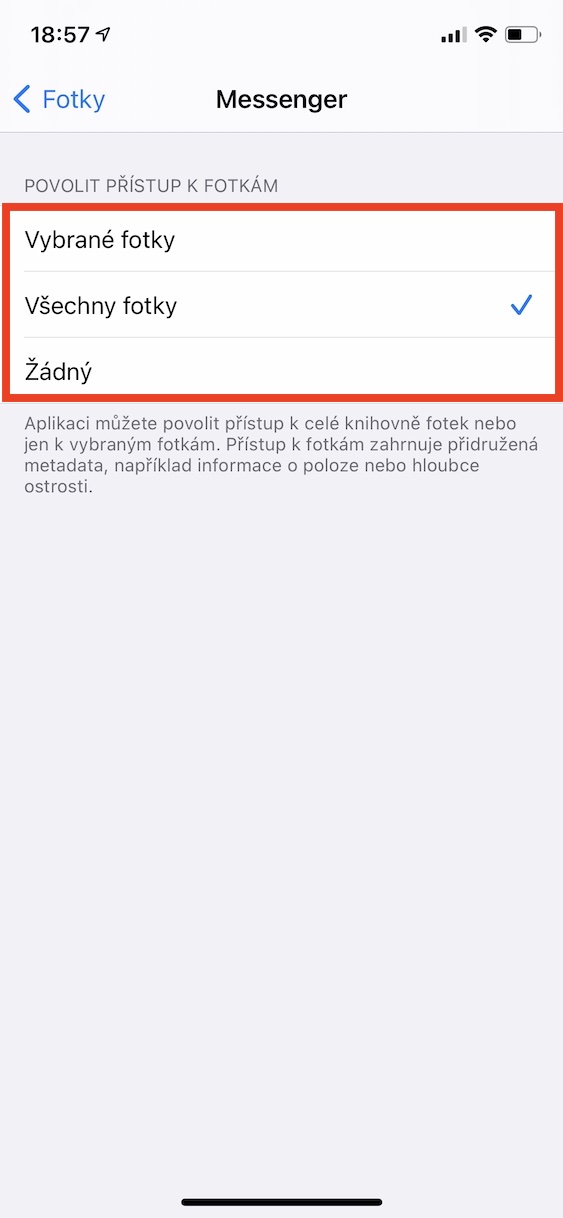
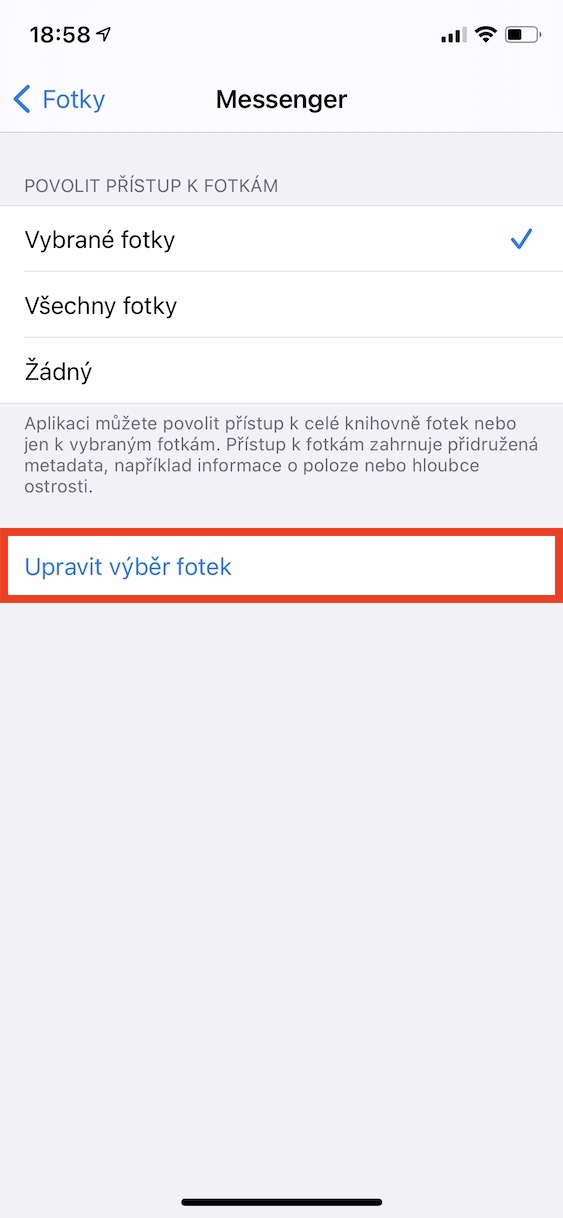
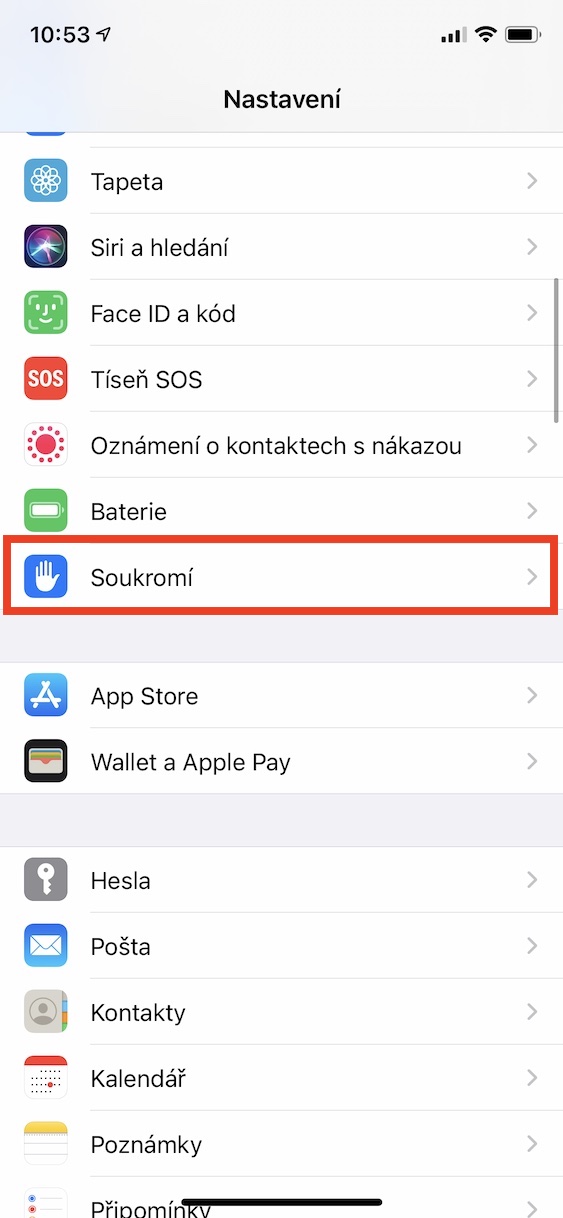
Similar to location services, this is also the case with access to the microphone, camera and photos. If you download a new application from the App Store, after the first launch and use, the application must ask you to be able to access certain functions and services. However, these settings can also be adjusted retroactively. Again, there are applications that need access to the microphone, camera and photos, but there are definitely not many of them. To check which apps have access to your microphone, camera, or photos, go to Settings -> Privacy, where you click Microphone, Camera whether Photos. Then just select the application and allow or deny access. With Photos, you can specify exactly which images the application will have access to.
Tracking requests
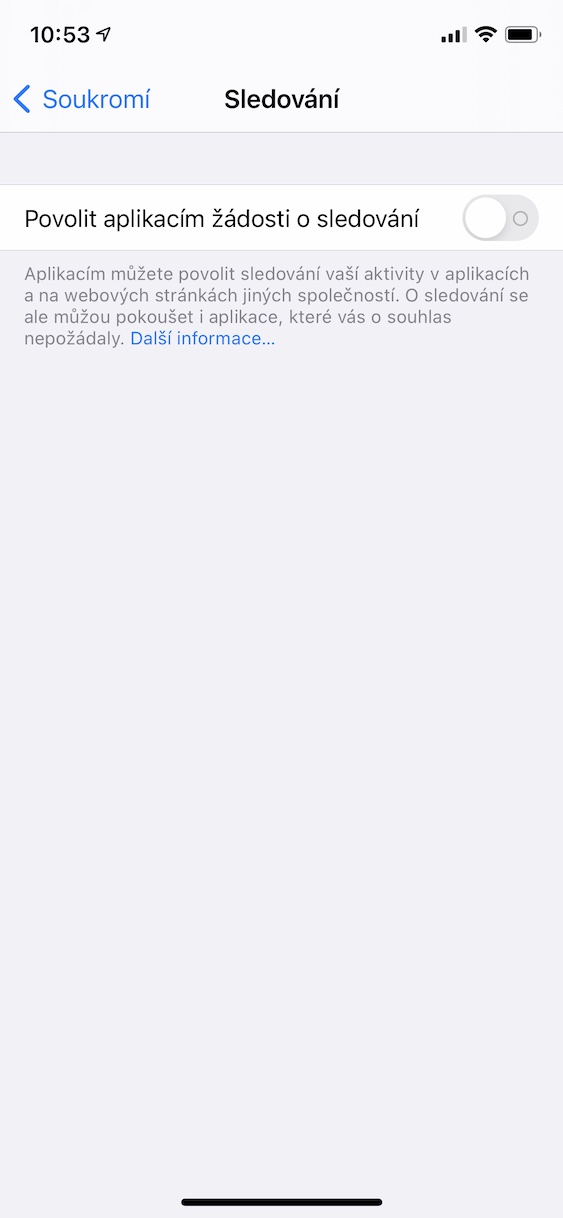
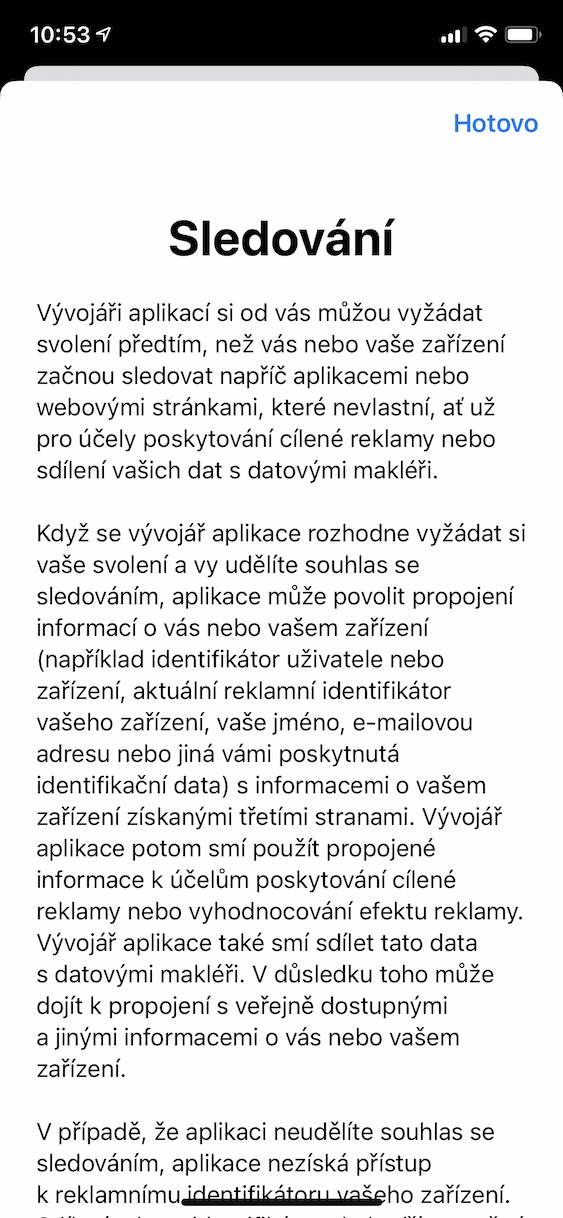
As part of iOS 14, the apple company launched a feature called Watch Requests. This feature is revolutionary in its own way, as it can block apps and websites from tracking you. This means that before the app tries to track you, it has to ask you to do so. You then choose whether you want to be tracked or not. Even in this case, you can view a list of all applications that you have (dis)allowed tracking requests from. Just go to Settings -> Privacy -> Tracking. If the function Allow applications requests to deactivate tracking, then you will no longer see requests and tracking will be automatically disabled.
Share photos without metadata
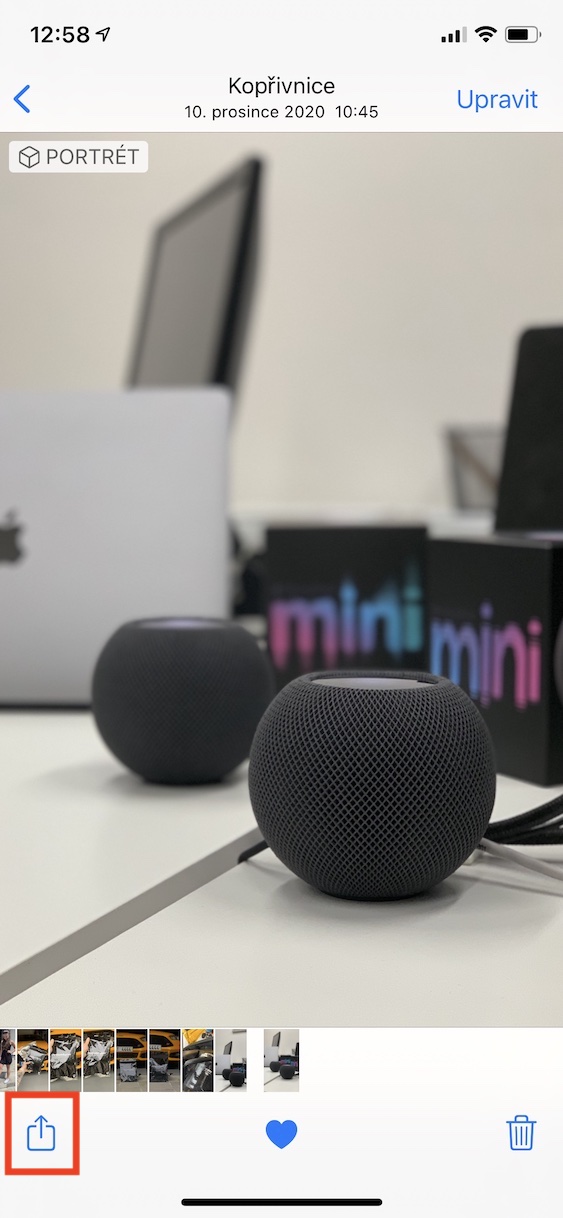
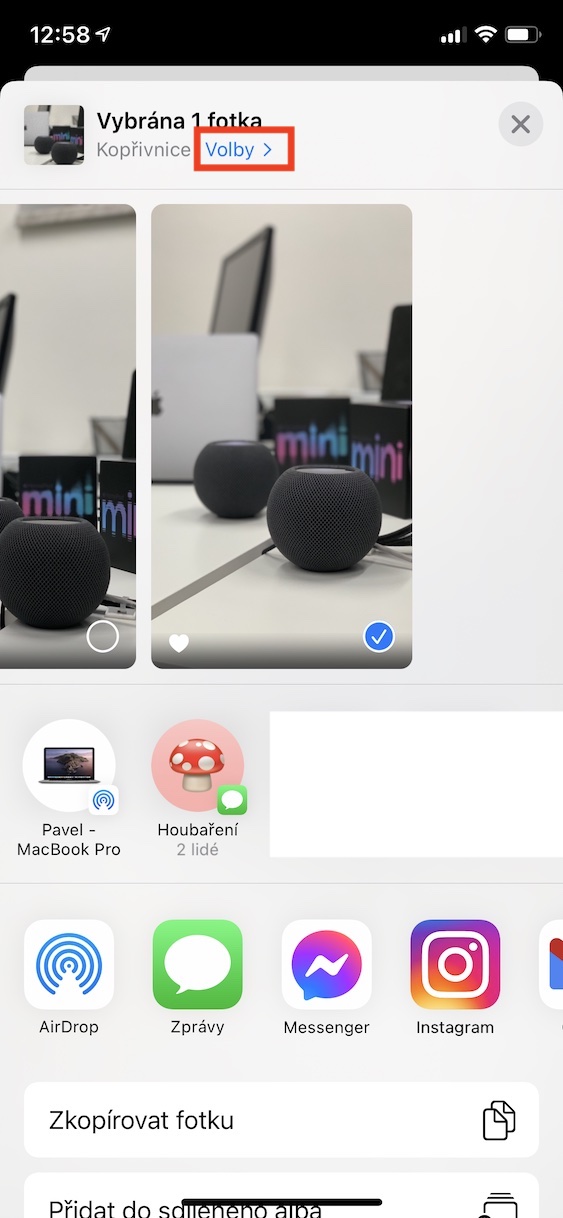
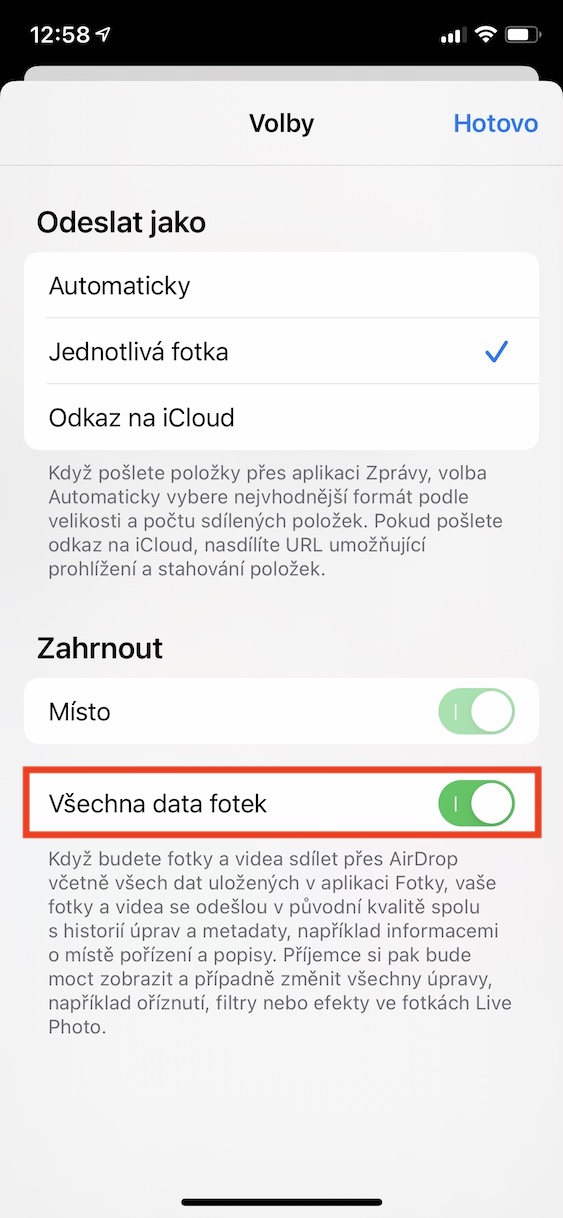
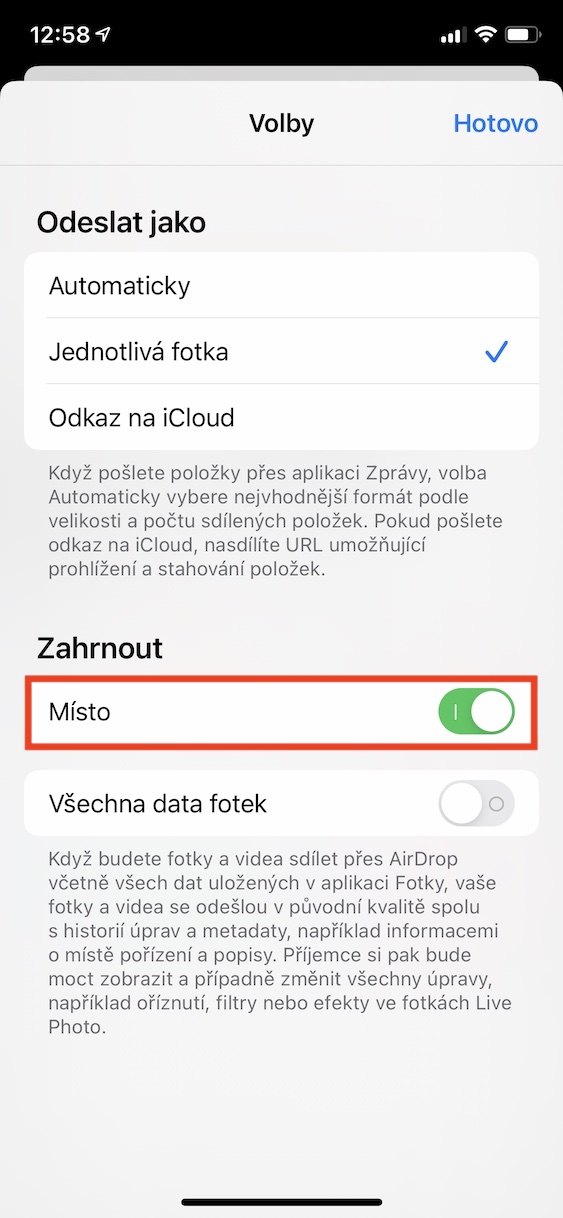
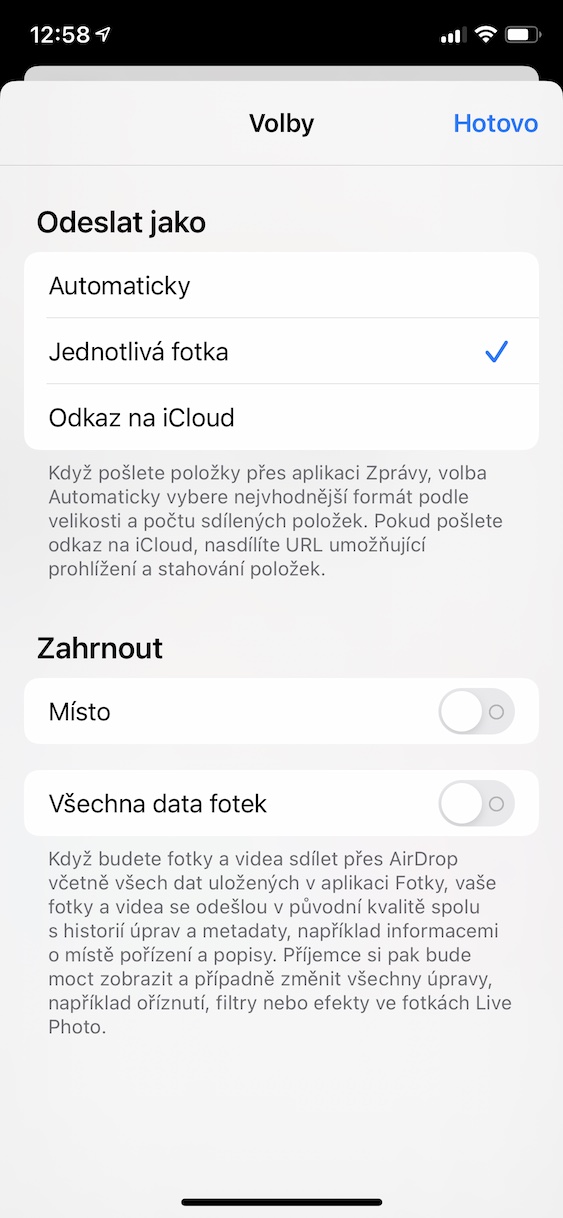
Each of us has certainly shared photos through various communication applications. But did you know that practically every photo contains metadata, i.e. data about data? Thanks to metadata, you can easily view, for example, what device the picture was taken with, where it was taken, what time it was, what the camera settings were, and much more. In some cases, this metadata can be used against you, especially location-related information. Therefore, before sharing a picture with a stranger, it is necessary that you disable the sending of metadata along with the photo. So go to the app Fotky and classically you select a photo that you want to share. Then tap on share button, and then tap the button at the top of the screen Options >. Here in the Include category disable Place i All of them photo dates. You can then go back and share the image safely.
Hide notification previews
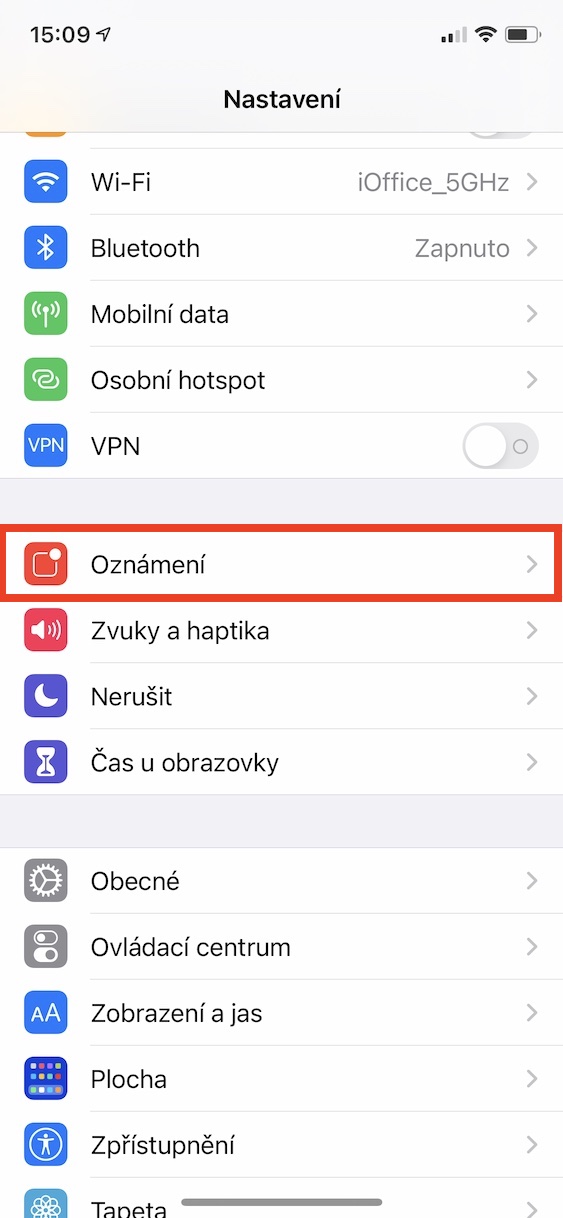
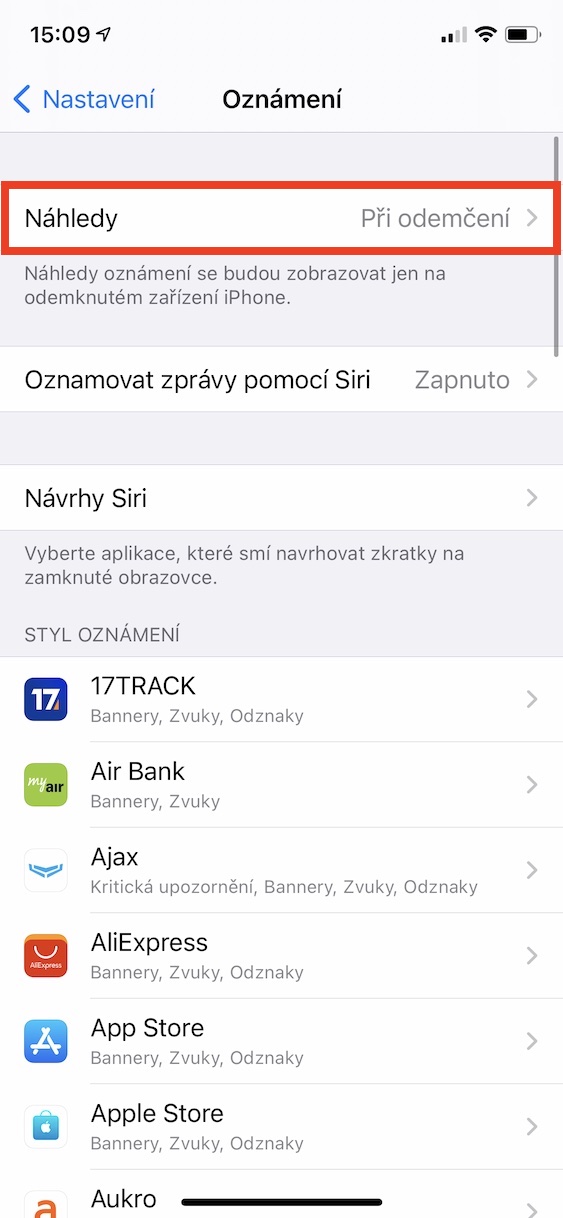
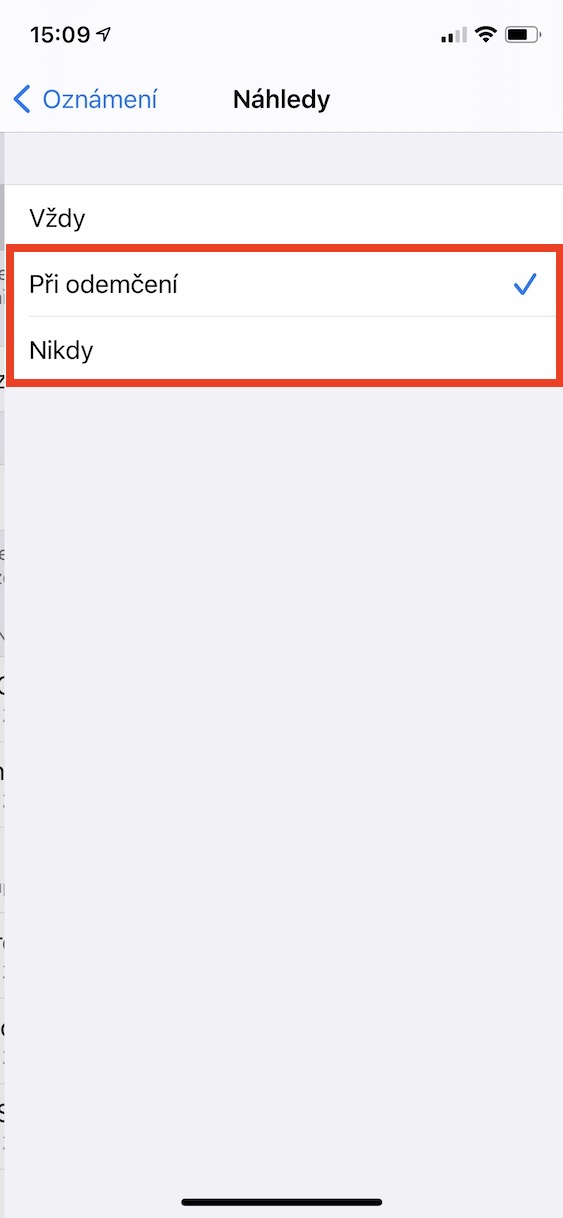
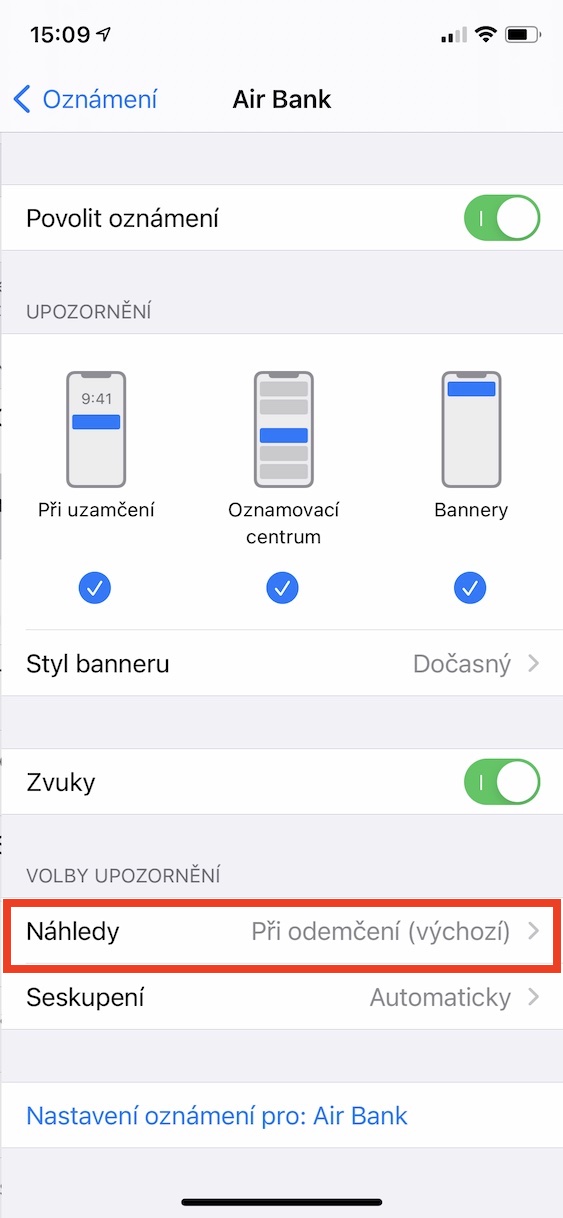
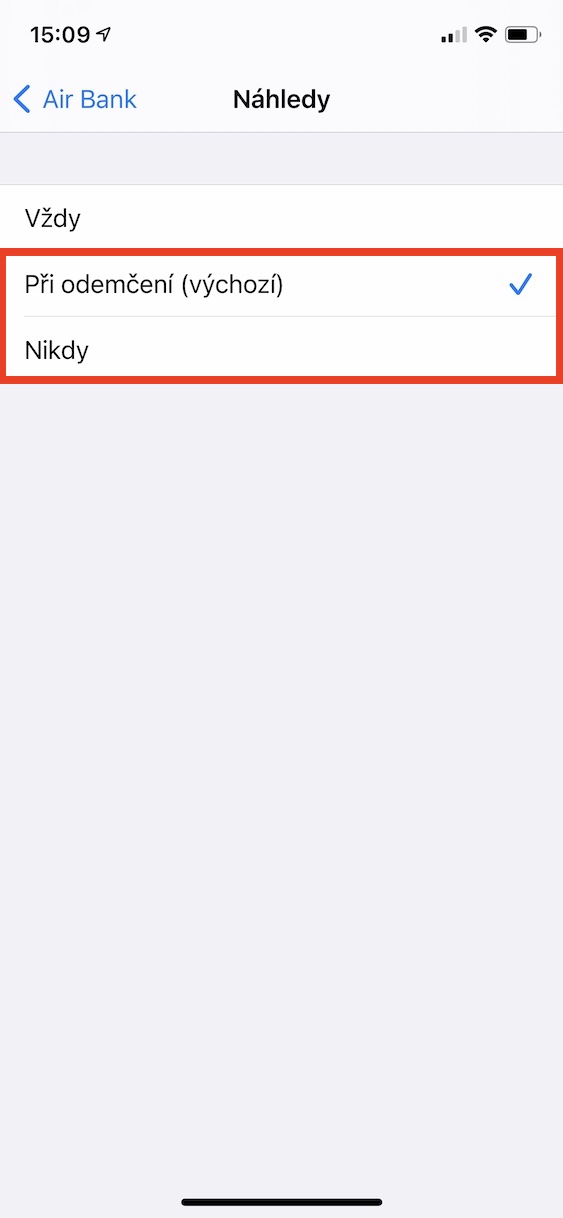
If you own an iPhone with Face ID, you probably know that the notification preview will not appear on the lock screen until the device is unlocked. However, older iPhones with Touch ID show previews by default, which can be dangerous in some situations. In this case, it is recommended that you change the settings so that notification previews on the lock screen only appear after you authenticate with Touch ID. You can do this by going to Settings -> Notifications -> Previews, where you check the option When unlocked. If you choose Never, so the previews will not be displayed even after the device is unlocked. That way, you'll only see the name of the app from which the notification came.
 Flying around the world with Apple




Are you serious? Do you really intend to divide the articles into sentences and cover each part with a quantum of advertising? It's like if they cut your roll into sixths at the store and wanted the full price for each one. It would also just be a gross and inedible piece. Damage. But feel free to eat — without me.
Agreement
The difference is that you didn't pay a penny for this roll….
You can pay not only with money, you know that. Your income comes from — among other things — the sale of advertising. And where does the ad appear? On reader displays. It's not your advertising space, it's the private space of readers that they "rented" to you for the opportunity to read your articles without the need for direct payment. So it's a kind of barter. As you know, nothing is free, let alone internet media.