Screenshot, screenshot, printscreen - when any one of these words is mentioned, practically every one of us knows what it is. We take a screenshot almost every day, and in several different situations - for example, when we want to share a recipe with someone, a new high score in a game, or if you want to give someone a picture tutorial. In this article, let's take a look together at 3 tips for taking better screenshots in macOS.
It could be interest you
How to do it?
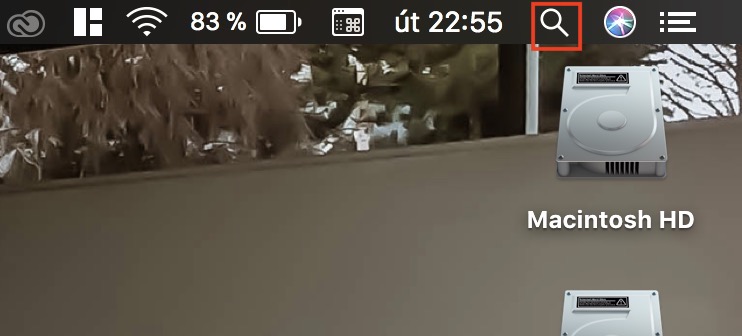
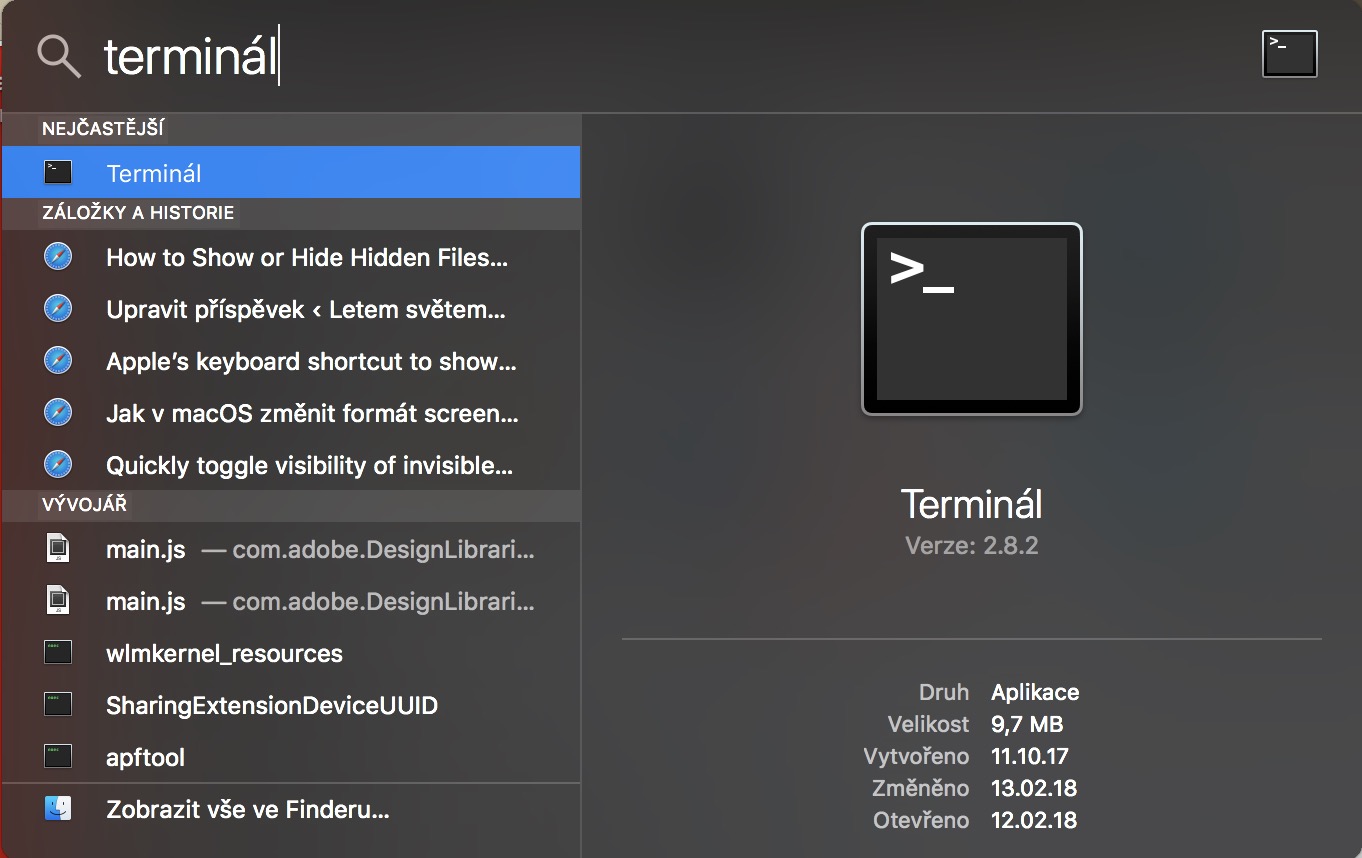
You need to do all of the tips below using the Terminal app. You can find this application in Applications in the Utility folder, or you can launch it using Spotlight (Command + space bar or magnifying glass in the right part of the top bar). As soon as you start the Terminal, a small window will appear in which commands can be entered. The commands to perform a certain action can then be found below in the individual tips.
Change the format of screenshots
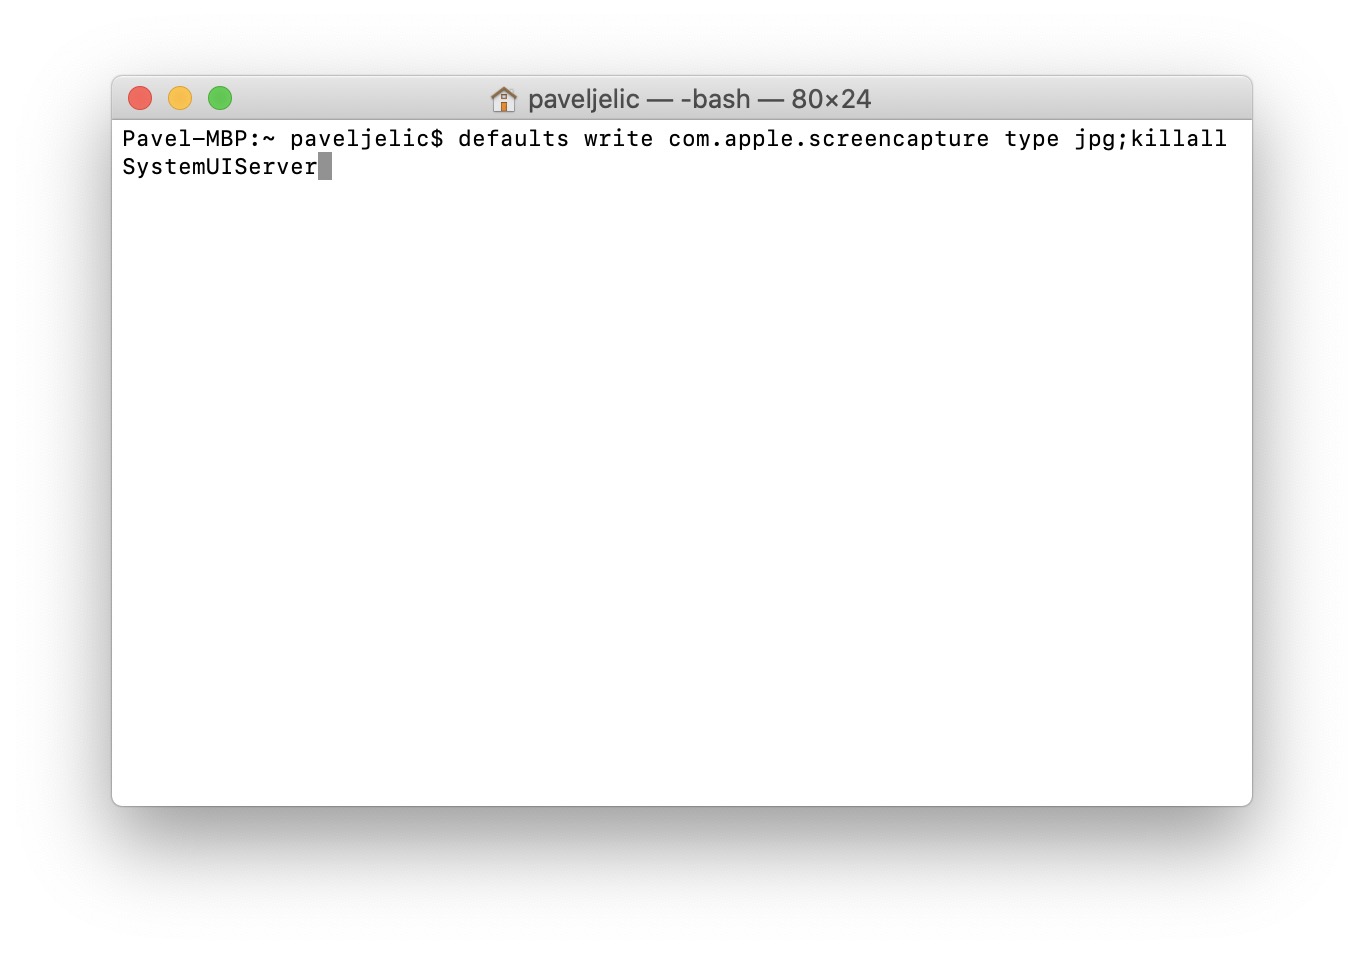
By default, macOS screenshots are saved in PNG format. This format supports transparency on the one hand and has better quality on the other hand, but the resulting screenshot size can be several megabytes. If you often share screenshots and don't want to keep converting them from PNG to JPG, you don't have to. The format can be easily changed using a command. The command for this change can be found below, just copy it:
defaults write com.apple.screencapture type jpg;killall SystemUIServer
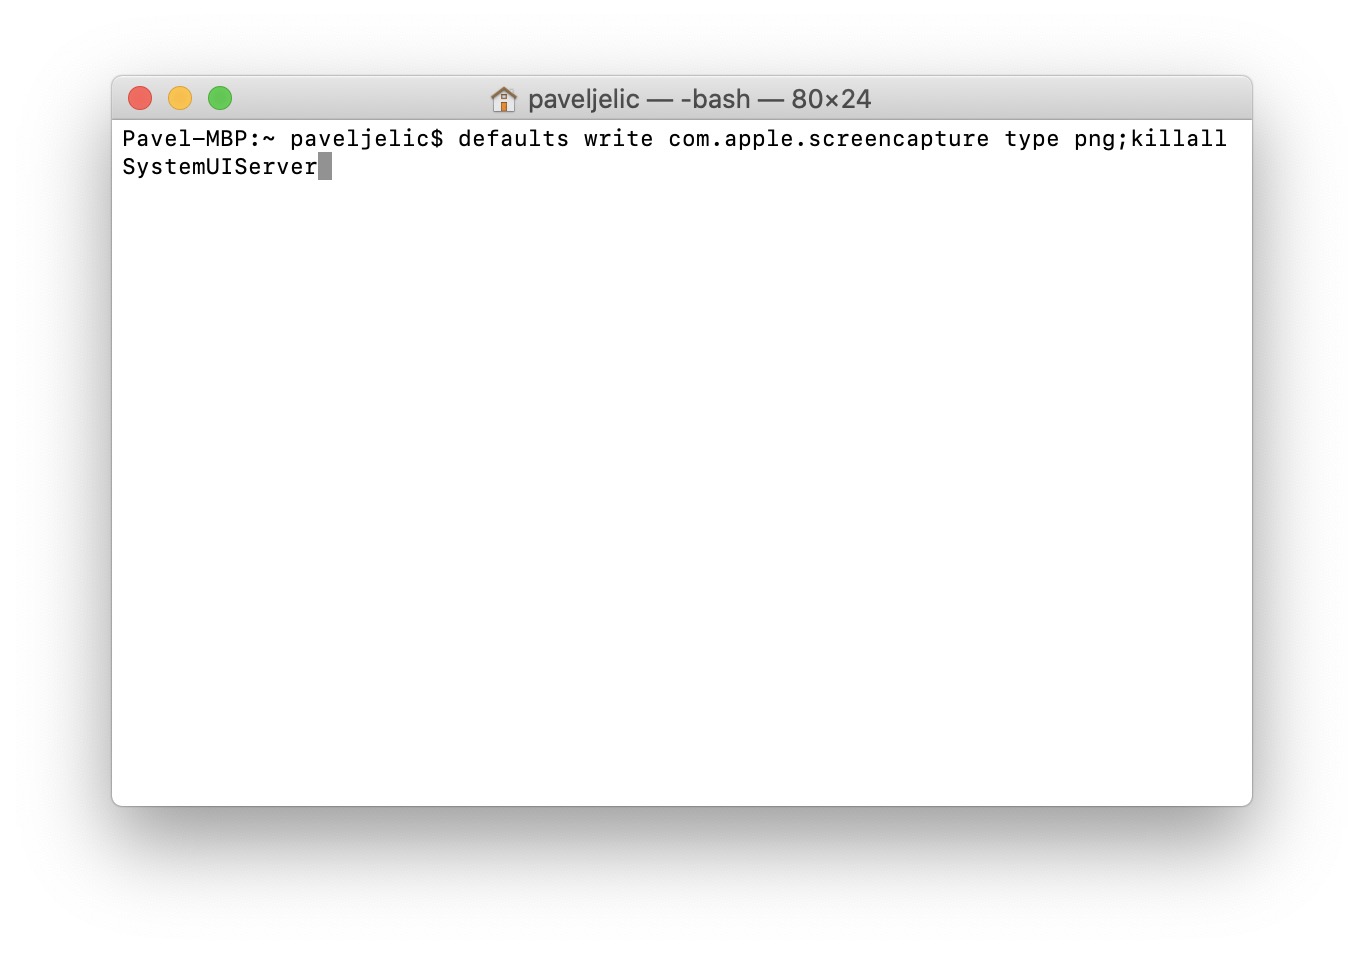
Then put it in the Terminal and confirm with the Enter key. This will change the screenshot format to JPG. If you want to change the format back to PNG, use the command below.
defaults write com.apple.screencapture type png;killall SystemUIServer
Remove shadows from screenshots
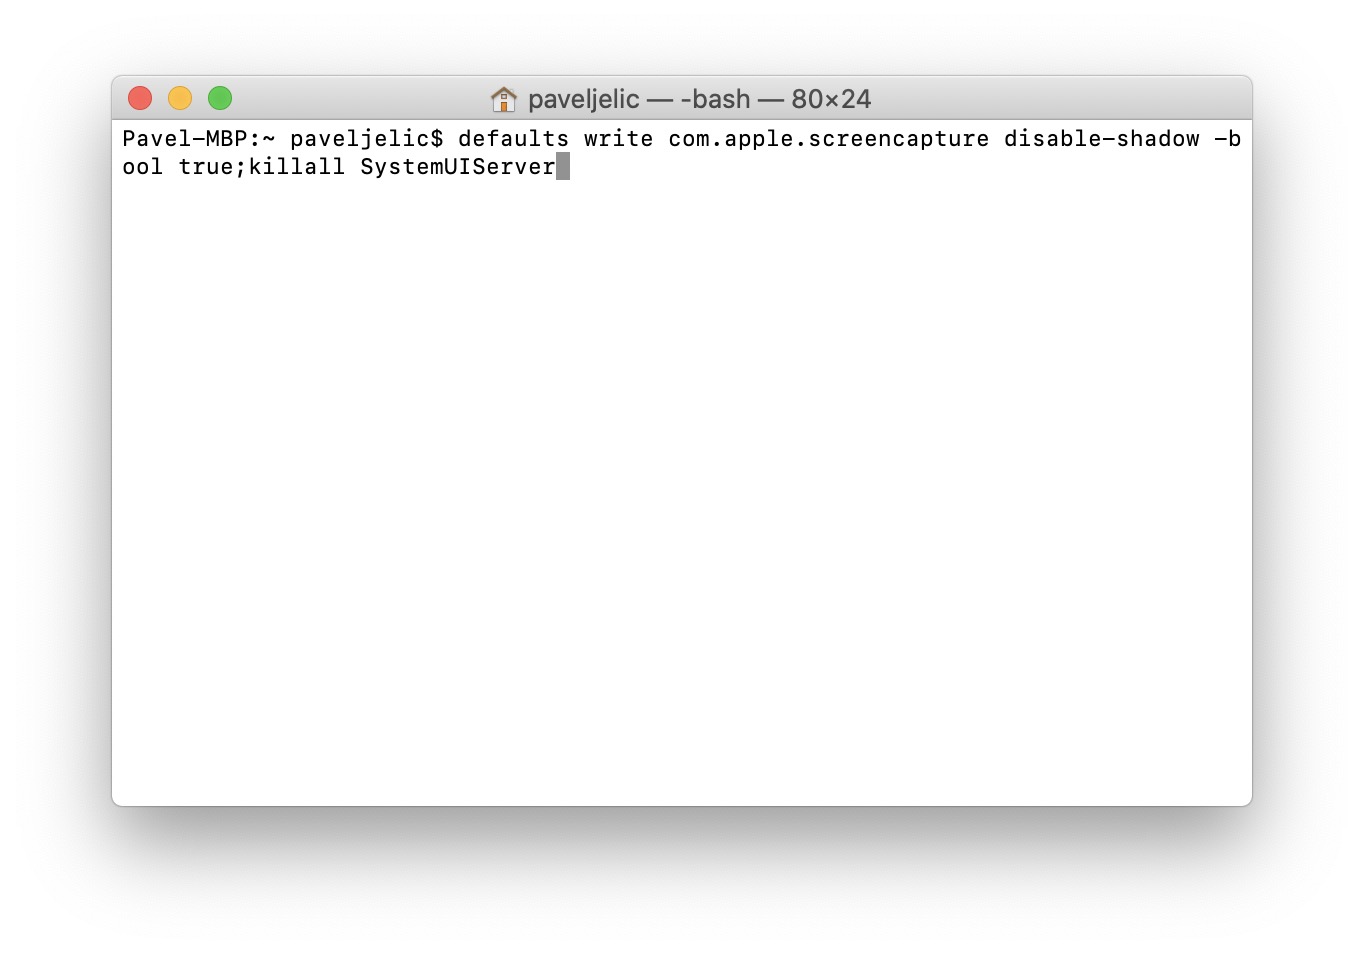
By default, in the case of screenshots, it is set to apply a shadow to window images. Thanks to this, the resulting size of the image itself can also increase. If you want to disable this shadow for window images, copy this link:
defaults write com.apple.screencapture disable-shadow -bool true;killall SystemUIServer
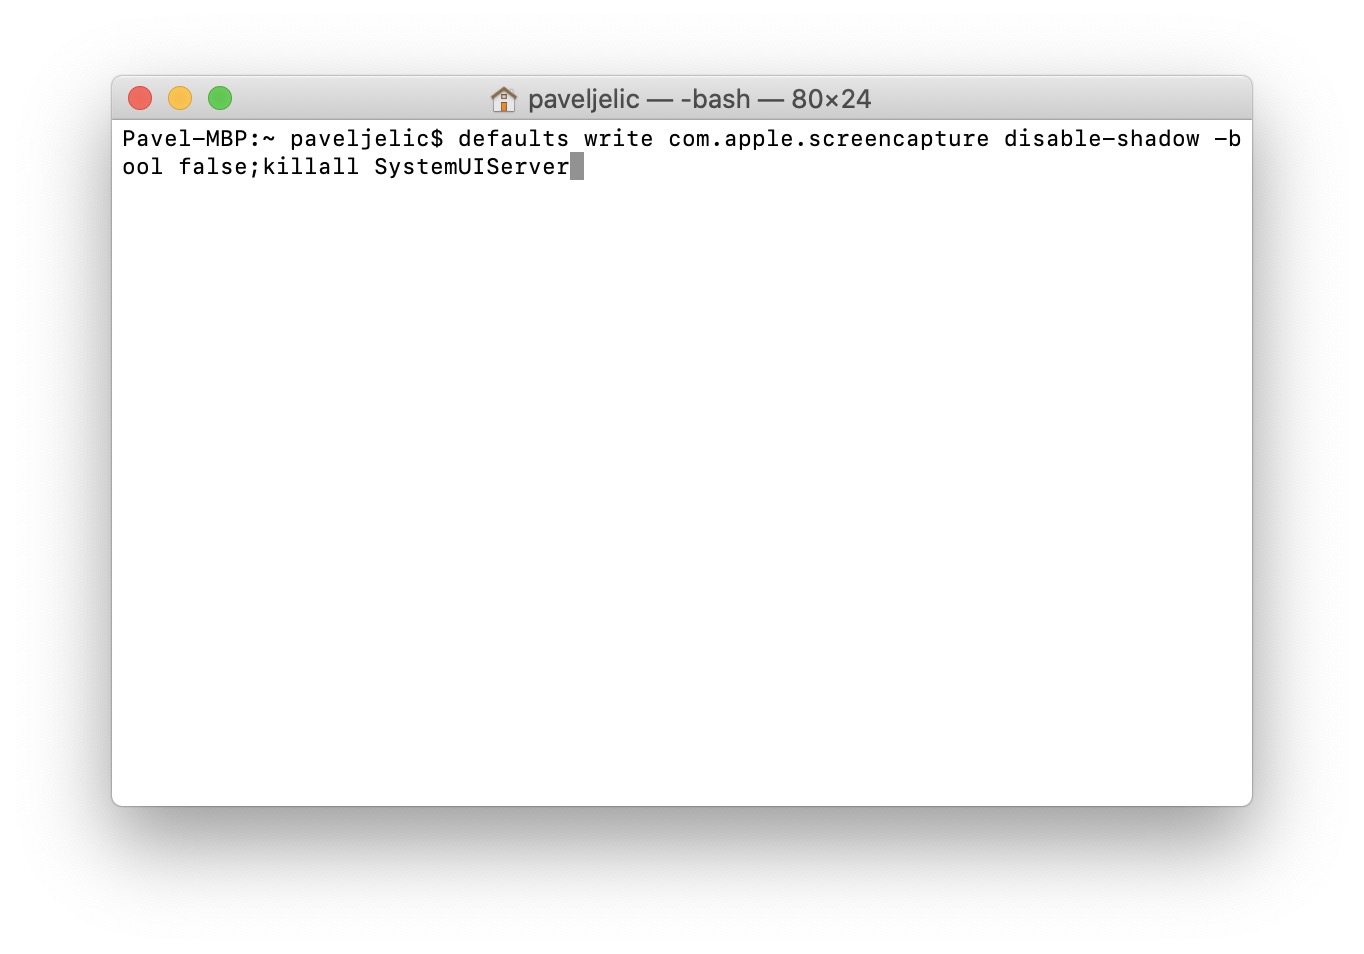
Once you've done that, paste it into the Terminal app, then press Enter to apply it. If you would like to reactivate the shadow on window images, use this command:
defaults write com.apple.screencapture disable-shadow -bool false;killall SystemUIServer
Disable floating thumbnail
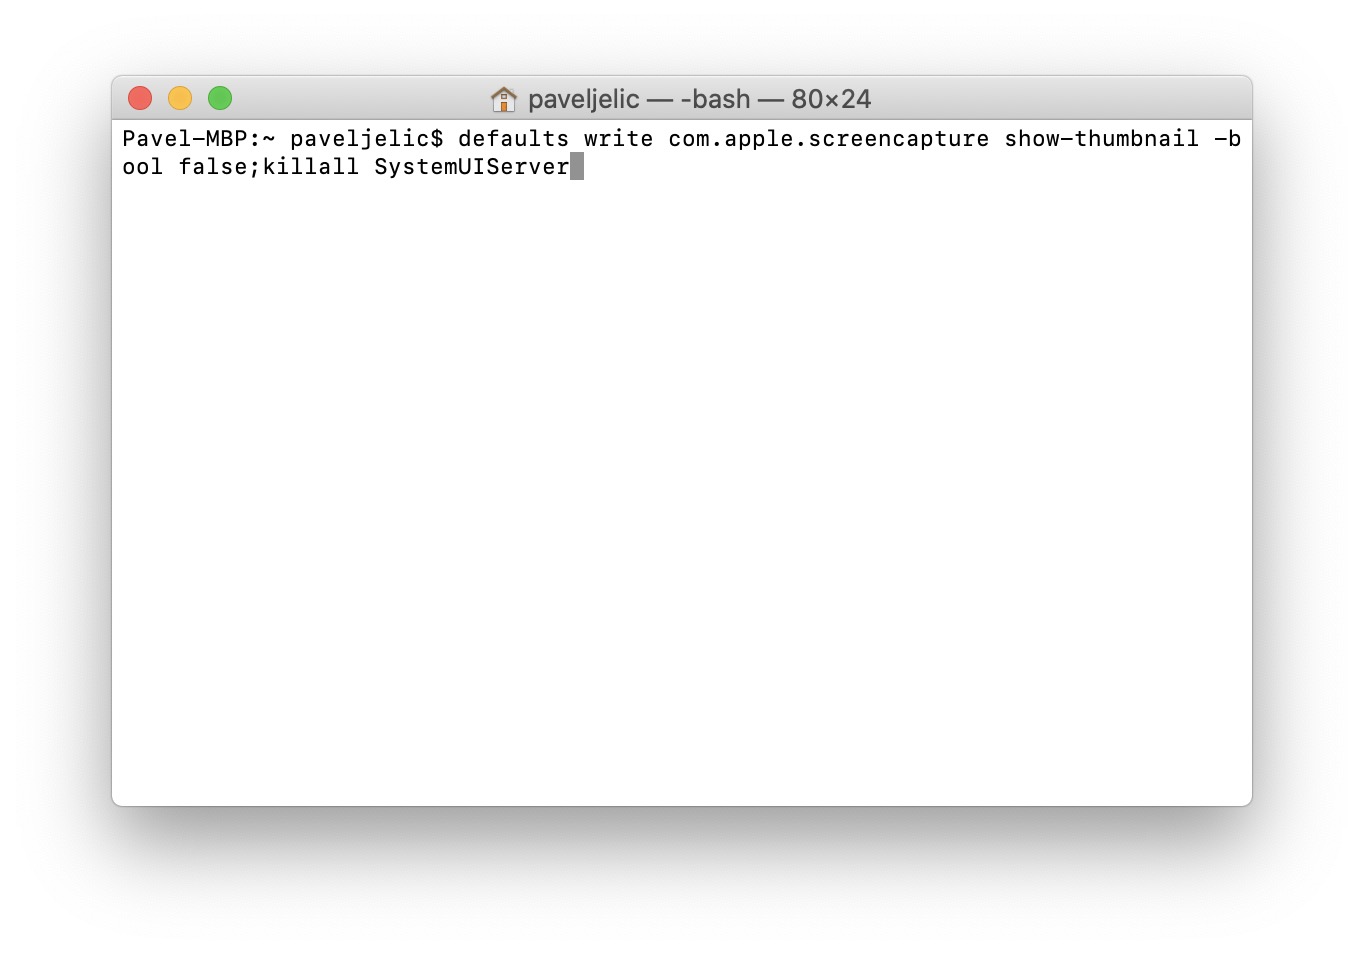
Starting with macOS 10.14 Mojave, a floating thumbnail appears in the lower right corner when you take a screenshot. If you click on it, you can quickly edit the image and annotate it in various ways. Of course, some users may not like the floating thumbnail. If you want to disable it, copy this command:
defaults write com.apple.screencapture show-thumbnail -bool false;killall SystemUIServer
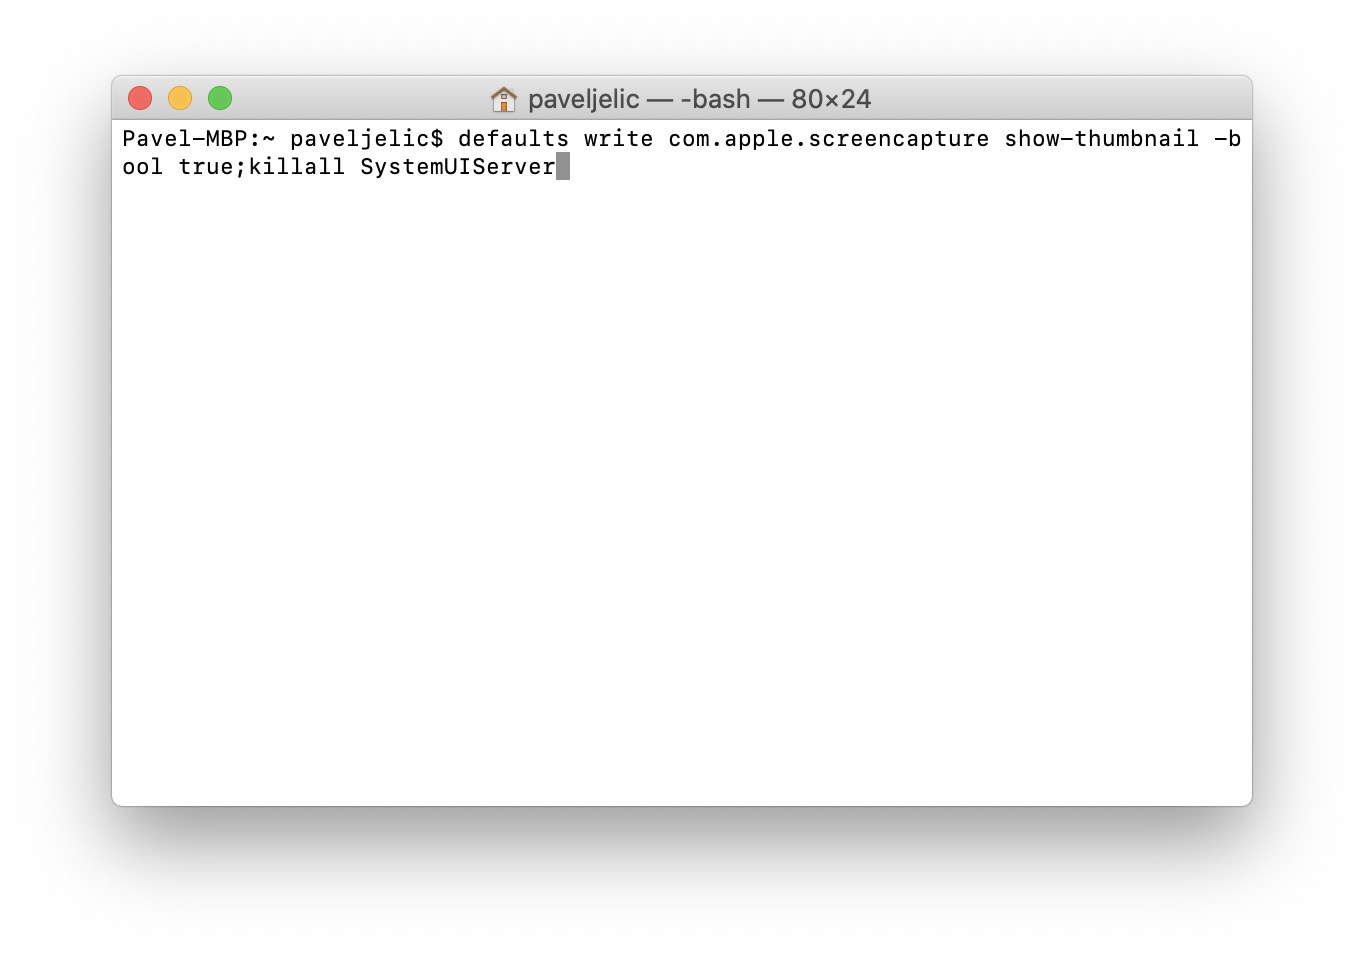
Then enter the command in the Terminal window and confirm it with the Enter key. You have successfully disabled the floating thumbnail that appears when you take a screenshot. If you would like to reactivate it, use the command I am attaching below:
defaults write com.apple.screencapture show-thumbnail -bool true;killall SystemUIServer
