We saw the introduction of new operating systems from Apple two weeks ago. Specifically, the apple company presented iOS and iPadOS 15, macOS 12 Monterey, watchOS 8 and tvOS 15. Immediately after the end of the presentation, developers could download the first beta versions of the mentioned systems. We have done exactly the same, which means that we have been testing all systems for you for a long time and bringing you articles in which we inform you about new functions and changes. We recently looked together at 10 news from iOS 15 that you might not have known about, in this article we will again look at the macOS 12 Monterey operating system.
It could be interest you
Low battery mode
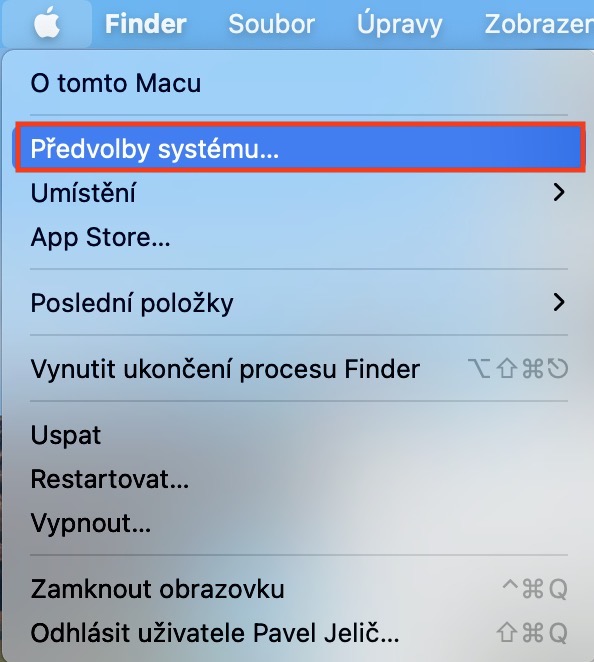
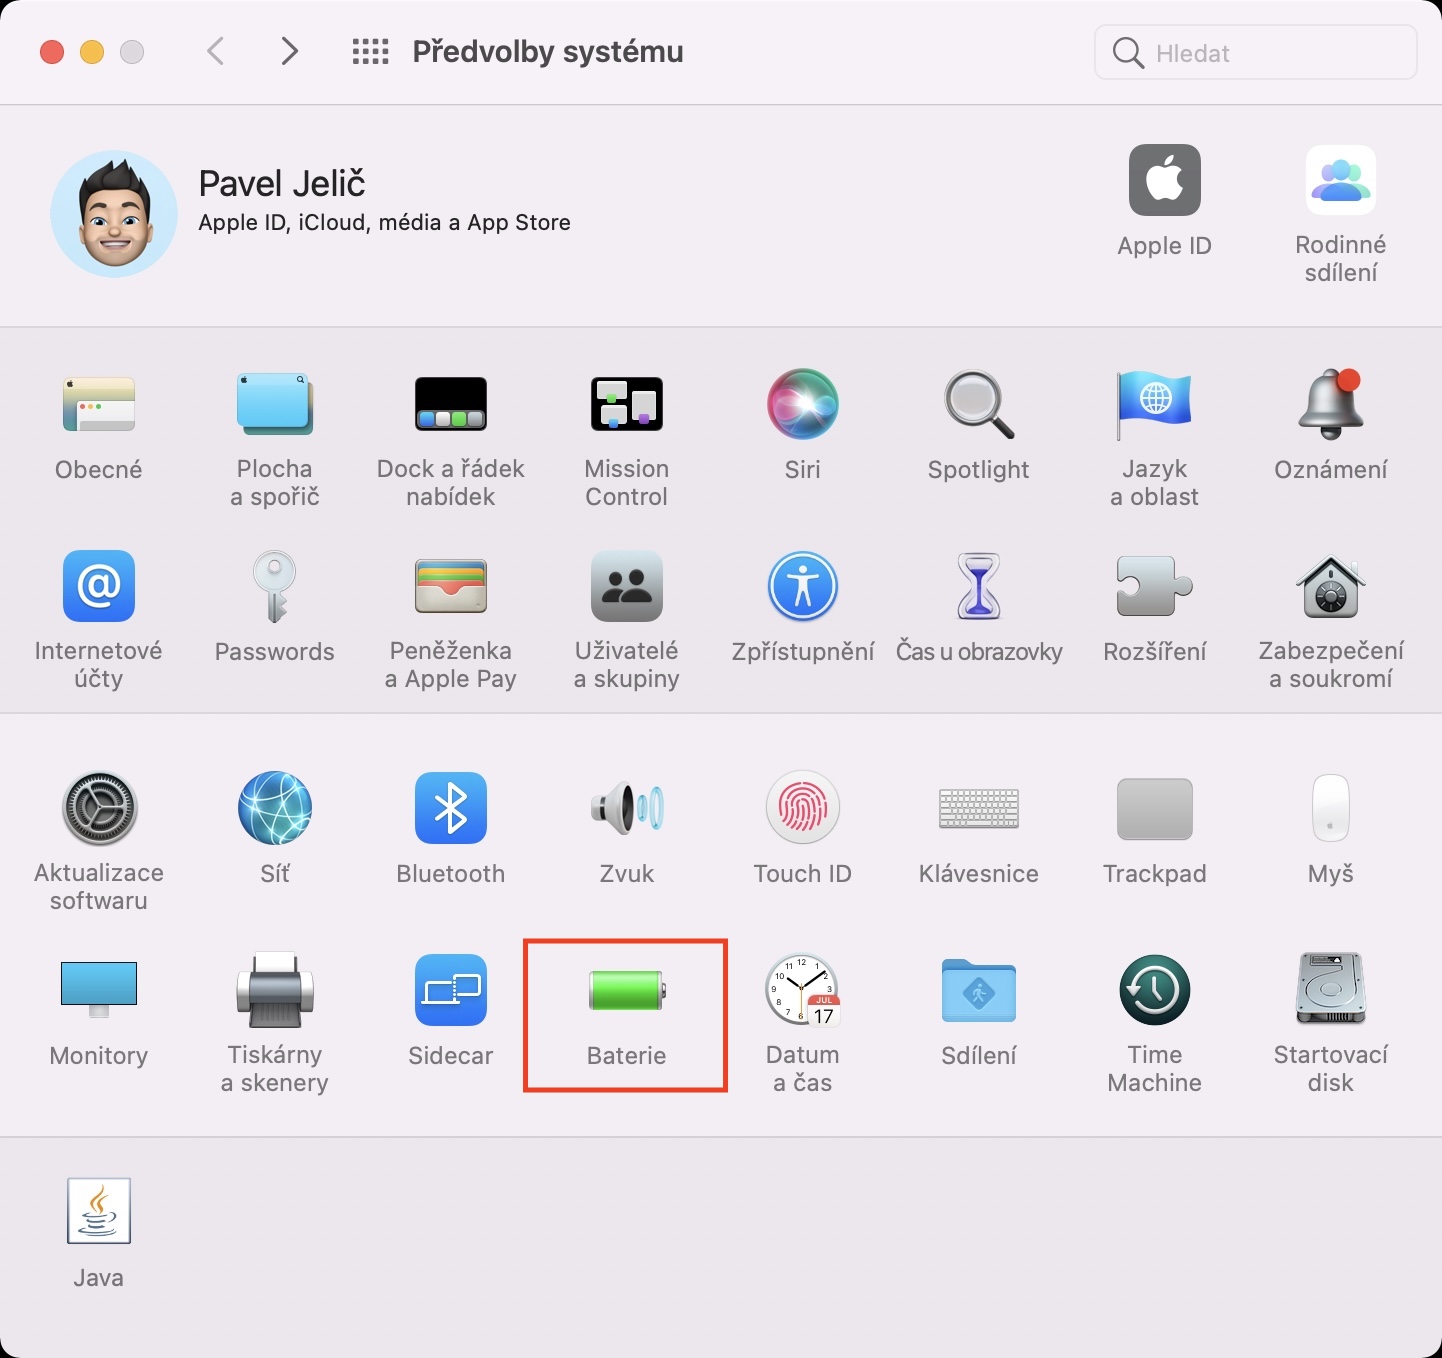
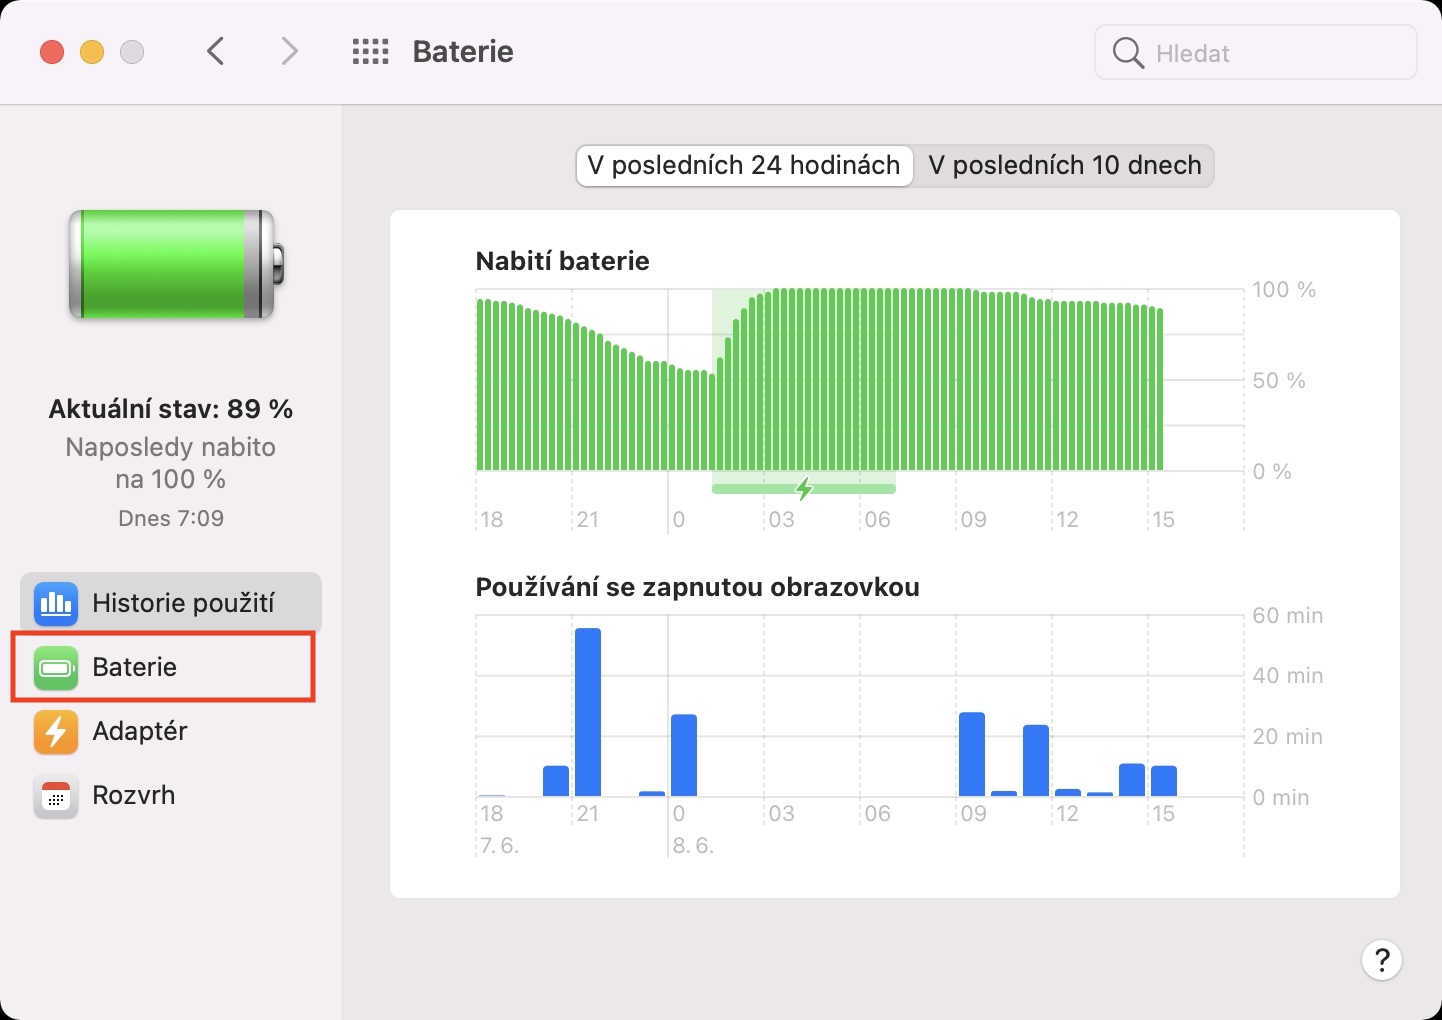
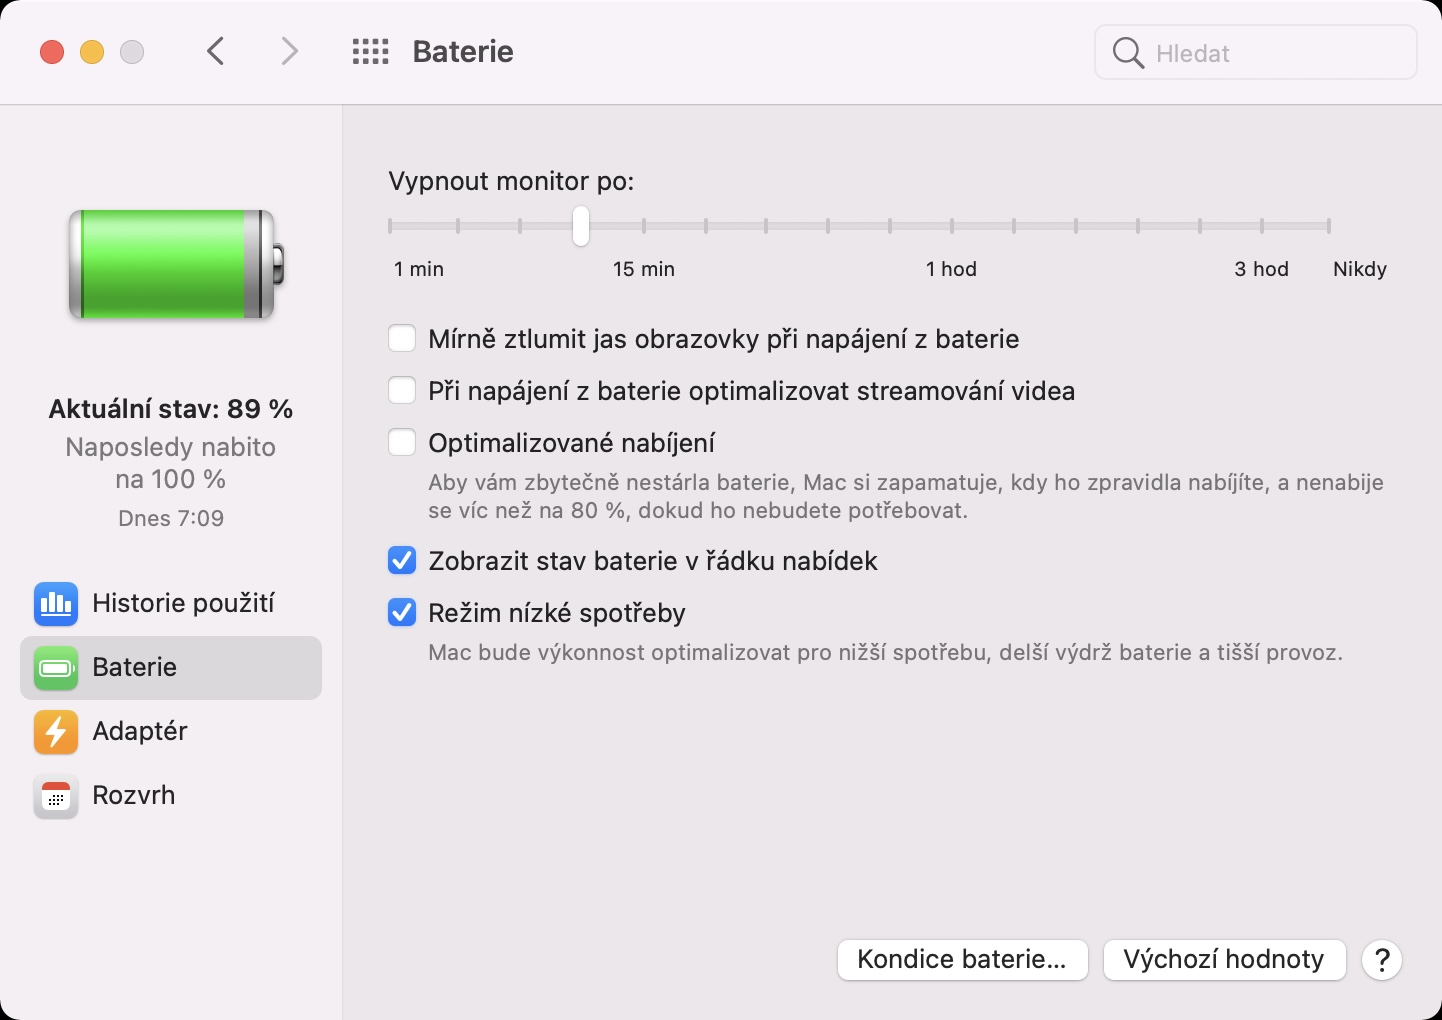
If you are one of the owners of an Apple phone, you surely know that iOS has a low battery mode. You can activate it in several different ways - in Settings, through the control center or through dialog windows that appear when the battery charge drops to 20% or 10%. If you wanted to activate the same low-power mode on an iPad or Mac, you couldn't until now. However, with iPadOS 15 and macOS 12 Monterey, we saw the addition of low battery mode to these systems as well. In iPadOS 15, the activation procedure is the same, in macOS 12 Monterey it is necessary to go to System Preferences -> Battery -> Battery.
Arrangement of monitors
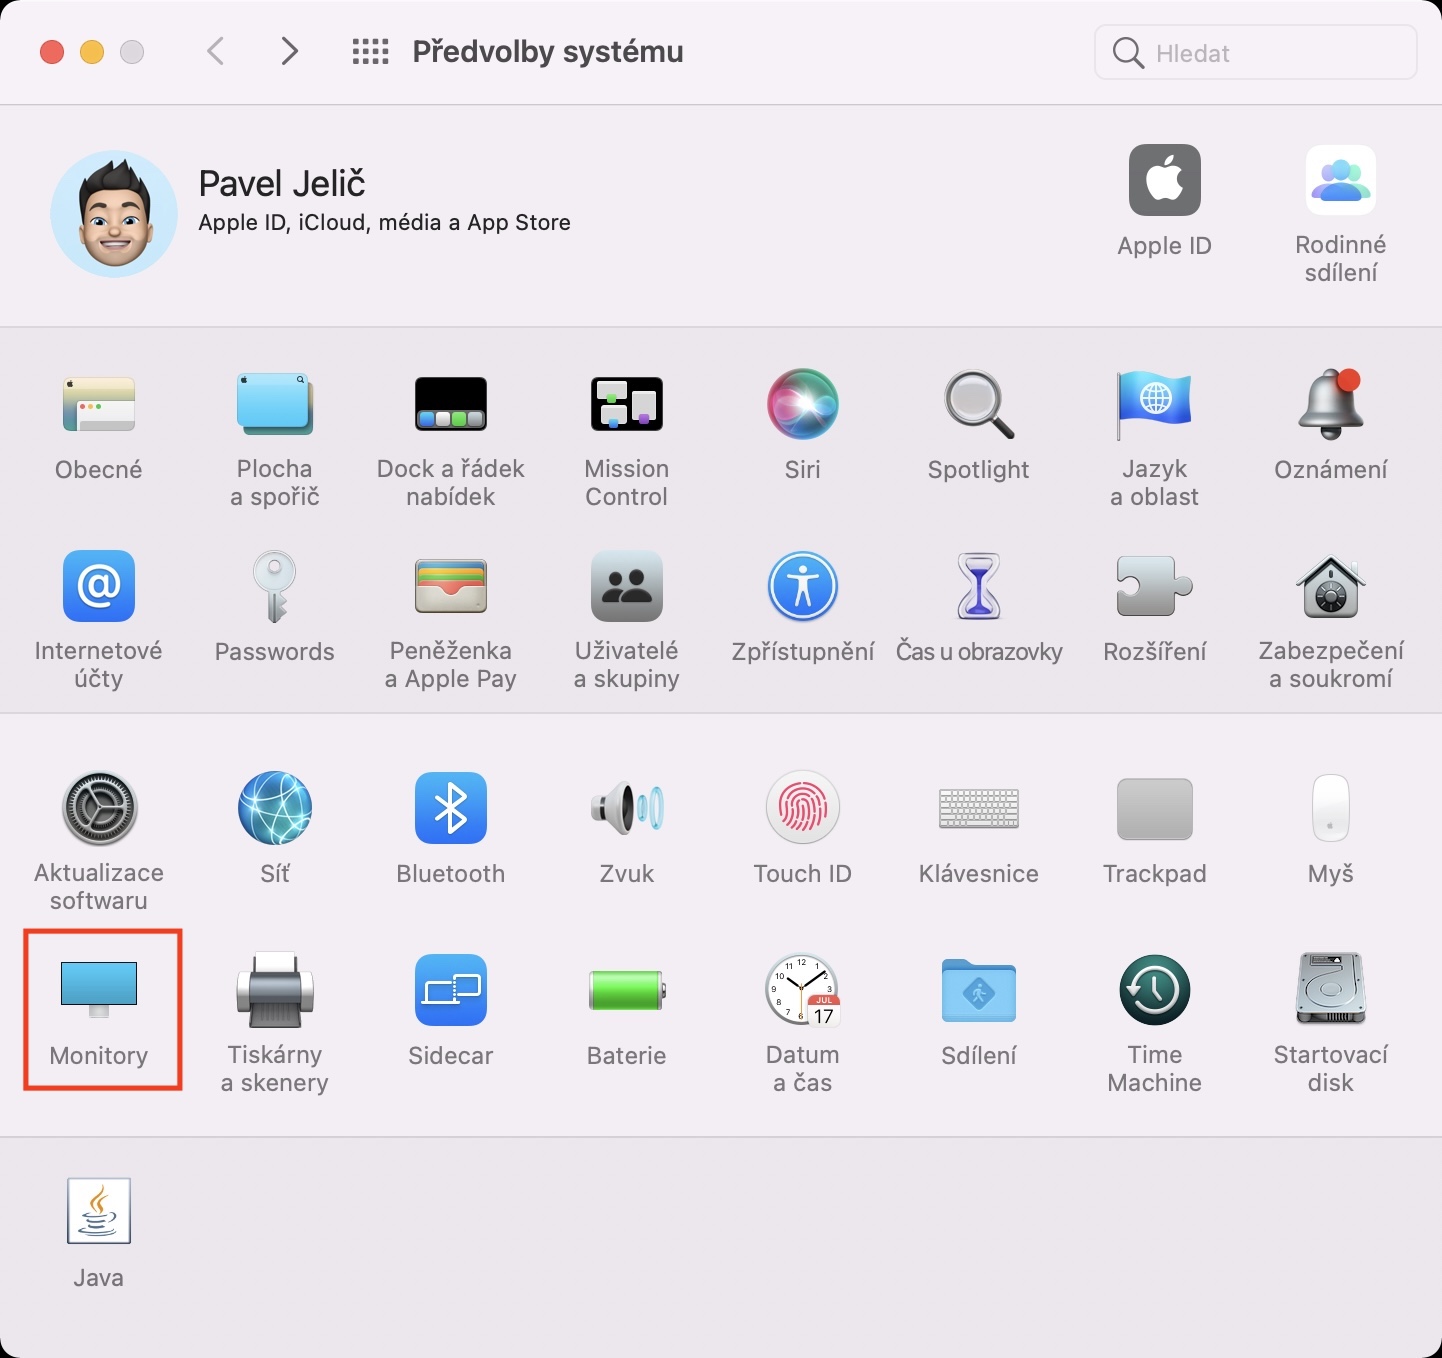
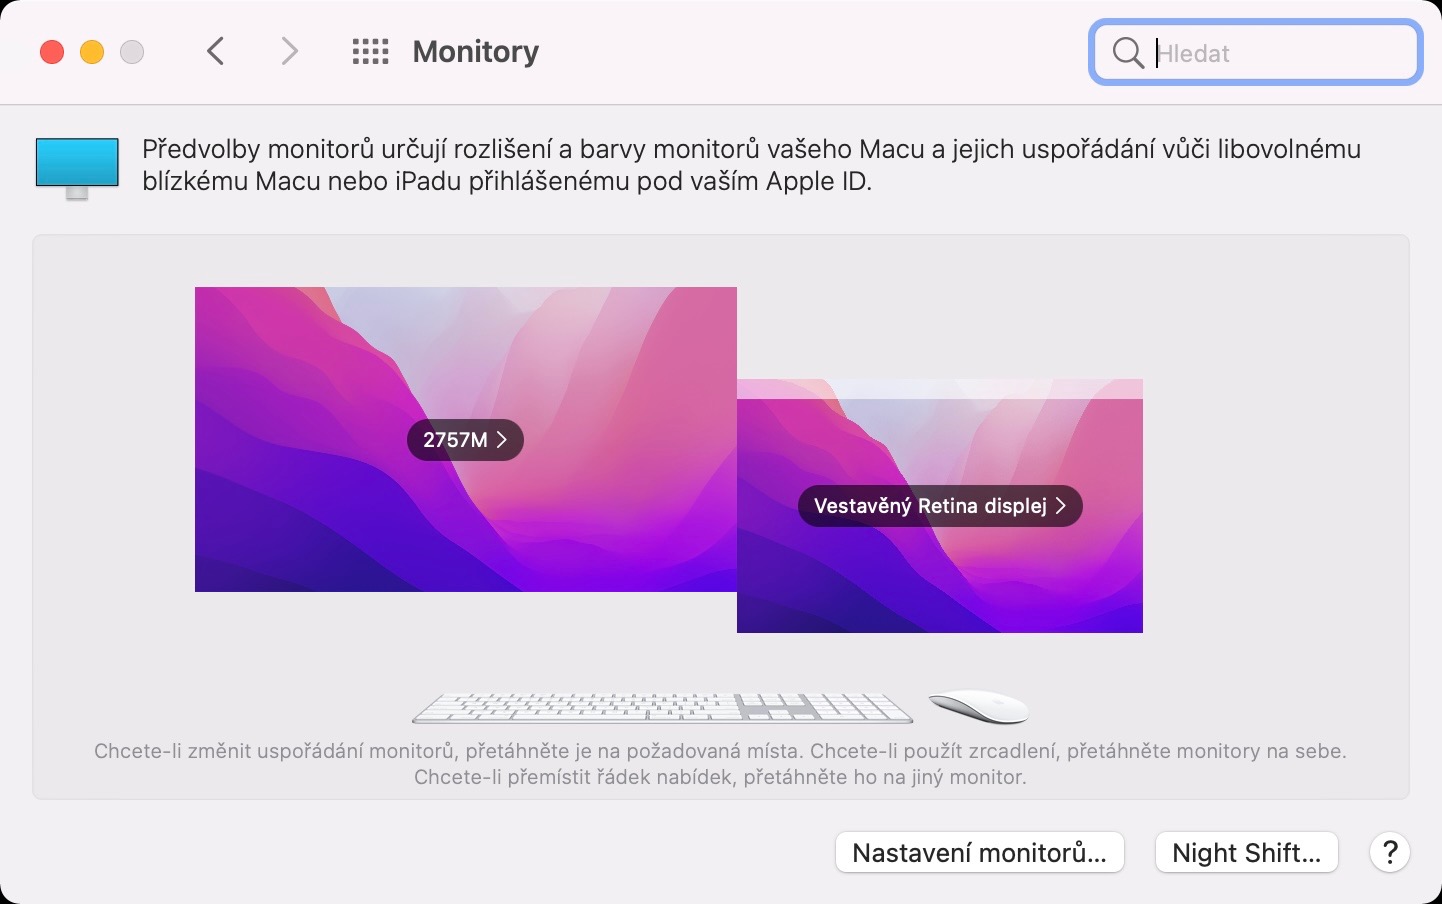
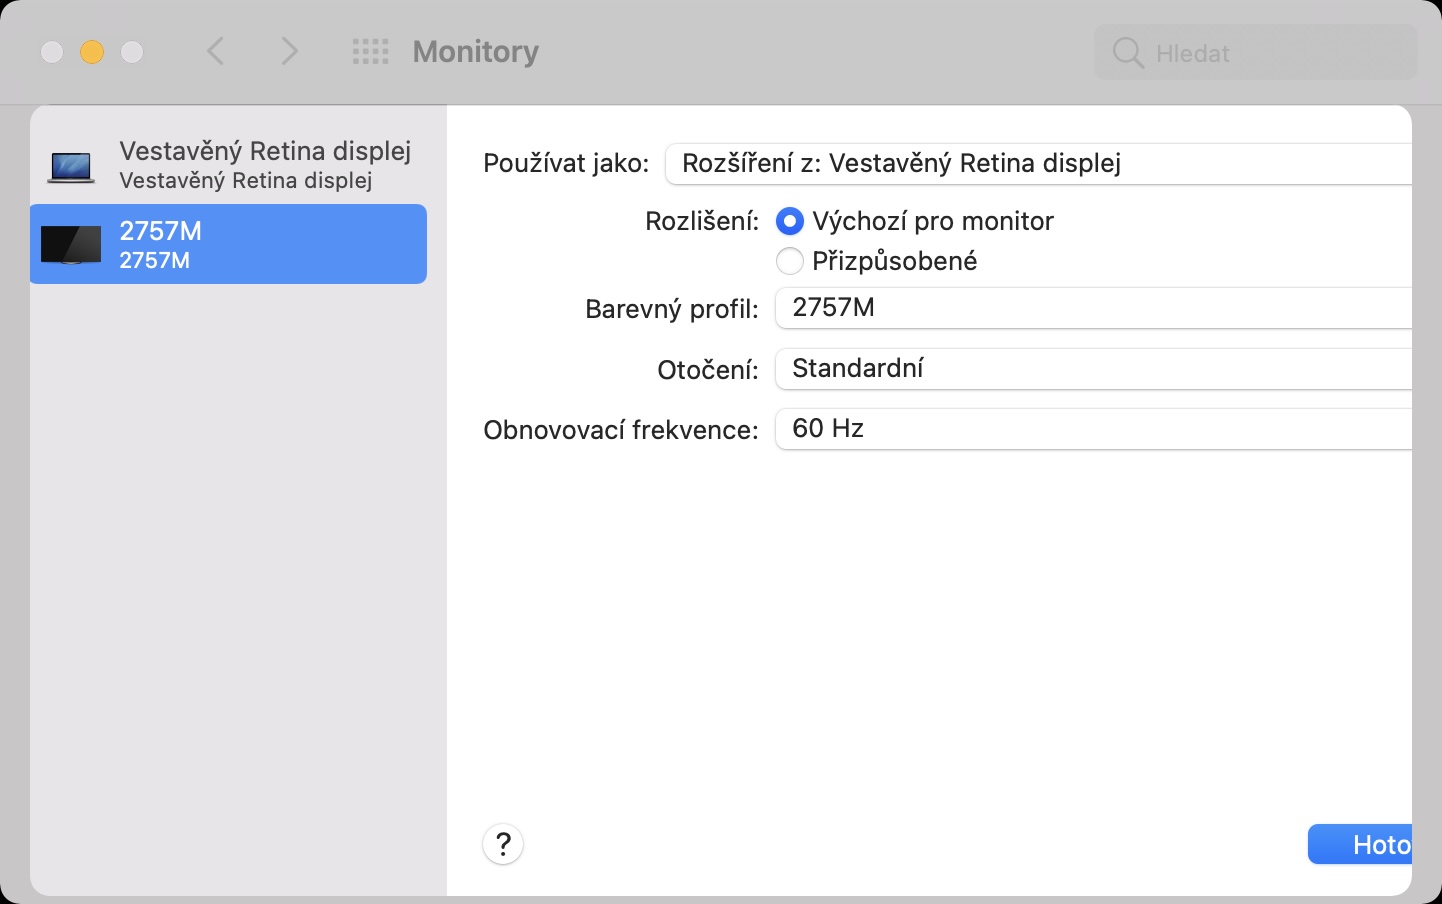
Many macOS users use an external monitor in addition to the built-in monitor. This is especially useful if you need to increase the working area. However, each monitor is different, and to make moving the cursor between the two monitors pleasant, it is necessary to set their arrangement correctly, in System Preferences -> Monitors -> Layout. The interface for reordering monitors has been unchanged for several years and has recently become slightly outdated. Fortunately, Apple realized this and therefore hastened with a complete renovation of this interface. You can view it below.
Orange dot display
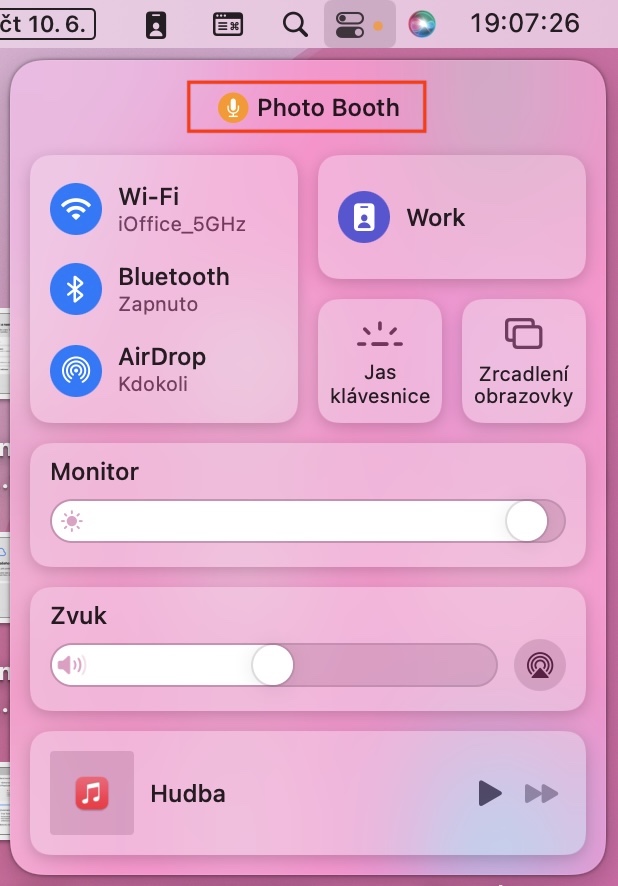
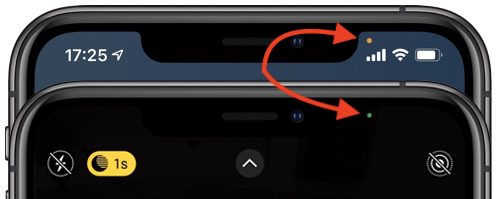
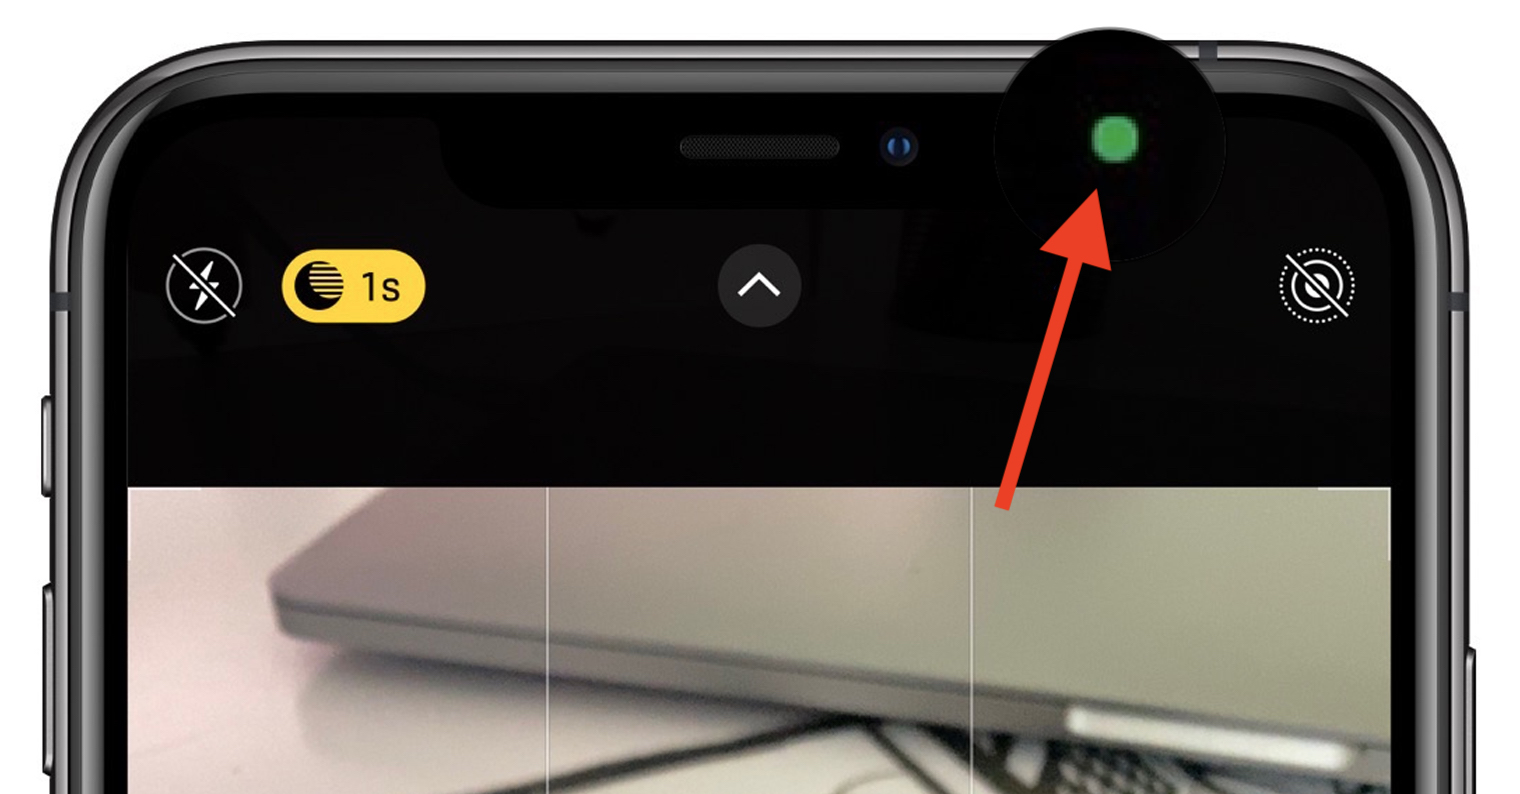
If you own a Mac, you probably know that when the front camera is activated, the green LED automatically lights up to indicate that it is in use. Thanks to it, you should always easily know when the front camera is (not) turned on. In iOS 14, this green dot began to appear directly on the display, now together with an orange dot, which indicates an active microphone. Apple decided to add the orange dot to macOS 12 Monterey as well – specifically, it can be seen in the top bar, right next to the Control Center icon. So if a microphone is used on a Mac, an orange dot will appear next to the control center icon. After opening the control center, you can then see which application is using the microphone (or camera).
Quick notes
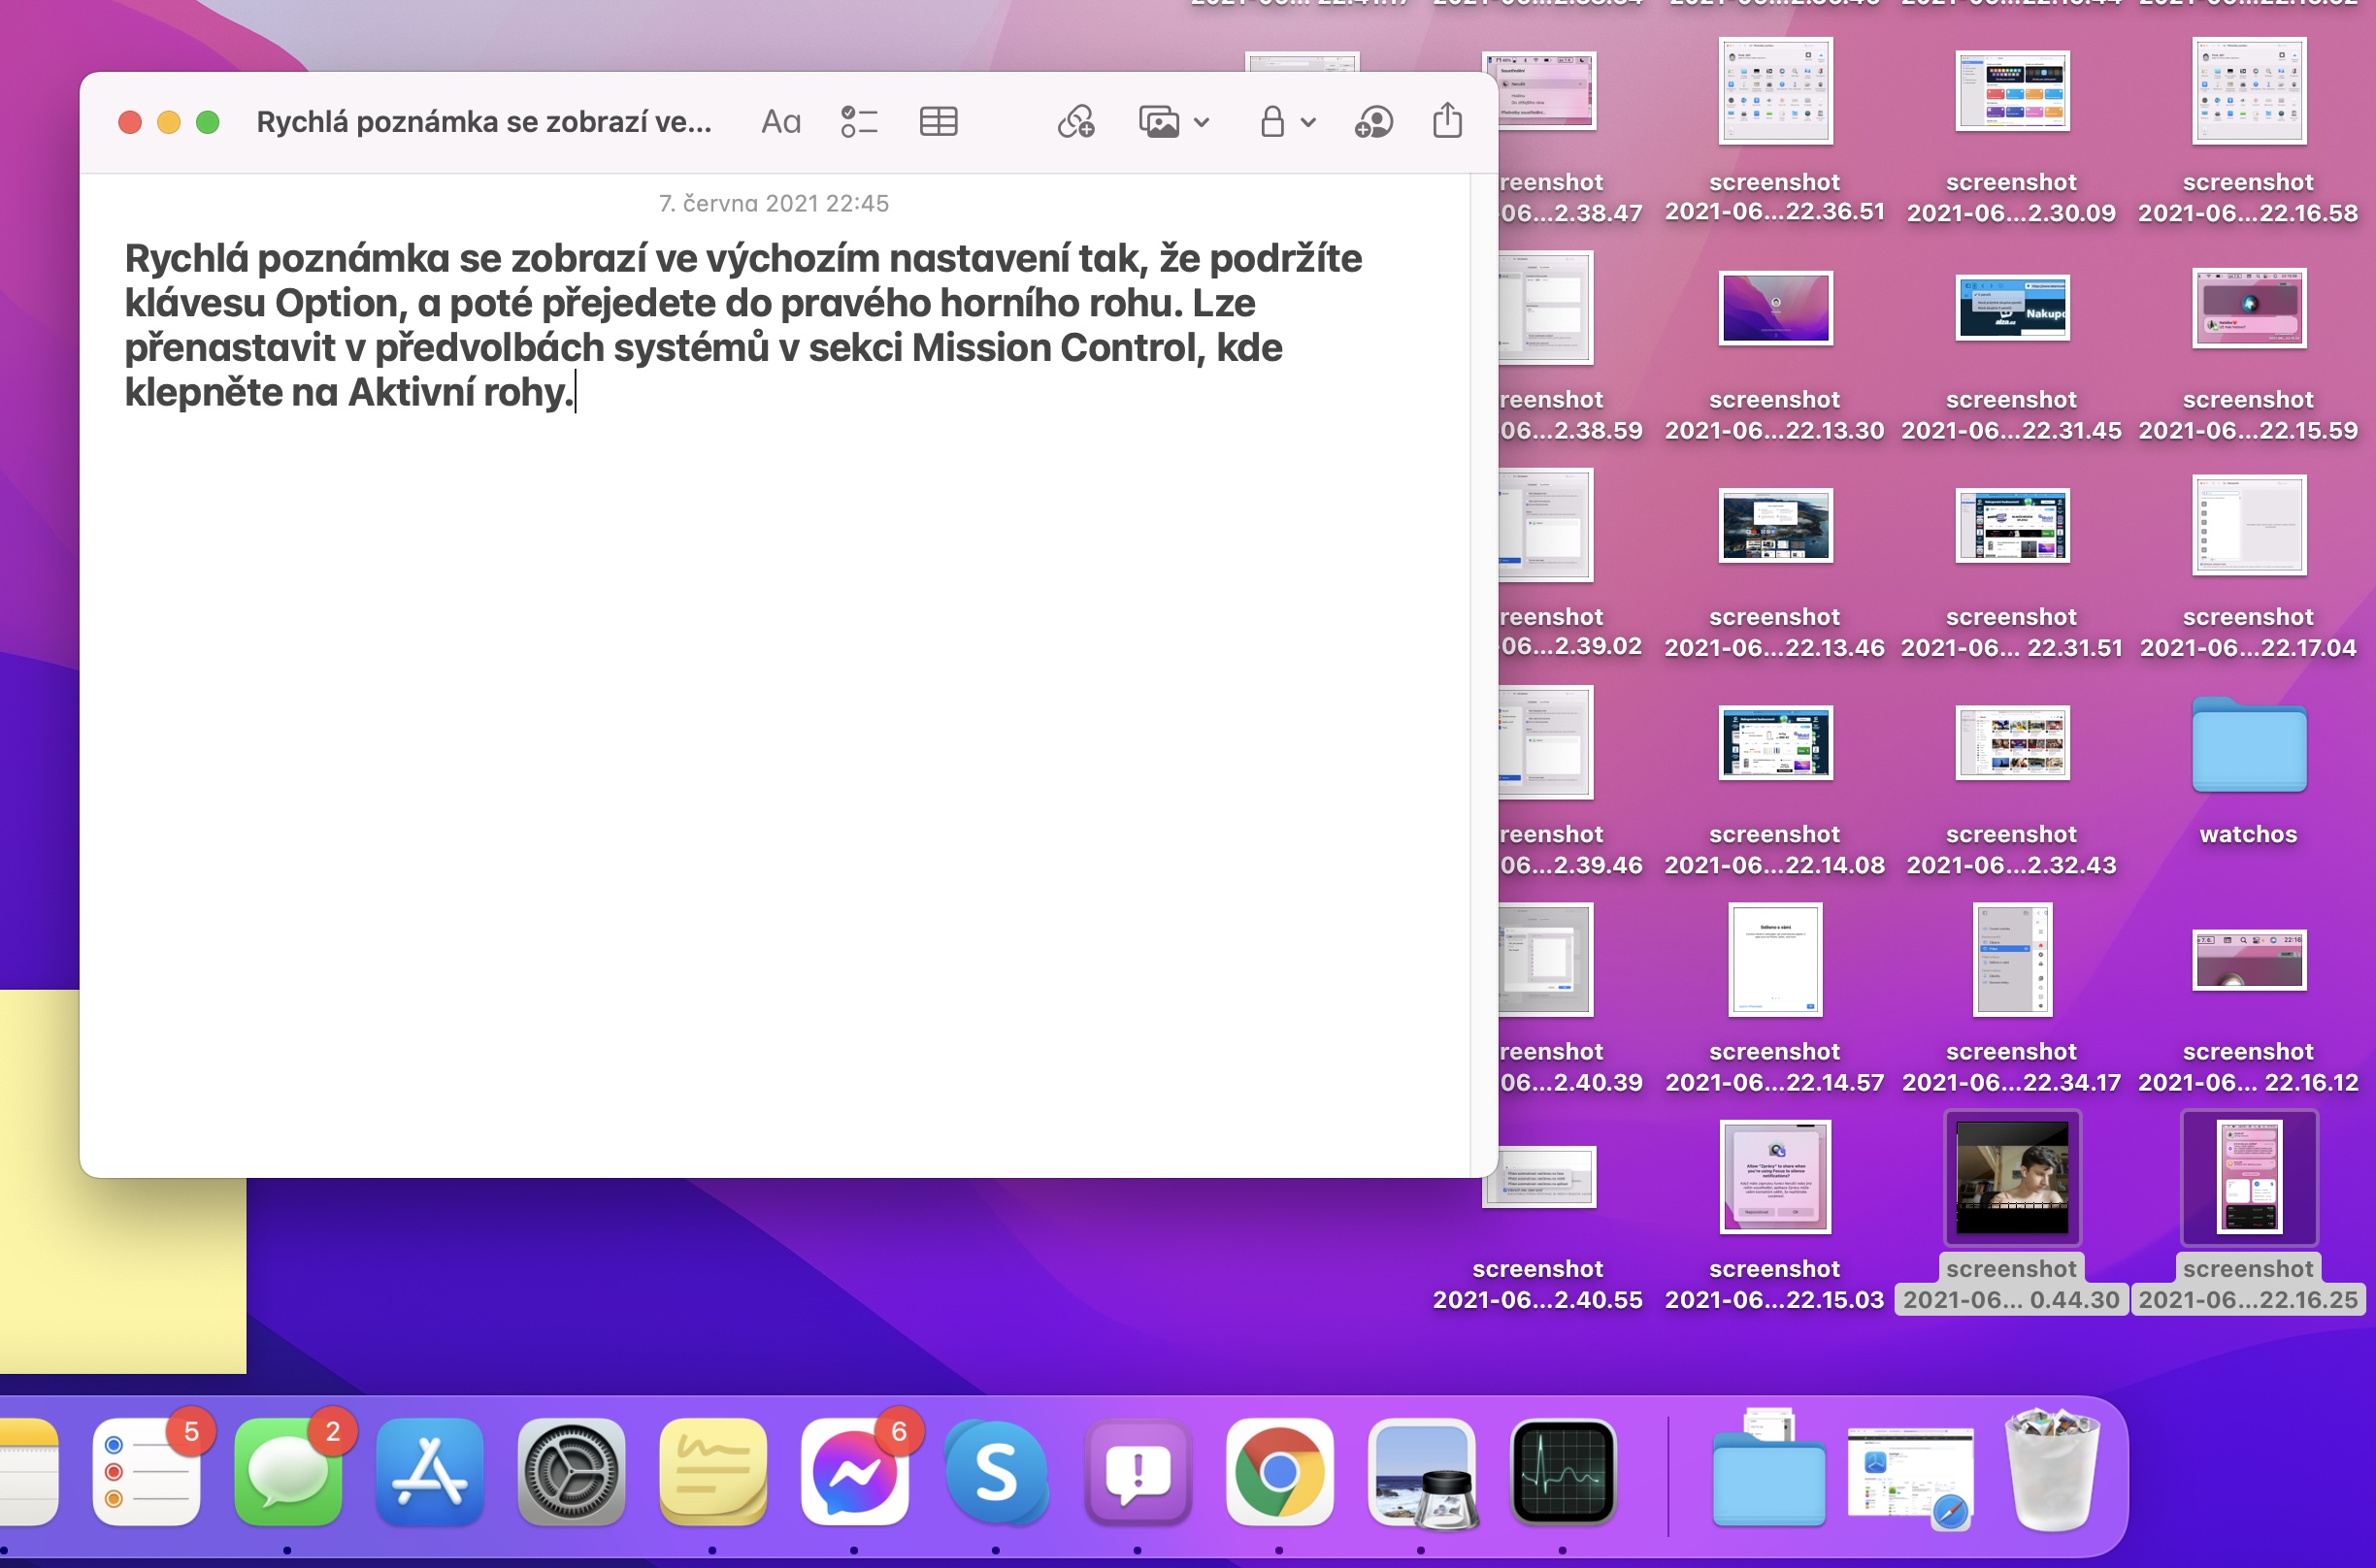
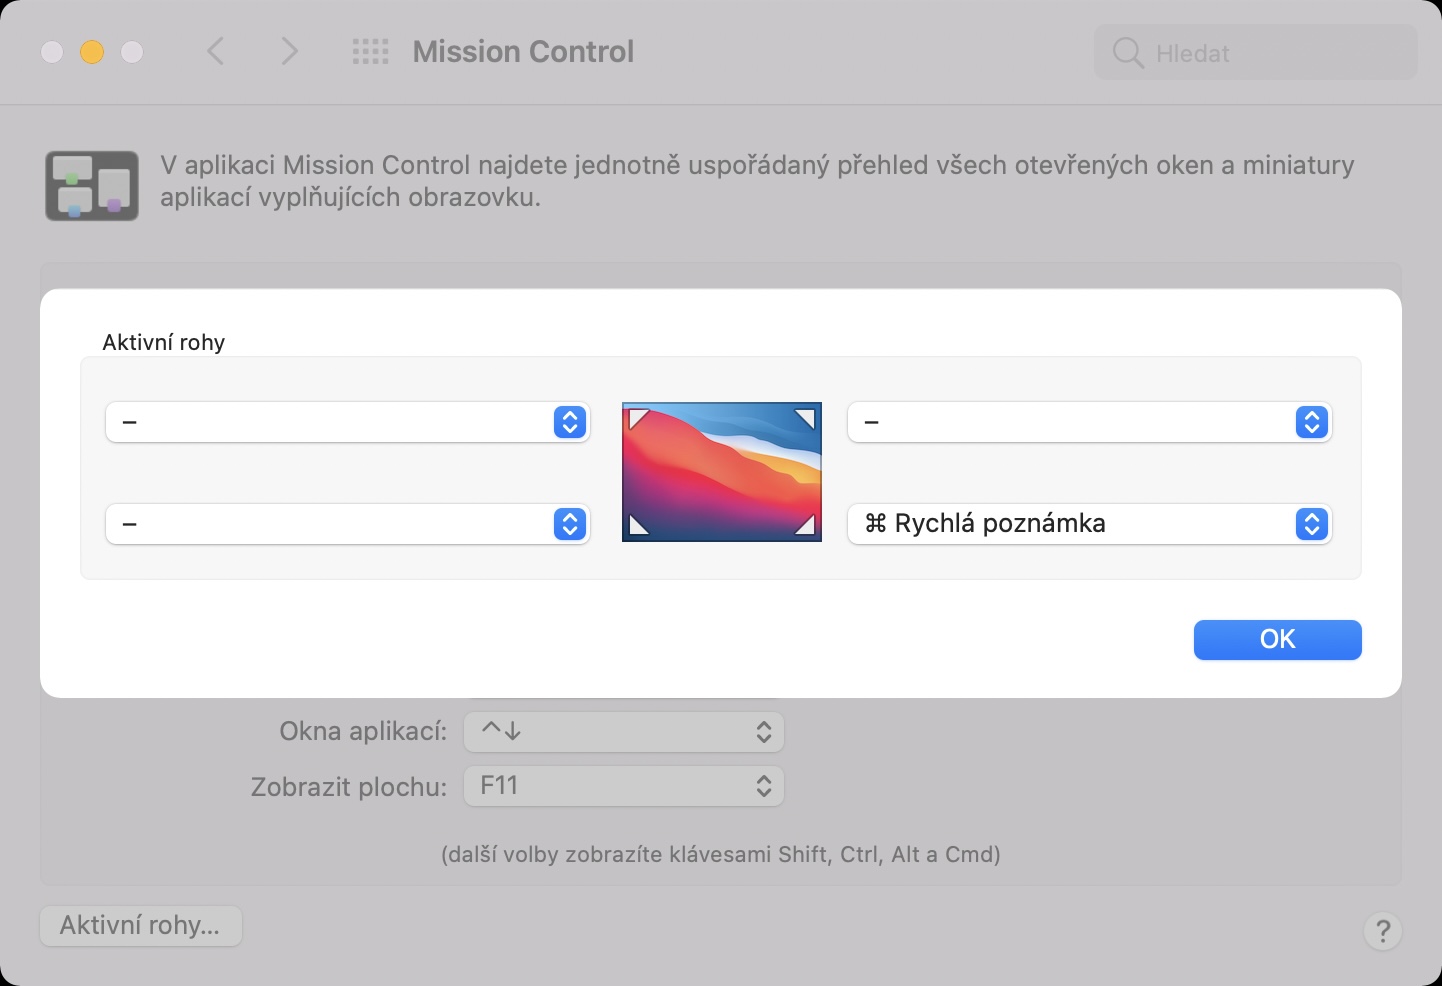
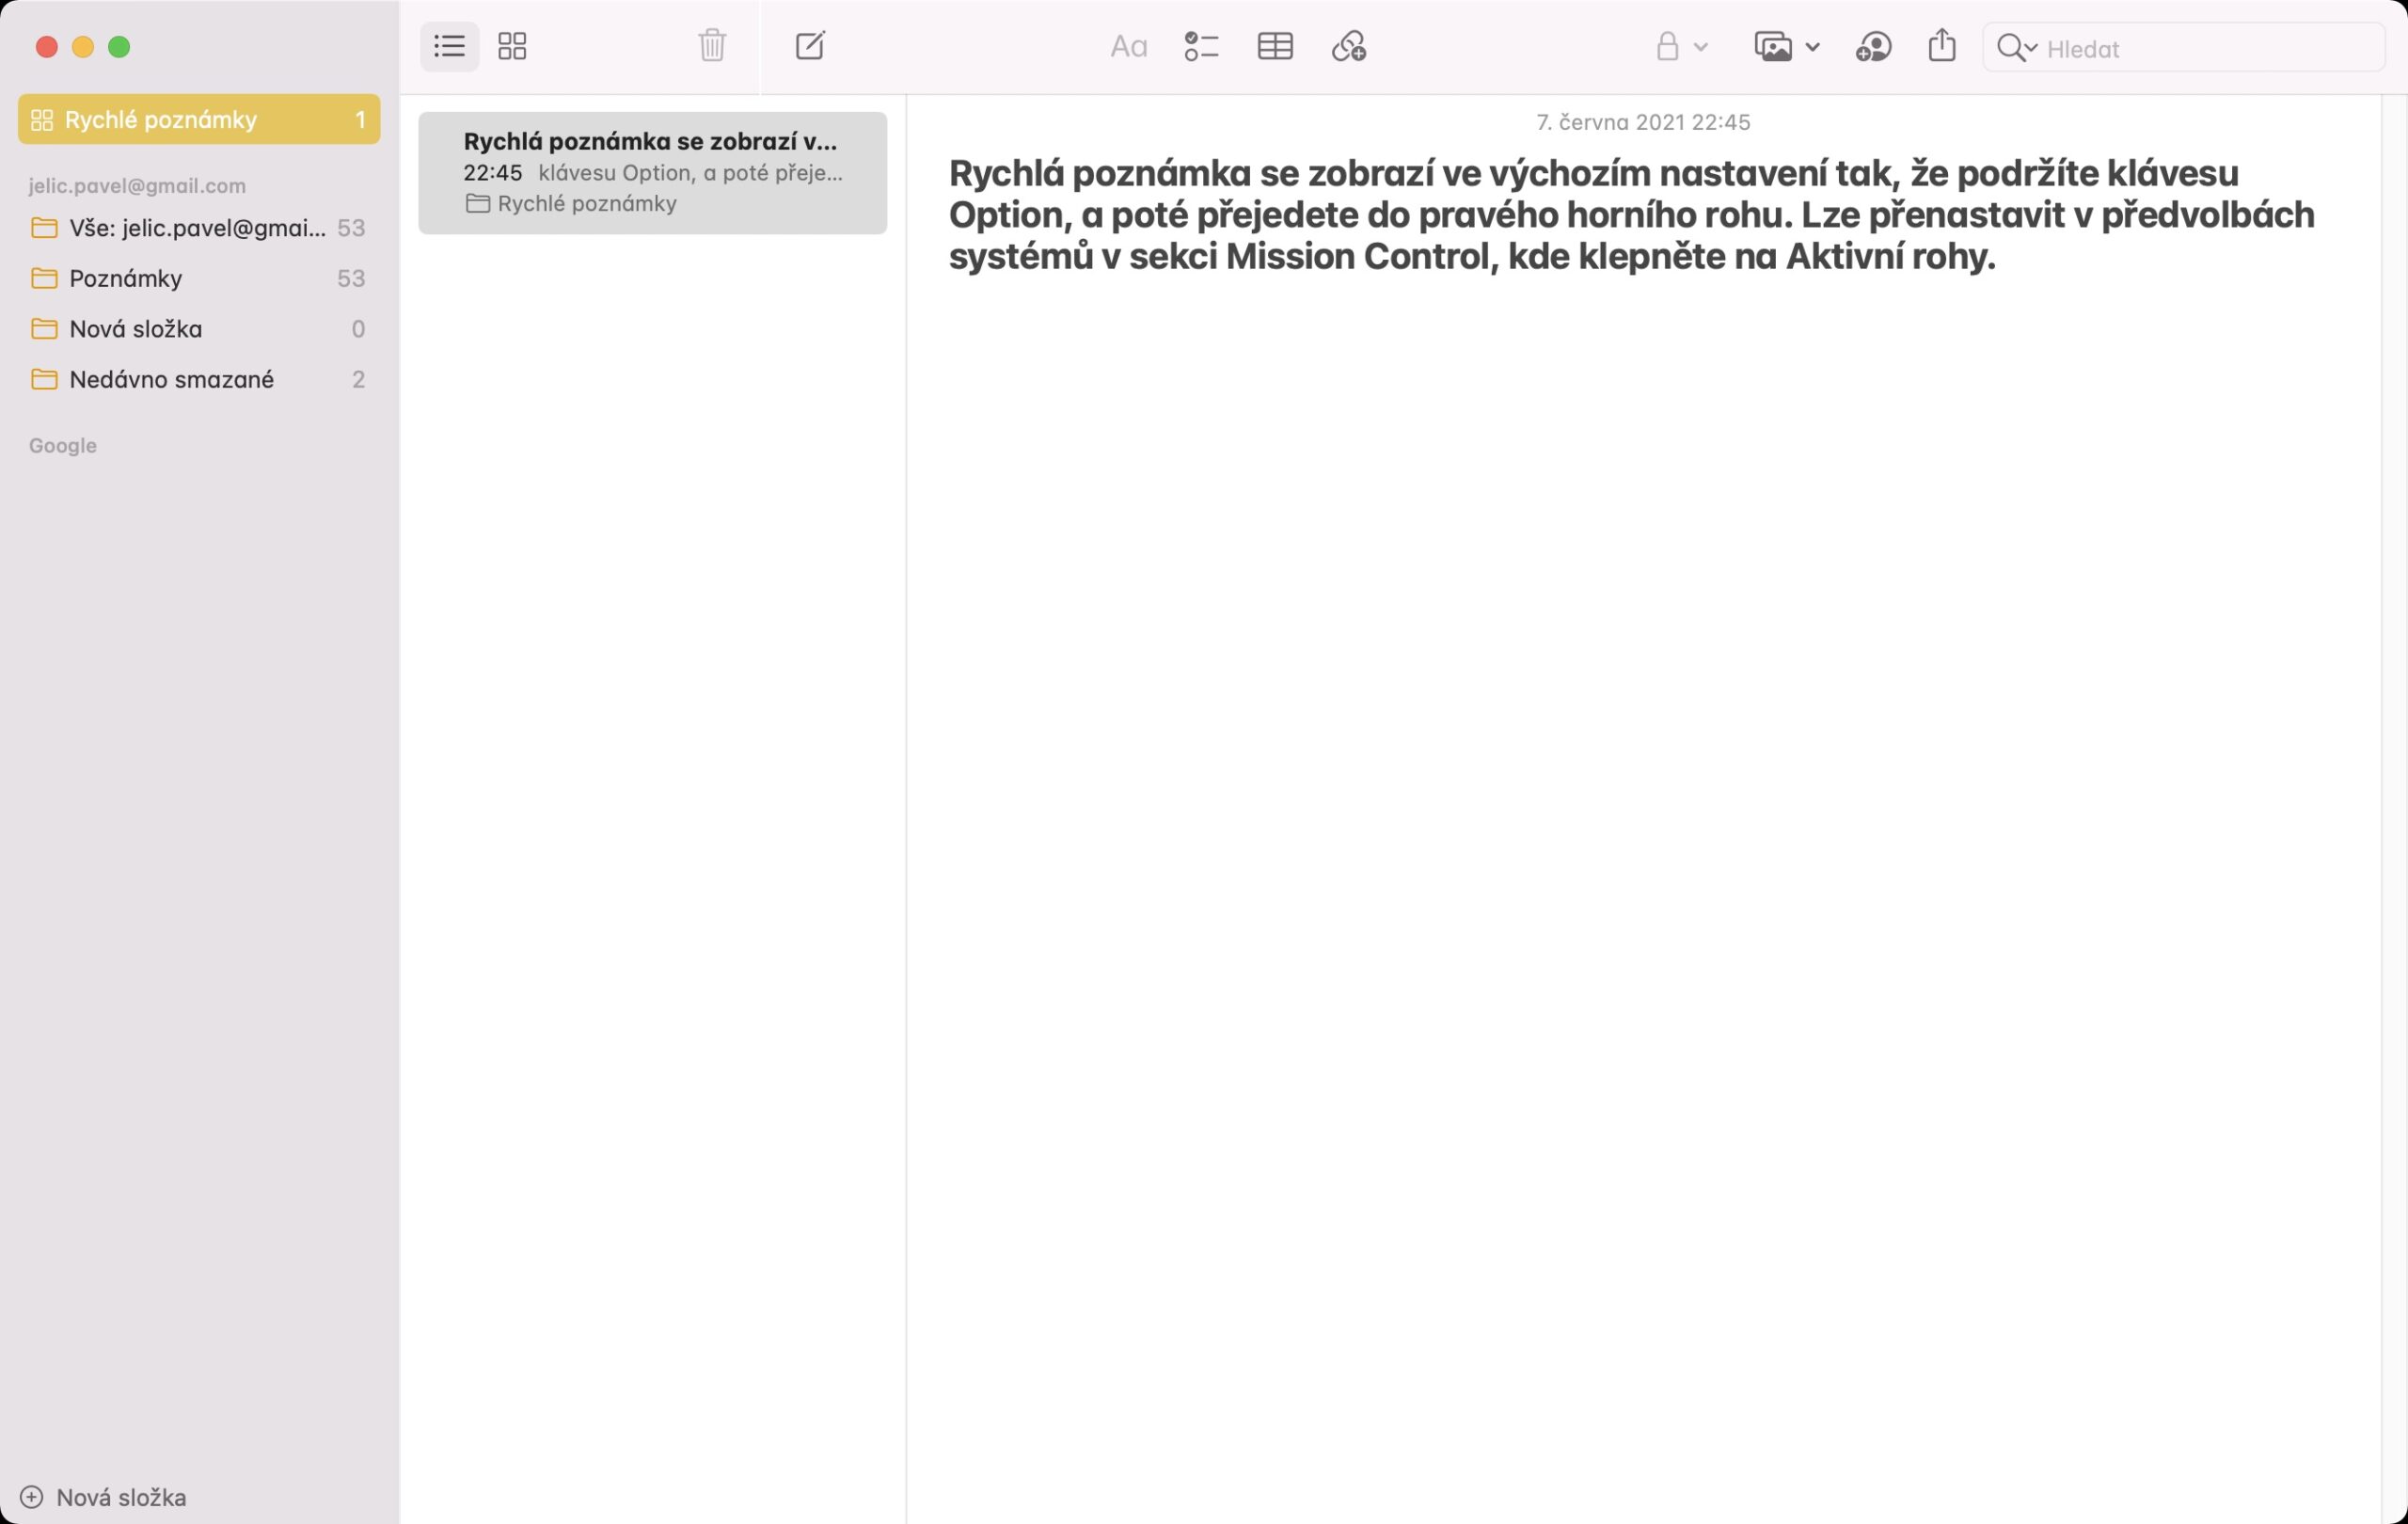
You must have found yourself in a situation where you needed to make a quick note of something. Whether it was, for example, an idea, or some content from the website you are on. This is exactly why we saw the addition of quick notes in macOS 12 Monterey. You can move to the sticky note interface by holding the button command, and then move the cursor to the lower right corner (can be reset). Then just tap on sticky note icon and you can start writing right away. If you jot down a quick note on a website, you can return to it after moving to a specific page again.
Hiding the top bar
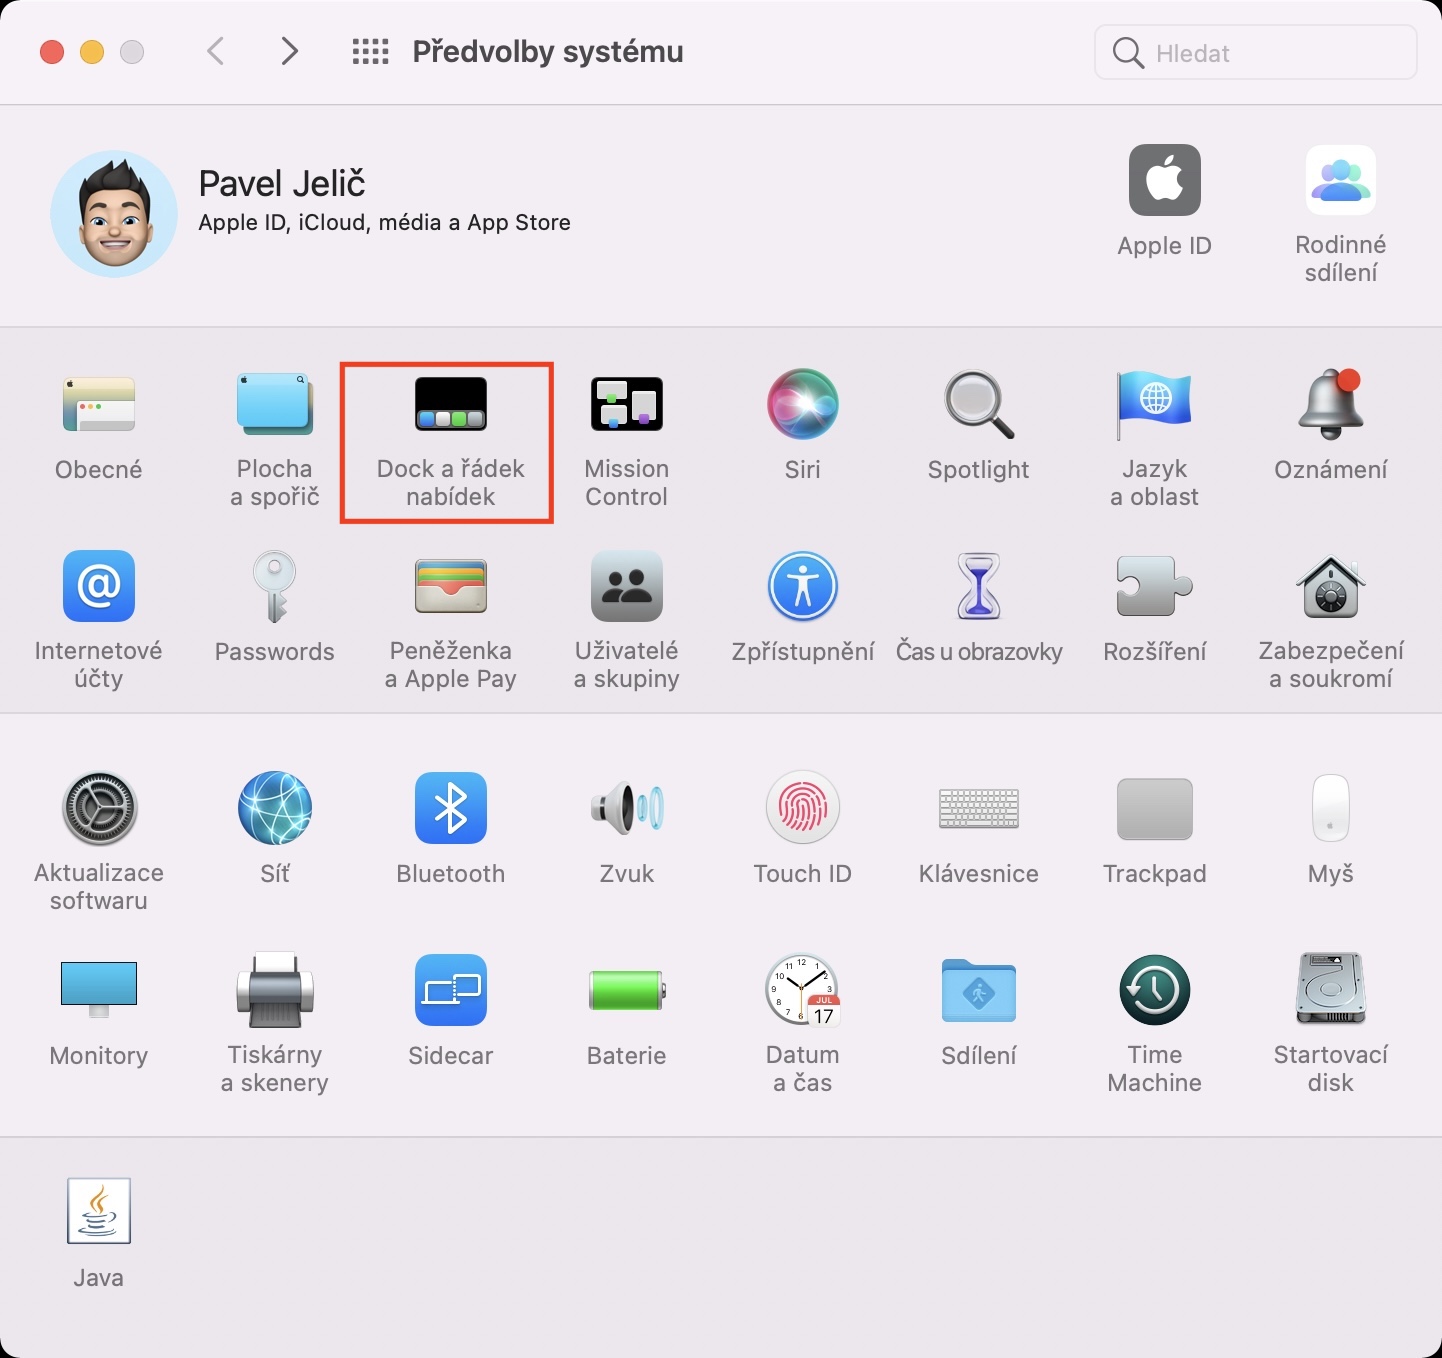
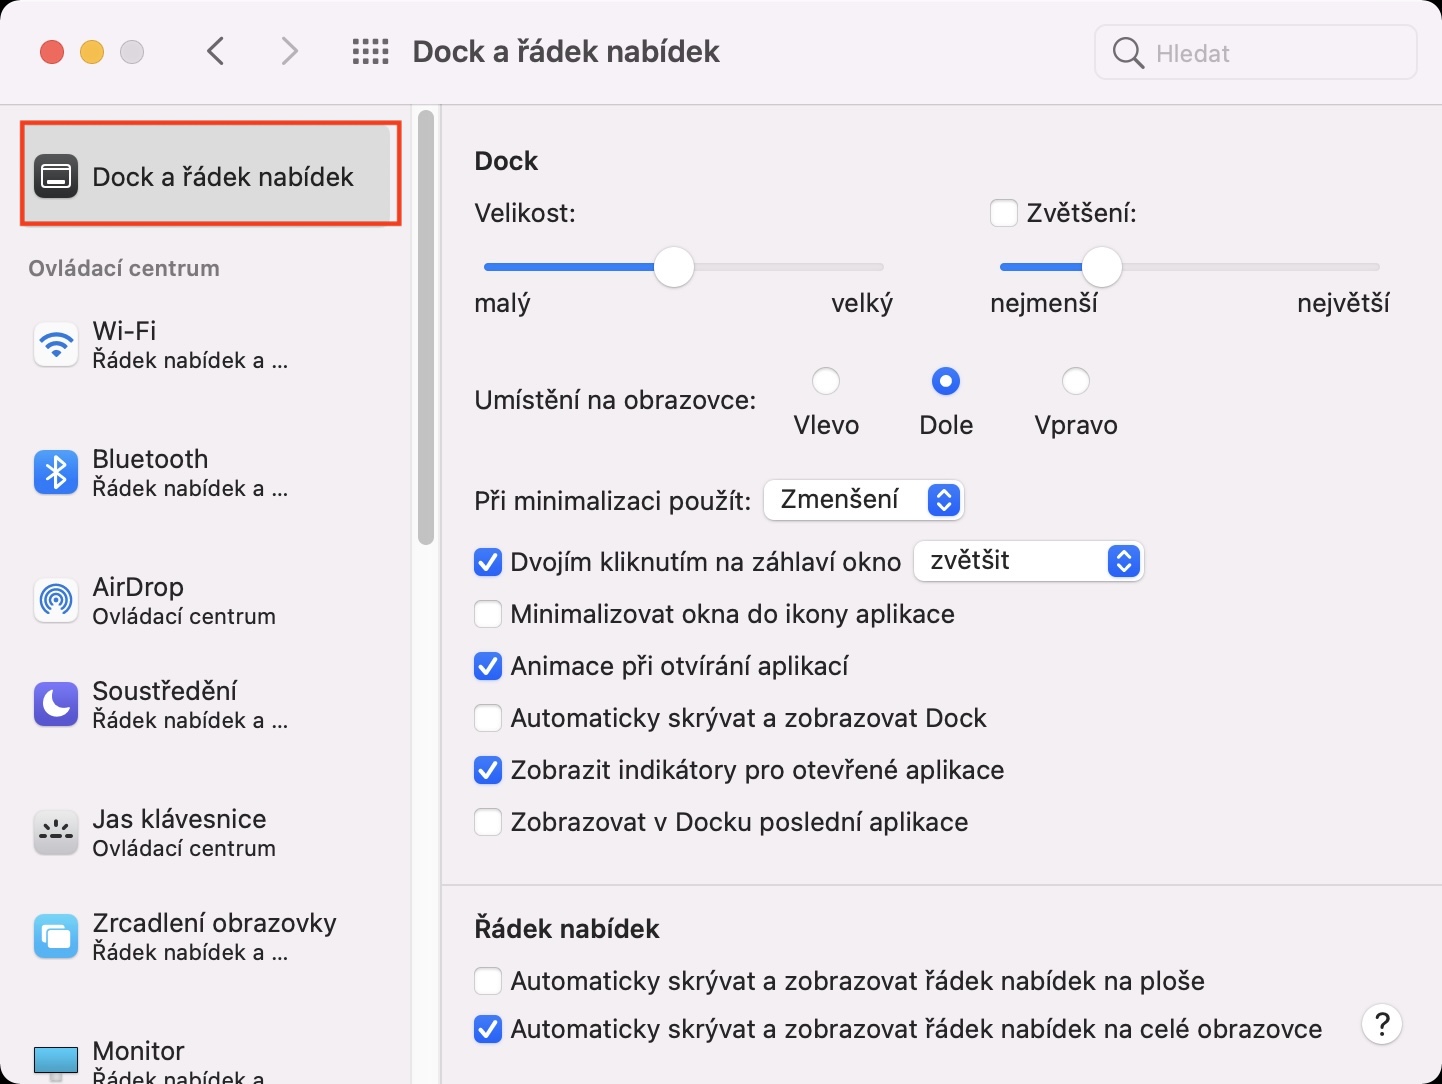
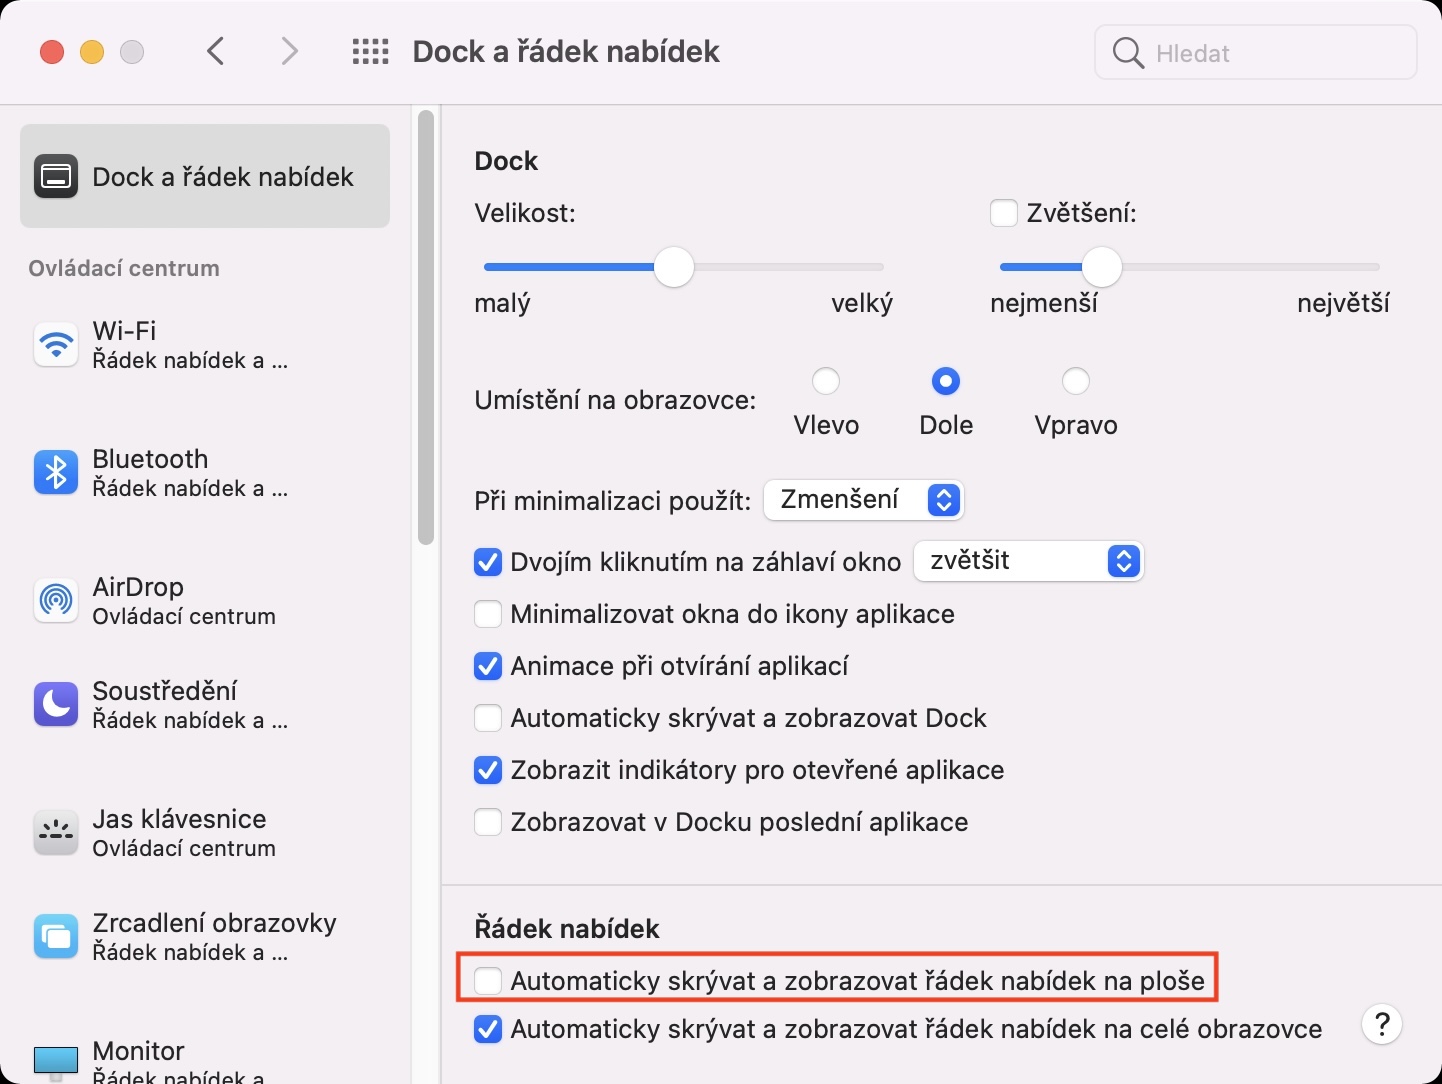
If you switch any window to full screen mode on your Mac, the top bar will automatically hide. However, this may not suit all users, as this will hide the icons of the top bar and, above all, the time. This can simply cause you to lose track of time, which can be a problem. However, the good news is that in macOS 12 Monterey, it is now possible to set the top bar not to hide automatically after switching to full screen mode. If you would like to activate this option, just go to System Preferences -> Dock and Menu Bar. Here in the menu on the left, click on the section Dock and menu bar and below in the Menu bar category tick off Automatically hide and show menu bar in full screen.
Application Shortcuts
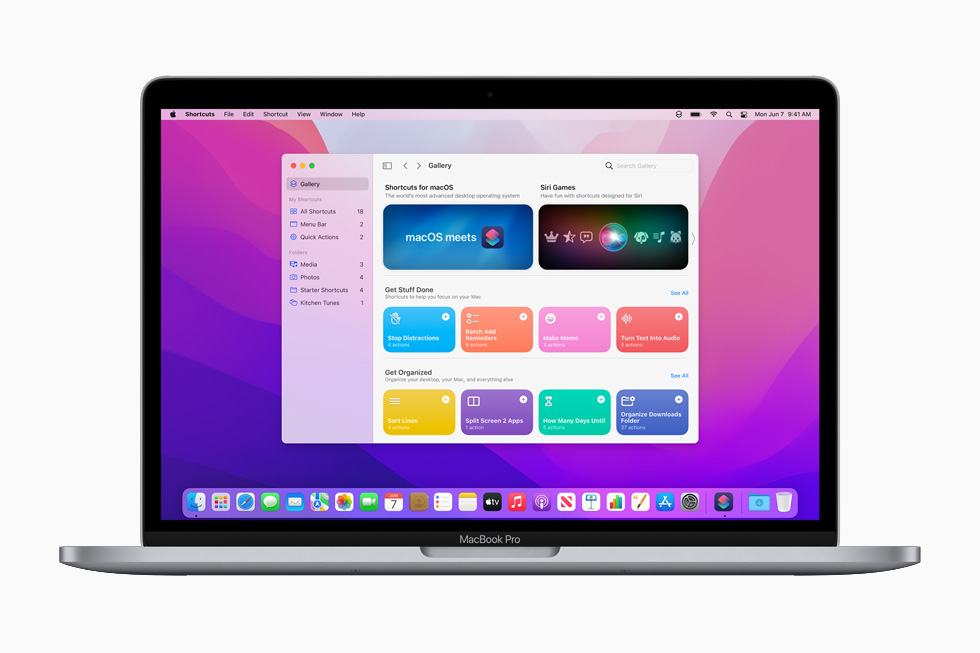
As part of iOS 13, we saw the Shortcuts application on apple phones. Thanks to it, different sequences of tasks can be created, which can greatly simplify daily functioning, and which can be simply turned on, for example, using an icon on the desktop. In iOS 14, Apple also expanded the Shortcuts application with Automations, i.e. sequences of tasks that are automatically performed as soon as a certain condition occurs. We recently saw the extension of the Shortcuts application to the Apple Watch, so it was more or less clear that we would soon see it on our Macs as well. We got to see it in macOS 12 Monterey, in which it is possible to run and create Shortcuts. In addition to this, all shortcuts sync across devices and also work with each other on all systems.
Change the color of the cursor
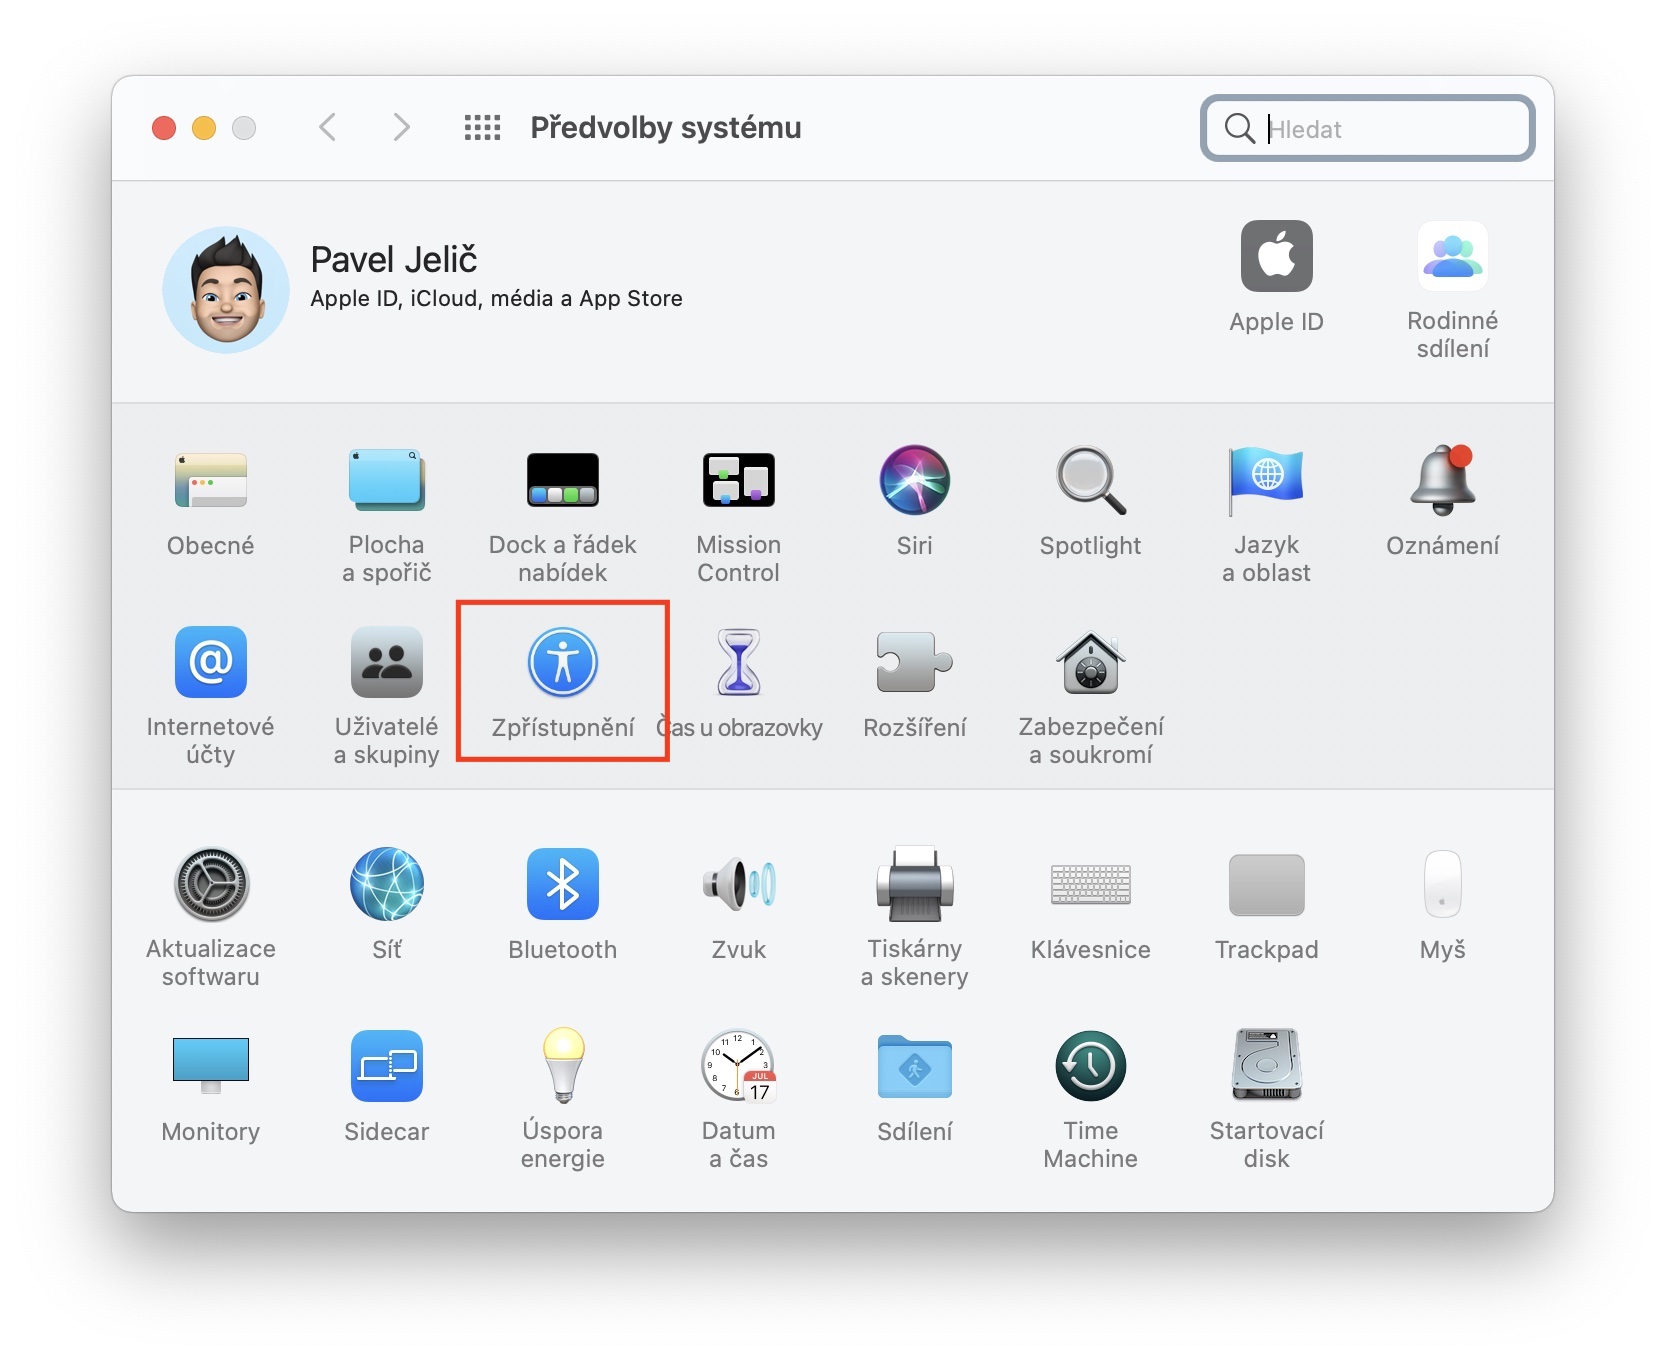
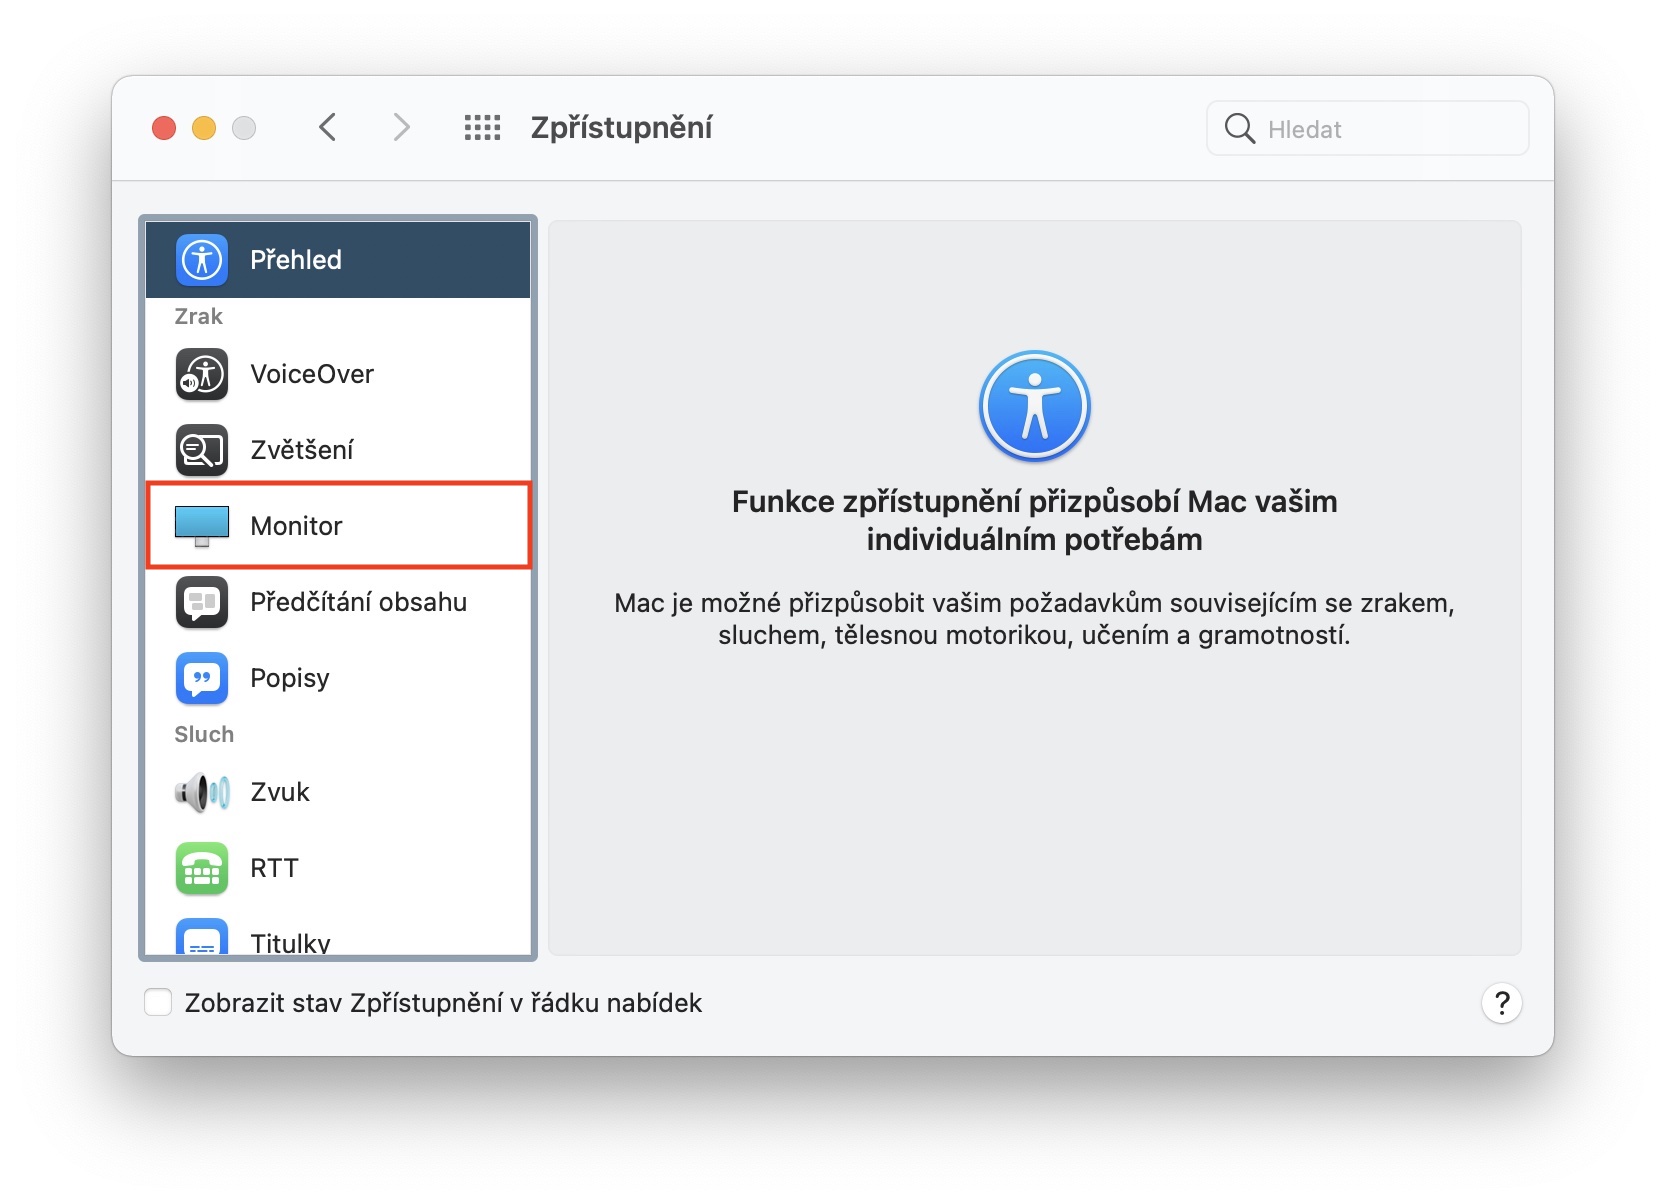
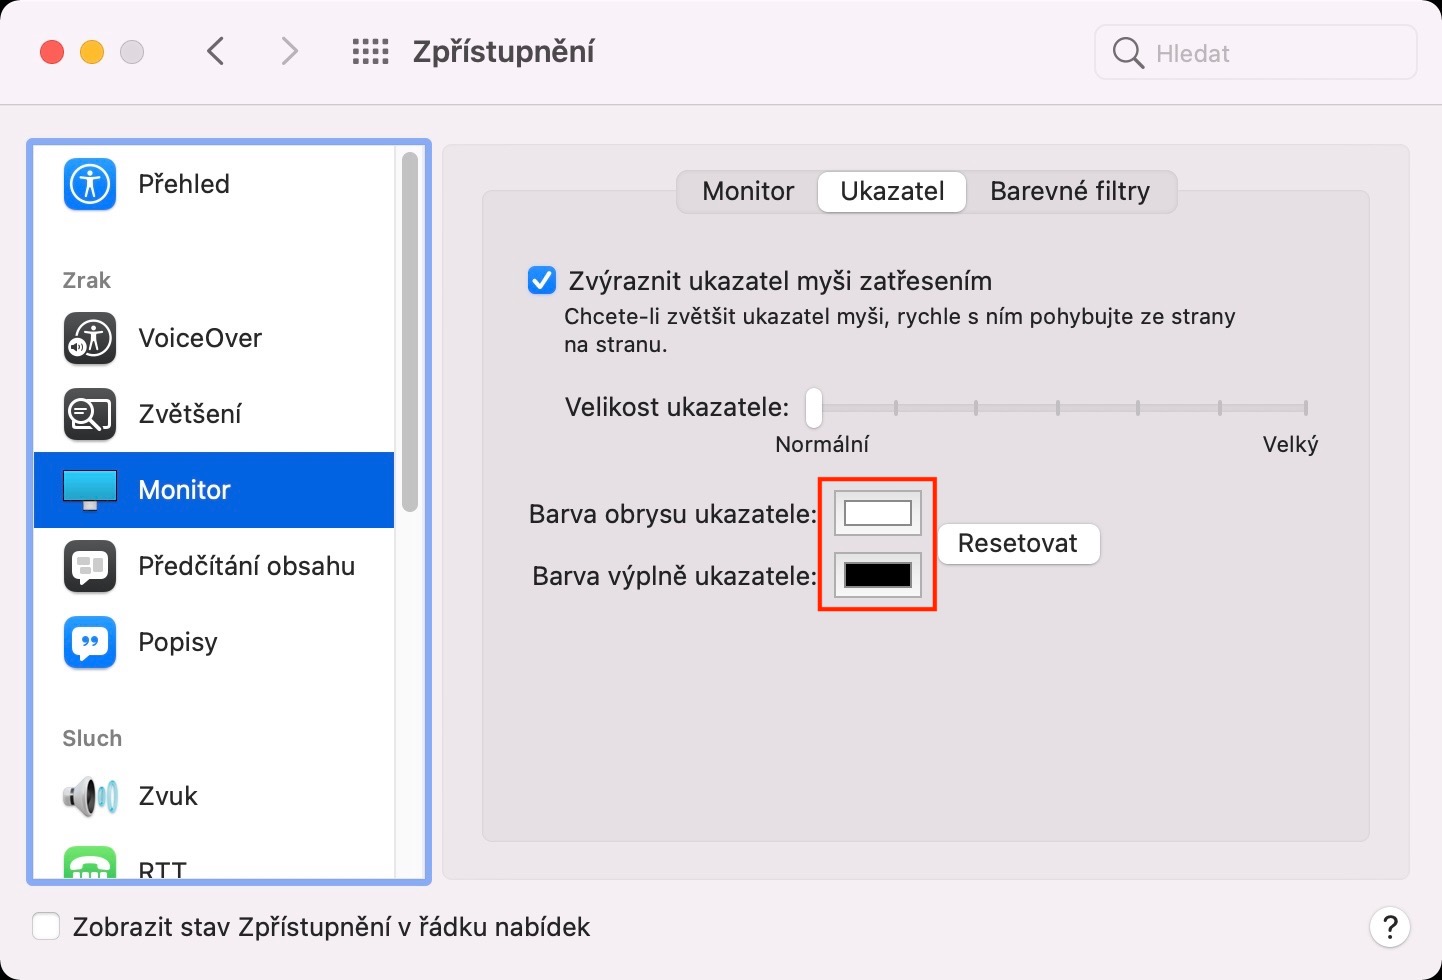
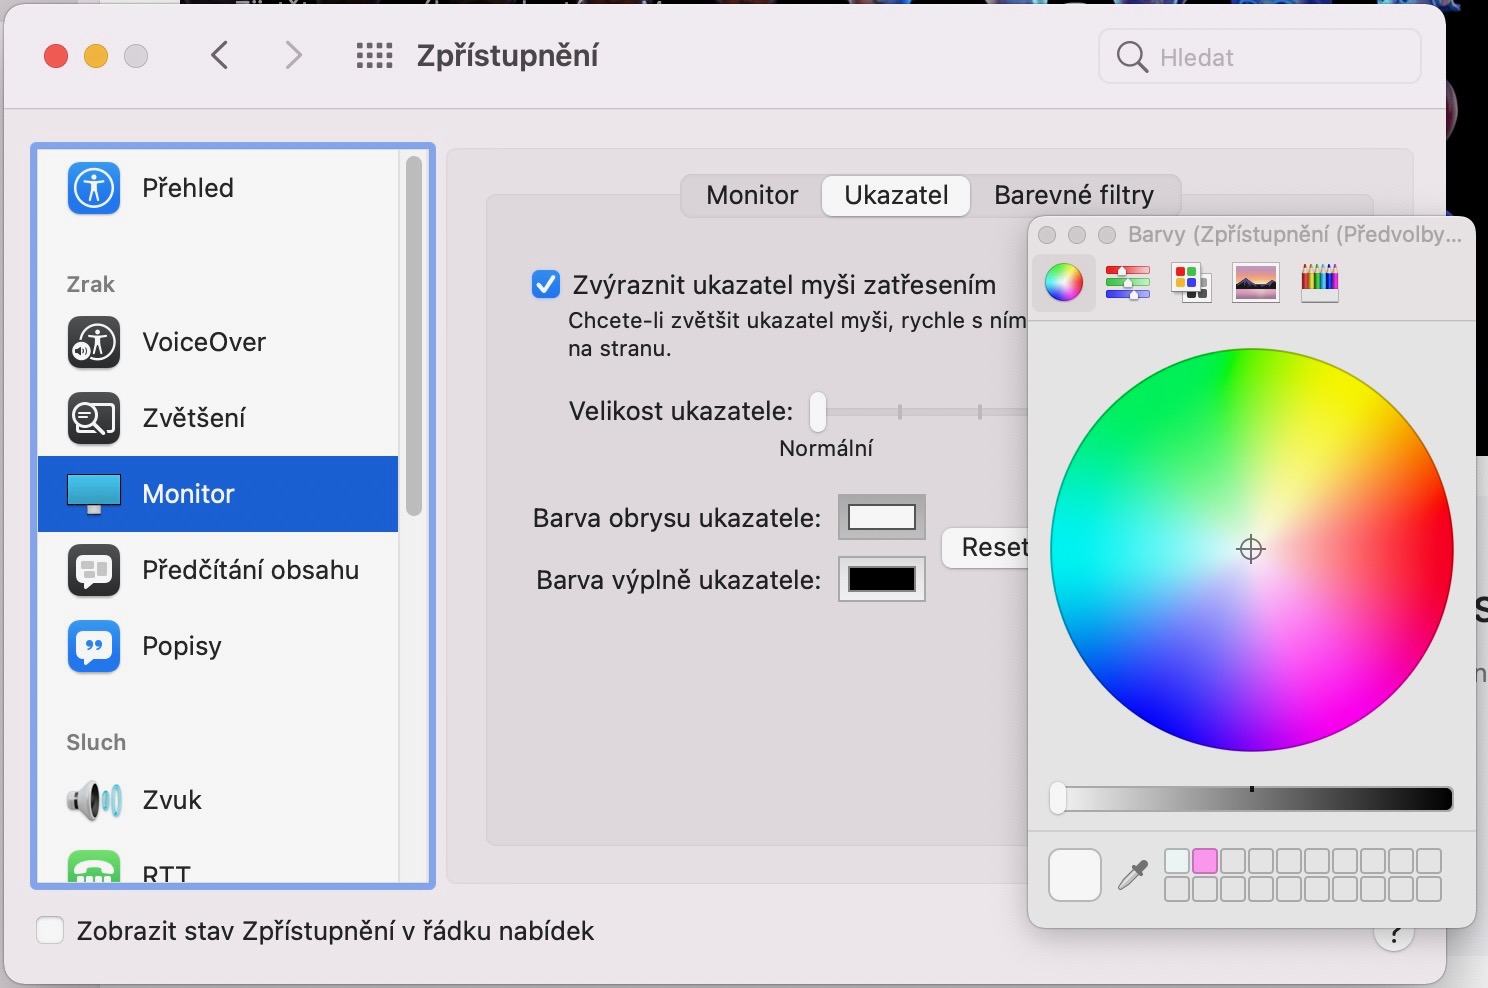
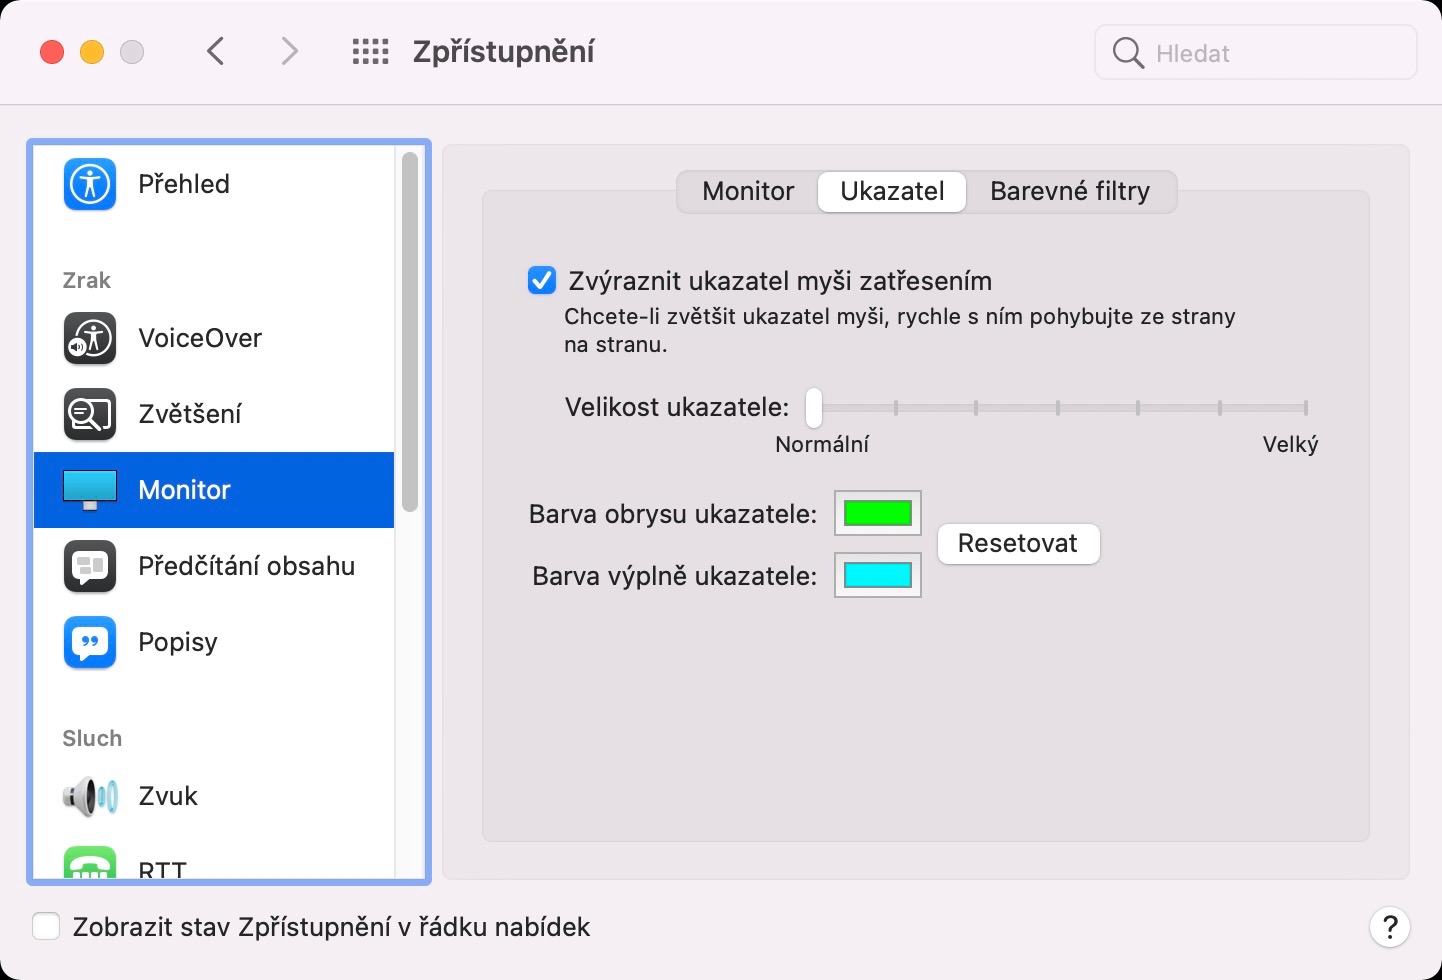
By default, the cursor in macOS is black with a white border. It's been like this for a long time, and if you don't like it for some reason, you couldn't change the colors until now. However, after installing macOS 12 Monterey, you can change the color of the cursor, i.e. the color of its fill and border. You just need to move to System Preferences -> Accessibility -> Monitor -> Pointer, where you can already find the options below Pointer outline color a Pointer fill color. To select a color, just tap on the current color to open a small selection window. If you would like to return the cursor color to the factory settings, just tap on Reset. Note that sometimes the cursor may not be visible on the screen when setting the selected colors.
FaceTime calls over the link
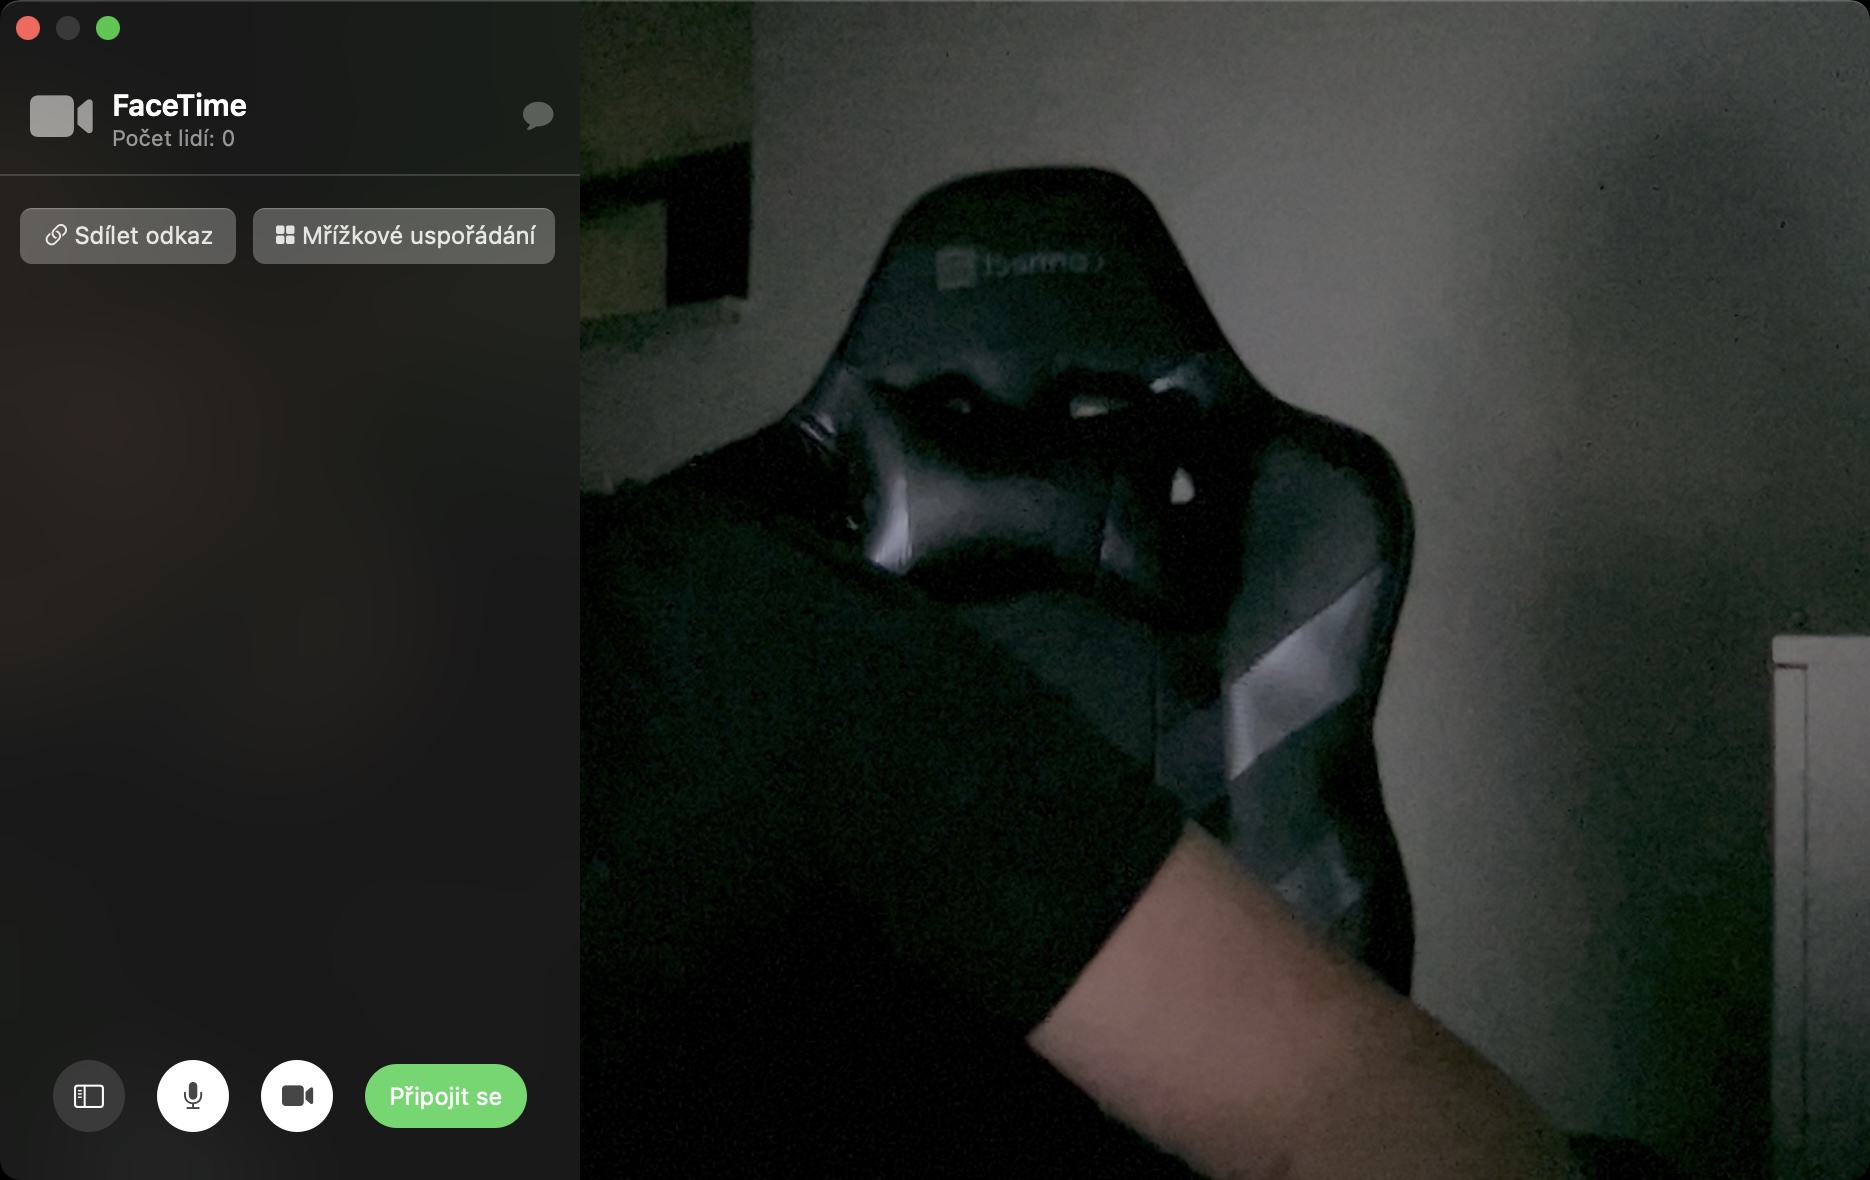
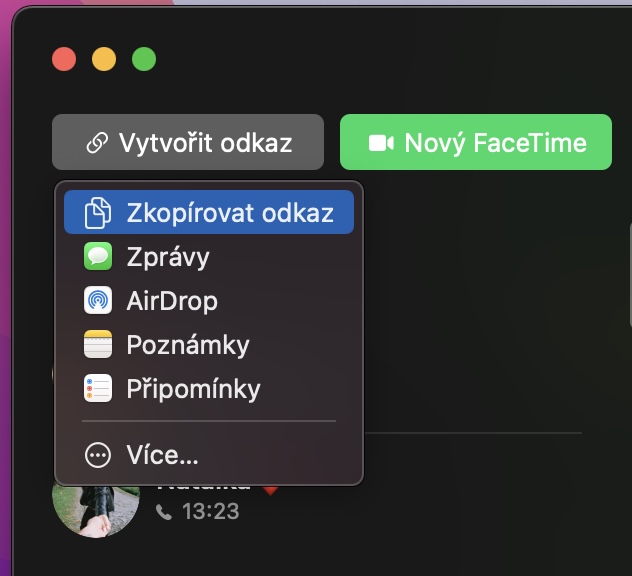
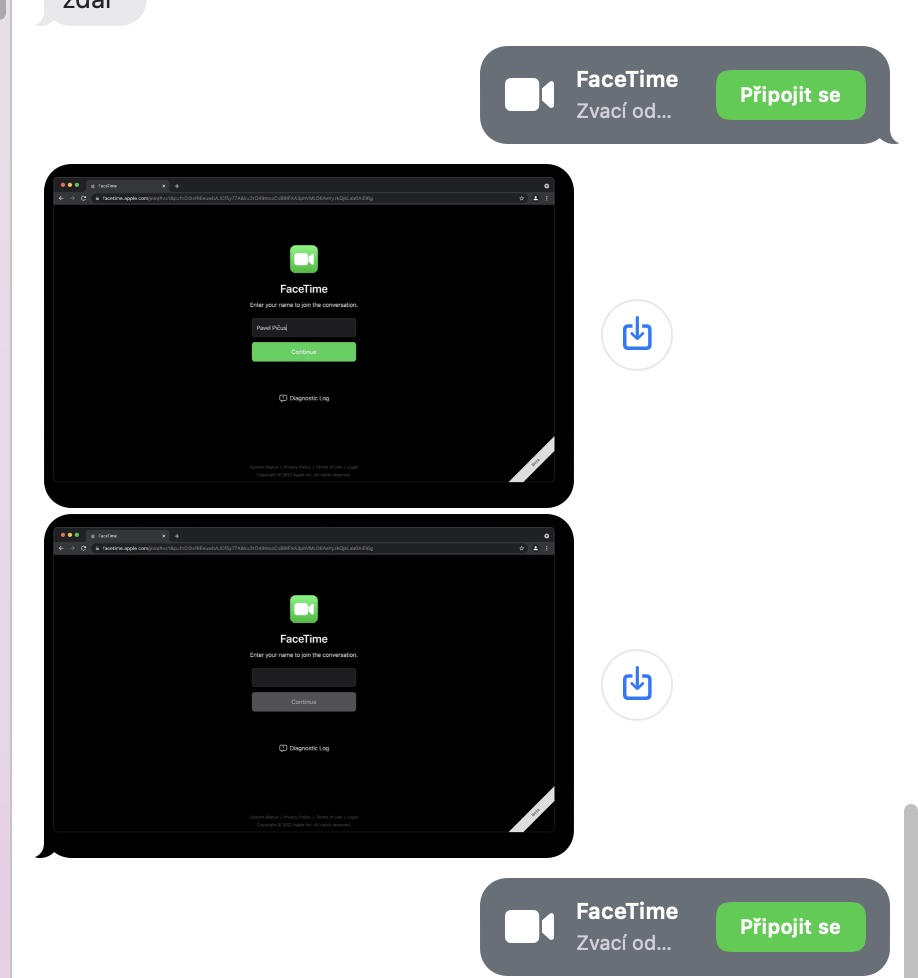
If you currently want to call anyone via FaceTime, it is necessary that you have that person in your contacts (or at least have their phone number) and at the same time it is necessary that the person in question owns an Apple device. This simply means that you can only make FaceTime calls with a close circle of individuals who must also own something from the apple company. This became limiting, especially during the time of the coronavirus, when FaceTime could not be used, for example, for calls in companies. In the end, however, we did make it, albeit a few months later than would have been appropriate. Anyone can now join a FaceTime call via a link. If the person in question has an Apple device, the FaceTime application will start directly, if he has Android or Windows, for example, then the web browser will start.
Panel groups in Safari
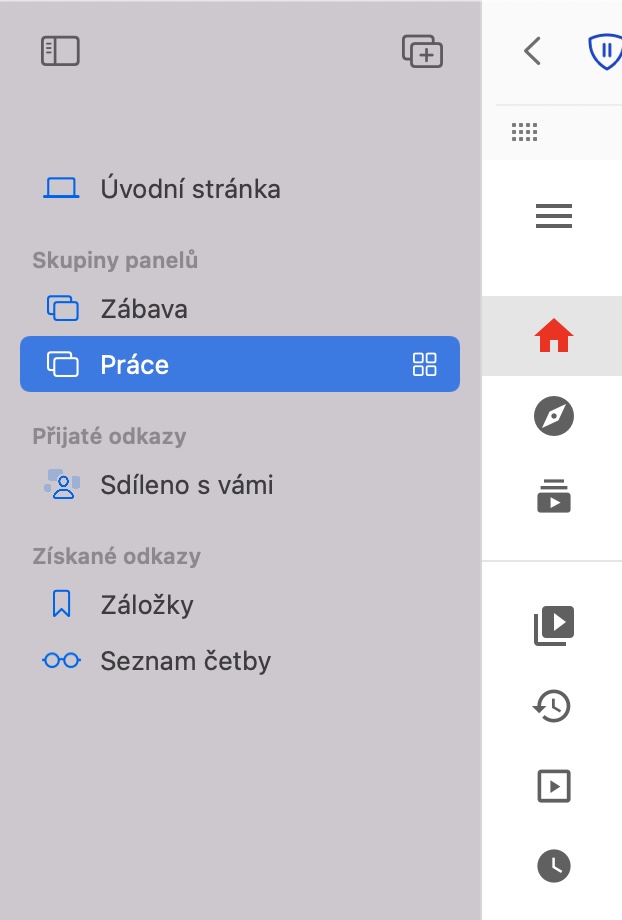
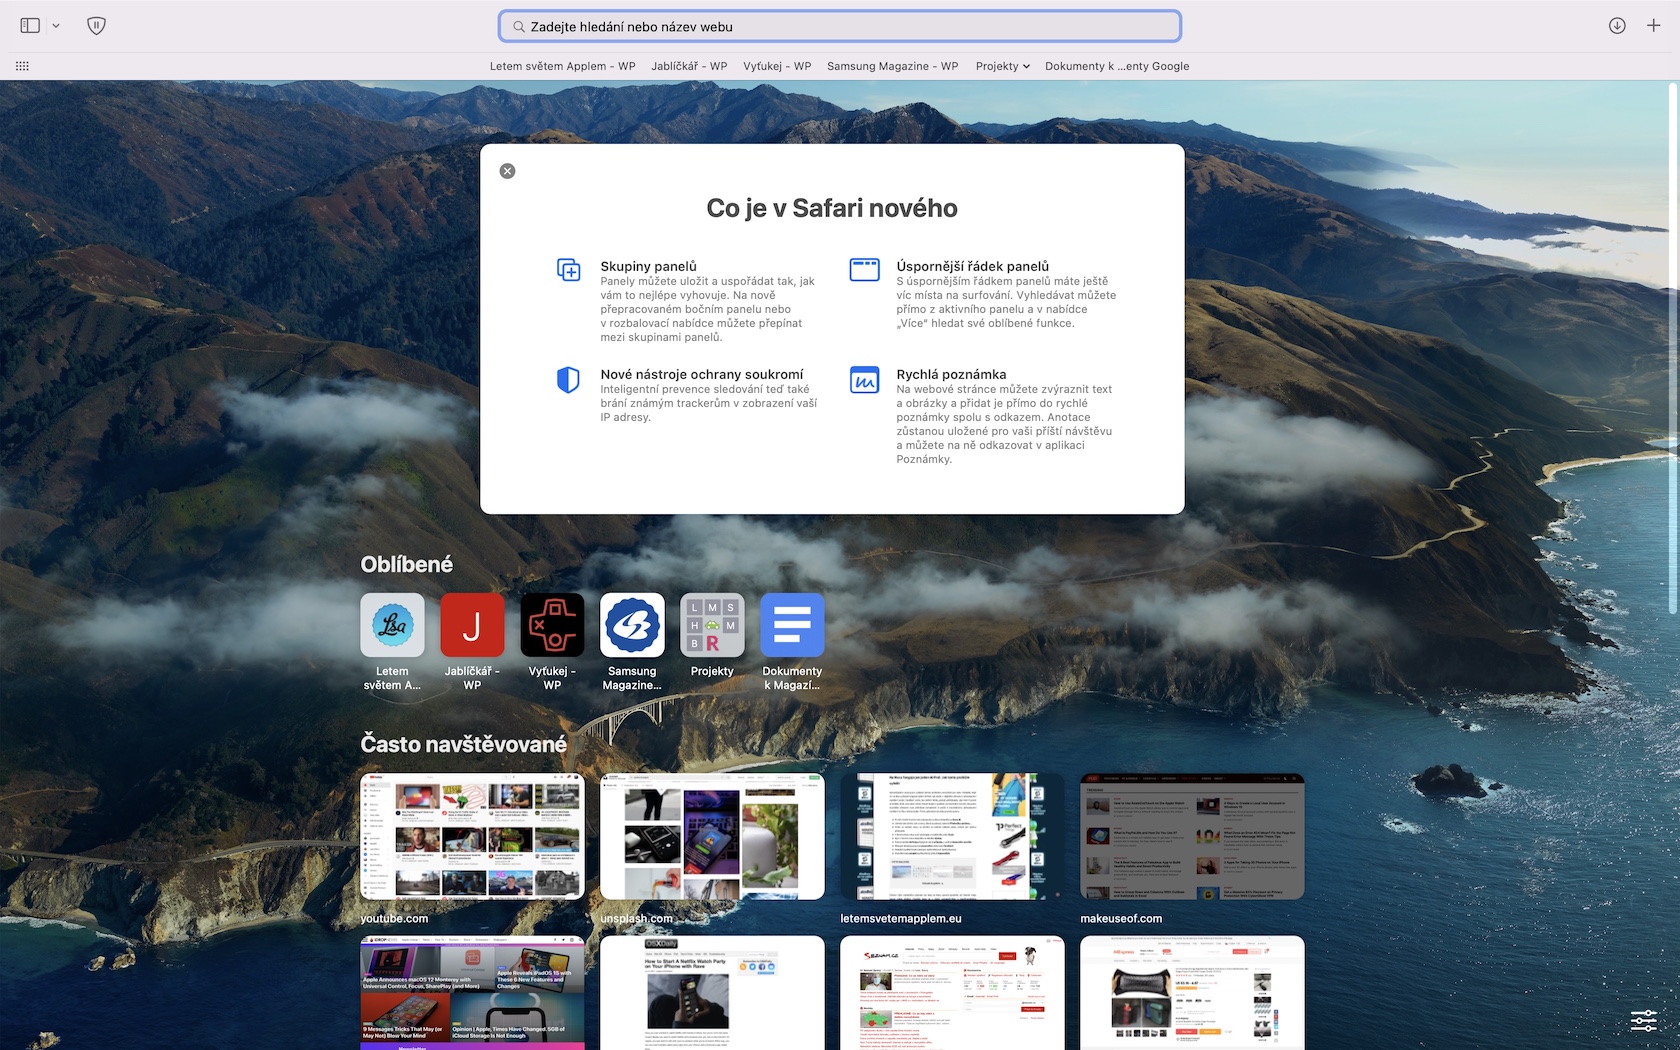
In macOS 12 Monterey, as well as in iOS 15, the native Safari web browser received a major improvement. As part of macOS 12 Monterey, the upper part has been modified, where open panels are now not displayed below the address bar, but next to it. The "two-line" display thus became a "single-line" display. In addition, Apple has also added groups of panels, thanks to which it is possible, for example, to easily distinguish entertainment panels from work ones. If you just want to work, just open a group with work panels, if you want to have fun, just open a group with entertainment panels. Of course, you can create more groups of panels and switch between them with a few taps. To display panel groups, tap in the upper-left corner of the Safari window icon to display the sidebar.
Preparing the Mac for sale
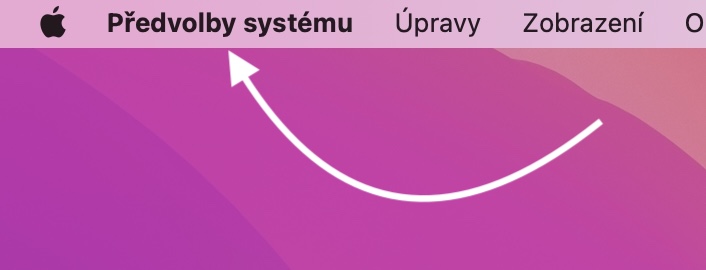
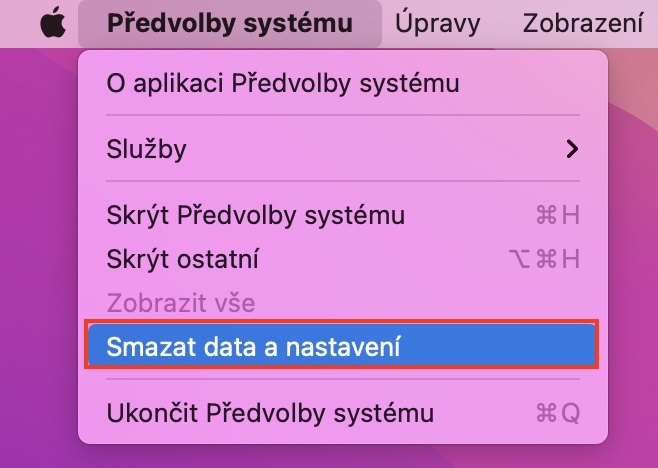
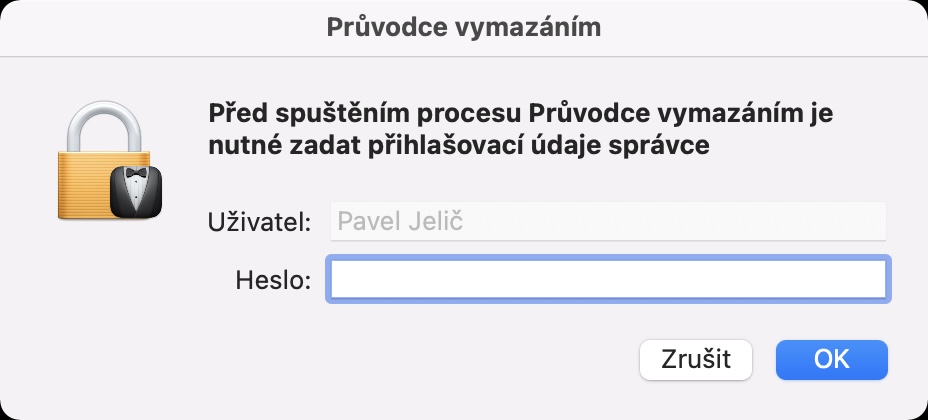
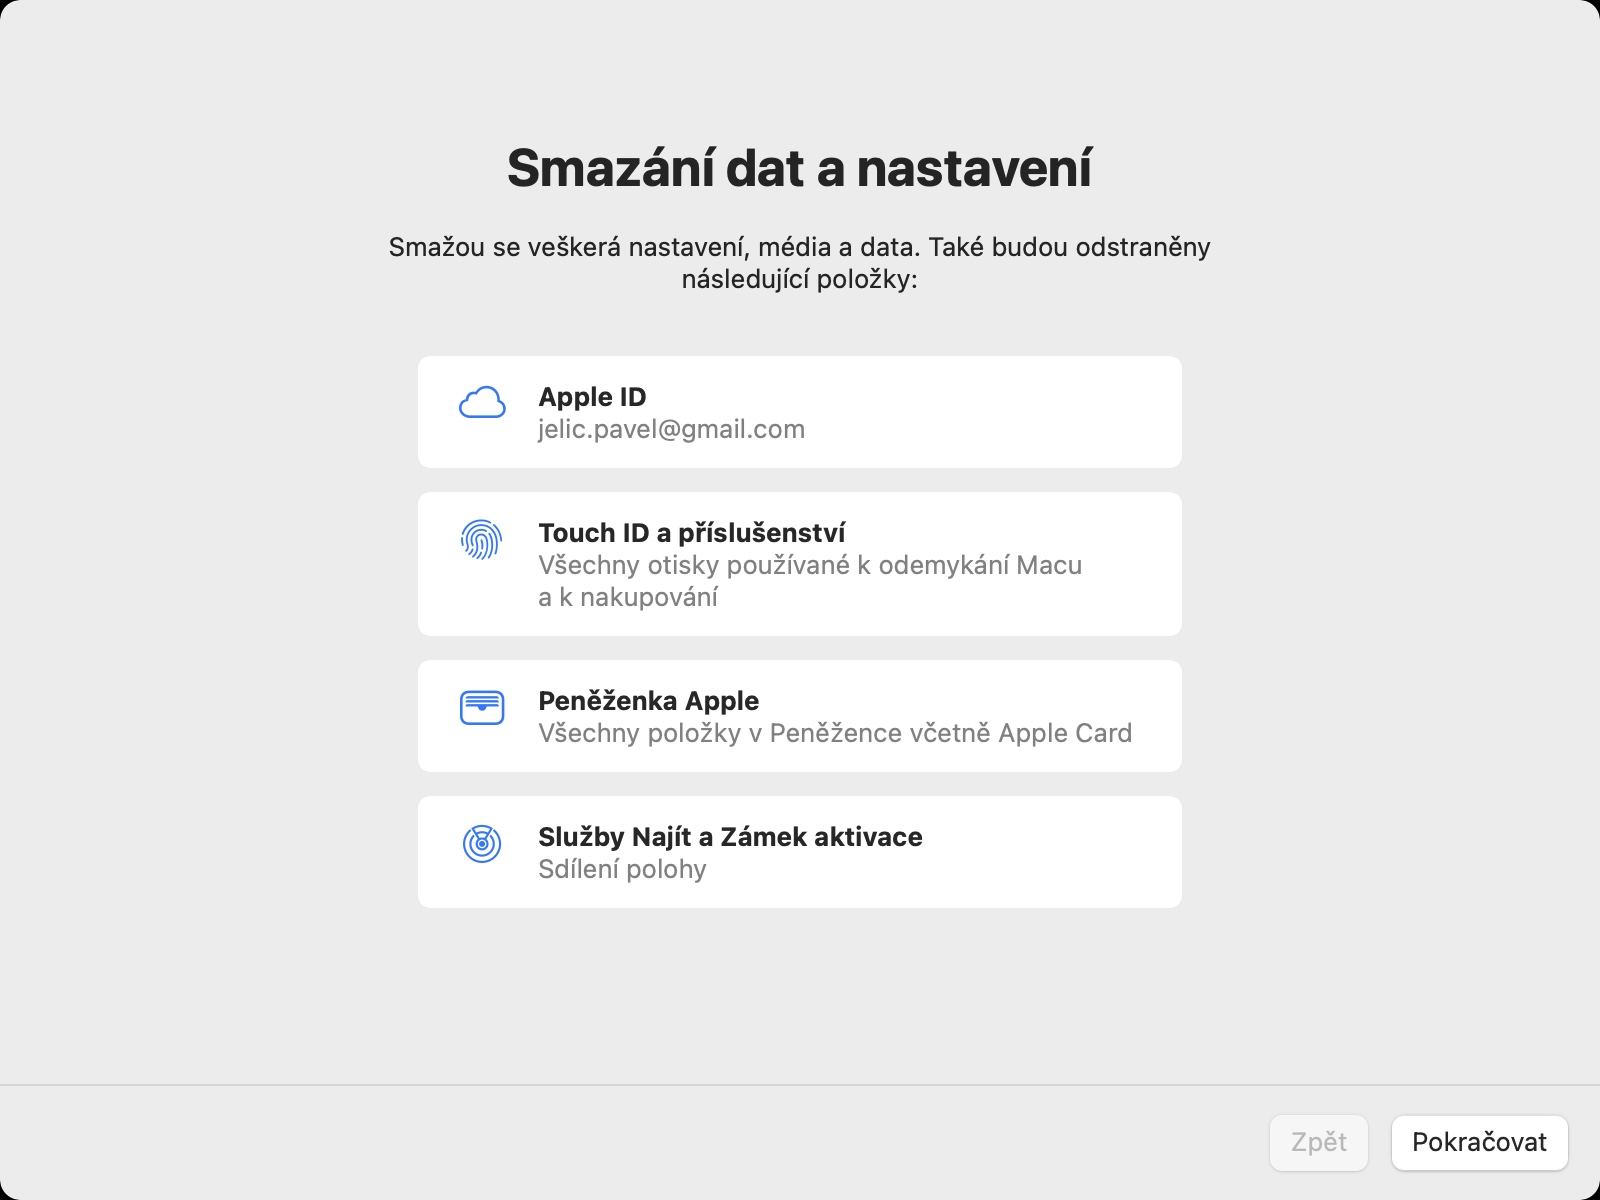
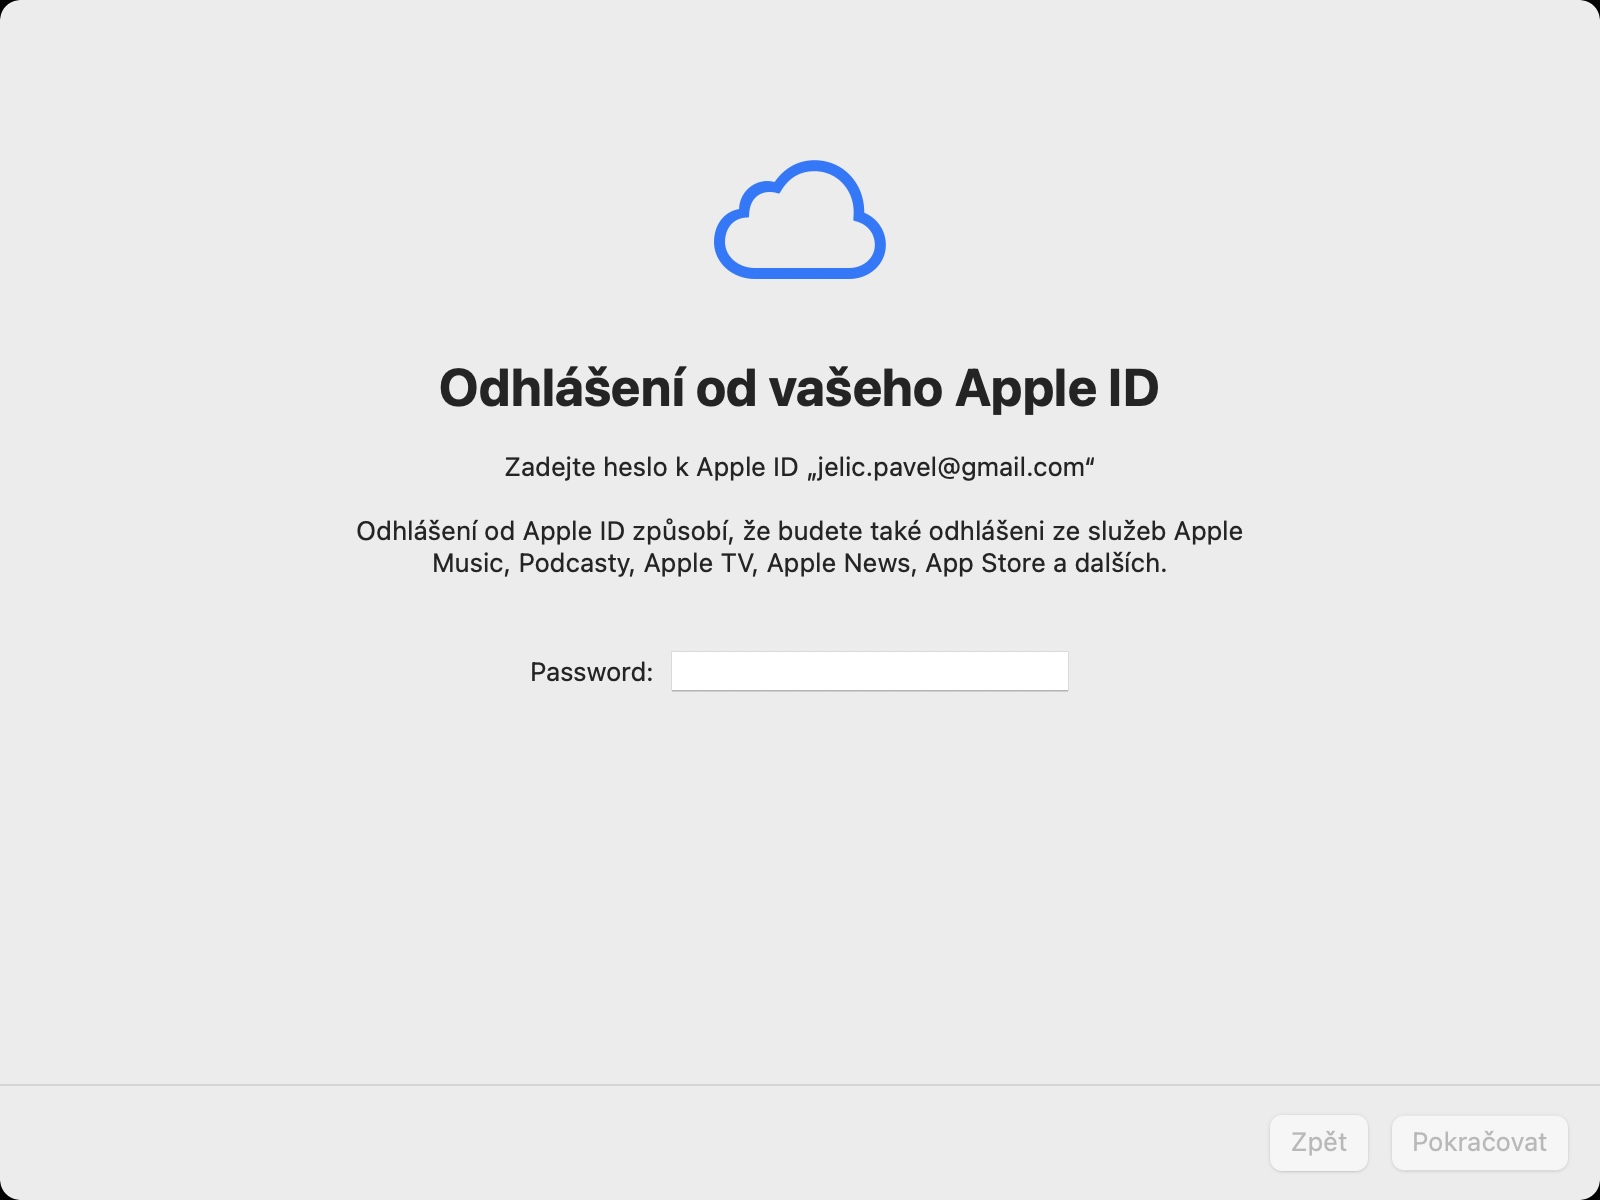
If you decide to sell your iPhone, all you have to do is turn off Find My iPhone, and then do a factory reset and erase data in Settings. This can be done with just a few taps and you don't have to worry about anything. In the case of a Mac, however, until now it was necessary to turn off Find Mac, and then go into macOS Recovery mode, where you formatted the drive and installed a new macOS. This changed with the arrival of macOS 12 Monterey, in which Apple added a similar feature to the one available in macOS. It will now be possible to completely erase the Apple computer and restore it to factory settings by going to system preferences, and then tap on in the top bar System Preferences. Just select from the menu Erase data and settings and go through the guide.
